



Bộ xúc xắc khổng lồ (Complete Giant Dice Set)
 BybobmakesLikes4.3KDownloads16K
Build another version of this model.
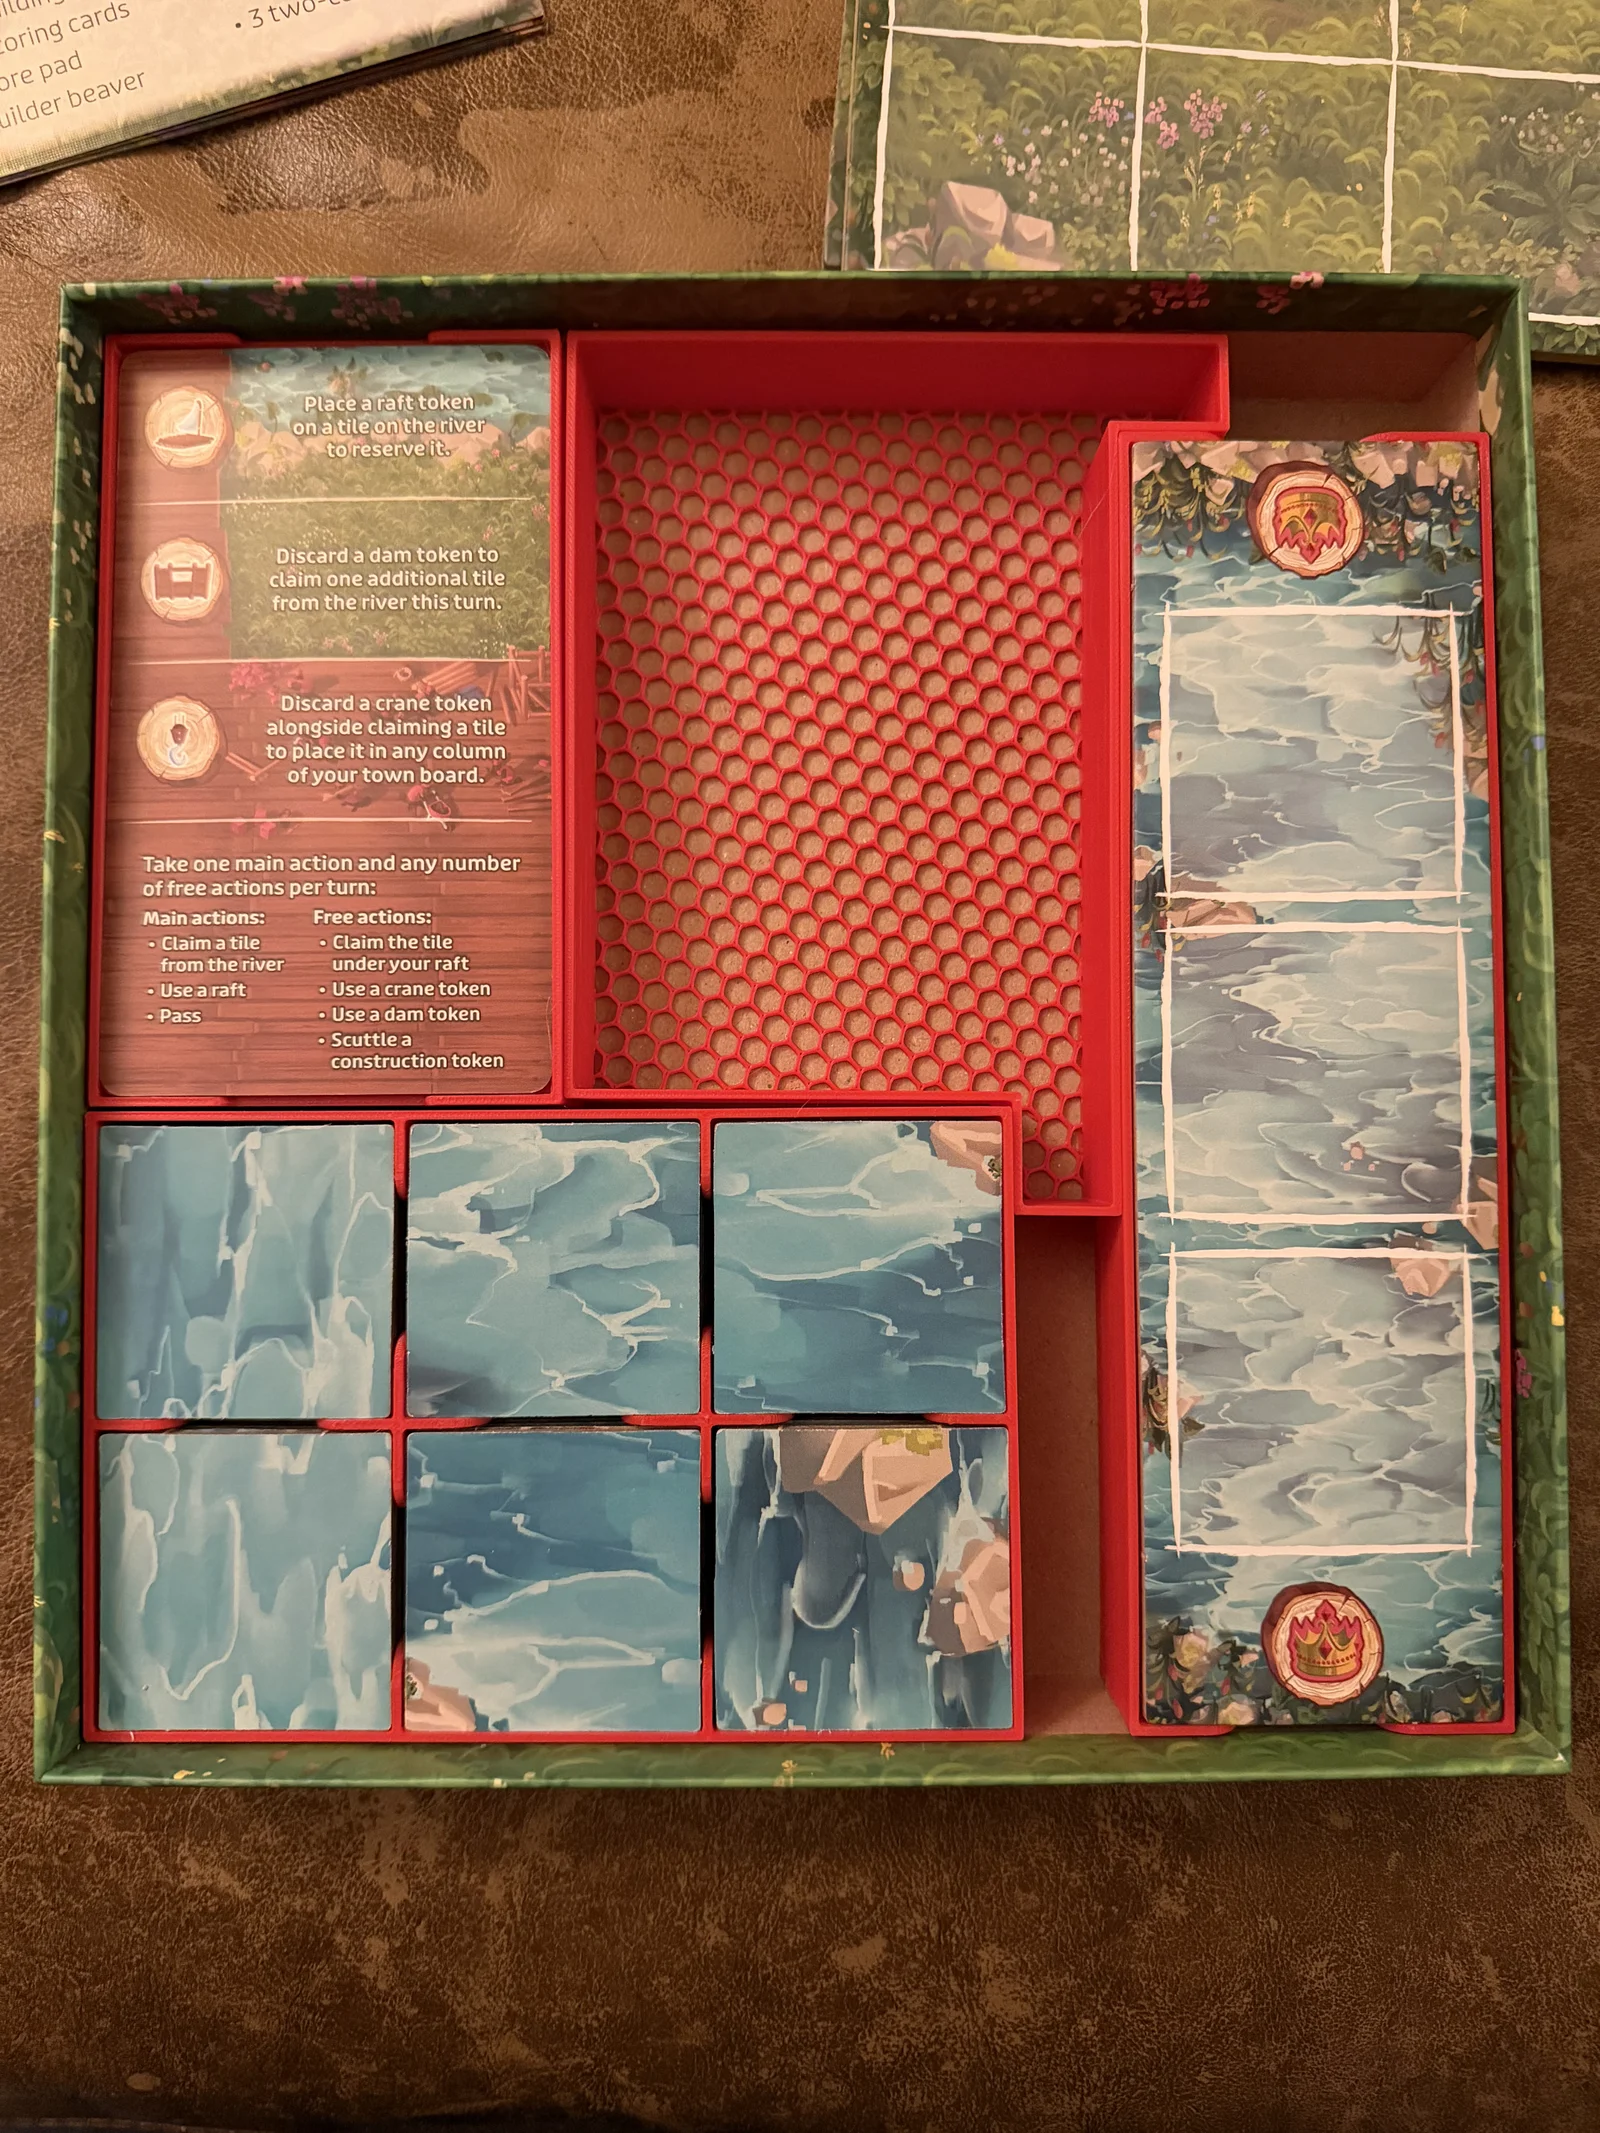
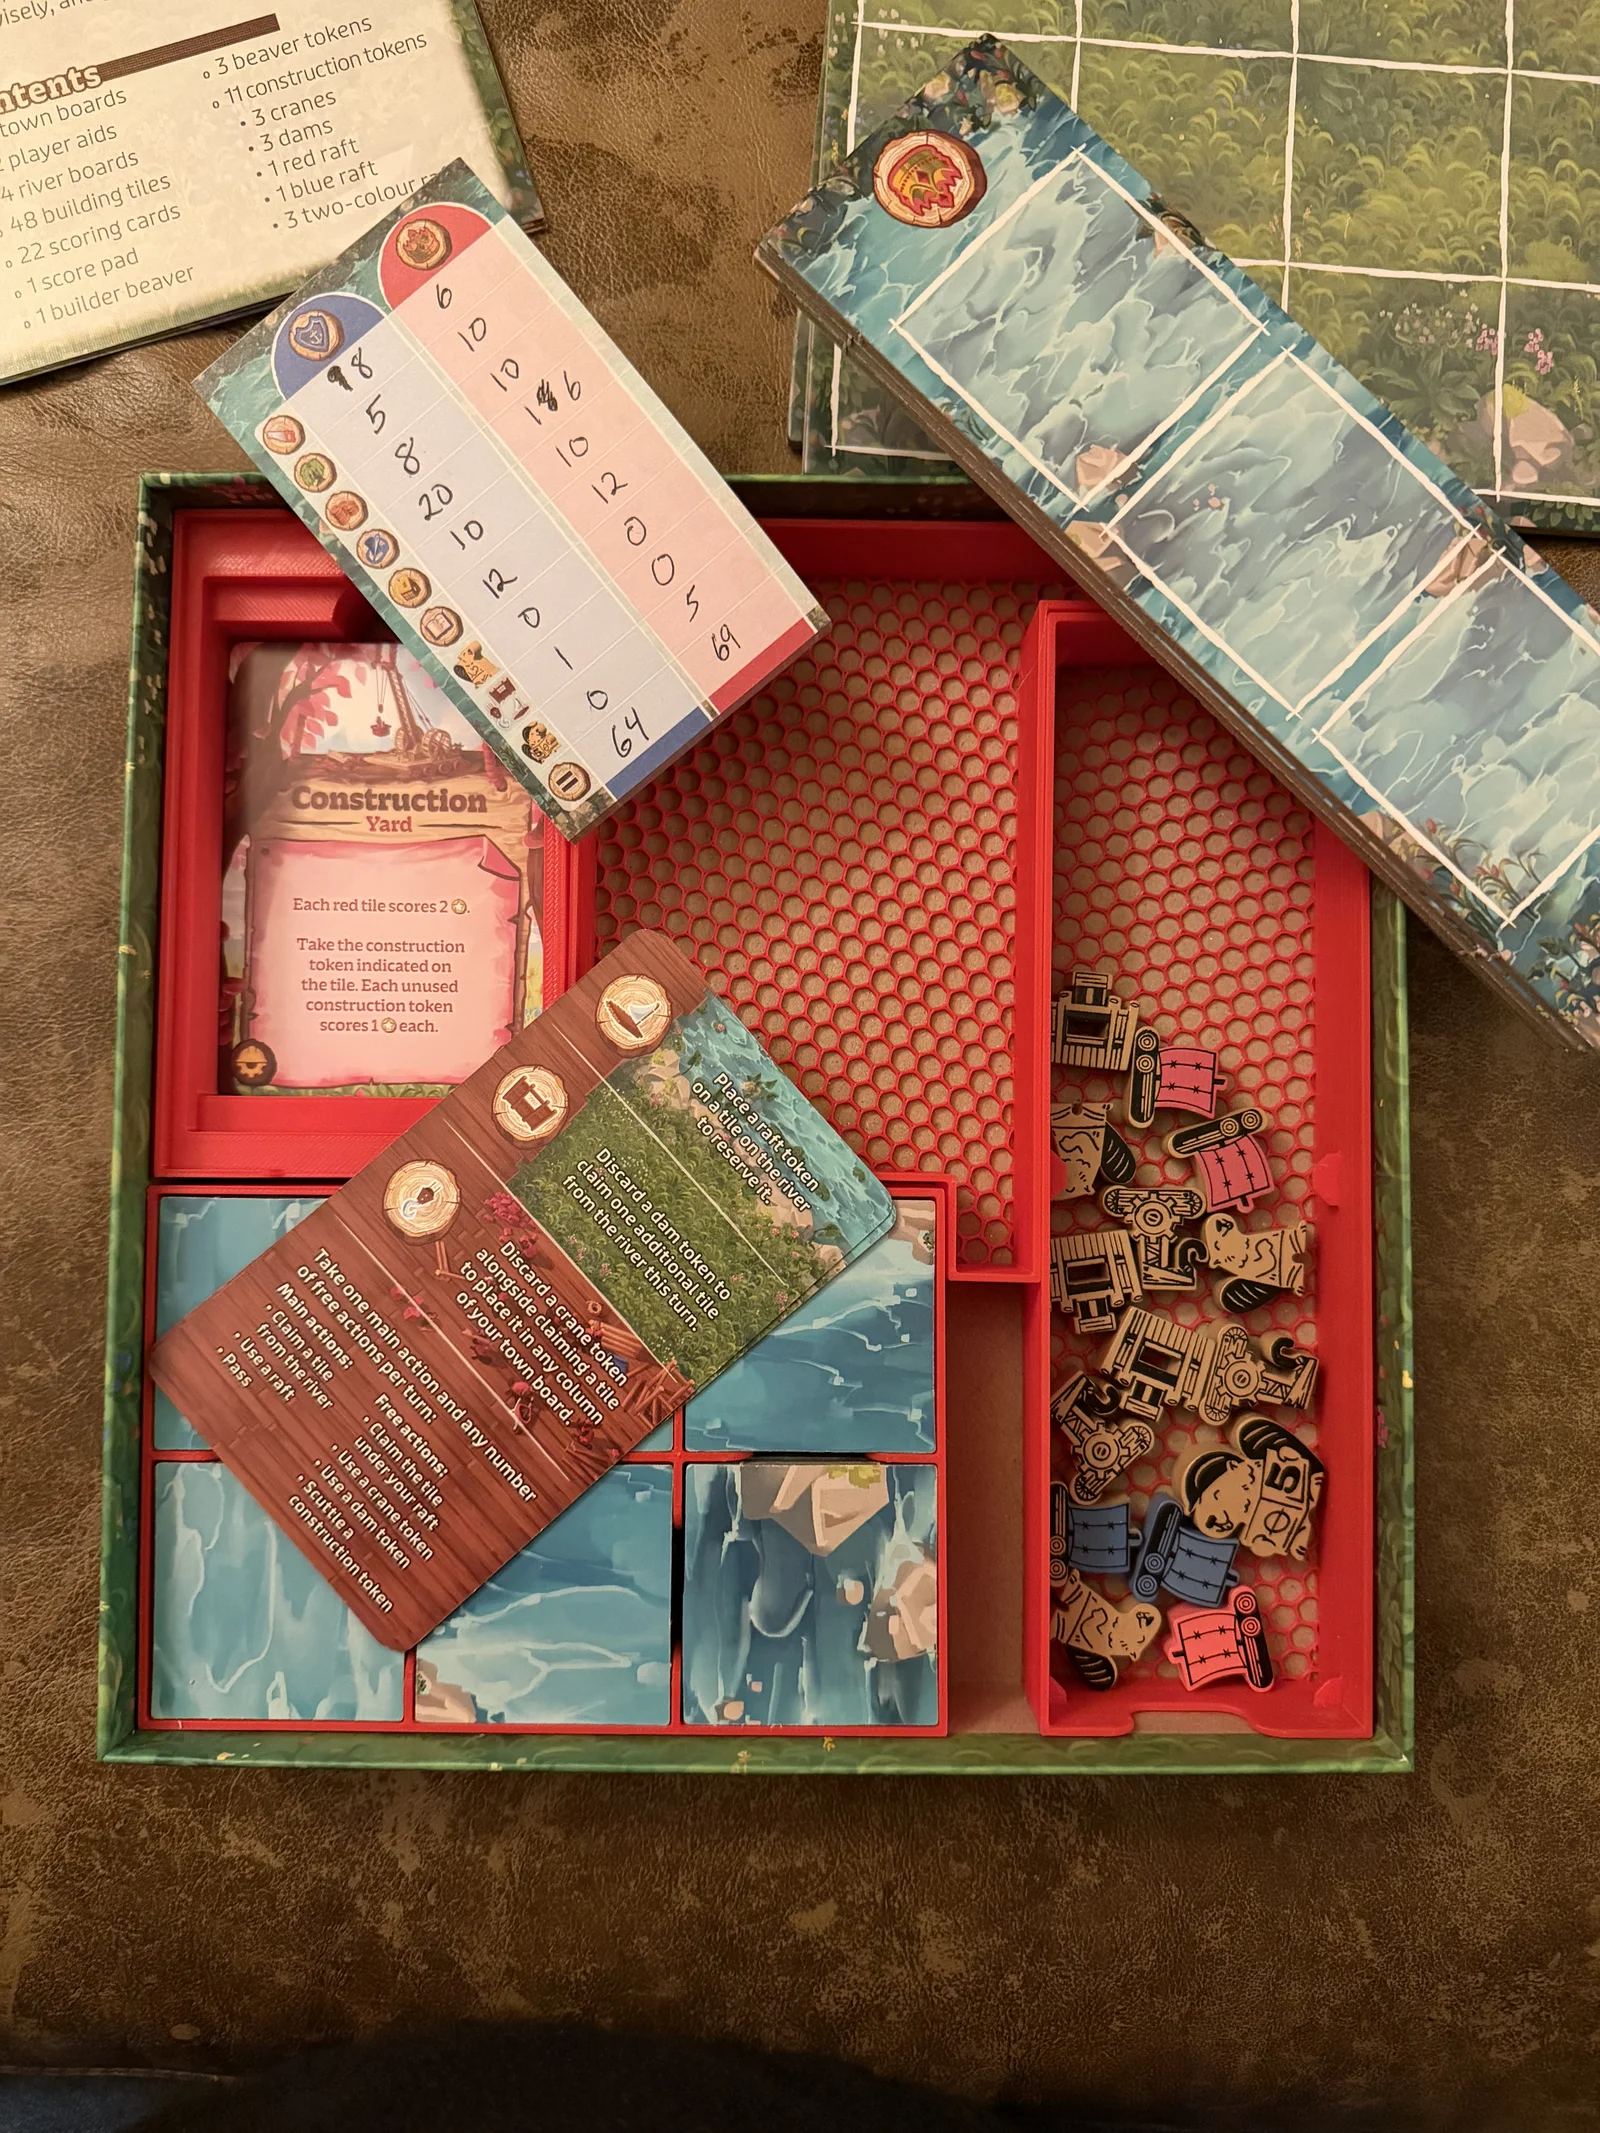
I like designing inserts for board games in my collection. Finding none for Timber Town I designed my own.
Everything fits in the box nicely and will stand up to rough treatment. The cards, tiles, and building tiles won't fall out and get messed around even if held upside down.
Printing
Total print time: 3hr 20min, Filament Length: 45m
0.2 resolution, 3 wall loops, 5 top shell layers, 0 supports.
I used 3 walls to ensure full coverage on the 1.5mm walls and applied a height variable from 0mm to 1.65mm to have the infill print in the honeycomb pattern on the bottom. This saved quite a bit of filament and looks really cool.
Import model. Right click and select Height Range modifier.
Change the range of the height modifier to 0mm to 1.65mm.
Change the bottom to a honeycomb if desired.
(Prusa Slicer) Add Infill and Layers and Perimeters to the height modifier. Chose 15% Honeycomb with 0 Top and Bottom Solid Layers.
(Creality Print) Under Objects select Range and then select Strength. Change Top and Bottom Shell Layers to 0 and Infill to 15% Honeycomb.
Slice to ensure it worked correctly and print.
BybobmakesLikes4.3KDownloads16K

 Byrezips_533396Likes52Downloads398

 Byewr2sanLikes208Downloads825

 ByMZ4250Likes147Downloads922


 ByAndrewKingLikes9Downloads83

 ByFishManooo_1312296Likes172Downloads593

 Byjk-penguinLikes0Downloads109

 BytjdesignLikes13Downloads98

 BySascha_LB_581517Likes87Downloads487

 ByKNfLrPnLikes45Downloads223

 ByJoe_84156Likes38Downloads246