



Dụng cụ cạo bàn in / ron (Gasket Scraper) nhỏ gọn
 ByBrokentooth_designsLikes23Downloads402
Remix of Cuộn Chính Tái Sử Dụng Polymaker Dùng Cho Filament Refill By Polymaker
Build another version of this model.
 Spool Polymaker Refill - bản remix cho nhãn 50x30ByDanHenriksen · 05/09/2026
 Lõi cuộn nhựa in 3D Polymaker cải tiến (Dễ lắp ráp)ByGNDconcept3D · 05/08/2026
I wanted to invest into the Polymaker refill system but with a stronger spool design as I found that the original spool sides fell apart pretty easily after just a little bit of use.
Spool sides connected with fasteners
M3 & M4 versions
Uses 30mm length
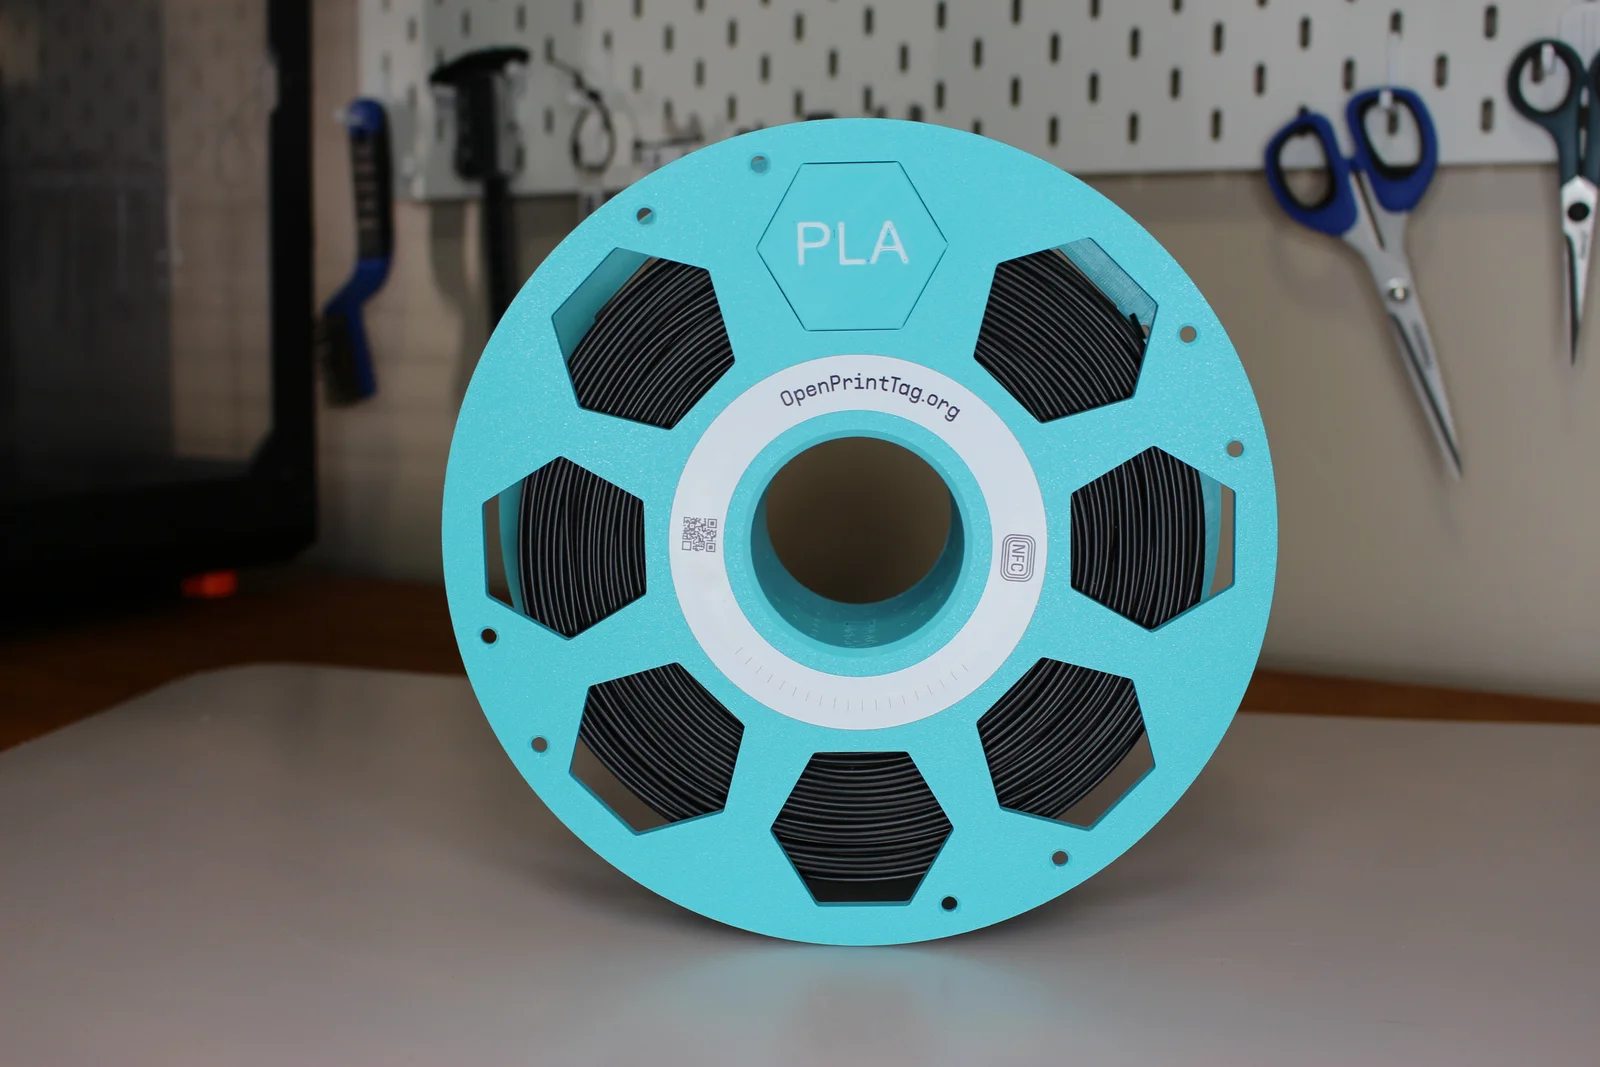
Incorporating OpenPrintTag into the spool design
Anticipating/hoping further expansion on their refill system, I included a labelling system
Improved spacing. The original spool design had 62 mm of space between the spool sides for the filament refill. This had 1mm of excess space on each side of the spool. I reduced the space to 60mm in my design which seems to fit the refill spools better.
Reduced filament usage, faster printing
Aside from choosing M3 or M4 versions, you have the option to either embed the nut into the spool side or installing after the print. I prefer the embedded version for a cleaner look and easier install of the OpenPrintTag.
Embedding the nut into the spool side:
Before committing to a larger print where you insert the nut into the spool side, I also included a small test print using ~1g of filament to test the tolerances with your hardware. Print using the same filament you intend to use. I find using a bolt as a tool to insert into the print helps.
If you want the OpenPrintTag to be perfectly centered on your spool, print the alignment jig for an easy installation! Make sure you place the tag on the hex nut spool side so that you are able to remove the bolt to respool later on!
I have included some tabs on the label for easy application of glue, or just tape on. Just make sure the label is facing the correct orientation before gluing!
Now just connect both sides with 2 screws of 30 mm in length (M3 or M4), Happy Printing!
ByBrokentooth_designsLikes23Downloads402

 Bytinx_1344834Likes1.2KDownloads6K

 ByreddLikes216Downloads2.2K

 ByJasonOlliff_519145Likes241Downloads2K

 Byarhi_585078Likes64Downloads536

 ByHanzo3dLikes155Downloads411

 ByGeek5DLikes147Downloads481

 By3DSourcererLikes48Downloads373

 ByAlex_3996727Likes29Downloads63

 ByWatchfulEye_1511114Likes17Downloads44

 Byzachstofko_3956201Likes88Downloads152

 ByzooppLikes7Downloads159