



Vải In 3D Cấu Trúc Hình Bát Giác (Octagon Fabric)
 ByDrewmundLikes833Downloads4.6K
Build another version of this model.
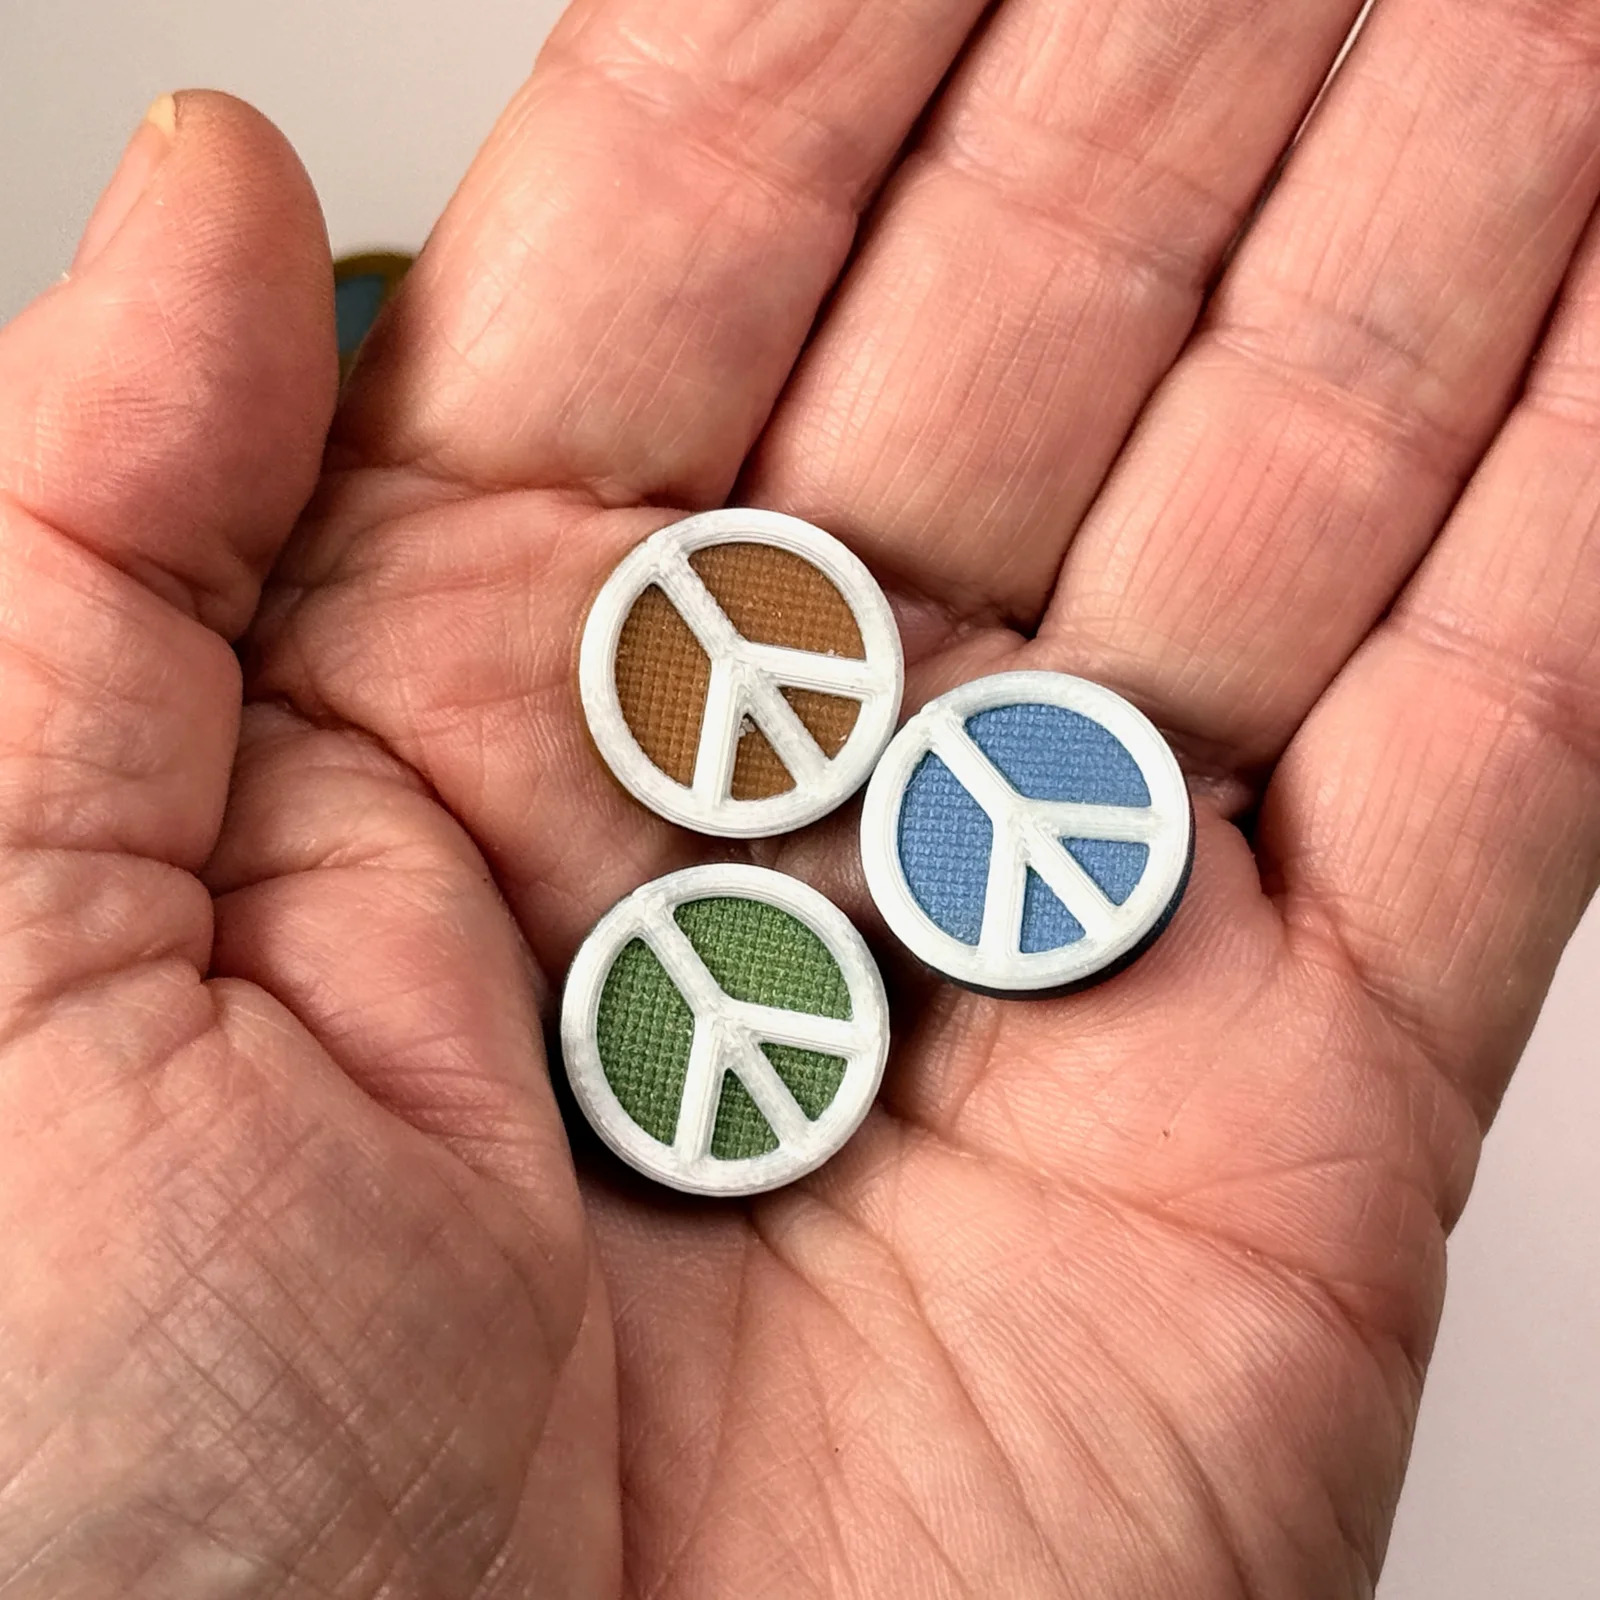
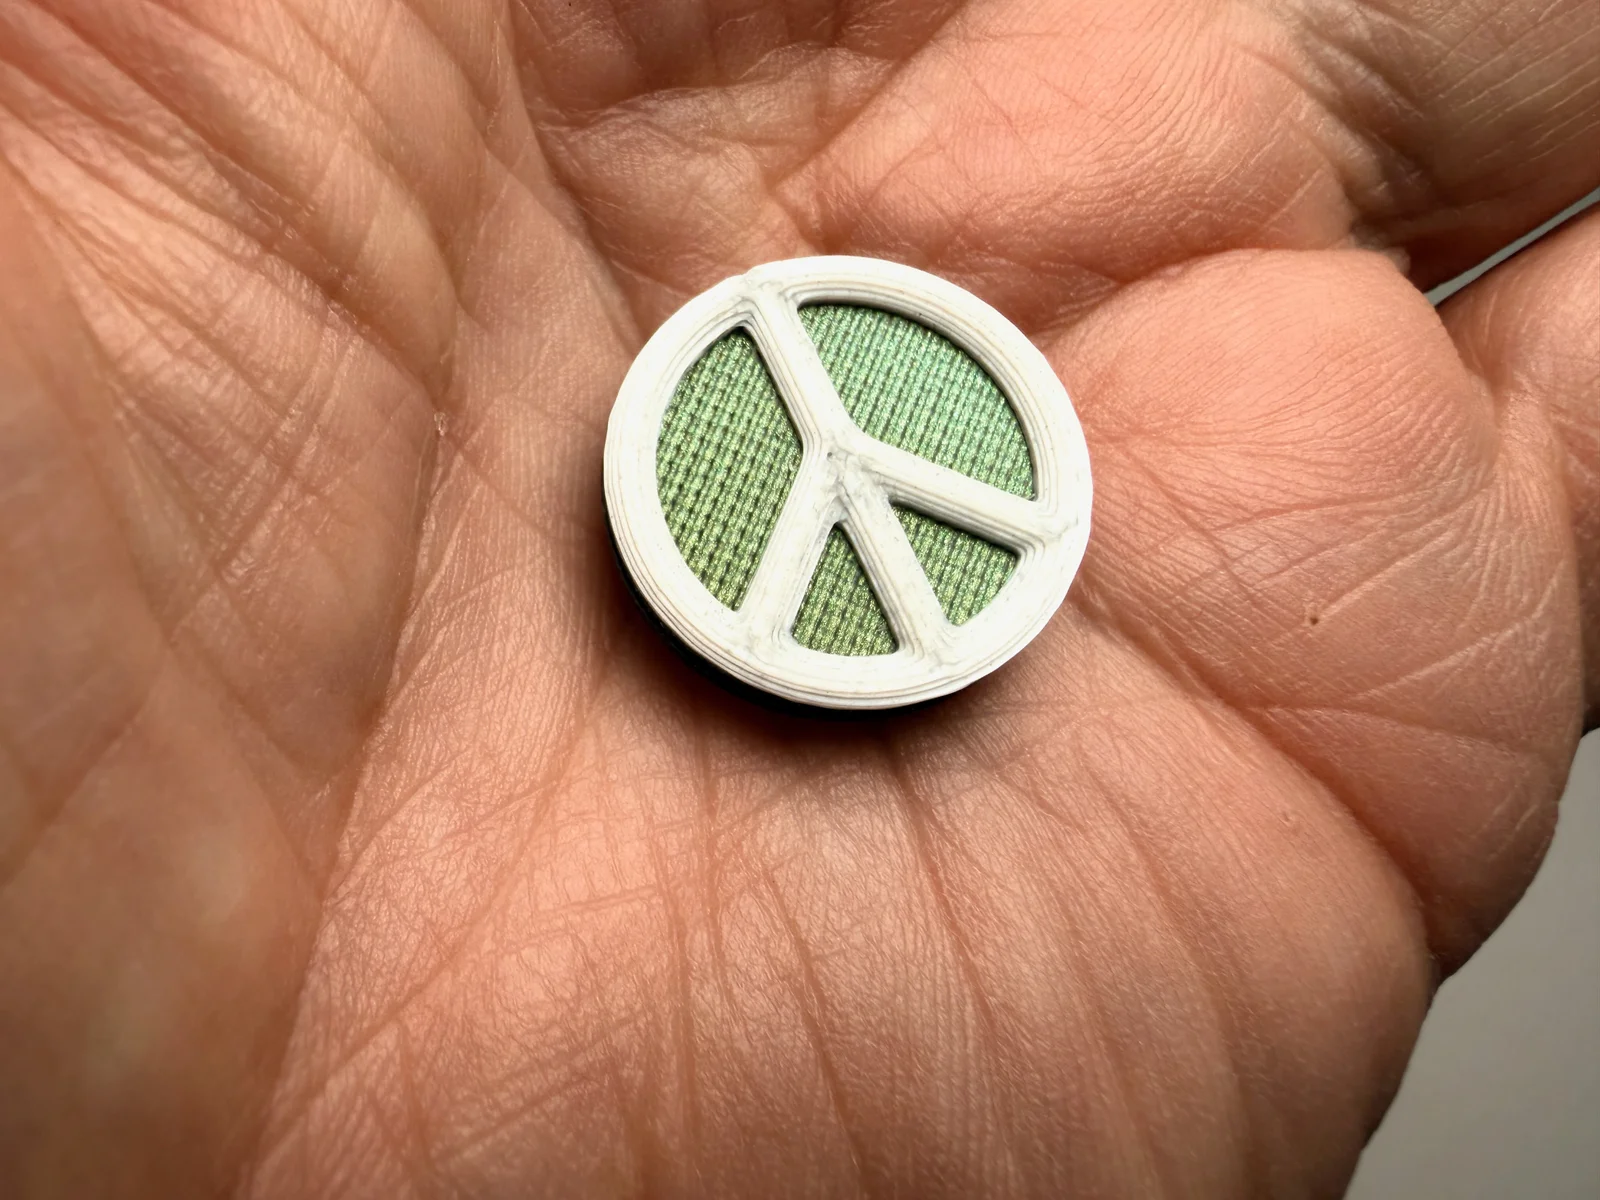
PEACE pins
First, an apology. I’m very late to share this model. I created it in 2018 but never got around to uploading the models. Sorry.
I make a lot of pins that carry messages. I’ve given away thousands and when strangers see them, they often comment. The best reply is to share a pin. The reason I bring this up is PEACE PINS are by far my most popular pins. Strangers don’t just notice them but they ask if I have a spare. And, since I keep pins in every coat pocket, I always have one to share.
It’s a divided world out there. Fortunately, pretty much everybody agrees with the at least the concept behind PEACE. As I keep finding out, many like the idea of sharing the message. This is where you and your 3D printer come in. Print lots of PEACE pins and, give them away. Run print test until PEACE is dialed in. Then make hundreds and thousands. Print them. Wear them. Carry them. Share them.
PEACE pins are tiny. Just 20mm in diameter.
The base with the slot and tab for a Pin Back is 3mm tall. PEACE pins come in two and one color versions. If you don’t have a multicolor printer, in your slicer put in a pause right after 3mm. Change filament and you have a two color PEACE pin made with a one color printer.
Printing
Printers used for testing Prusa XL, Prusa Mk4s, Prusa Mini, Bambu X1C, Bambu Mini. There are no reasons why any well-tuned, can’t print these.
Basic Settings
Rafts: No
Supports: No
Resolution: .15 or .16 depending on your slicer
Infill: 15-20%
Use a .4 nozzle. Smaller nozzles are not needed.
Slow speeds down. Particularly first layers
The included 3MF files contain recommended print settings. Note that Prusa, Orca, Bambu and Cura slicers can open these same 3MF files and print settings will be included.
Printing Small is Different
Don’t assume this just another print and use your default settings. Printing small things in quantity requires different methods, settings, and printing techniques than average 3D prints I’ve designed a lot of very small models and I've printed around 20K. (It’s a long story…) so I’ve got a few helpful suggestions when printing small items in quantity..
Printing Methods
Printing small 3D models requires a different approach than large models. Because these small models have a lot of vertical mass for their size and a tiny contact area that means they could easily get knocked off the plate. So, I recommend the following…
• Use smooth printing plates if available, not textured plates. Just because textured plates come standard on most printers doesn’t mean they’re the best choice for every project. If you’re new to 3D printing don’t blame your printer if you have problems. Different models benefit from different plates. Textured plates are fine for printing large models, not so much for small things. This one of the reasons smooth plates are around. Smooth plates often offer the best surface in situations when bed adhesion issues are likely. And, tiny things with a small contact area is definitely challenging.
• When printing small models on a smooth plate, I begin with a clean plate and always use a thin layer of some sort of bed adhesive and refresh as needed. Various 3D printing bed products work fine but in a pinch, so does a thin layer of cheap glue stick. The goal is zero failure. Serious and professional 3D printer users with print farms know this trick and when printing small items they use a bed adhesive and smooth plates as an insurance plan.
• Slow things down. When printing small items, I slow down first layers. On small items, the goal is perfect first layers. I print first layers at 30mm.
One Color Two Color
Two versions of PEACE pin and magnets are available Two color if you’re set up for multi-color printing. Files are labeled 2C. But, if you have a single color printer use the 1C file. To make it a two color print on your printer, when slicing put in a pause for you to change filament after 3mm. The height of the pin base. From here to the top at 4.2mm is the actual peace sign. Perfect place for a second color of your choice.
PLA or PETG
The model was designed to be printed with inexpensive PLA or PETG filaments. On a model this small, this is a great project to use of left over spool remnants. This way you can print lots of different PEACE pins using whatever filament you have around. Side Bar: If using left over filament remnants, if you’re like me, you’ve might have ignored some of those loser spools and left them out collecting moisture. It’s a good idea to dry your filament before printing.
Which Glue?
I’ve printed out thousands of pins and tried every type of adhesive. For years I relied on 2-part epoxies which work well but are messy and hard to apply accurately. CA glues like Super Glue work but the pin cavity is not smooth so normal THIN CA glue just kind of flows into the gaps between filament threads leaving nothing at the contact point. Next up, thick CA Gels. They work well but the urethanes added for flex take FOREVER to fully cure. Now, I mostly use high quality THICK CA glues.
Note that all CA glues off gas and despite the claims of an INSTANT set, curing takes time. If using CAs never stack your glued up pins. The off gassing could leave white frosting on prints sitting above. Leave pins flat and out in the open to cure for several hours. Overnight is better.
Another option I’m currently using is UV cured resin glues. This only works if the applied glue is exposed and visible like these pin. You need a 395nm UV light source like a UV flashlight or if you live in the right place lots of sun and time. The UV light activates the glue. Cure time is one to three minutes. Don’t forget UV safety glasses!
PIN Assembly
For PEACE pins you need 15mm PIN BACKS to complete them. You can find pin backs on AMZ or AliExpress, etc.. Typically 100 or 200 only cost $5-$10. Cheap.
The back of these PEACE pins have a cavity and a small tab. I design this feature into all my 3D printed pins. The cavity lowers the height of the pin back so the pin sits flatter when worn. The tab that overhanging the cavity is kind of an insurance policy.
To assembly PEACE pins put small drop of glue in front of the tab. Slide the pin back into the cavity then slide under the tab. By putting glue in front of of the tab the pin back is flooded with it. Glue squeezes under and on top of the pin back. Once the pin is under the tab, glue also spreads to the underside of the tab. This application firmly holds the pin back in place.
Most glues we use to glue things to 3D prints are strong but brittle.The right shock can break the 3D print to metal glue joint. Pin backs flex when being used the plastic doesn't. That’s why glue alone often fails when glueing metal to plastic. But, by containing the pin back and spreading glue over every contact surface you’ve contained the pin back and removed shock at the glue connection. I get very few failures. Maybe 1 per 3-400 pins.
Space under the table too tight? If your retraction settings are off and the underside of the cavity under the table sags a bit making it hard to slide the pin back in place, keep a flat screwdriver around as your gluing to help push the back in place. If a few of your tabs are tight, barely flex them with a small flat screwdriver before assembly. If all your tabs are too tight adjust your print settings for overhangs.
Suggestions
Keep in mind that PEACE is meant to be a positive message. Your prints should reflect that vibe. Select your filament colors with that goal in mind. As a designer I choose filaments and filament colors with a little bit of snap for PEACE pins. One of the included photos show all filament variations I've used. A PEACE pin might be worn on a jacket, bag or hat. Strong colors work of course, but as a designer, I prefer to make them stand out by using subtle choices. People can be fussy. Subtle pins are much more likely to worn. Try combining silk filaments or pairs of iridescent colors. Or experiment with filaments that sparkles paired with a flat color or matte filaments. During the holiday season, I give out mass quantities of holiday themed PEACE pins to friends, strangers, baristas, wait staff. Everybody. And, every year I add a new green and red pairing.
Remember: Want peace in the world? Make it so. Make peace pins and share with friends, family, and community.
Related Models
NICE Whistle 1...https://www.printables.com/model/1493196-nice-whistle-1
NICE Whistle 2... https://www.printables.com/model/1573093-nice-whistle-2
PROTEST Whistle... https://www.printables.com/model/1575106-protest-whistle
NO KINGS Collection... https://www.printables.com/model/1337550-no-kings-collection
ByDrewmundLikes833Downloads4.6K

 ByFastRaccoon_718321Likes461Downloads1.5K

 ByvexanixLikes168Downloads1.3K

 ByIvoLikes196Downloads1.1K

 Bynonoobybut_3307010Likes364Downloads1K

 ByvojtagrecLikes289Downloads902

 ByCodyMeyer_2545340Likes163Downloads725

 By3d-magicLikes0Downloads124

 ByPexPeppers Hot Sauce Hot SauceLikes114Downloads559

 Bymartin-schneiderLikes0Downloads400

 ByFotisMintLikes71Downloads415

 ByAryserLikes36Downloads391