



Ngàm gắn GoPro cho thanh Roll bar kích thước 38mm (1.5 inch) hoặc 42mm
 ByJordanK_858807Likes42Downloads430
Build another version of this model.
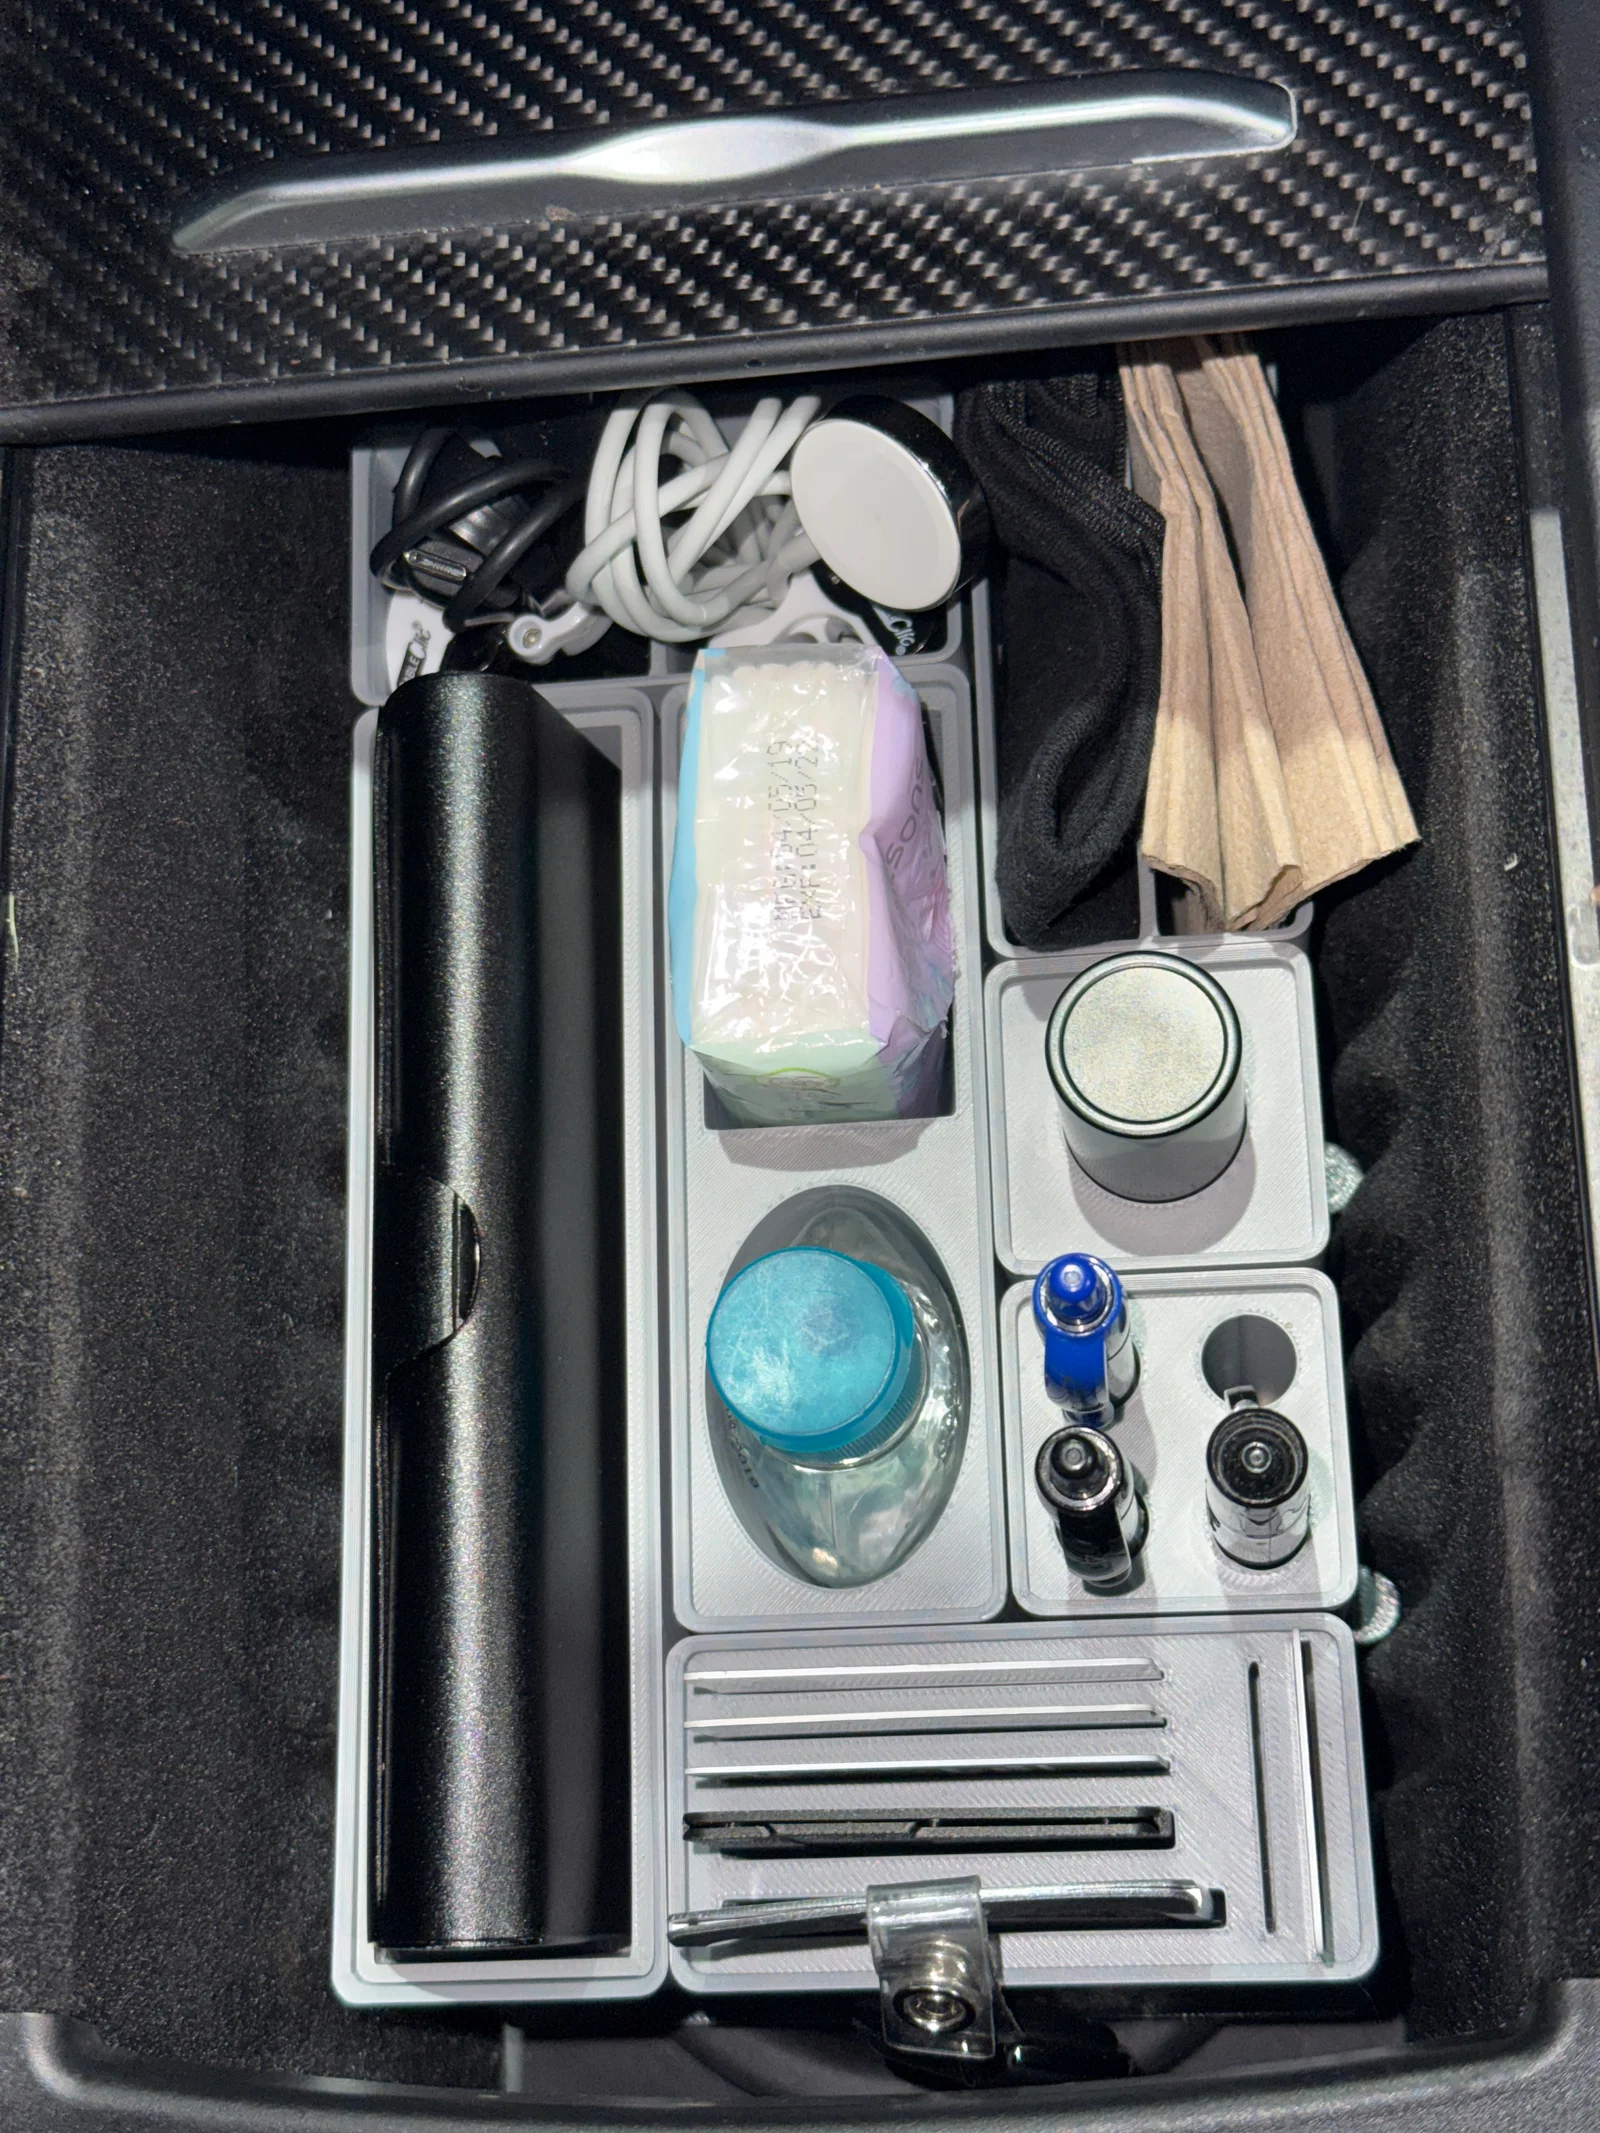
Tesla Model S console from late 2016 to late 2020 (before the 2021 refresh).
Tesla Model X console from 2016 to late 2020 (before the 2021 refresh)
No modifications to the console itself are needed - this is a slip fit and uses friction from the “ribs” where the cup holders would normally mount.
Print the adapter and most likely the “post” risers. I used and recommend PETG as it handles heat better. I used Prusa's Anthracite Grey PETG. ASA, ABS or Nylon will work well too. I recommend avoiding PLA as it can deform at pretty low temperatures.
This 3MF file contains two alternative build plates. Print either Plate 2 or Plate 3 (not both) depending on how you want to mount the adapter:
Plate 2: Uses six half-moon push-on (press-fit) risers.
Plate 3: Uses six screw-in risers secured with M3 bolts (I used M3×6 mm).
Both plates include the center risers that straddle the console ribs, as well as six alignment risers with cutouts that fit over the raised lines in the rubber console mat (four in the middle, one at the front, and one at the back).
Remove the cup holders from your console.
Position the ‘Back’ of the adapter so the first “column” is in the SECOND console slot. While this model is NEARLY symmetrical, there is a ‘front’ and ‘back’ and the model has text to inform you of which is which. Getting the right orientation will ensure that the flip-open phone charging door does not come in contact with any rear-most Gridfinity bins.
No non-3D printed parts are required! Just print the adapter and the “post” risers on the second plate and you're all set.
However, there are a few optional parts that can be utilized if you so wish (I did!).
Magnets
Magnet holes are provided if you want extra secure bins that absolutely will not move around. You would need 60 (sixty) 6x3 magnets.
Heat set inserts
If you prefer not to use traditional post-and-hole connections for the ‘risers’ that go between the adapter and the console floor, you can use heat set inserts instead. If you go this route, print and use the M3 risers (Plate 3) instead of the “post” ones - you only need one set or the other, not both.
I used M3 x 5.7mm inserts from CNC Kitchen. You could probably get by with a slightly shorter length though. I used the Superserter to easily insert the heat set inserts and I highly recommend that tool (or something like it).
ByJordanK_858807Likes42Downloads430

 ByWolf_115355Likes513Downloads8.4K

 ByZED4EverLikes313Downloads5.2K

 ByfifindrLikes500Downloads4K

 ByVC_DesignLikes679Downloads3.6K

 ByDan Schwartz SchwartzLikes744Downloads3.4K

 Bydona3d_Likes456Downloads674

 ByMAFIXMAFIX_337316Likes130Downloads379

 ByUpcrid3D_1585693Likes808Downloads2.1K

 ByWilko_SLOLikes935Downloads2K

 Bystephenhiras_1439037Likes15Downloads233

 Bychubbs8697_2027893Likes585Downloads1.7K