


Mẫu gảy đàn Guitar (Guitar Pick) in 3D tùy chỉnh độ dày
 ByWolf_115355Likes513Downloads8.4K
Build another version of this model.
how it works ---->https://youtu.be/-zSAygGtLZE <---- how it works
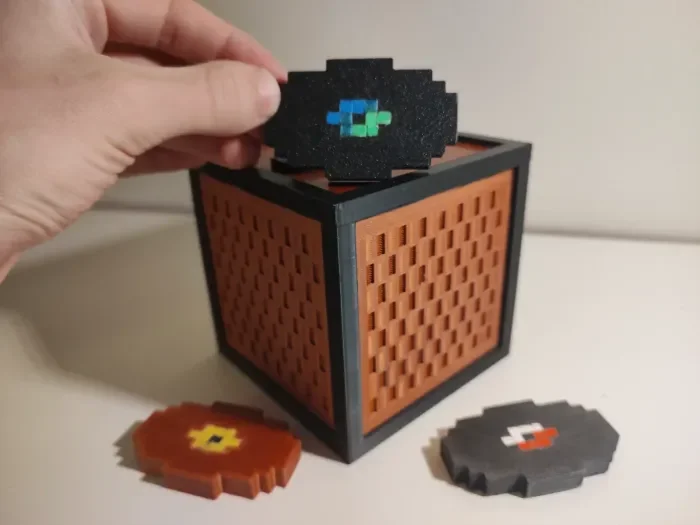
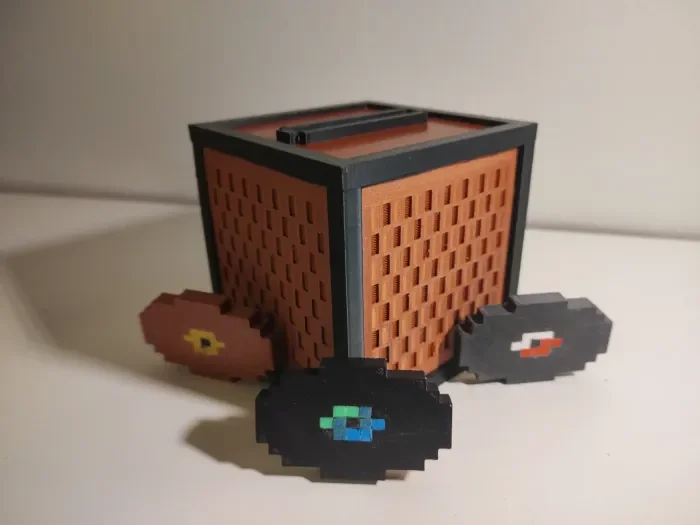
I’m a huge Minecraft fan and I wanted something cool for my desk, so I built this functional Jukebox. It’s not just a plastic cube – it actually works!
When you slide in a music disc, it starts playing your favorite tunes. Pull the disc out, and the music stops instantly. It’s super satisfying to use and looks awesome.
How it works:
The heart of the build is an Arduino connected to an RFID reader (MFRC522) and an MP3 module (DFPlayer Mini). I’ve hidden RFID tags inside the 3D-printed discs. The Arduino constanty checks if a disc is in the slot. If it is, it tells the MP3 player to go loud!
What I used:
Brain: Arduino UNO R3 (Nano or Uno works fine).
Music: DFPlayer Mini + Micro SD card (fill it with your favorite Minecraft OST!).
Magic: MFRC522 RFID reader + tags for the discs.
Sound: A small 8 Ohm speaker.
NFC tags (ntag 216)
Power: 9V battery with 90 degrees DC jack connector or power bank
8x 5x5x5 mm Magnets for the panels
Some dupont wires
The Build:
I designed the box to be as game-accurate as possible (10x10cm), especially that iconic grill texture on the sides. The print is pretty straightforward, I used PLA black and brown (and color for the discs)
I did everything myself from the ground up (except for the internal Arduino mount). If you have any questions about the code or wiring, just ask me in the comments!
Connection diagram: RFID RC522 pins SDA to D10, SCK to D13, MOSI to D11, MISO to D12, RST to D9 and power it with 3.3V, then connect the DFPlayer Mini by wiring TX to A1 and RX to A0 with a 1kΩ resistor. I also added 2 buttons for changing volume (D2 and D3 to GND), but you don't need to do that if you don't want to.
Enjoy the tunes!
ByWolf_115355Likes513Downloads8.4K

 ByZED4EverLikes313Downloads5.2K

 ByGi_TLikes801Downloads1.3K

 ByVC_DesignLikes271Downloads750

 ByfifindrLikes500Downloads4K

 Bymrfixit_324954Likes65Downloads472

 ByDan Schwartz SchwartzLikes744Downloads3.4K

 ByBrokentooth_designsLikes83Downloads448

 ByUpcrid3D_1585693Likes808Downloads2.1K

 ByAdam Záhořák ZáhořákLikes39Downloads251

 ByWilko_SLOLikes935Downloads2K

 Bychubbs8697_2027893Likes585Downloads1.7K