


New
SolderMate - Fully 3D Printed Desk Soldering Companion
 ByleonicLikes0Downloads1.4K
Build another version of this model.
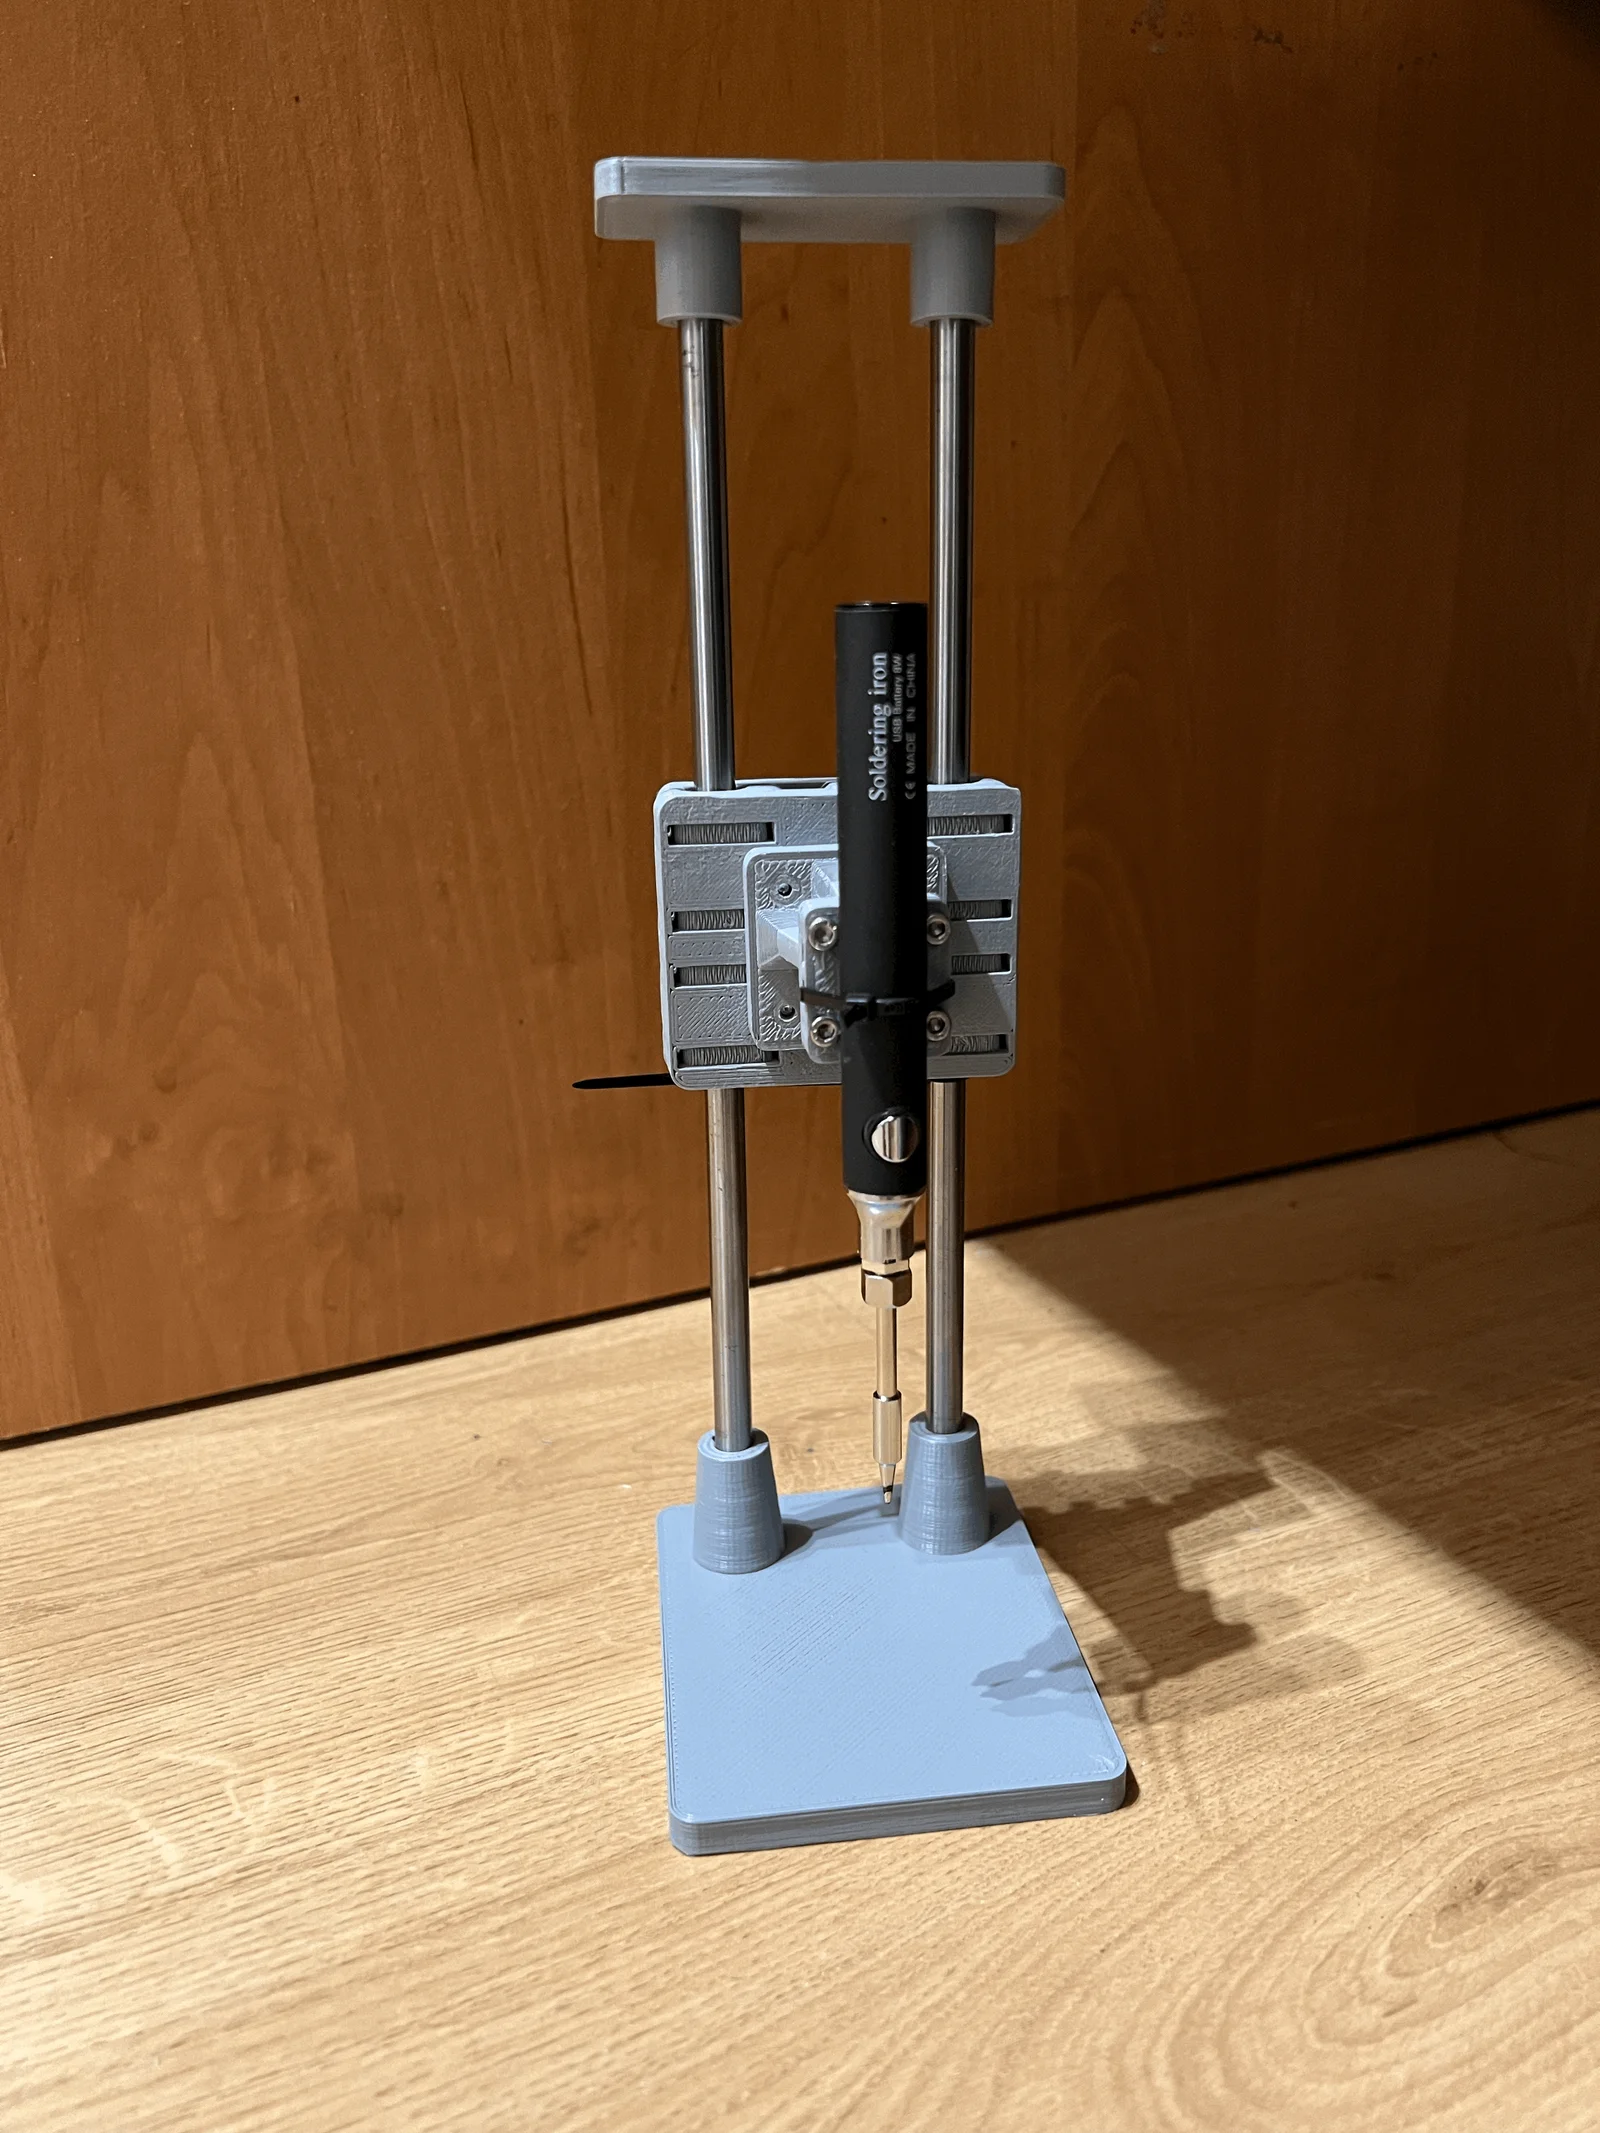
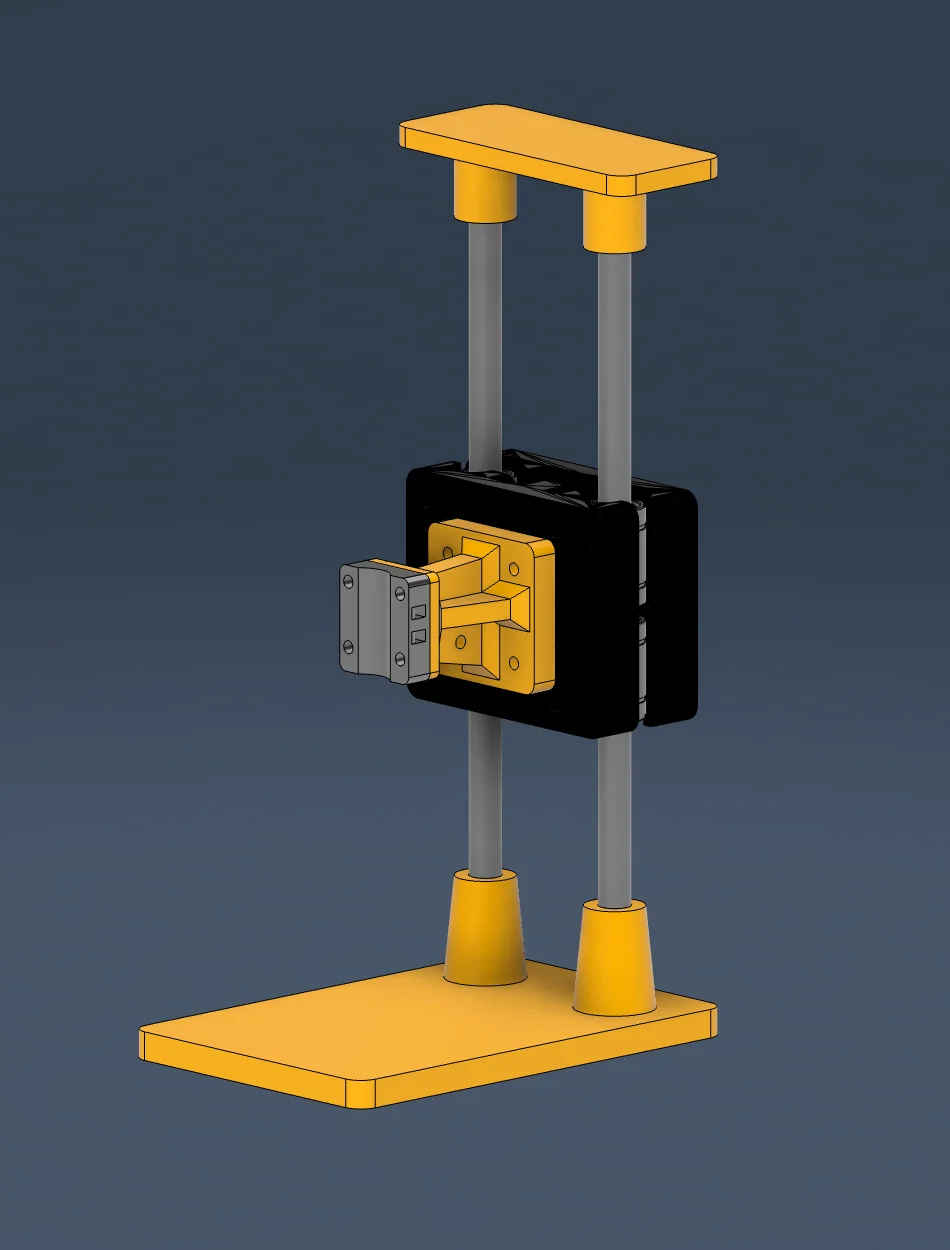
Hi! There are plenty of presses, but I wanted to create one based on linear rods since I had some spare ones.
Hardware required:
You can also use longer screws with nuts if you want,
but I just screwed those into plastic parts.
There are 2 options. You can secure the “carriage” to the bearings using
zip ties - in this case print only part 1 of the carriage. If you prefer to use
longer screws and no zip ties print part 2 as well.
Carriage models are based on:
https://www.printables.com/model/652057-prusa-i3-x-carriage/files
(you can use whatever carriage model that fits)
Print parts however you want, I used PLA. Only the “arm” part requires supports.
Holes for linear rods are 8,2mm. Use hole-compensation in the slicer
or alter the model in Fusion360 (or another CAD), if you require another dimensions.
I used 8mm drill to smooth holes after printing regardless.
Feel free to modify the connector part to work well with your soldering iron.
I use cheap USB one.
You can also add some kind of rubber band to make the press retractable.
Zip tie can used as the “end stop” so you won’t hit the base with soldering iron.
ByleonicLikes0Downloads1.4K

 ByfifindrLikes500Downloads4K

 ByVC_DesignLikes679Downloads3.6K

 ByDan Schwartz SchwartzLikes744Downloads3.4K


 Bythorin-oakenshieldLikes0Downloads530

 Bychubbs8697_2027893Likes585Downloads1.7K

 Byquibeck_3353173Likes965Downloads1.9K

 Bydenis-3dLikes0Downloads264

 ByRungeKuttaLikes229Downloads1.2K

 Bydelloo2008Likes0Downloads241

 ByrjunLikes0Downloads303