


Bộ giá đỡ Mesh Node năng lượng mặt trời cho đèn Harbor Breeze
 ByLecso_113752Likes76Downloads337
Remix of Vỏ Hộp Ổ Cắm Wio Tracker L1 Pro Cho Meshtastic By SeeedStudio
Build another version of this model.
 Giá đỡ cho Wio Tracker L1ByPcbCathode_3583812 · 05/31/2026
 Vỏ hộp bảo vệ in 3D cho Wio Tracker L1 và pin Meshnology 3000mAhBythejobbitt_3955 · 04/05/2026
 Vỏ ốp cho Wio Tracker L1 kèm kẹp thắt lưng tích hợp và pin 3000 mAhByWoogies_1663995 · 03/17/2026
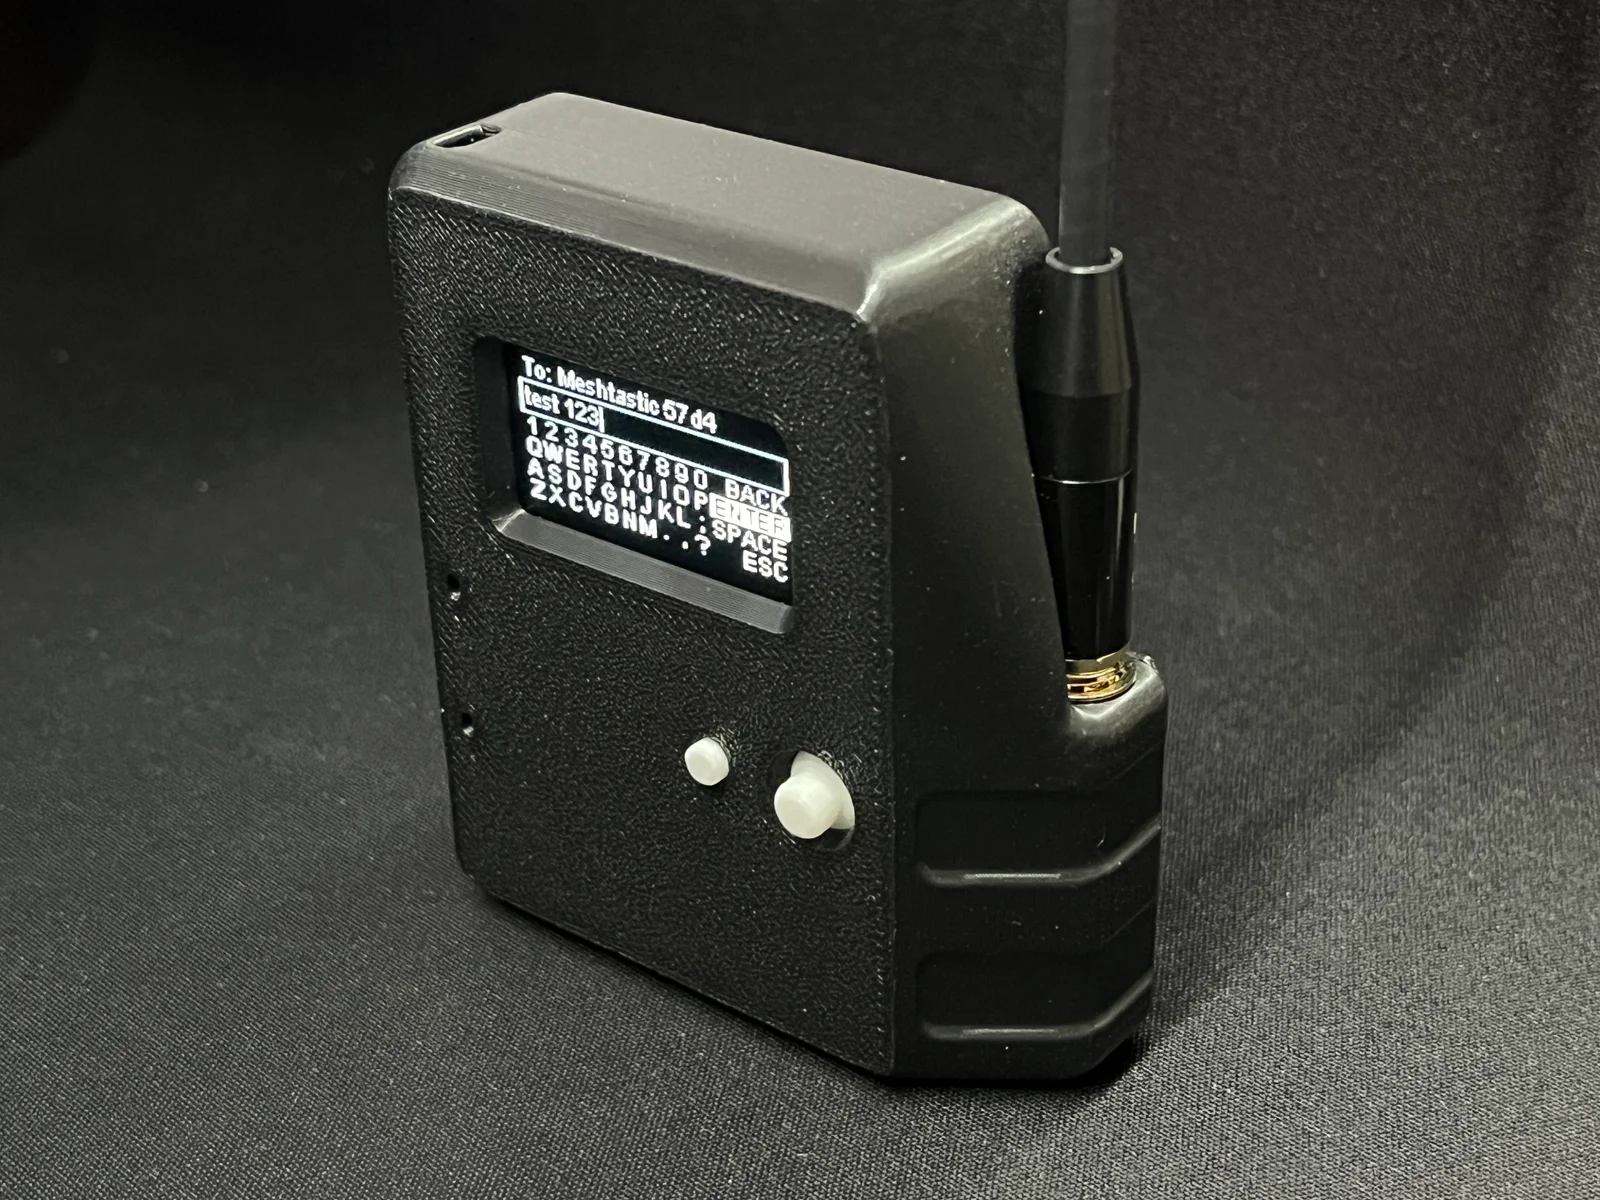
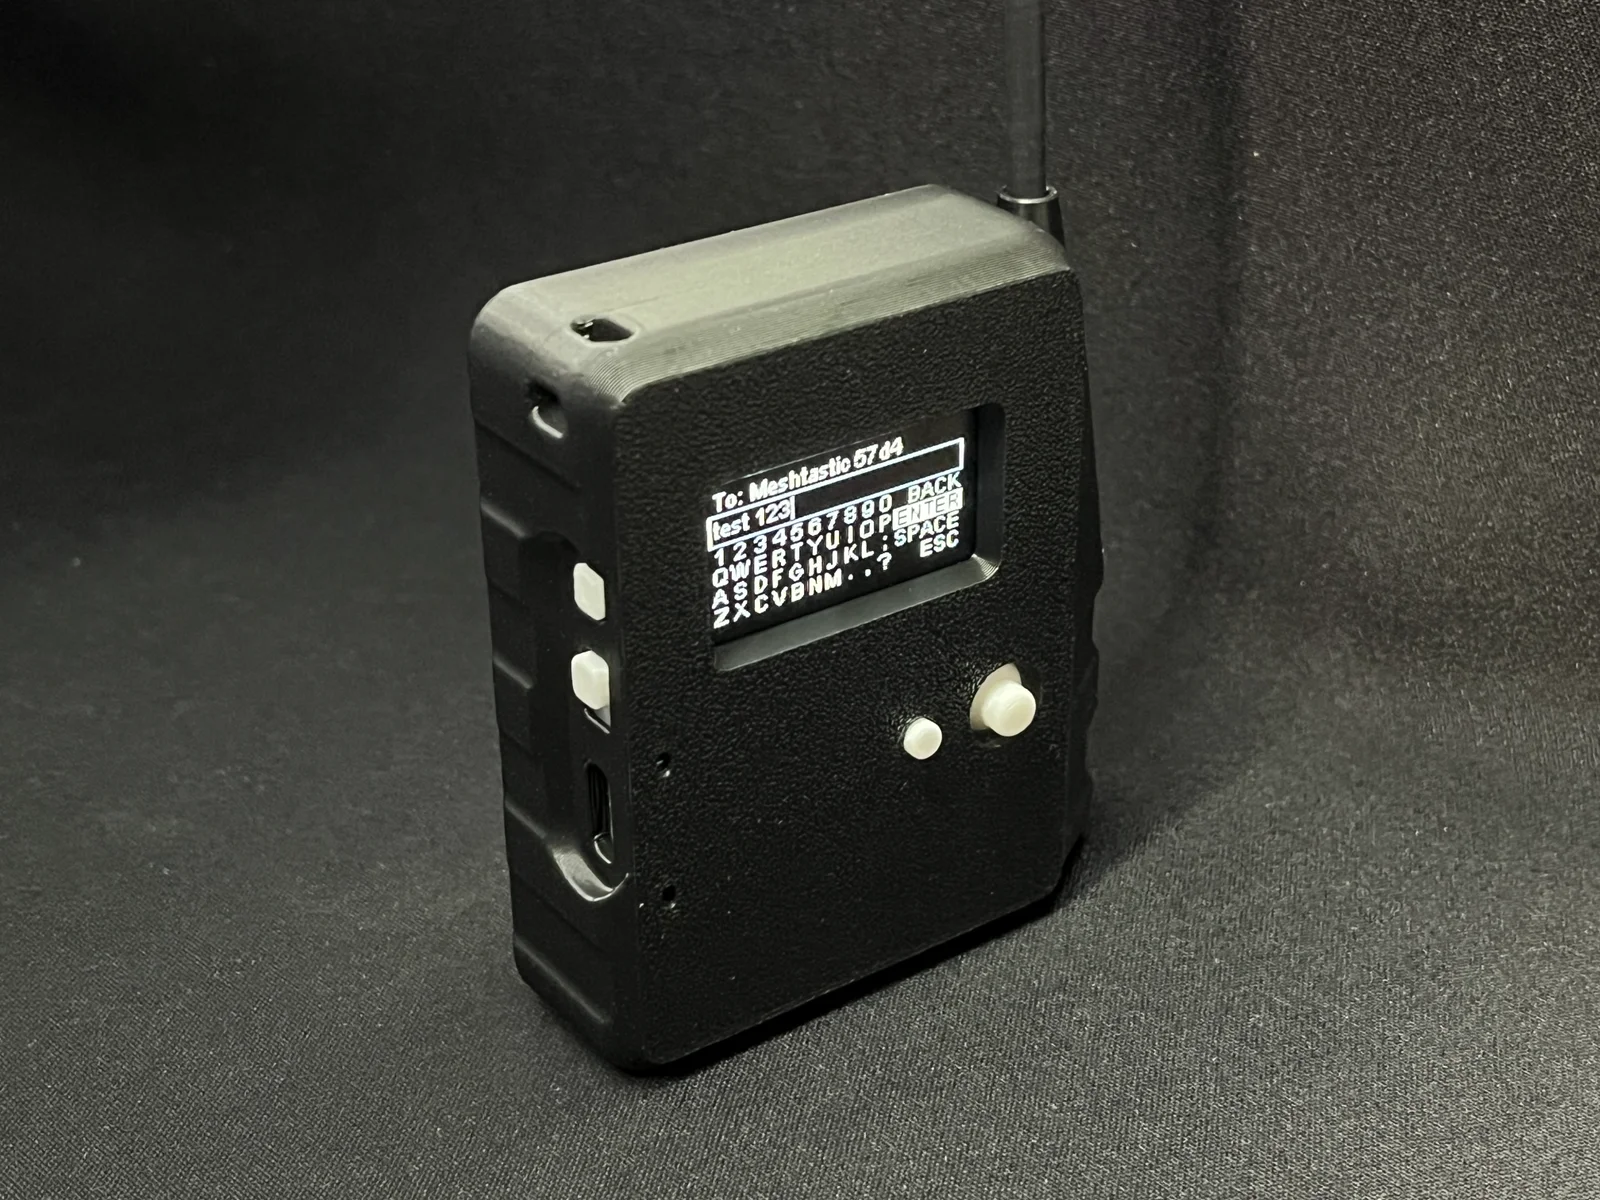
This is a case for the Wio Tracker L1 from Seeed Studio which can fit the Meshnology 3000mah 755060 battery. Makes a good standalone Meshtastic device with the new firmware which has the virtual keyboard.
Update 12/23/2025: Added extended version for longer and thicker batteries (up to 69mm long, 52mm wide, and 10mm thick). Untested, print at your own risk.
Parts used:
Seeed Wio Tracker L1 Development Board (with OLED display)
Meshnology 3000mah 755060 battery
Was included in the kit above
Should fit any battery smaller than 61mm*70mm*50mm as well.
Muzi Works 17cm whip antenna
Or any other antenna which is less than 10mm in diameter.
Get one with the appropriate frequency for your location
I bought: https://www.amazon.com/dp/B0D7D6866W
UFL1 to SMA Female cable
You will need an adapter like this one to use standard SMA Male antennas like the one above since the included adapter is UFL1 to SMA Male.
I bought: https://www.amazon.com/dp/B0C8LXZWNQ
3x M3 nuts
3x M3*10 socket head screws
4x M2*8 socket head screws
Double sided tape
Printing:
All parts are pre-oriented and print fine without supports.
Use 0.16mm layer height on all parts for best results. 0.2mm also works but does not look as nice on the steep angles.
3 versions of the joystick with different clearances are included because the fit can be pretty finicky.
A version of the front case which has 4mm*7mm holes for M3 heat set inserts is also included but is untested.
Assembly:
Poke out sacrificial support layer from all screw holes with small screwdriver bit or something
Insert M3 Nuts into their slots in the three corners.
Install GPS antenna into its slot with double sided tape.
Install the SMA to UFL1 cable into its hole.
Install the antenna onto the SMA connector.
Slide the joystick cover onto the joystick on the Wio Tracker L1
Slide the power switch cover onto the power switch on the Wio Tracker L1
Place the reset button and the front button into the front case
Hold the front case at an angle to keep the buttons from falling out and slide the Wio Tracker L1 in
Connect antenna cables to their ports on the Wio Tracker L1
Screw in the PCB cover and ensure that no antenna cables are pinched under it
Test the joystick to ensure that it works properly and is not stuck
Connect battery and secure it to the PCB cover with double sided tape
Ensure that the antenna is installed before doing this to avoid damaging the radio
Screw in the back of the case
Flash with the latest firmware
ByLecso_113752Likes76Downloads337

 ByckthLikes148Downloads2.4K

 BynasikLikes0Downloads274

 By3dwakeLikes0Downloads359

 ByftoerringLikes79Downloads187

 ByFosphorLikes20Downloads239

 ByDiscotehkLikes35Downloads156

 ByChimeraX_4255462Likes9Downloads70


 ByjoranLikes0Downloads213

 ByJaronLikes310Downloads1K

 Byw3rN42Likes127Downloads936