

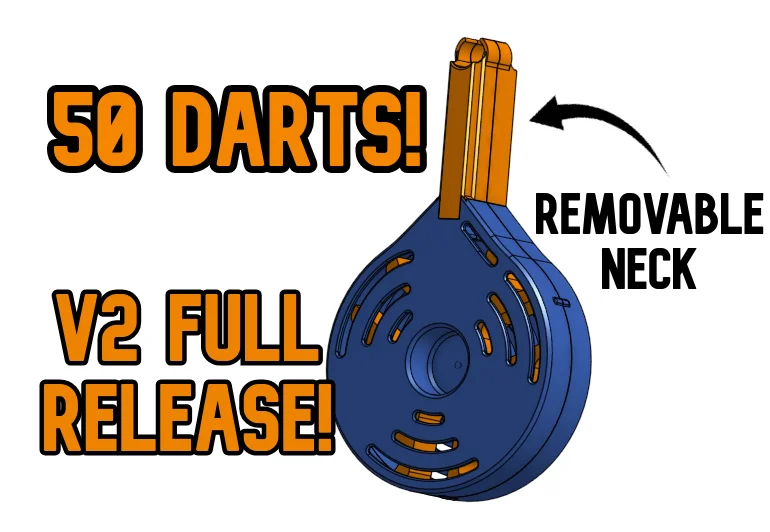
(V2 Full Release!) Overheat Drum - Drum Mag Talon 50 Round siêu đơn giản
Remix of Đáy và lò xo cho sure.t mag – băng đạn NERF half dart/Talon By Nick__Furry

- Downloads
- 747
- Likes
- 233
- Views
- 7,763
- Remixes
- 1
- Comments
- 0
Files 14 16.9 MB
- SSTM_V2.2_-_Front_Body_No_Text_1769823805.stlSTL · 2.8 MB
- SSTM_V2.2_-_Back_Body_No_Text_1769823808.stlSTL · 2.8 MB
- SSTM_V2.2_-_Front_Body_Text_1769823809.stlSTL · 2.9 MB
- SSTM_V2.2_-_Back_Body_Text_1769823810.stlSTL · 2.9 MB
Make a variant with AI
Build another version of this model.
Remix versions 1
See all 1 remix
Details
- Model ID
- #207550
- Category
- Đồ Chơi Khác
- Published
Description
Version 2 is now in FULL release!
Small Update 4/11/25 - Added an option for a follower lock key with a print-in-place key ring. Exciting update is coming soon…
Update 1/13/25 - Fixed a small generation error in the bottom text that caused a seam-like line to form. (Also rearranged folders)
Update 1/10/25 - (V2.2) Added option for text on the bottom, follower lock key to hold the follower in place while loading or not in use, and fixed the straight follower stopper yet again. (If you printed V2.1 Just cut the little knobs on the back follower off and it will work)
Update 1/8/25 - (V2.1)Changed the straight follower stopper to actually work🤦, made the neck connection stronger, and changed some tolerances.
Update 12/29/24 - Made new followers that don't need screws.
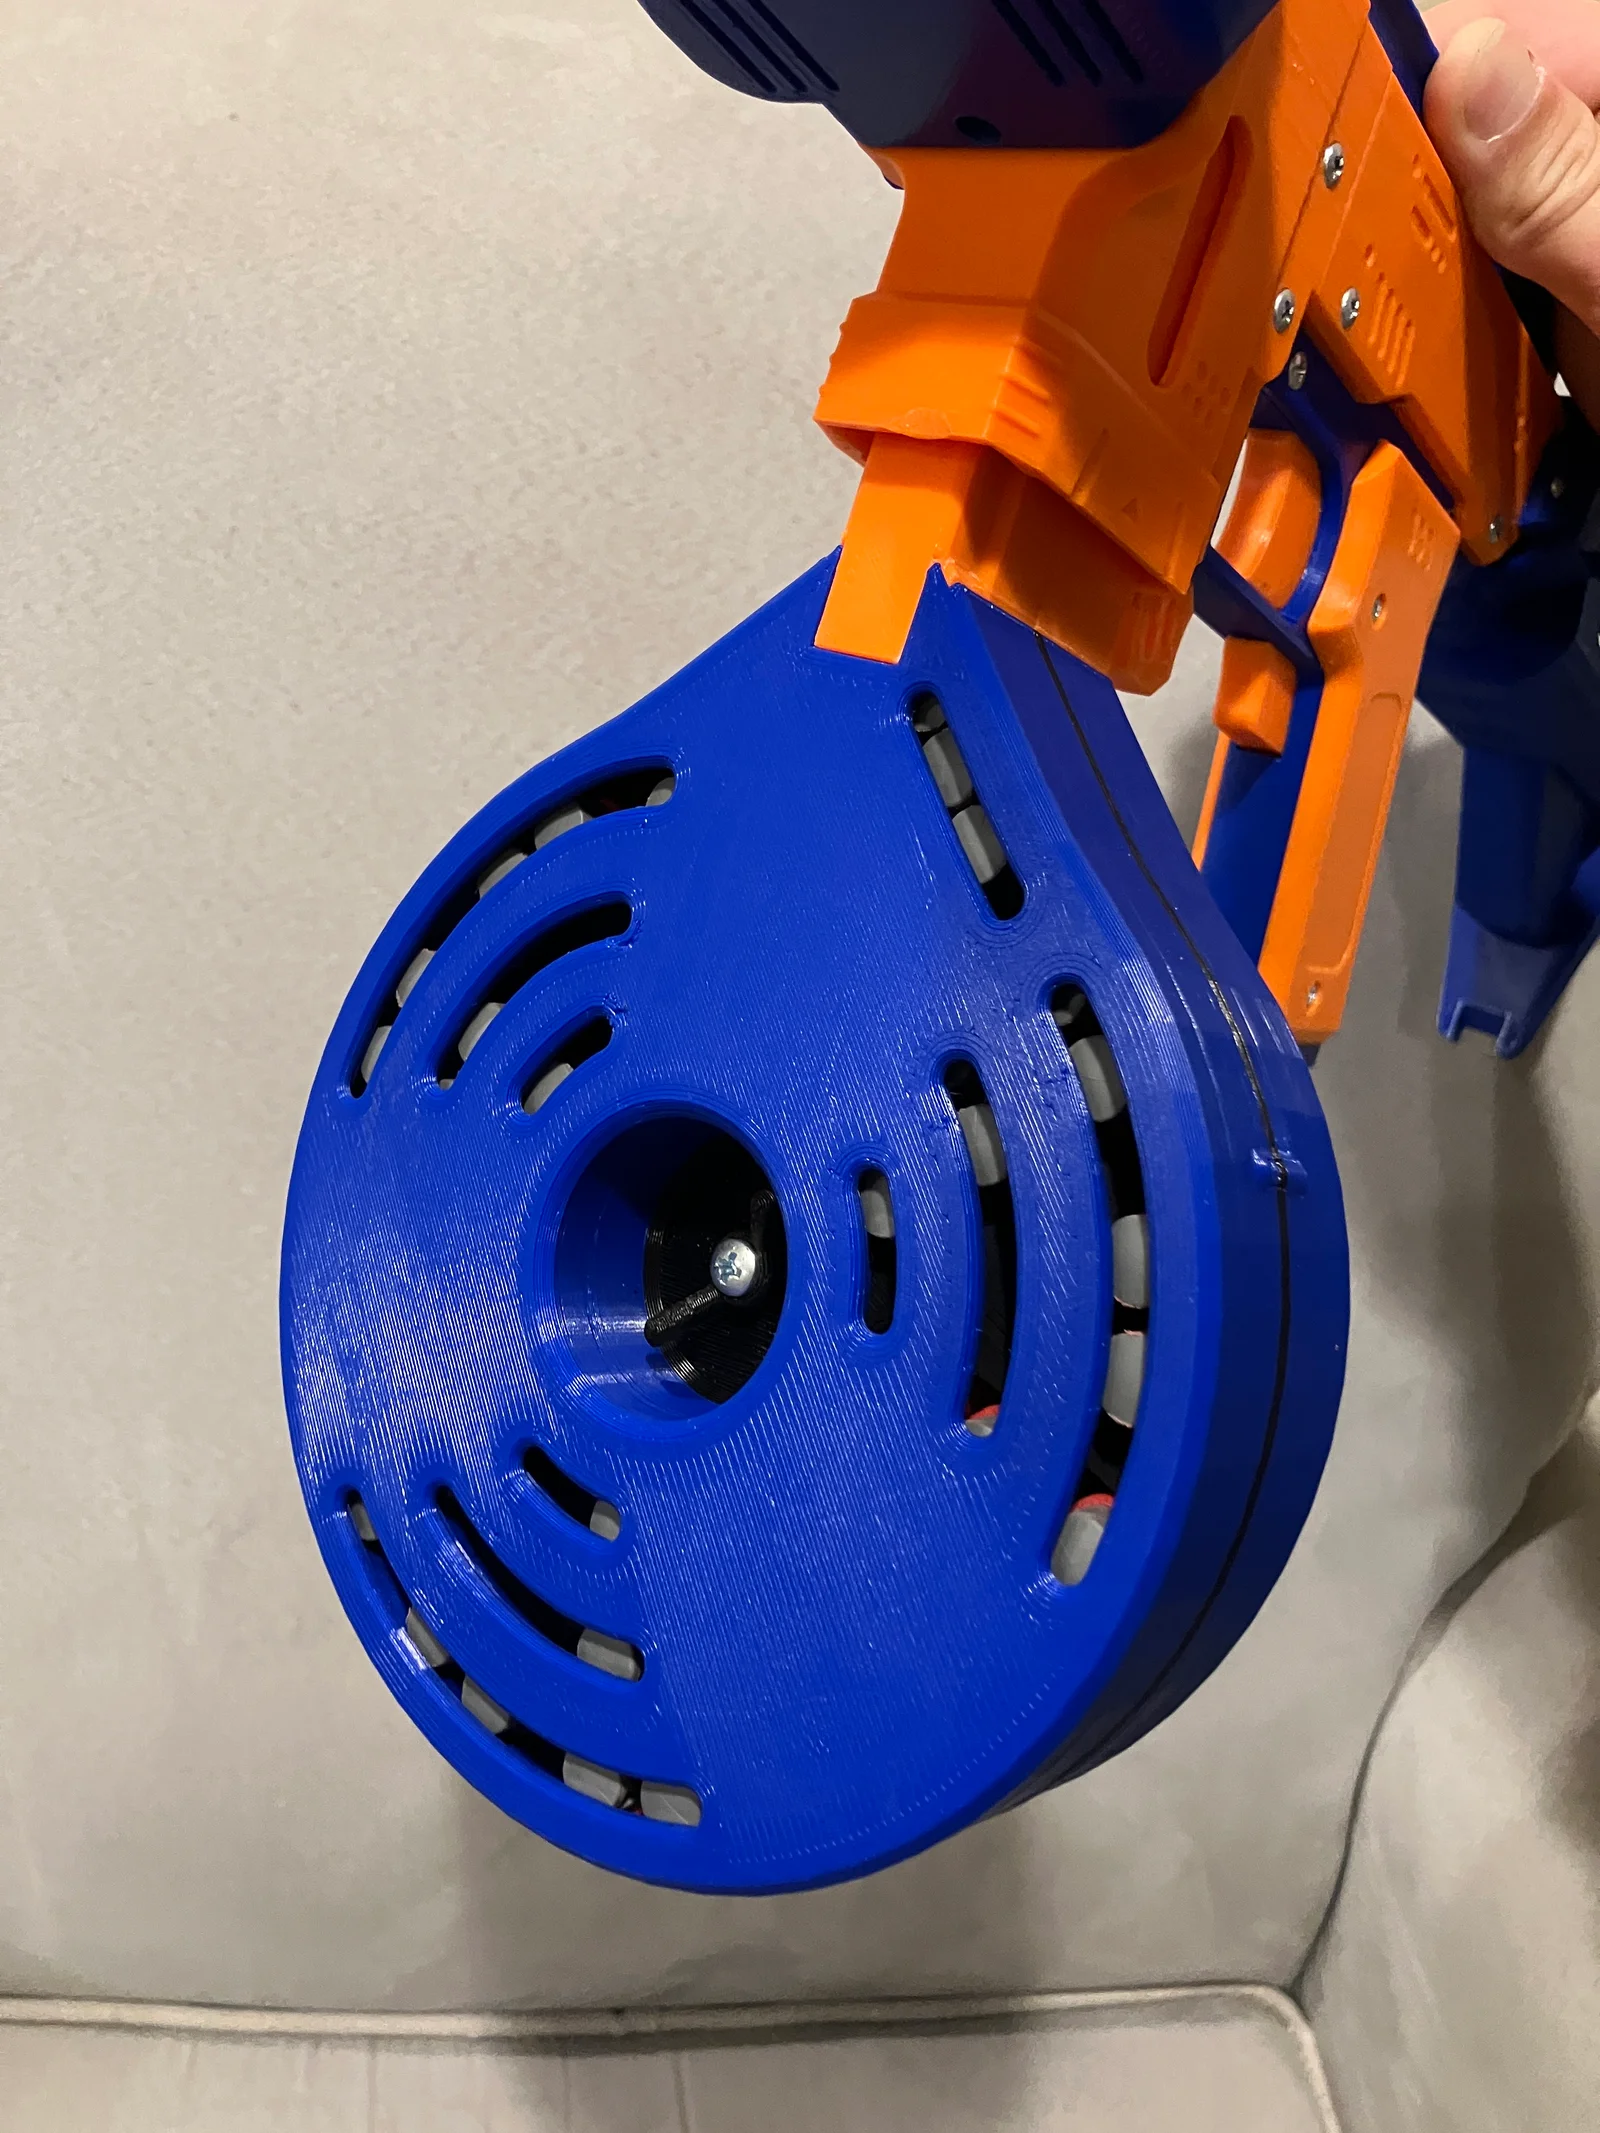
Introducing the Stupidly Simple 50-Dart Talon Mag or the Overheat Drum! As the name suggests, this is a straightforward 50-dart drum magazine designed for Talon-compatible mag wells. It is mainly 3D printed and requires an M4 screw and nut, a 608 bearing, 5x 2mm thick pins, and a clock spring. Despite its high capacity, reloading is a breeze - simply undo the thumbscrew, then effortlessly insert darts into the slots. I do plan on selling this, so if you don't have a 3D printer and you would like one of these, contact me, and I will make sure to get you the Etsy link once I have it. If a shop would be interested in selling them, you can contact me at [email protected]
Print your own belt holder for the Overheat drum here!
Instructions
Version 2:
- Redesigned the whole drum mag!
- Made the main follower taller
- Added space for a thumbscrew and replaced the other screws with pins
- Changed witness holes
- Made neck/row transitions smoother
- Now works with a weaker spring, saving your darts!
- Made the neck detachable allowing for one mag to work with multiple magwells!(It also fits on a smaller printer.)
It is now easier to make new mag necks! I have included a .step file of the neck base blank for you guys to put your favorite mag types on! Make sure to post it as a remix for others to use!
This model is still in testing so things may be subject to change and improvement. I have a long list of improvements/additions that I still want to make.
Printing
All parts can fit on a printer with a printable area of 155mm x 155mm. PLA works great but PETG or something similar would help with extra drop protection. Print with normal settings but add an extra perimeter or more infill. All print orientation is listed under each part. Supports should be enabled for the neck pieces.
(Make sure to measure from the top of your mag to the end of the magwell to make sure the mag fits. Longer necks will come soon.)
Assembly
Parts:
- 608 bearing
- 1x M4x18mm thumb or normal screw(You can 3D print a thumbscrew)
- 1x M4 nut
- 5x 2mm x 10mm metal pin
- 35mm x 6mm x 0.5mm Clock spring/Drill press return spring(This one works perfectly)
- Box spring(You can use this and 0.5mm music wire)
Full cost and BOM sheet here.
Main Follower:
- Start by placing the 608 bearing into the center hole of the Main Follower.
- Ensure it fits snugly and is fully pushed in.
- Place the 10mm pin into the hole on the Main Follower. (Super glue is suggested to hold the pin in)
Clock Spring Installation:
- Place the pin into the center of the outer end of the spring and flatten the end around the pin. Remove the pin from the spring.
- Cut the inner end of the spring to be shorter than 6mm and place that end into the slot on the Body Back.
- Now put the Main Follower into place, putting the pin into the outer end of the spring. (Some winding may be necessary) Make sure that the bearing fits tightly on the shaft as that will help when loading.
Straight Spring Attachment:
- Bend a U shape into both ends of your box spring
- Slide the ends of the talon springs into the straight followers.
- Slide the Neck pieces into their respective Body pieces.
Screw Installation:
- Place M4 nuts into the hex hole on the Body Back.
- Place 10mm long pins in the 4 holes on the Body Back and make sure the fit is tight.
- Make sure that the pins aren't very tight in the hole on the Body Front.
- Screw the Body pieces together with the M4x18mm thumbscrew in the middle.
Loading
Undo the screw and remove the Straight Spring. Wind the Main Follower back three-and-a-half rotations, then place the Straight Spring in the innermost section of the Main Follower. Insert the Follower Lock Key and fill all segments with darts. Once you have done that, put the other Body part on and screw it back together. When you want to use the drum, take out the follower key, and you are ready to go.
If you would like to support this project and future projects, consider buying me a coffee: buymeacoffee.com/ThompsonStudios
Reach me at [email protected]
Happy printing!
Print spec
- Formats
- stepstl
- Model files
- 14
- Total size
- 16.9 MB
- Largest file
- 2.9 MB