



Ke góc gia cố siêu bền Industrial Strength
 BySeppoTakaloLikes960Downloads1.9K
Build another version of this model.
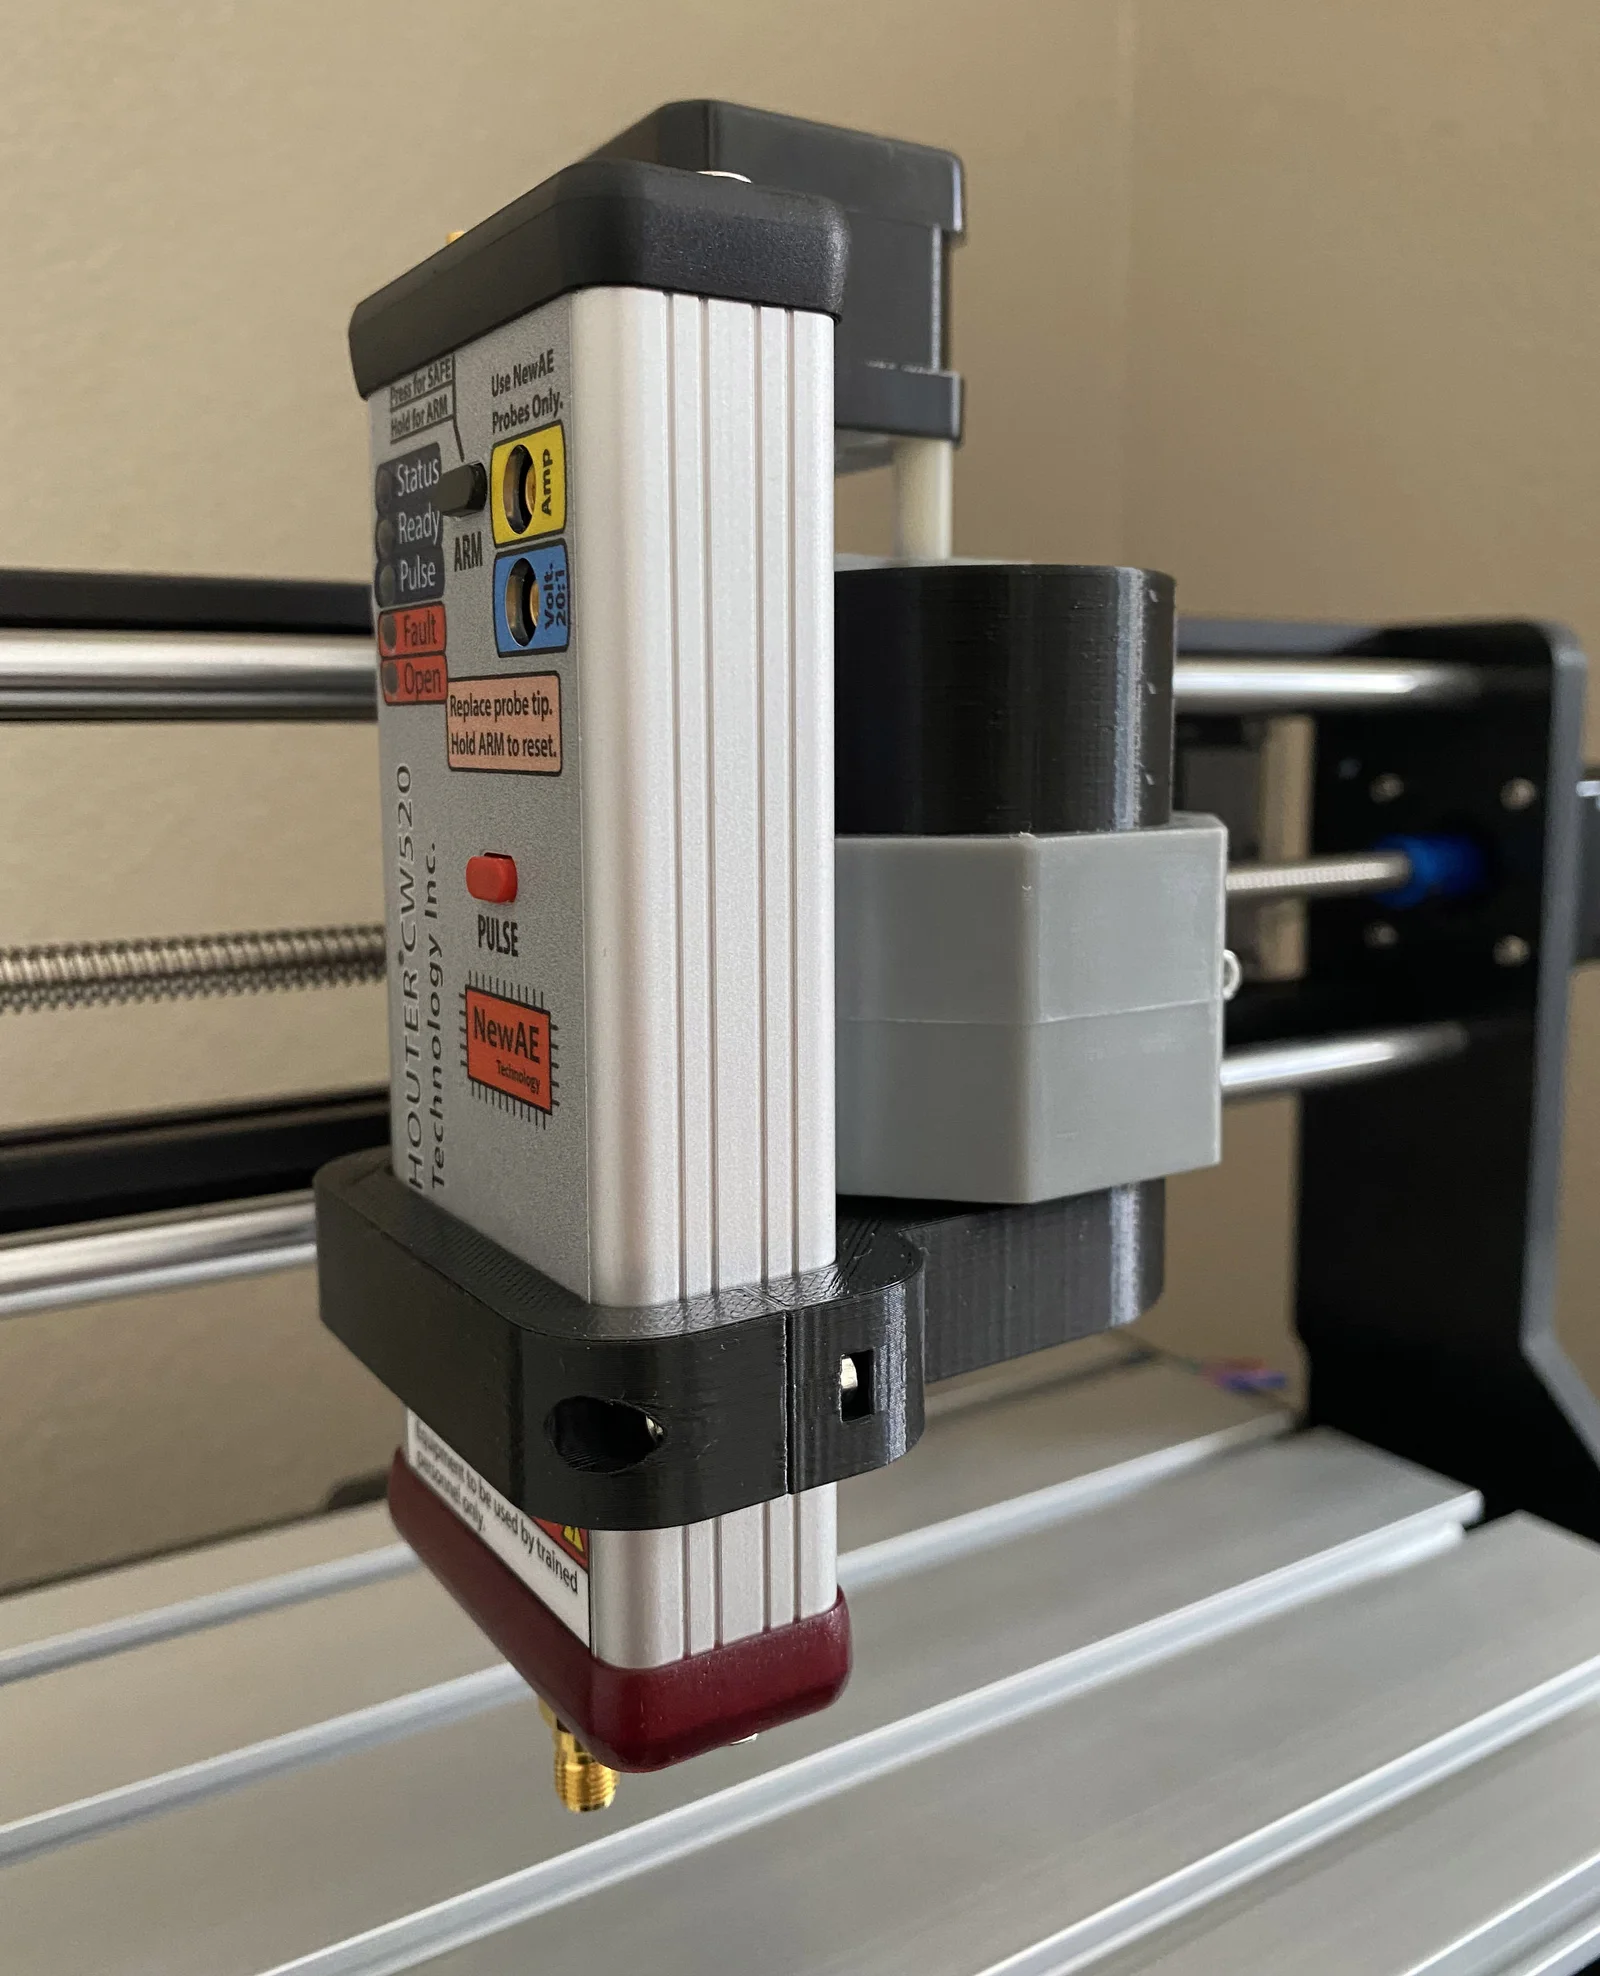
This is made for a CNC 3018 with ~42.5mm diameter spindle. If you have a different diameter please let me know I will happily adjust the model and add it.
Allows for a very flexible Z-axis rough adjustment:
You can insert the bracket into the spindle mount from the top or the bottom
There is about 25mm of play vertically for even more adjustment
You can tighten it on many different spots on ChipSHOUTER itself for even more Z-axis flexibility
Update 2026: Added a bracket for PicoEMP as well - uses the same hardware and also allows sliding PicoEMP up/down for more Z-axis adjustment
Hardware needed:
2x M3 x 16 screws
2x M3 nuts
The ChipSHOUTER clamp is just a little bit (~0.5mm) too short front-to-back so the two screws hold the body firmly in the clamp without leaving marks on the ChipSHOUTER.
The PicoEMP has ~1.25mm gap for the PCB while the PCB is about 1.5-1.6mm thick - you can use the M3 screws to both screw it to the spindle base as well as tighten the PicoEMP PCB.
Printed with no supports, 20% infill. Personally made this with PLA, plenty strong for the use.
Meanwhile I switched to PETG when making the PicoEMP bracket and printed with 0.15mm layers (screw holes are nicer) and 25% infill, no supports needed.
BySeppoTakaloLikes960Downloads1.9K

 Byrb_200934Likes48Downloads1.1K

 ByWolf_115355Likes513Downloads8.4K

 ByZED4EverLikes313Downloads5.2K

 ByfifindrLikes500Downloads4K

 ByVC_DesignLikes679Downloads3.6K

 ByKNIN_CustomLikes112Downloads433

 ByDan Schwartz SchwartzLikes744Downloads3.4K

 ByUpcrid3D_1585693Likes808Downloads2.1K

 ByWilko_SLOLikes935Downloads2K

 Bychubbs8697_2027893Likes585Downloads1.7K

 Byquibeck_3353173Likes965Downloads1.9K