



Đầu dò cảm biến lực tự chế giá $10 cho Ender 3
 ByBrokentooth_designsLikes17Downloads147
Build another version of this model.
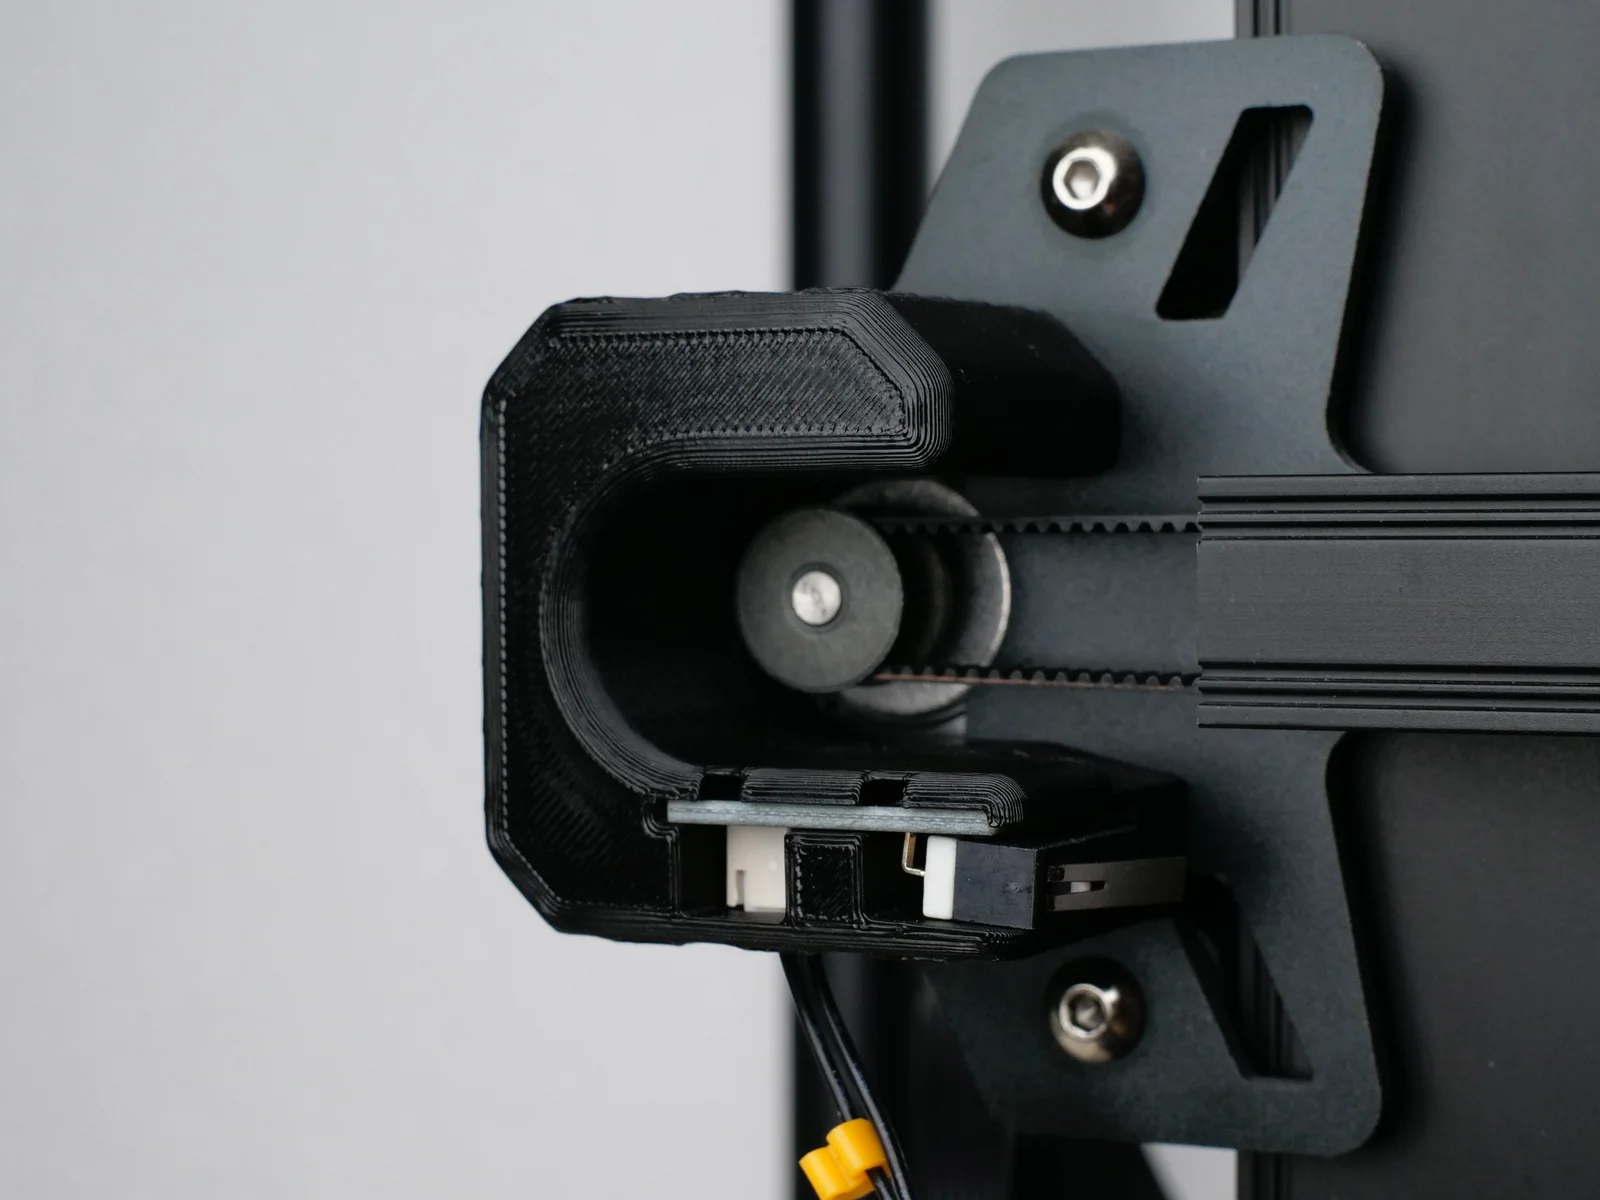
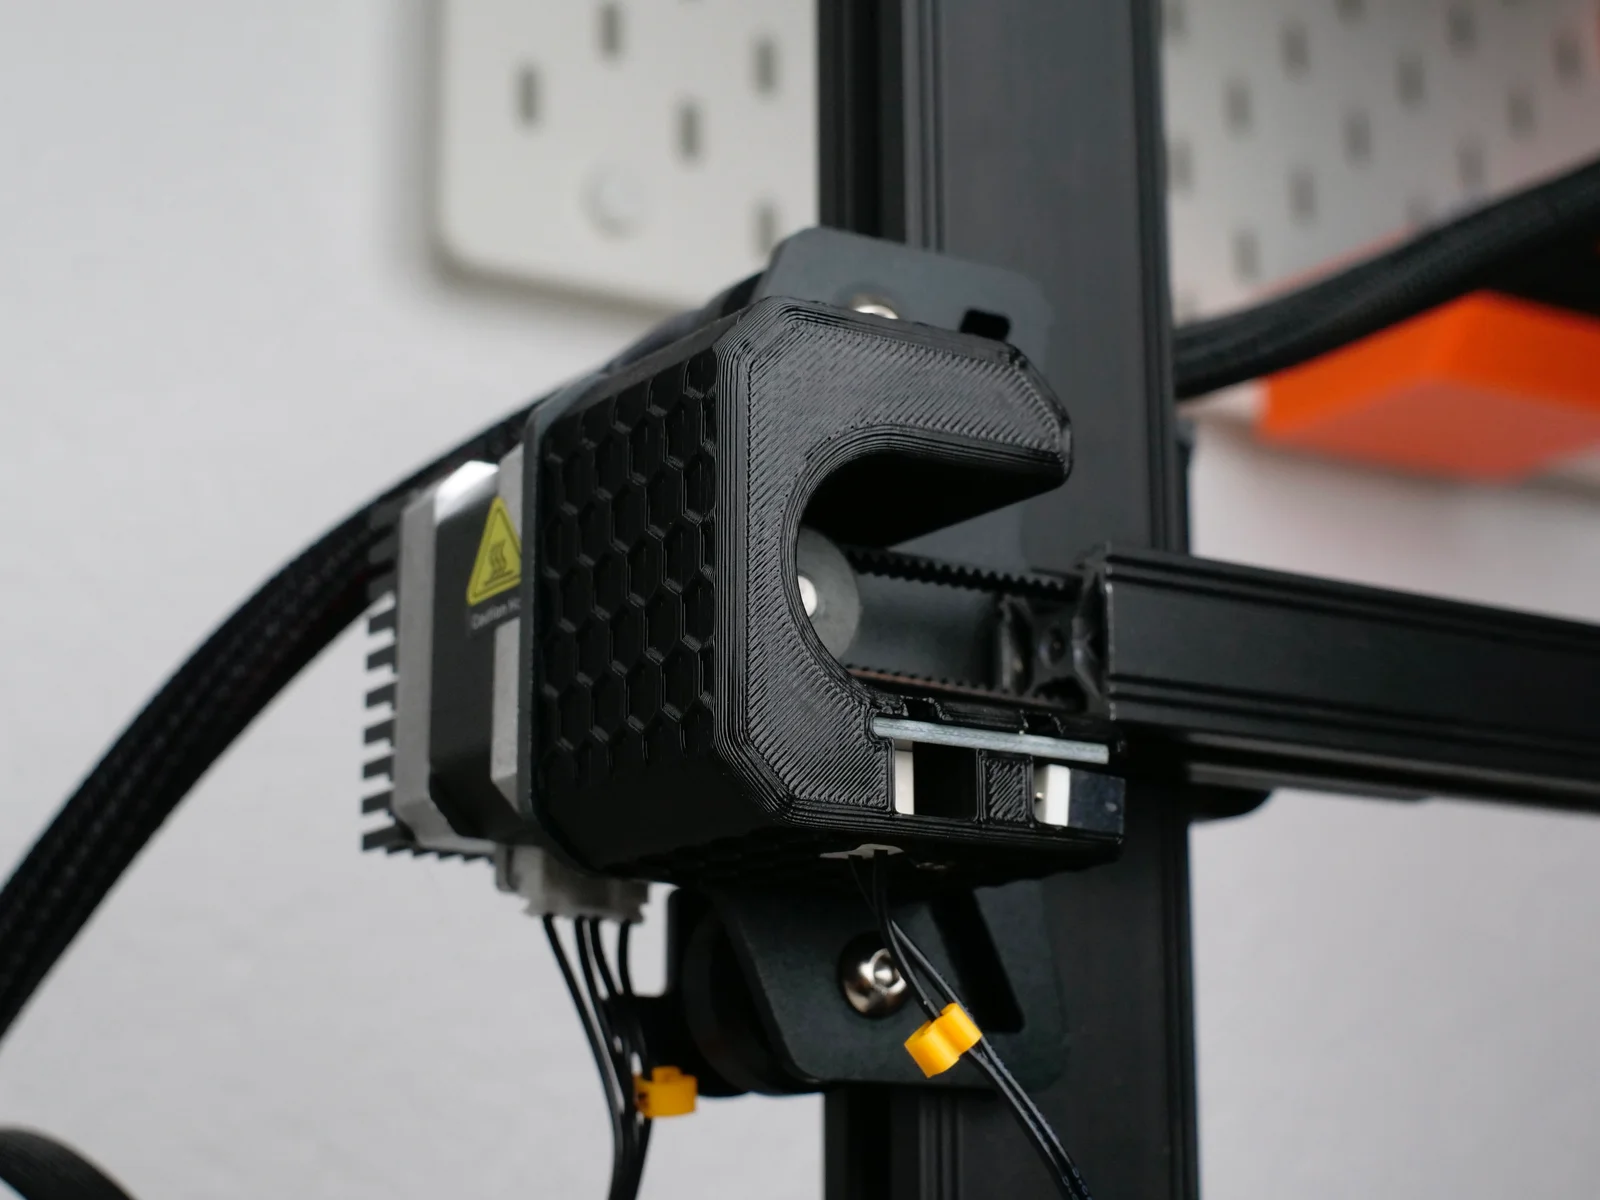
This is an improved X-axis endstop that increases the X-axis travel by a quite significant amount, that lets the user for example install a purge bucket or a nozzle brush on the left side of the bed. The new endstop also gives more visibility of the X-axis pulley and belt.
Print Settings
-PLA is fine
-0.2mm layer height
- 3 walls
-20% infill
Parts required
There are no additional parts required, all the parts except the original plastic shroud of the endstop will be reused.
Installation
-Remove both screws from the original endstop housing and remove the endstop housing from the printer
-unplug the cable and remove the microswitch from the housing
- install the microswitch into the new housing and slightly clamp it down with one of the screws you removed previously (be careful to not overtighten it)
-Plug in the cable of the microswitch
-Install the housing on the printer using the second screw we removed previously
-We're done with the installation!
Firmware
I have solely used this upgrade with the Rogue Orbiter Toolhead (Really good toolhead btw), but it will work with other toolheads as well, as long as the default backplate of the toolhead is used. You will have to find out the endstop position, max position and min position on your own though.
My Firmware config for the Rogue Orbiter:
position_endstop: -10
position_max: 249
position_min: -10
ByBrokentooth_designsLikes17Downloads147

 Bytinx_1344834Likes1.2KDownloads6K

 BynozeLikes0Downloads133

 Byprusa-researchLikes0Downloads2.7K

 Byarhi_585078Likes64Downloads542

 BykingnothingLikes0Downloads181

 Bygafyx3dLikes0Downloads121

 ByHanzo3dLikes155Downloads415

 BydarienLikes0Downloads1K

 Byds-printsLikes0Downloads352

 ByGeek5DLikes147Downloads487

 Byla-cave-au-chatLikes0Downloads967