



New
Pocket-Size Third Hand Mini Spring Loaded Vise
 ByrjunLikes0Downloads297
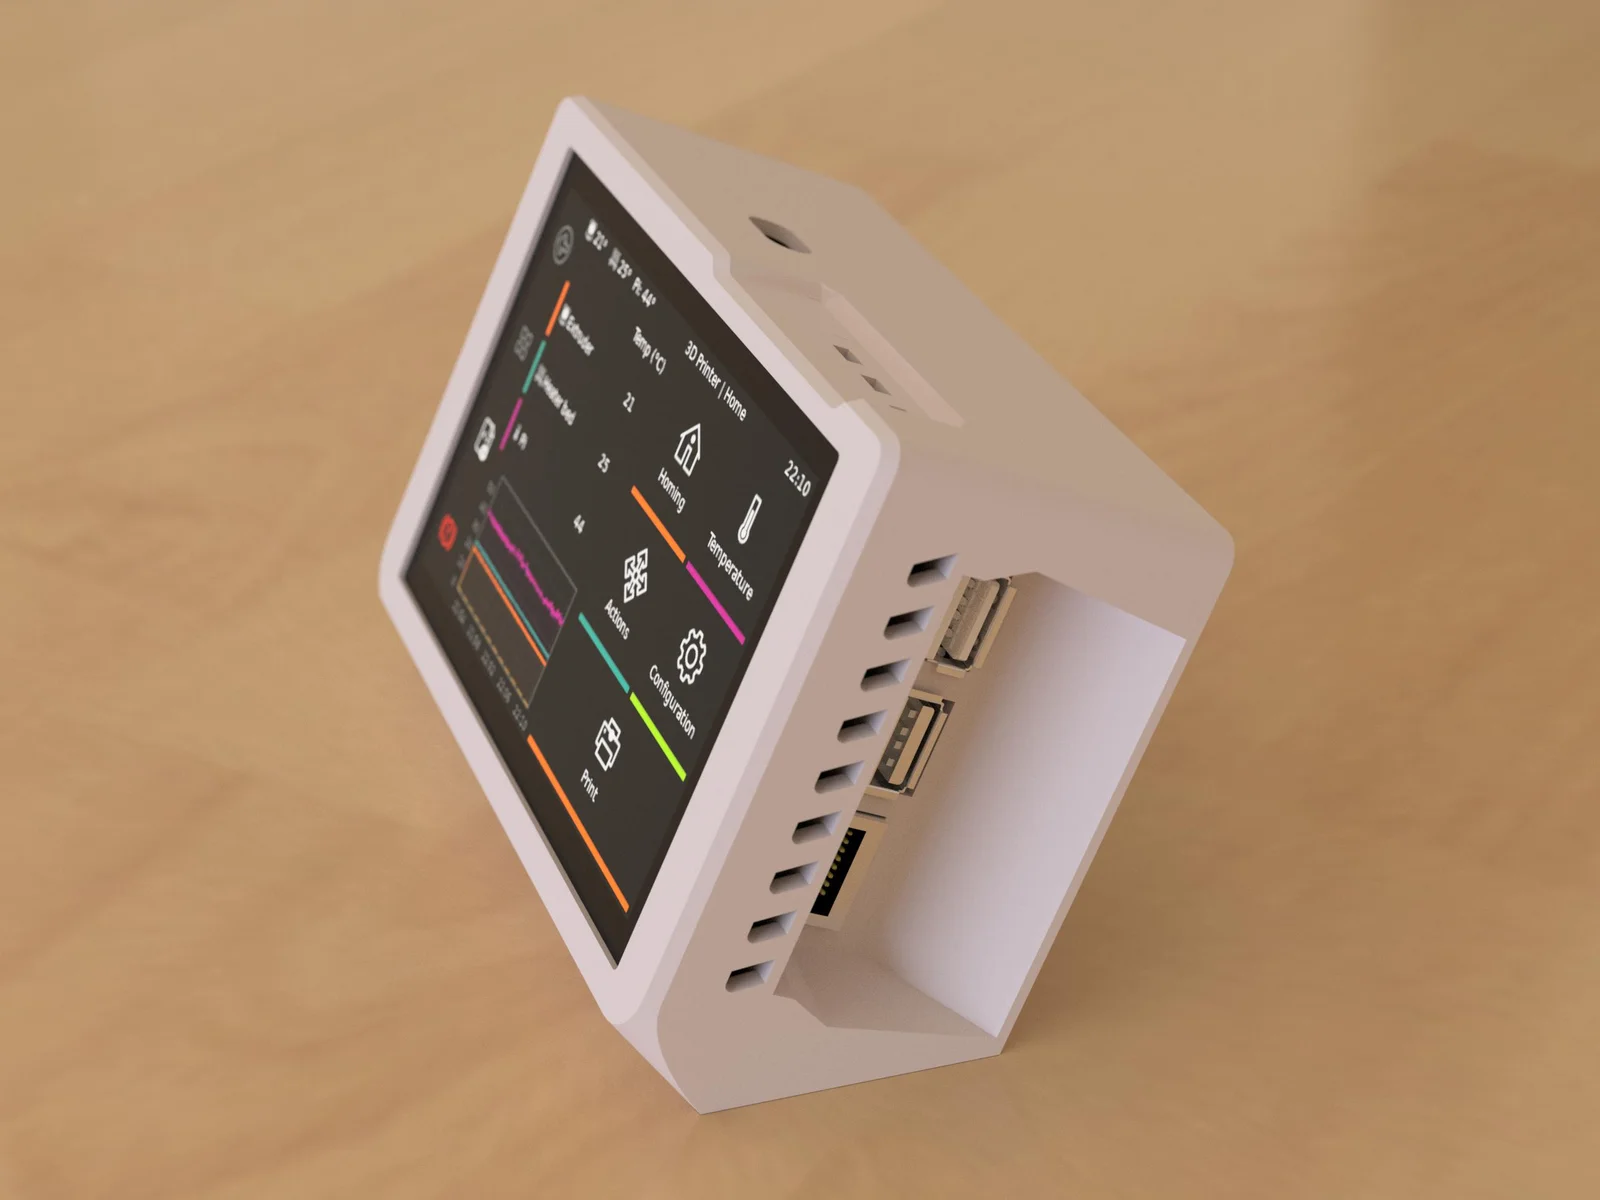
Remix of Vỏ Raspberry Pi Model 4 kèm màn BTT TFT50 (2.0, 2.1) có ống dẫn gió By ShinobuTezuka_753055
Build another version of this model.
untested (Once beyond prototype stage STL will be released for free)
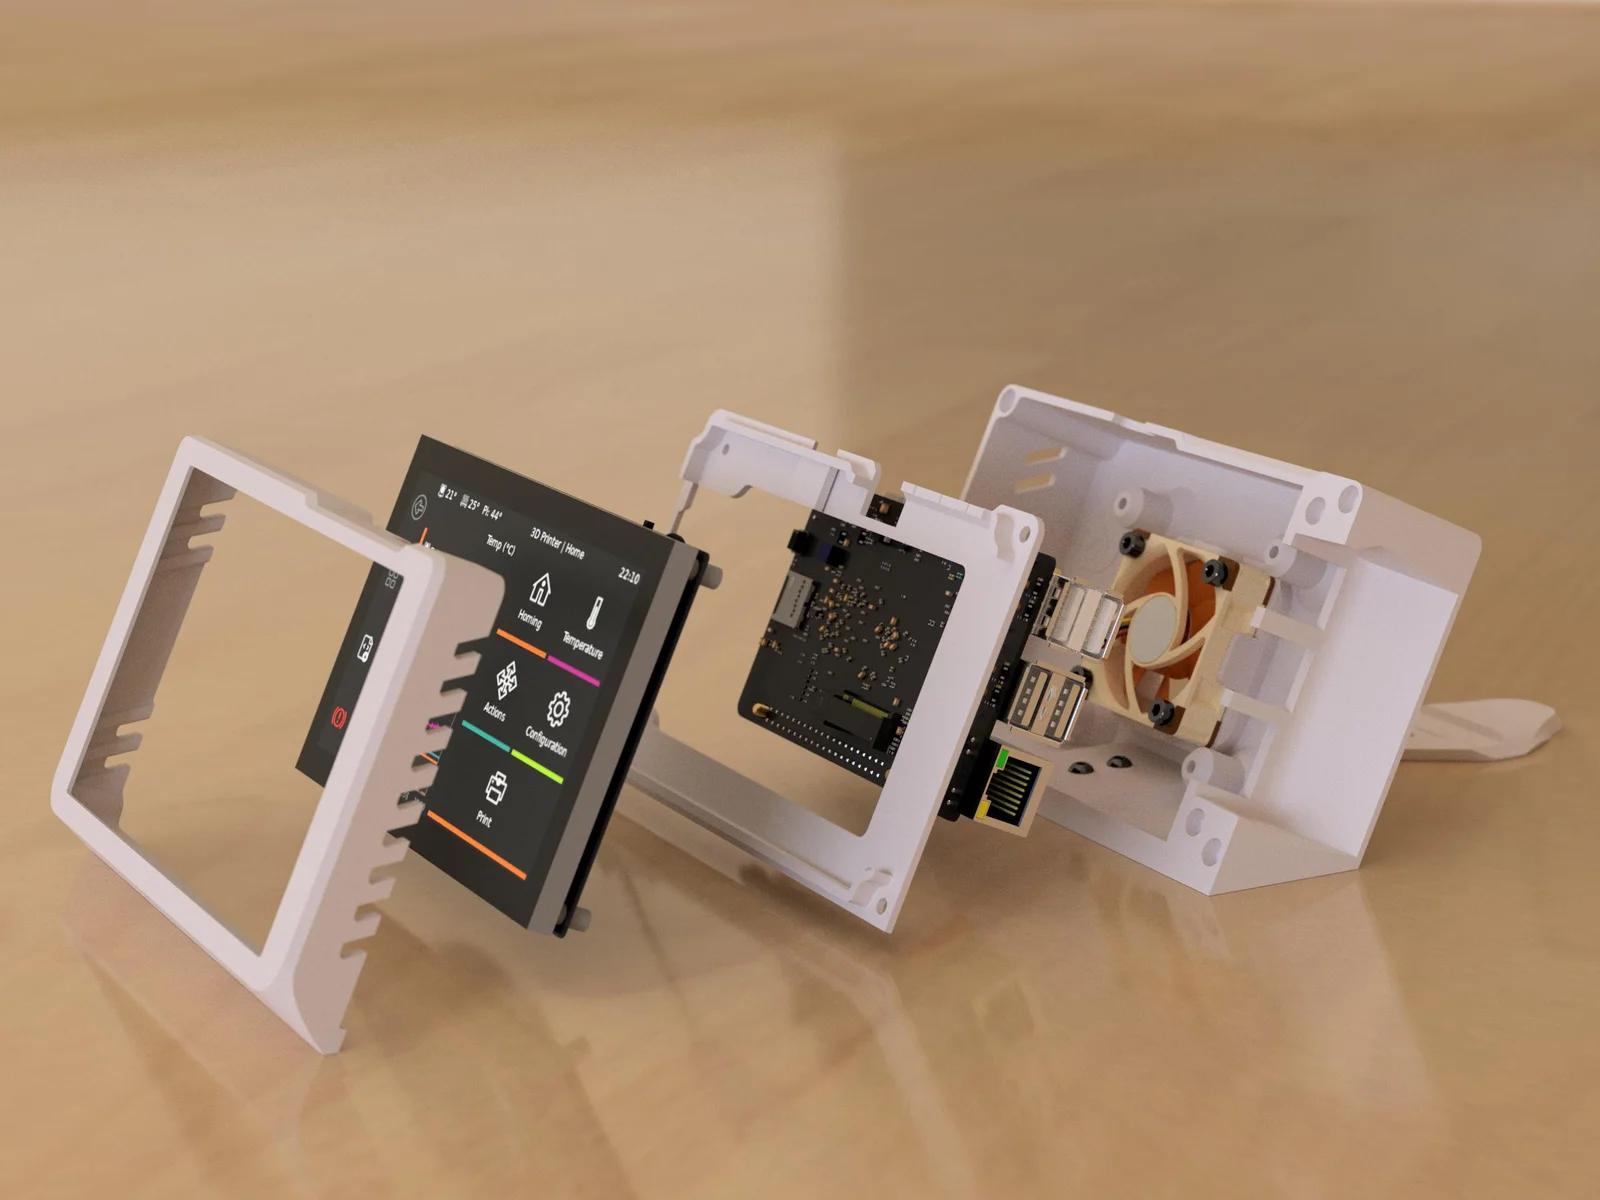
Four M2.5 screws (unknown length, likely M2.5x6 or so )
Four M3x6 to M3x12 (sandwiched piece)
Two M3x8 (maybe M3x6) (rear case)
Two M3x6 (foot)
Four M3x12 (fan)
Four M3x17 standoff (supposedly included with screen)
5v fan - 4010
- add screen to frame
- add the sandwiched printed piece
- secure the screen with screws (M2.5)
- add ribbon cable
- secure the sandwiched printed piece to the front case with M3 screws (M3x6 to M3x12)
- add pi and secure to the screen using the 17mm M2.5 standoff as screws
- connect ribbon to pi video connector.
- route the USB C power port now as it may be easier than later (plus the USB C connector may actually not fit through the hole once closed)
- if you want the rear foot, install it now, and secured with two M3x6 from inside the rear case (but check as it may possibly stay in place without screws)
- install 5v fan, secure with M3x12 screws, and wire it to GPIO
- carefully place the rear case and secure with 4 middle screws M3x8 (if that doesn't work, try M3x6)
ByrjunLikes0Downloads297

 ByleonicLikes0Downloads1.4K

 ByZED4EverLikes313Downloads5.2K

 ByVC_DesignLikes271Downloads753

 ByfifindrLikes500Downloads4K

 Bymrfixit_324954Likes65Downloads475

 Bylab-96Likes0Downloads104

 ByDan Schwartz SchwartzLikes744Downloads3.4K

 ByBrokentooth_designsLikes83Downloads450

 Byvc-designLikes0Downloads3.2K

 ByUpcrid3D_1585693Likes808Downloads2.1K

 ByAdam Záhořák ZáhořákLikes39Downloads258