

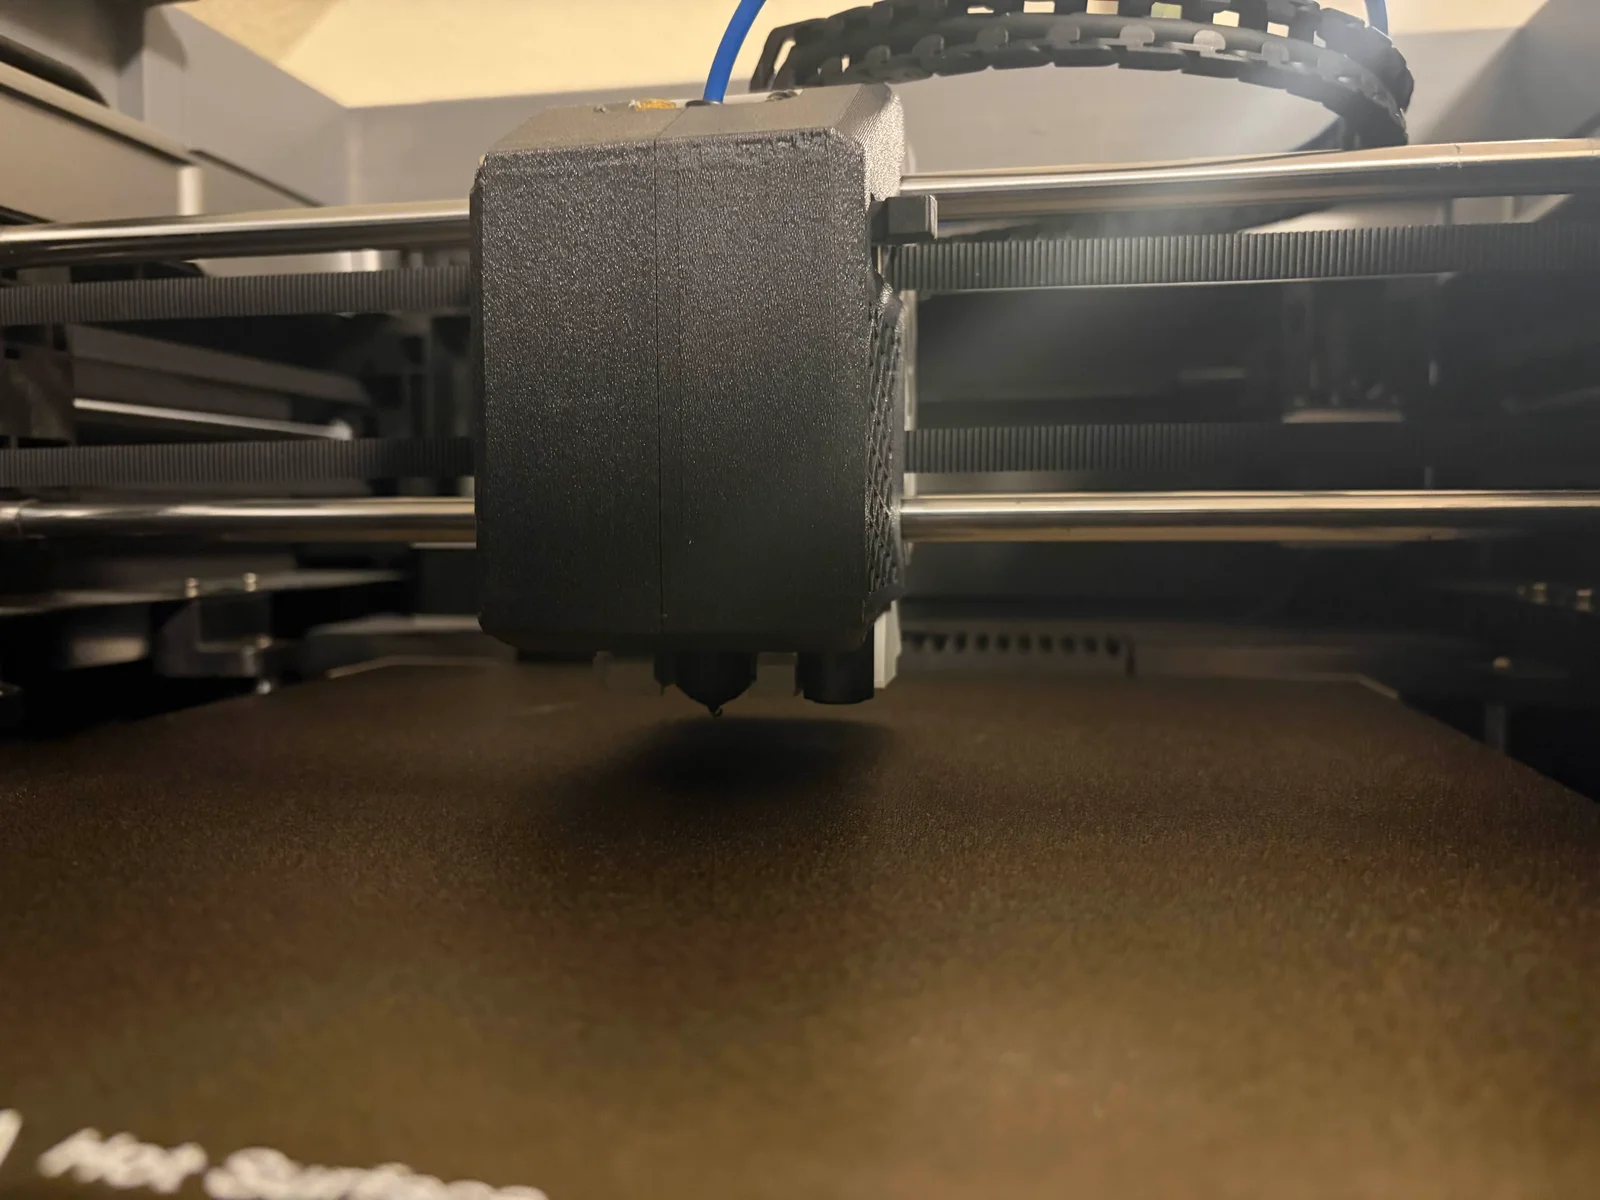
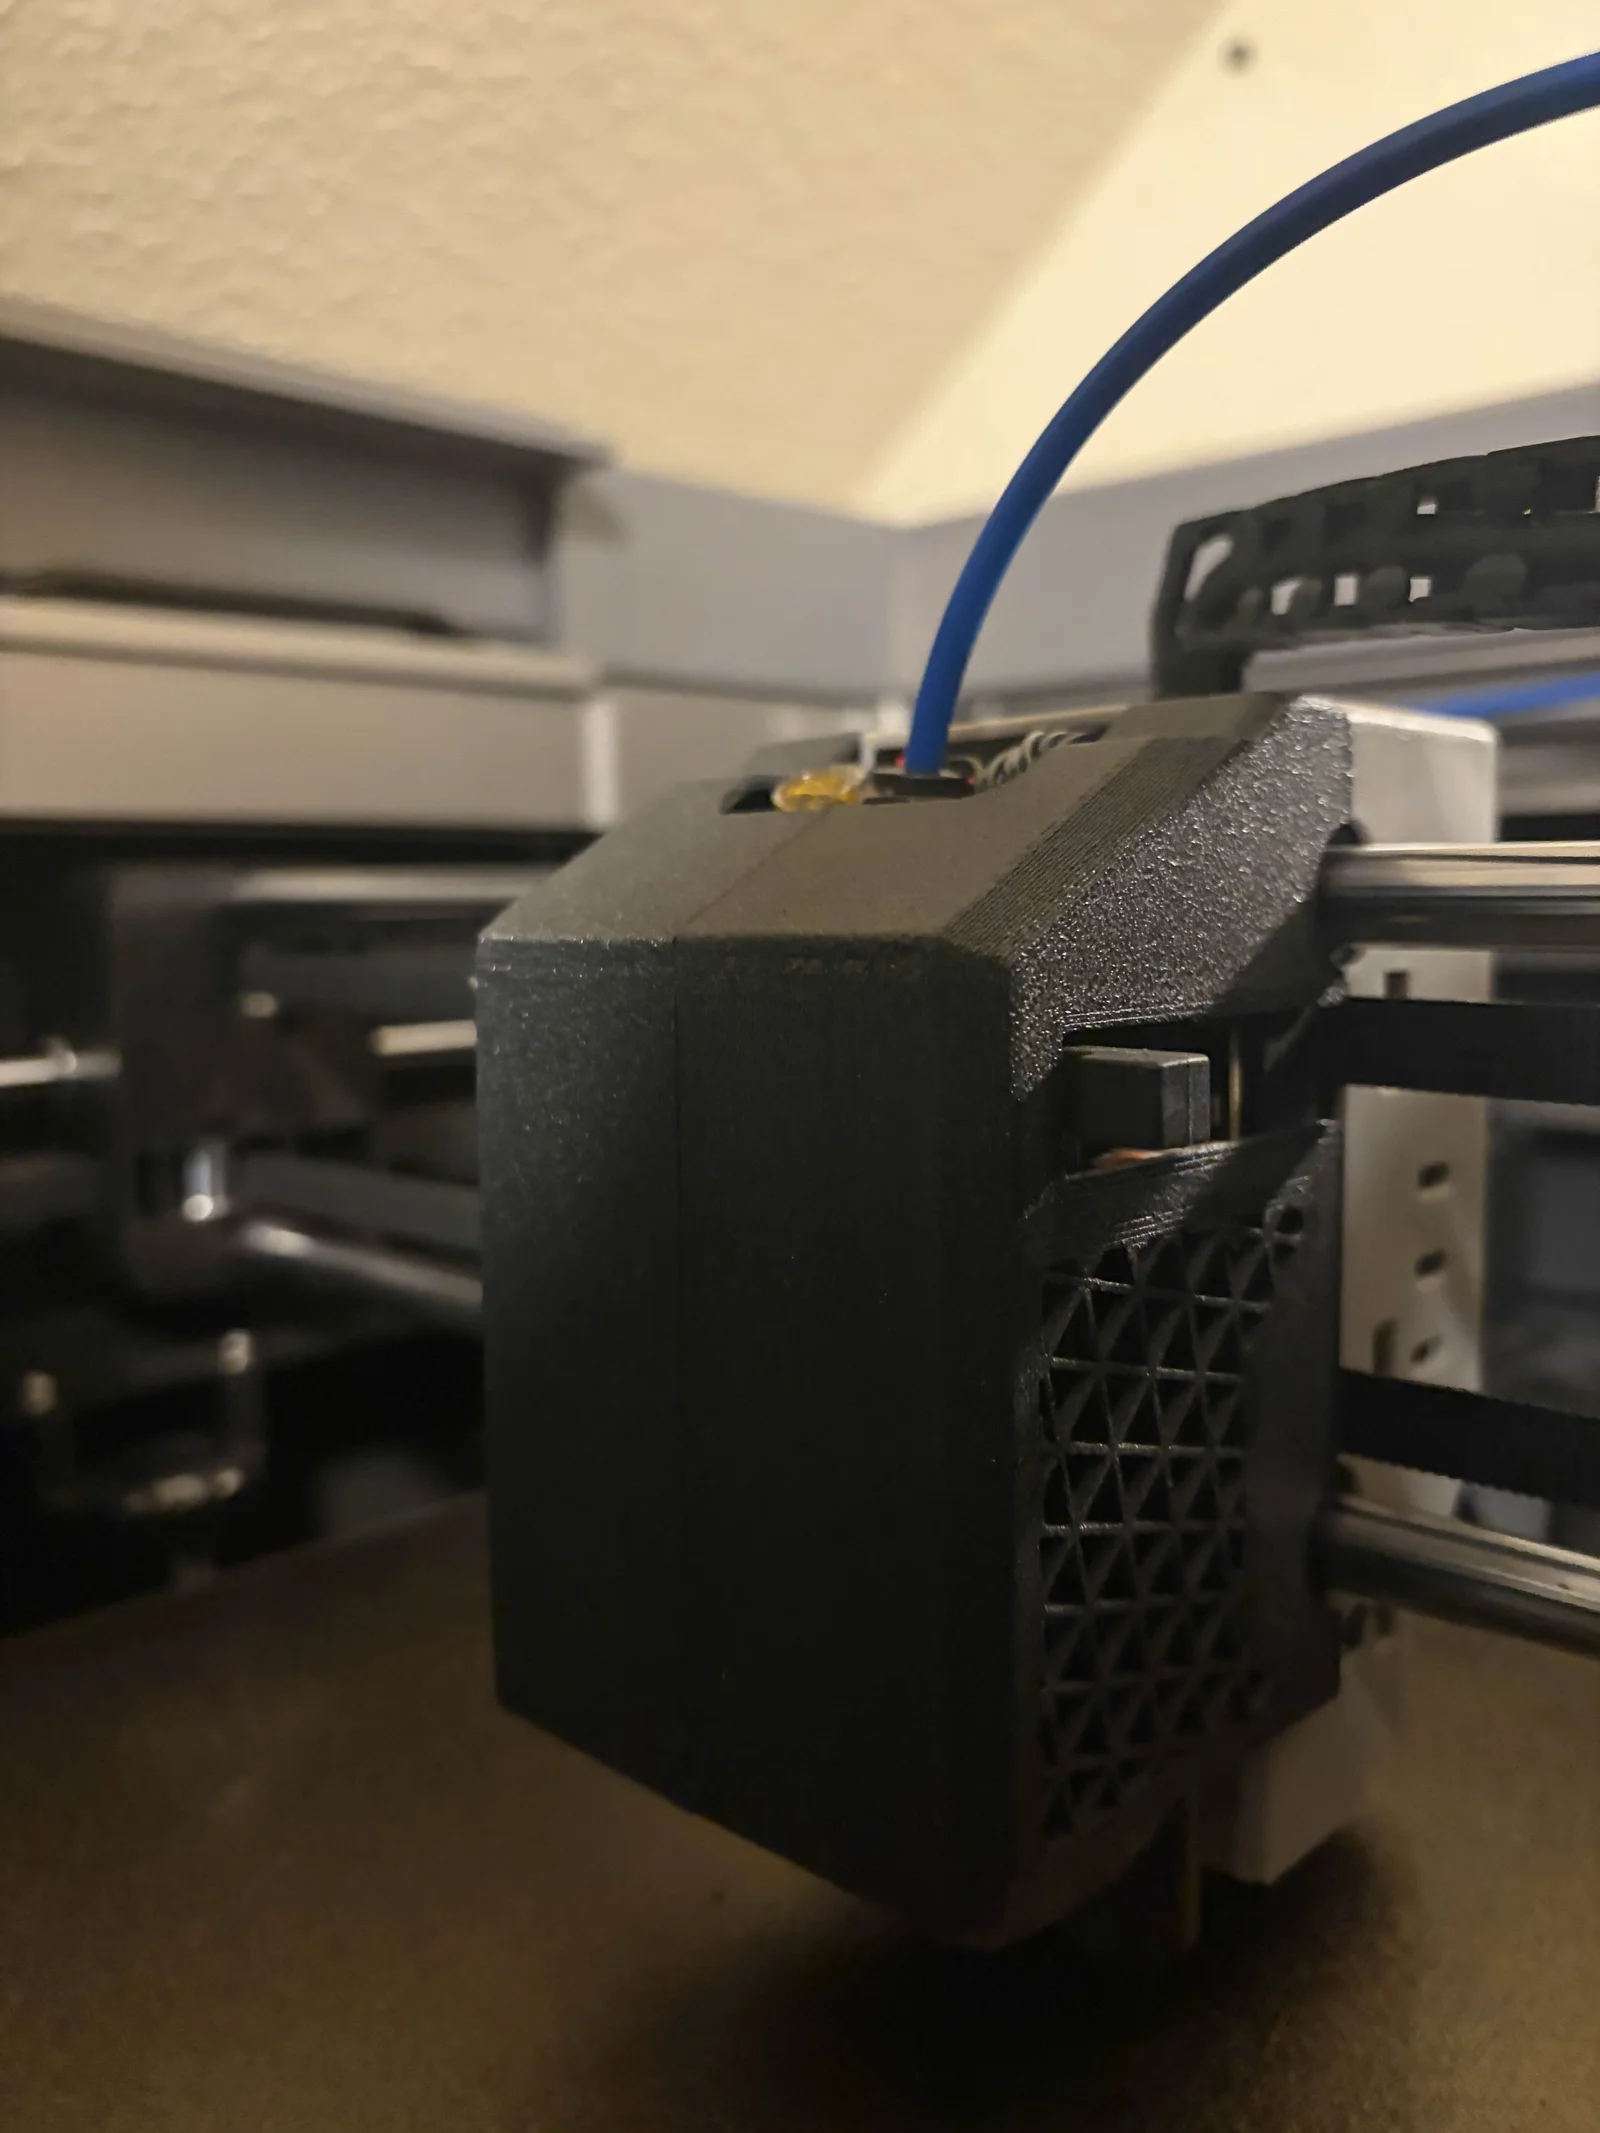


Đầu dò cảm biến lực tự chế giá $10 cho Ender 3
 ByBrokentooth_designsLikes17Downloads147
Build another version of this model.
ABS / ASA ~50g including supports. (Or any material that has comparable or better mechanical strength and thermal resistance.)
3x M3x3.0 short brass threaded inserts. (Not affiliated: https://cnckitchen.store/products/heat-set-insert-m3-x-3-short-version-100-pieces)
1x m3x10 hex bolt.
2x m3x40 hex bolt.
2x ⌀4x3mm neodymium round magnets.
2pin connector 1x male and 1x female. (If you want to completely remove the tool head cover for maintenance)
4010 fan. Ideally a 24v fan. (I highly recommend reusing the fan from the motherboard cooling if you also do this upgrade:
When importing the files make sure to assemble all parts from 1 file for both A and B. Also change the parts' type to modifier as shown in yellow in the picture below.
3 walls for 0.4mm nozzle or 2 walls for 0.6mm nozzle.
Supports: Auto Tree.
Ventilation grills:
2 walls.
0 top and bottom layers.
Any "2D" infill pattern like: grid, triangles or hexagons. Not "3D" Patterns like: cubic or gyroid.
Disable "Only one wall on top surface"
Remove all support material.
Heat your soldering iron or heated insert press tool to the recommended print temperature of the filament used.
Insert the threaded inserts as shown in the pictures.
Insert the magnets as shown.
Slide in the fan from the inside top and make sure the cable is facing up and is not pinched. Then press it down into the slot until the holes of the fan align with the holes of the printed part.
Use the M3x10 bolt to secure the fan in place. Make sure to tighten it finger tight.
Now use the 2m3x40 to connect the 2 half's together. Also tighten these finger tight.
Connect the fan to the tool head and place the new cover on the printer just like the original cover. Dubble check that the fan cable is not touching the hotend or the extruder gears.
Happy printing!
ByBrokentooth_designsLikes17Downloads147

 Bytinx_1344834Likes1.2KDownloads6K

 Byprusa-researchLikes0Downloads2.7K

 ByLoJ_3055128Likes0Downloads11


 Byarhi_585078Likes64Downloads542

 BykingnothingLikes0Downloads181

 Bynamida-verascheLikes0Downloads148

 ByHanzo3dLikes155Downloads415

 BydarienLikes0Downloads1K

 ByGeek5DLikes147Downloads485

 BynozeLikes0Downloads133