



Kẹp giữ sợi Filament
 Bytinx_1344834Likes1.2KDownloads6K
Remix of Voron V0 – Bản lề cho rear panel (hinged rear panel) By SchlongkyDong
Build another version of this model.
 Tay nắm MMU cho tấm bảng điều khiển phía sau Voron V0Byserverlicious_505161 · 05/02/2026
 Cửa Sau Thoáng (Vented) cho Voron 0.2ByMauroGalperin · 01/06/2026
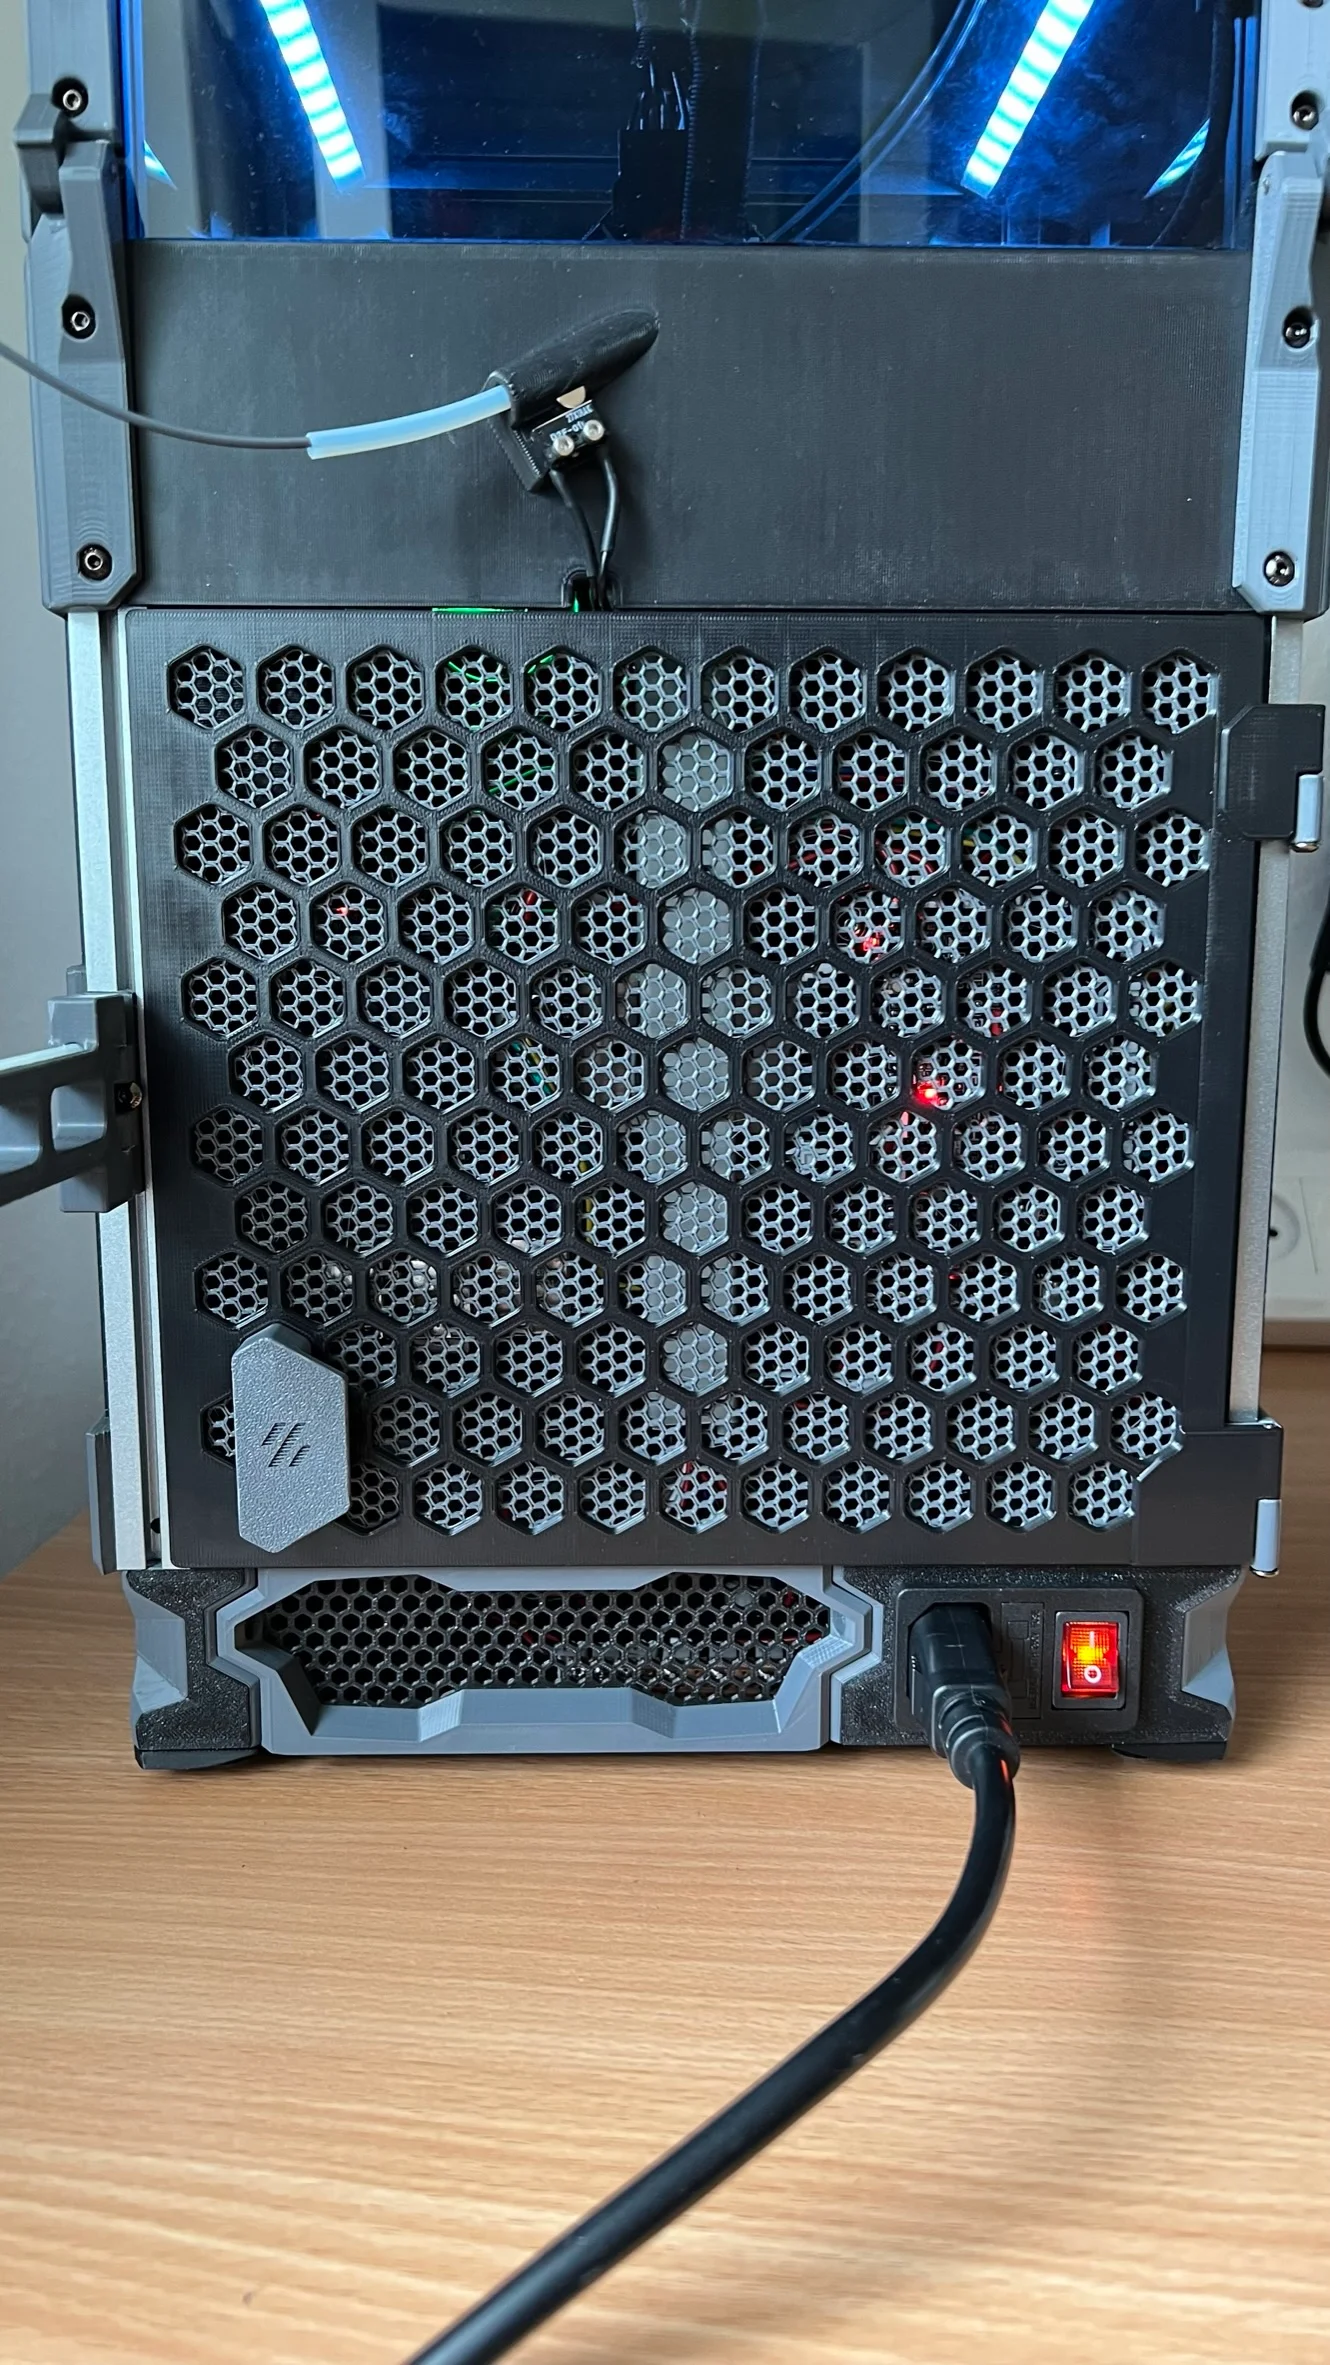
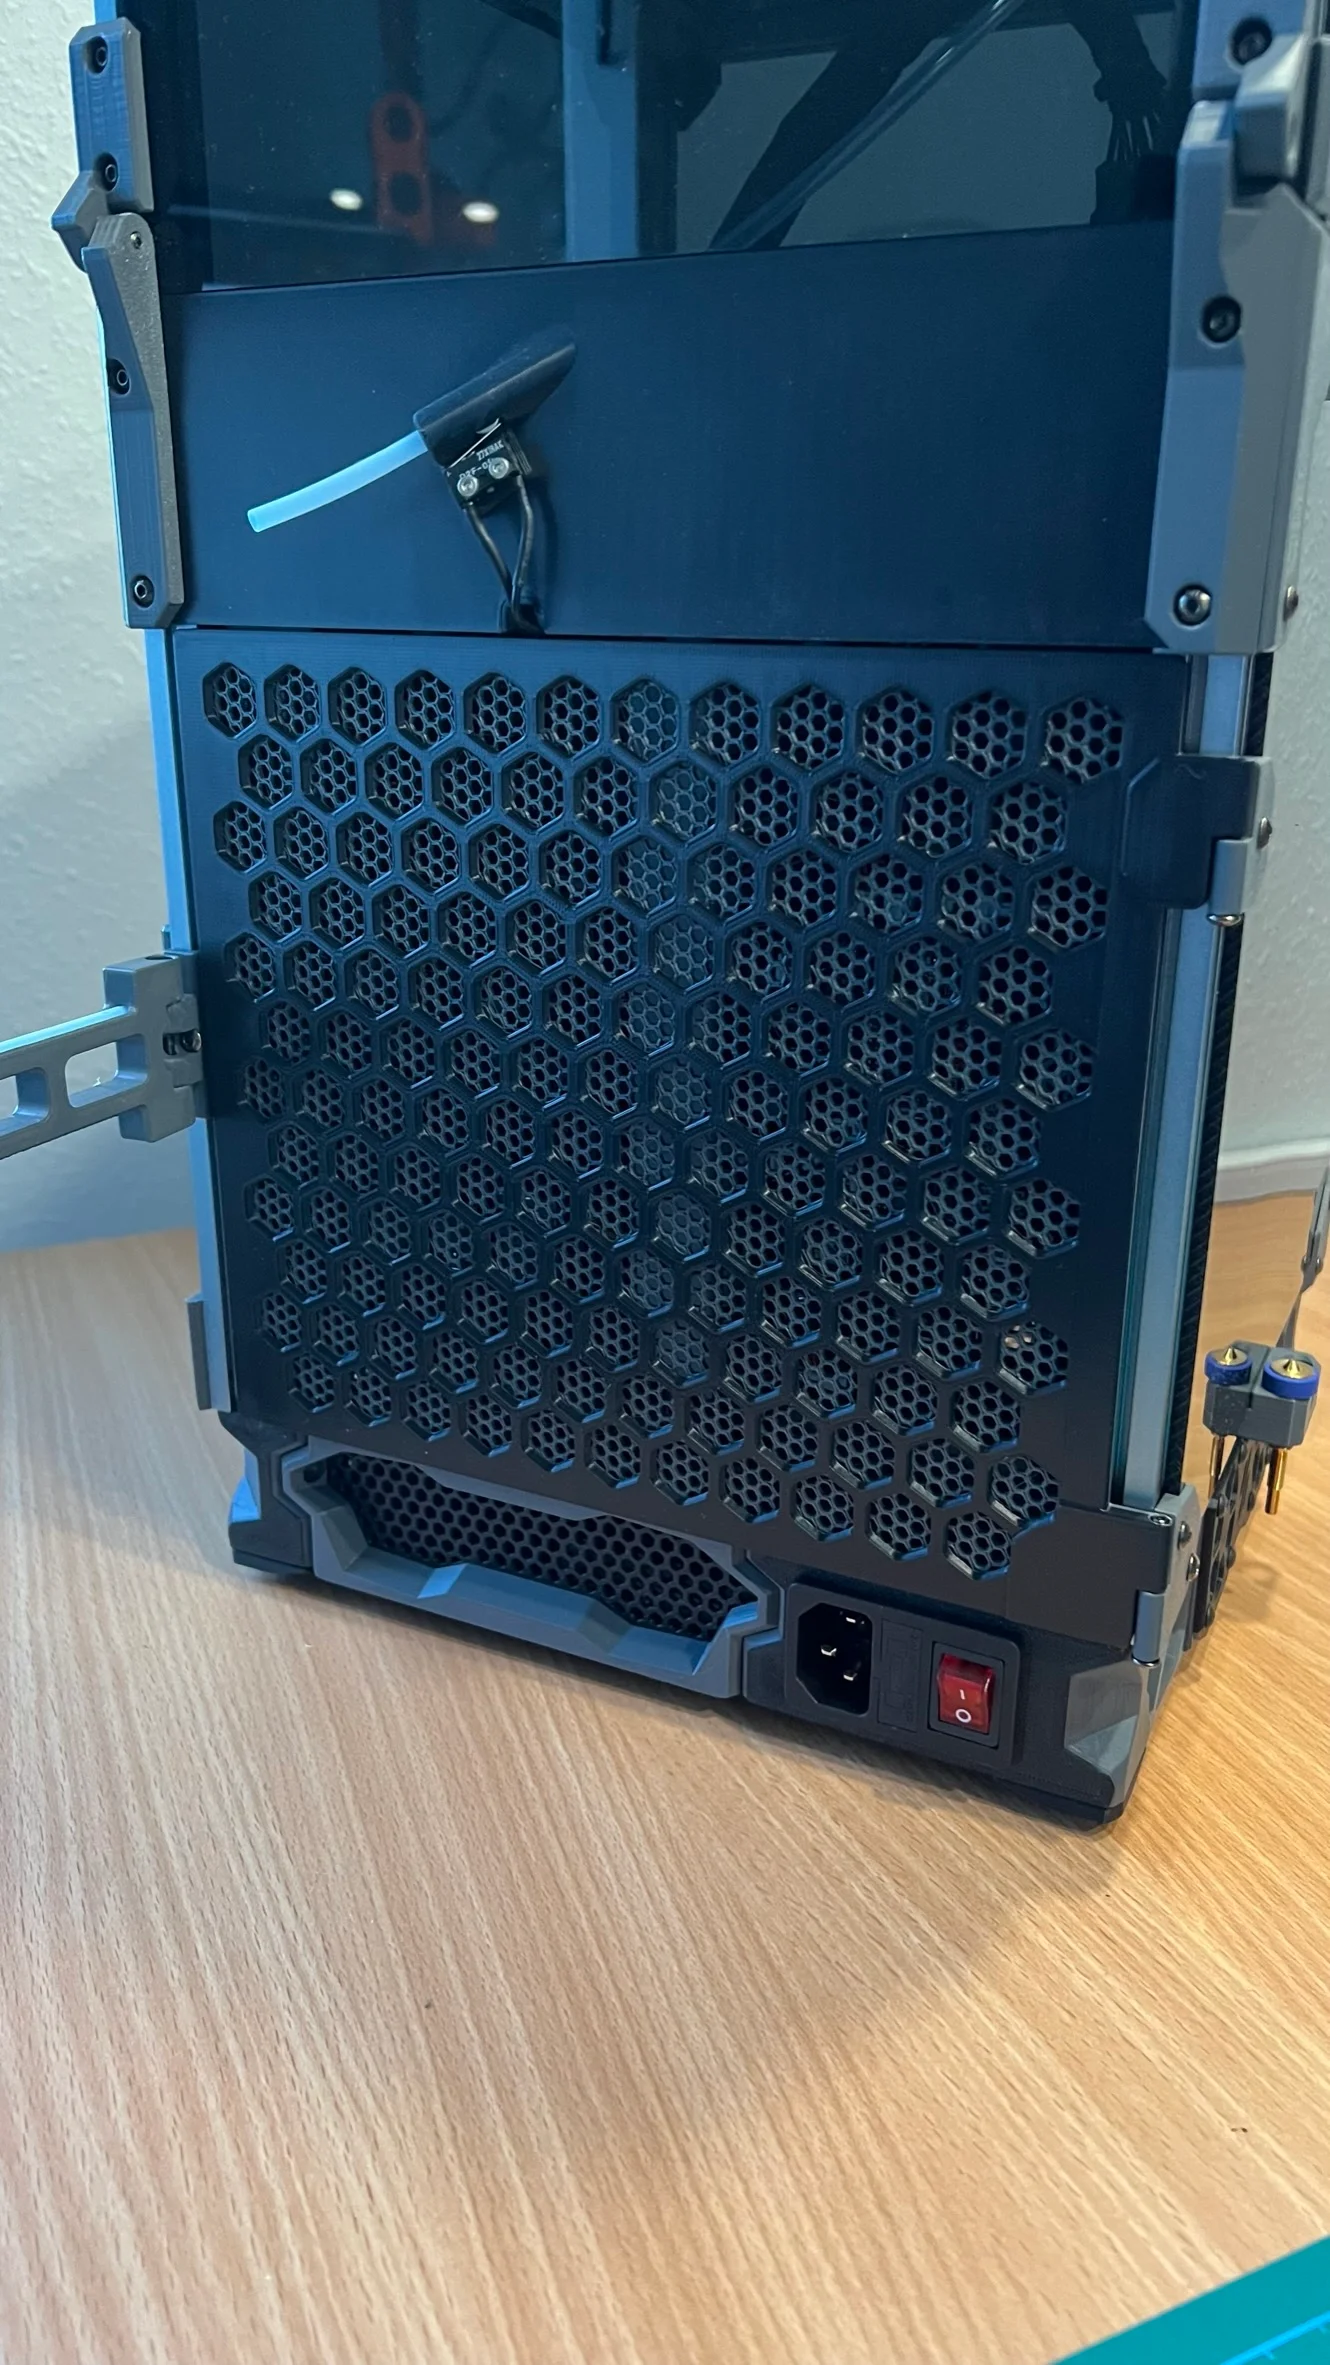
I'm the lazy type of guy, hating to unscrew the panel clips every time i want to go into the electronics compartment.
And since i loved the Rear Panel Hex mesh from Chirpy so much, i decided to hack up stuff from Schlongkydong together with the panel.
this resulted in a magnet held hinged rear panel hex mesh!
a big thanks to Voron Team and nonetheless Chirpy and Schlongky!
I have provided all necessary files for printing this mod (psst, did you know that eg. “x2” in the filename tells you how many printed parts you need?)
you can download the spool holder from here:
Foldable LDO Spoolholder
BOM
First door latch should be 7mm from bottom of extrusion between the bottom and top door latch distance of 95mm is needed. You can simply take one foot off, and then slide the latches in.
Instructions for the Honeycomb mesh ( I can only provide you with SuperSlicer as that's what i use)
For making the Honeycomb mesh underneath the hex pattern you will need to make a modifier square box with these settings :
Add Perimeters/shell (walls, top and bottoms for other users than SuperSlicer)
Add Infill (density and fill pattern(infill is my personal preference))
You should then get something like this
OPTIONAL
Put in a M600(color change) at Layer 9 to get honeycomb pattern in accent color
Bytinx_1344834Likes1.2KDownloads6K

 Byprusa-researchLikes0Downloads2.7K

 Bydet-manLikes0Downloads171

 BydalleLikes0Downloads147

 Byarhi_585078Likes64Downloads544

 ByHanzo3dLikes155Downloads416

 BydarienLikes0Downloads1K

 ByGeek5DLikes147Downloads489

 ByBrokentooth_designsLikes23Downloads411

 Byla-cave-au-chatLikes0Downloads967

 Bycrawler-3903250Likes0Downloads907

 ByvertigomakesLikes0Downloads563