



Canvas bypass for TPU & Spool Holder - Elegoo Centauri Carbon 2 (CC2)
 Byla-cave-au-chatLikes0Downloads973
Build another version of this model.
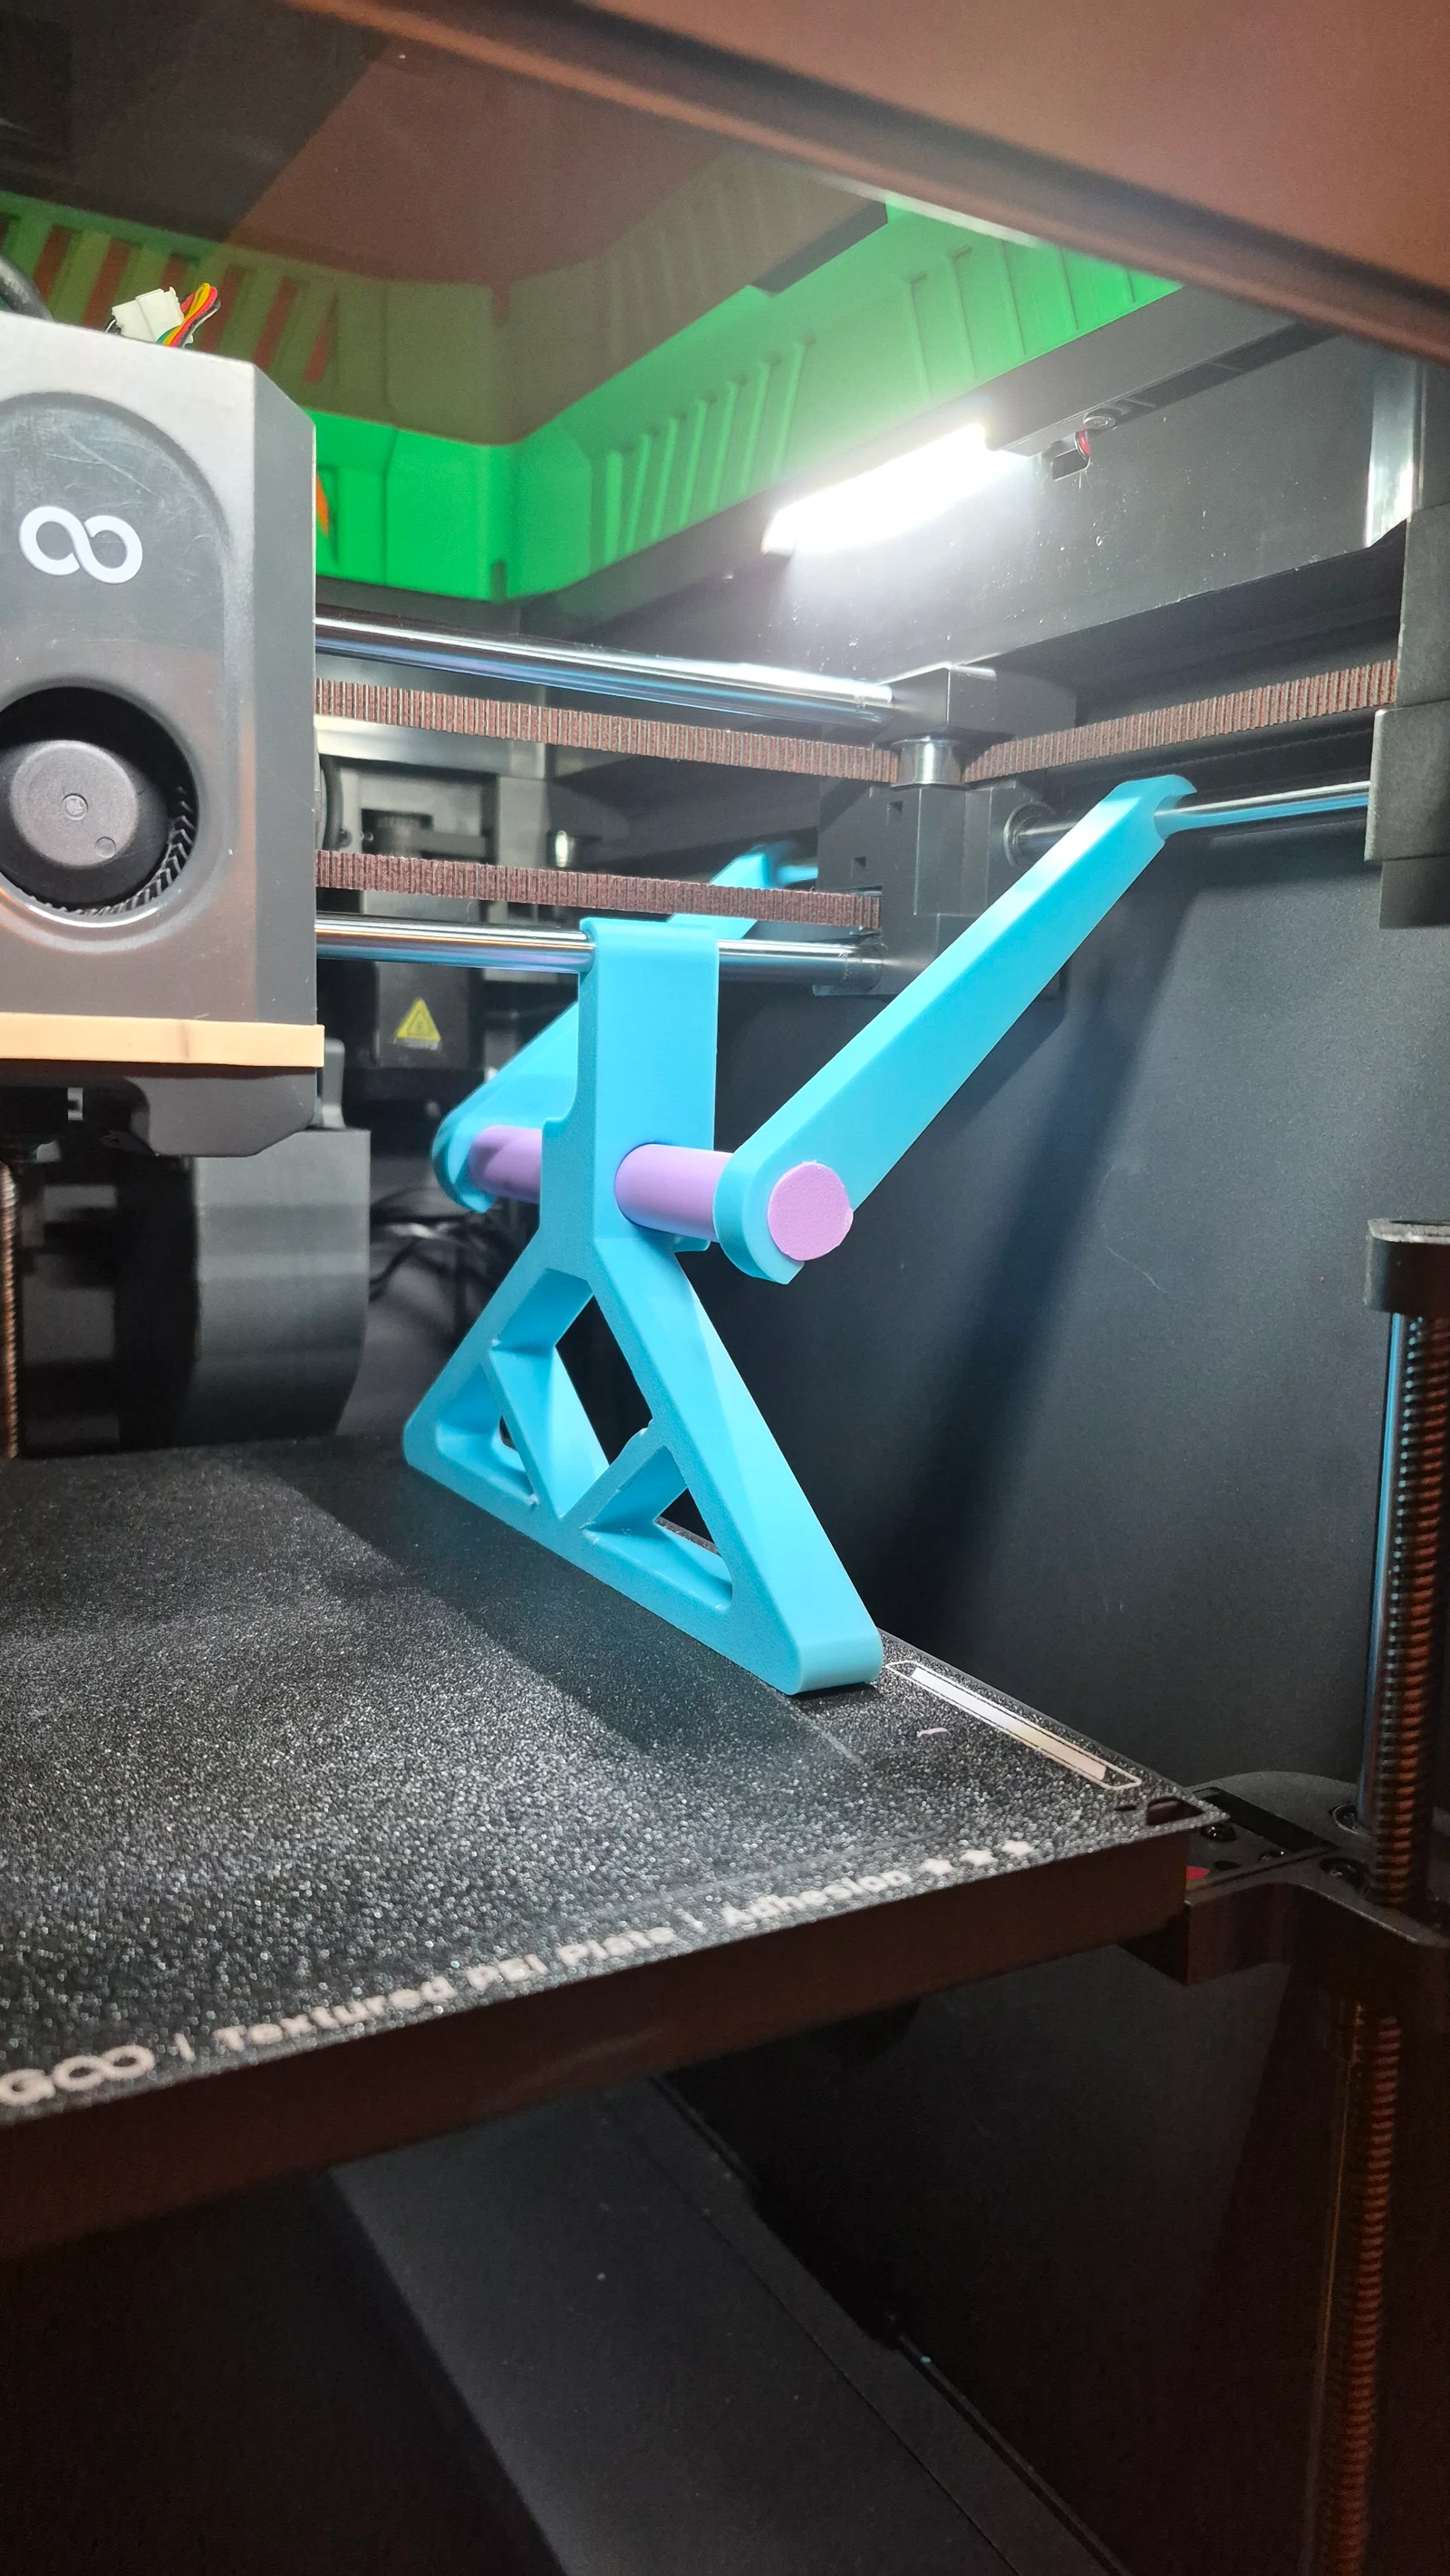
It's for making sure the bed is square with the top xy rods and not the bottom like the elegoo video suggest.( video in description for reference.
Been having leveling issues with 502 error code for a while on and off. Ive followed the video from elegoo that makes you remove the bottom and remove the belt from the idler pulley. Than pushing on the bed while putting the belt back on.... like I have 3 arms.
SEE VIDEO AT THE END OF DESCRIPTION FOR THE BELT (only difference with the video is that the printer is upside down instead of on the side and that the bed rest on the leveling tool instead of pushing with your hand on the bed while trying to put the belt back on which can result in an uneven pressure and causing more problems.
So i have come up with this method :
Remove the Heat bed and disconnect and reconnect all the sensors if you have the error 502. If not you dont have to follow this step
Move the extruder in the middle of the bed plate
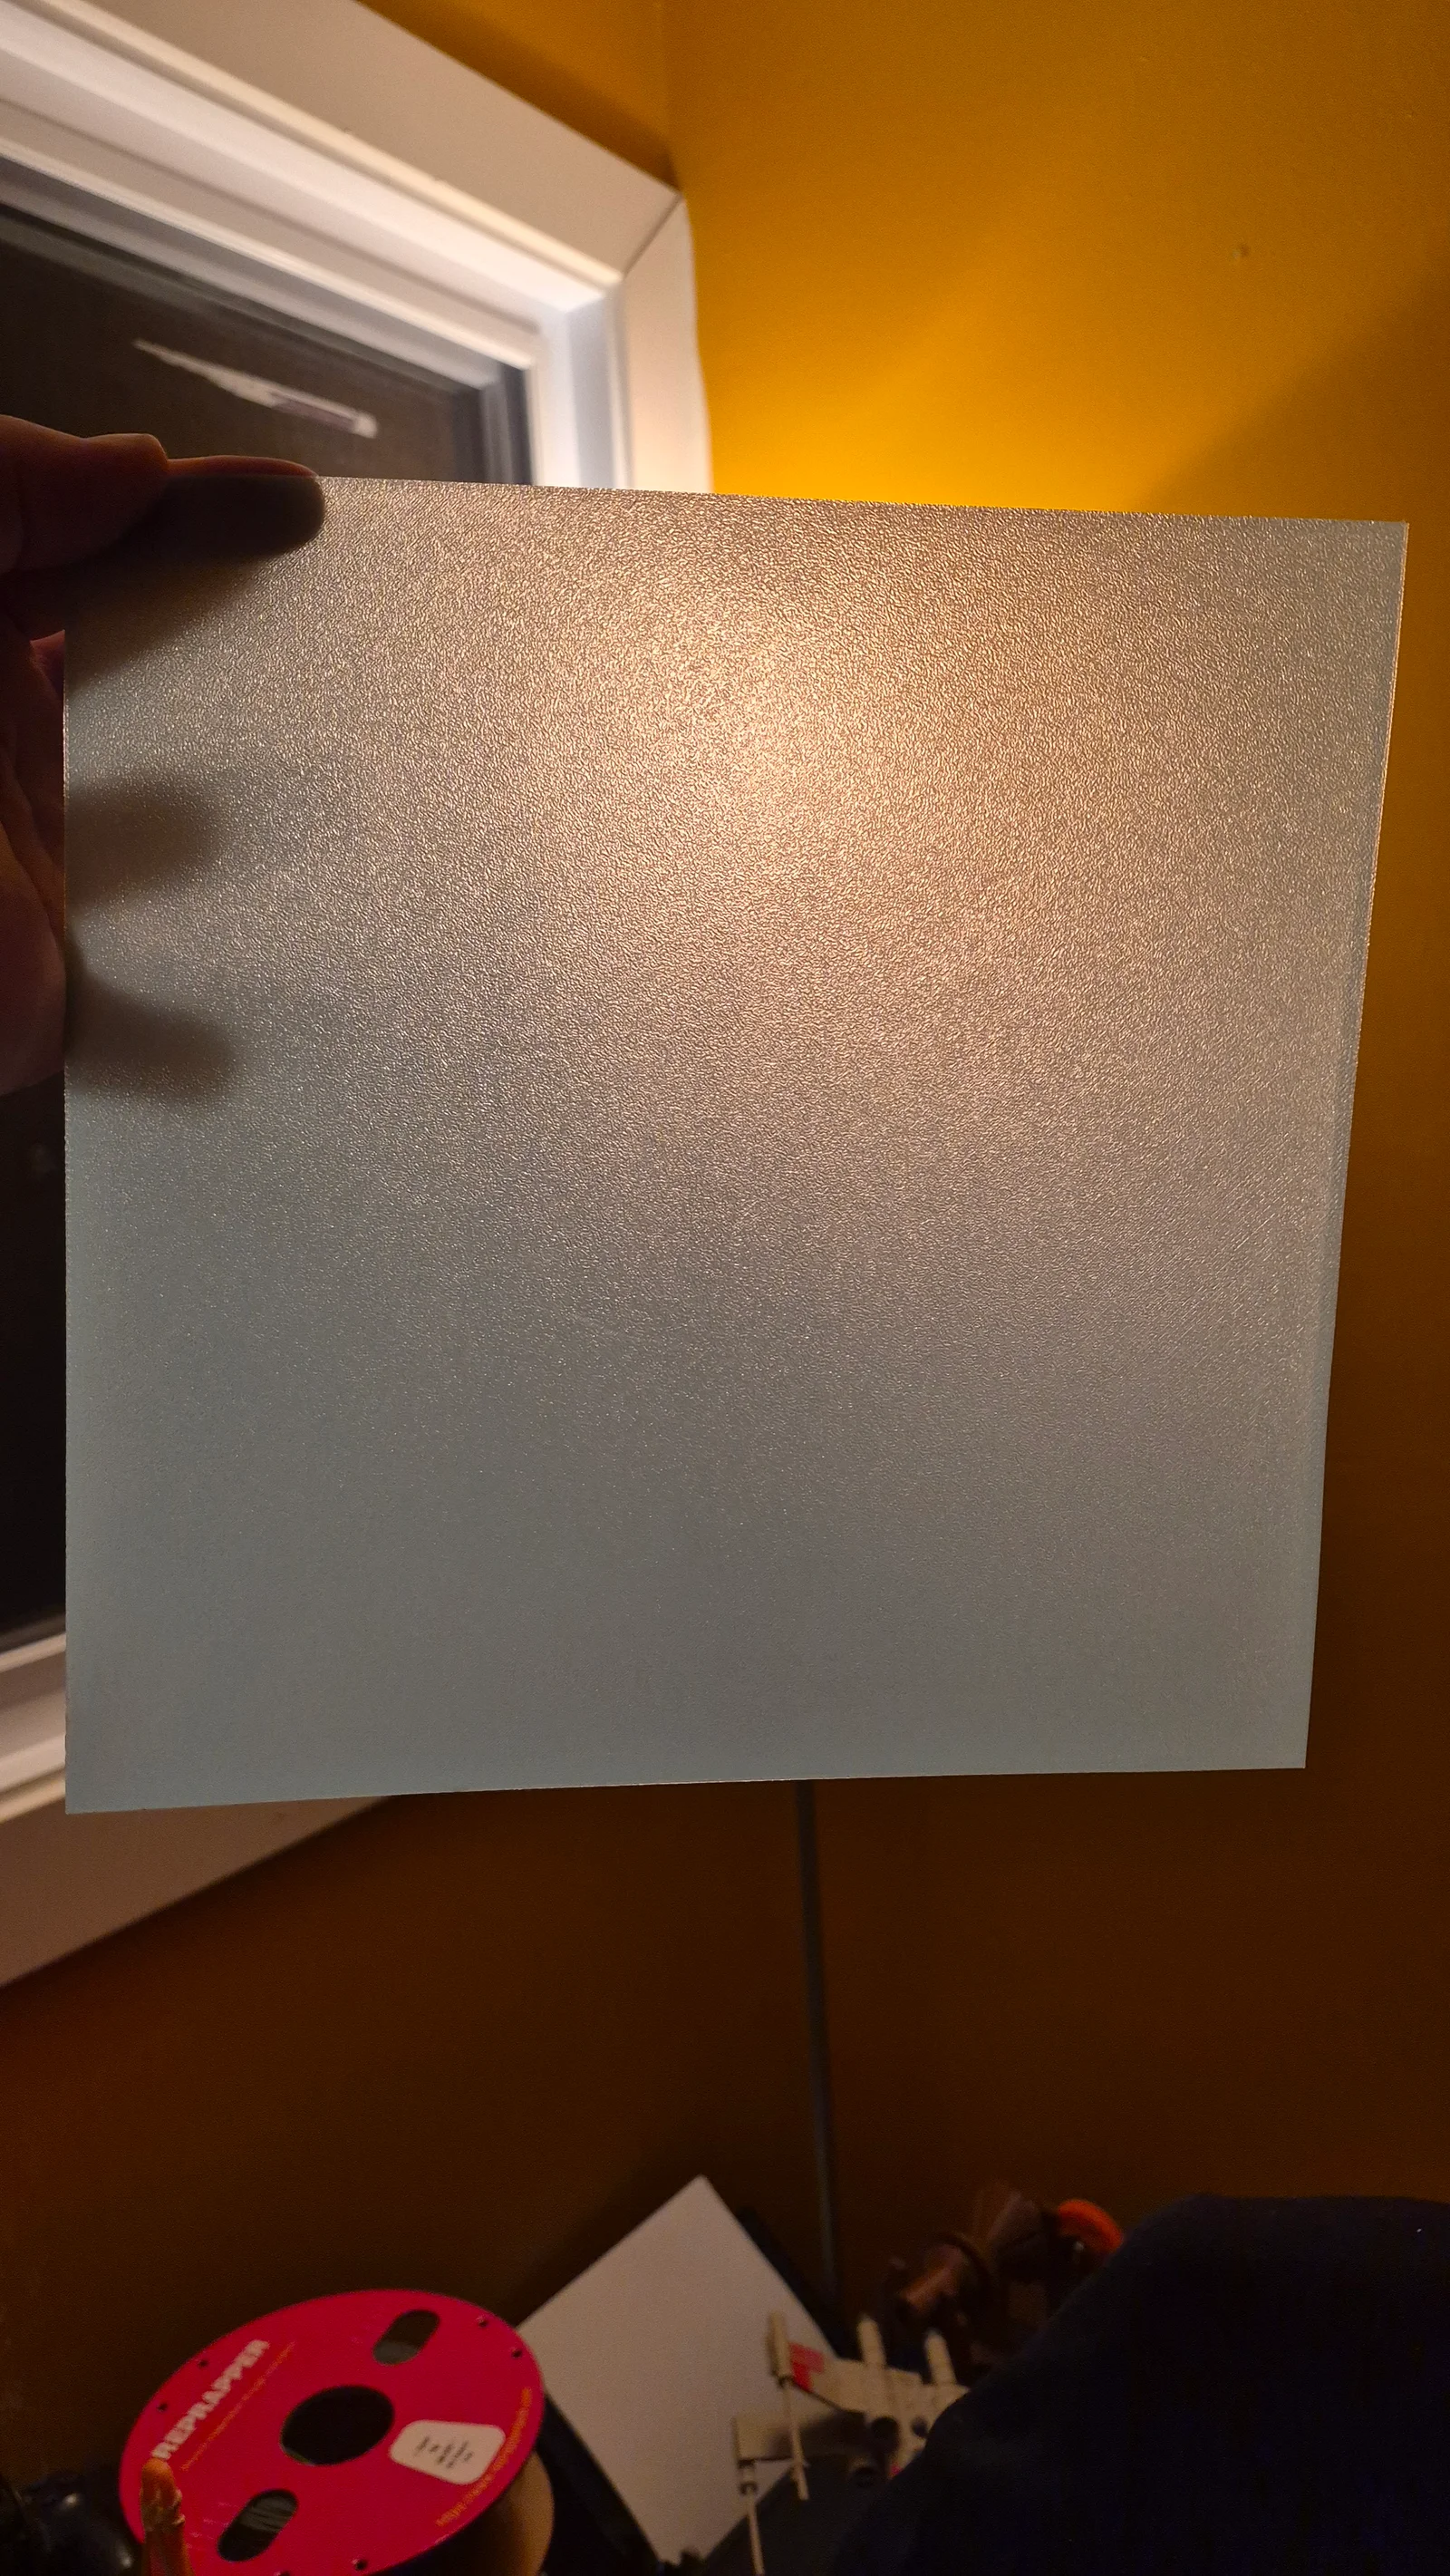
Remove the build plate (PEI plate)
Make sure the 4 bolts holding the bed are all properly screwed down
Install the leveling system on the XY axis rods on both side
Turn off and unplug the printer
Remove the glass top and riser if you have one
Carefully flip the Printer upside down (make sure to close the door)
Remove the bottom panel
Loosen the belt tensioner and remove the belt from the idler pulley
Slowly drop the bed on the Leveling frame
Make sure that the 3 Z axis rods are down and the corners are touching the leveling frame
Reinstall the belt making sure you have a counterclockwise tension on each toothed gear before going to the next one. You have to start with the bottom left (POV belly facing the glass door) than bottom right then top center keeping the tension on the belt till you reach the idler pulley (silver one next to the bottom left one) Pull the tensioner upward and put the belt back on the idler pulley.
Reinstall in reverse. Once everything is reinstalled make sure to install the build plate and relevel the bed automatically in the screen menu !
Byla-cave-au-chatLikes0Downloads973

 Bytinx_1344834Likes1.2KDownloads6K

 ByStavdahlLikes0Downloads434

 Byprusa-researchLikes0Downloads2.7K

 Bydet-manLikes0Downloads179

 Bygummiegecko8477Likes0Downloads171

 Bychukwufumnanya-arinzechukwuLikes0Downloads155

 Bychris-barwickLikes0Downloads134

 BydalleLikes0Downloads153

 ByjoncruzLikes0Downloads593


 BynasikLikes0Downloads125