



Kẹp giữ sợi Filament
 Bytinx_1344834Likes1.2KDownloads6K
Build another version of this model.
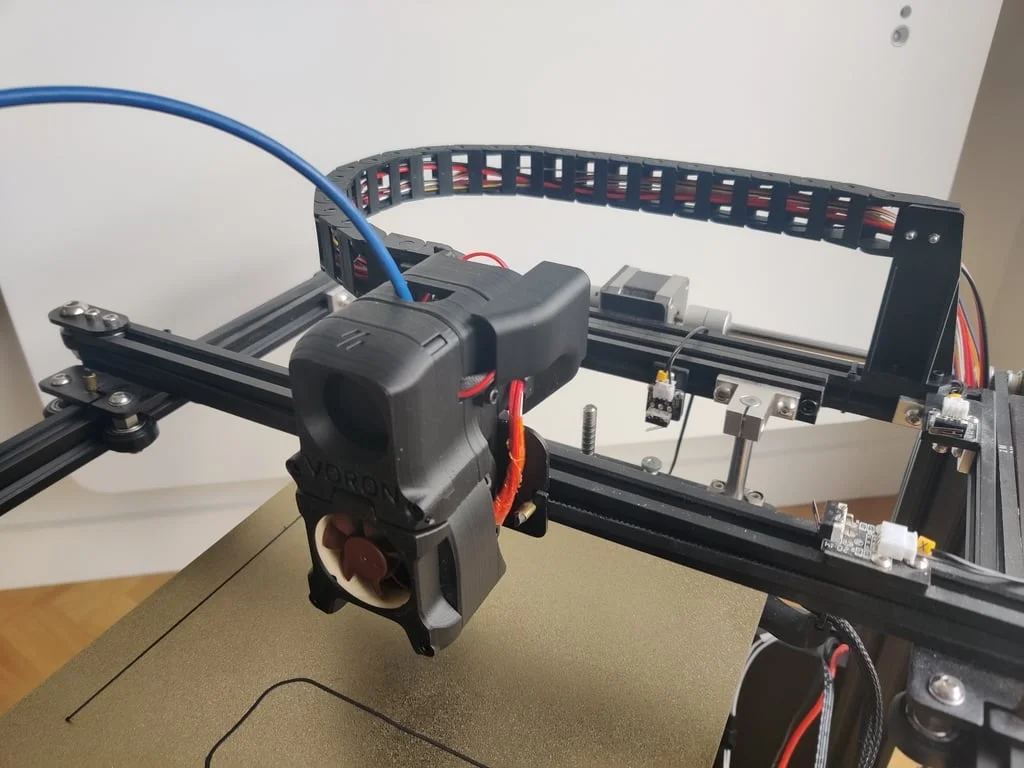
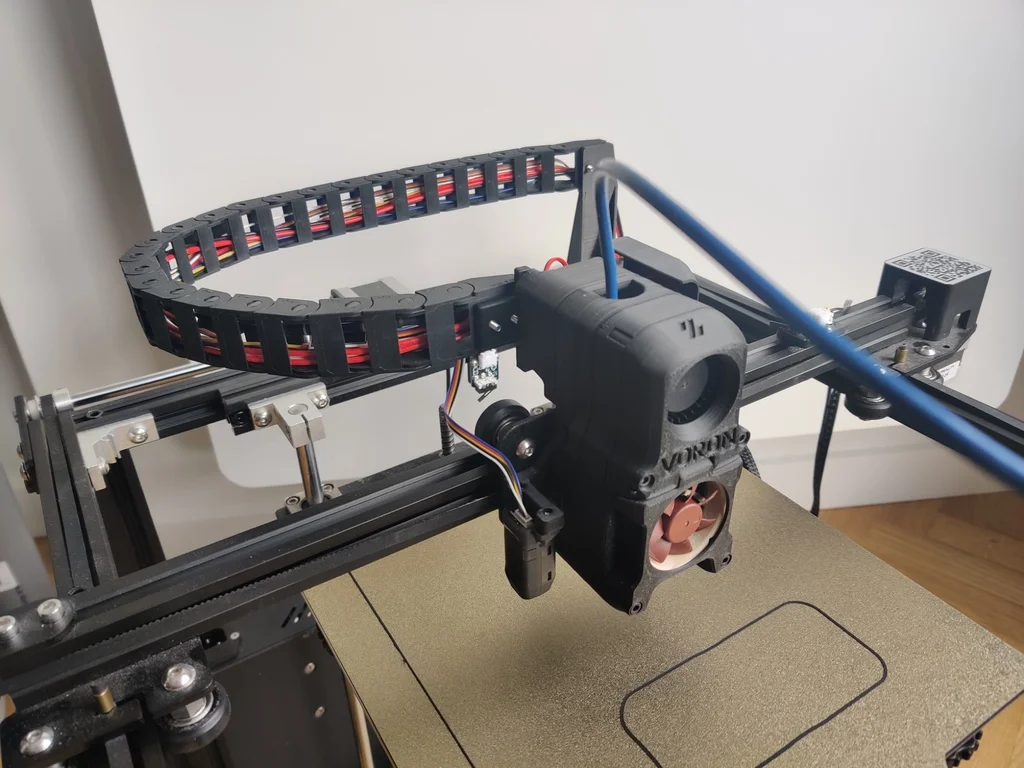
This is my take to fit an Afterburner on the Ender 5.
This mod doesn't require to get a new hotend or even move the hotend from its original position.
I used VORON's official STEP files and modified some parts and also added my own designs.
It should also fit the MicroSwiss all metal hotend and should also fit the Creality Spider V3 with some tweaking.
You may have to get a longer bowden cable because the Afterburner is higher than the original fan shroud.
The blower and hotend fan housing were not modified from the original Afterburner so they are not included. You can retrieve the missing parts here : X Carriage Afterburner
You need : Blower Housing Rear, Blower Housing Front, Hotend Fan Mount.
The assembly is very similar to the original Afterburner. You will find a STEP file of the whole assembly as a reference.
To install the Adapter Plate you will have to remove the hotend assembly from the carriage plate. Then reinstall the hotend.
Installing the body on the adapter is similar to the original Afterburner. Slide it into the two top screws, then screw the other two from the inside the fan duct (see image).
Video of the Afterburner assembly : https://youtu.be/eWXOZOfTxRI
You don't need to change the firmware since the hotend hasn't moved. The CR Touch is almost at the same place so you don't need to modify the X and Y offset in the firmware either. Warning : from my own assembly, the Z offset is different from the original Ender 5, so you should be very careful and set the new Z offset before printing anything.
Material
The original Afterburner is highly recommended to be printed using ABS or ABS+, so I woulnd't recommend printing this model with PLA or PETG.
Use VORON default printing settings.
Like the original, supports are not needed except for the Cable Cover. I couldn't find a way to have two fixation points and not needing supports.
Bytinx_1344834Likes1.2KDownloads6K

 ByWyomingWolf_261196Likes52Downloads431

 Byprusa-researchLikes0Downloads2.7K

 ByBlackky98Likes25Downloads209

 BydalleLikes0Downloads147

 Byarhi_585078Likes64Downloads542


 ByHanzo3dLikes155Downloads415

 BydarienLikes0Downloads1K

 ByGeek5DLikes147Downloads488

 ByBrokentooth_designsLikes23Downloads410

 Byla-cave-au-chatLikes0Downloads967