



Kẹp giữ sợi Filament
 Bytinx_1344834Likes1.2KDownloads6K
Build another version of this model.
Update 9/3/2024: I don't have this printer anymore, so upon request I am posting the CAD files for this project. Fill free to continue the work with this mount/duct with attribution. Also changing to CCA.
Update 6/15: Added a dual screw 3MF file for those that want a second screw to secure the fan.
Update 7/10: Added version two of the air duct, flow optimized, higher pressure rated 5015 fan the better. Version 2 has a 28mm bridge before air duct starts.
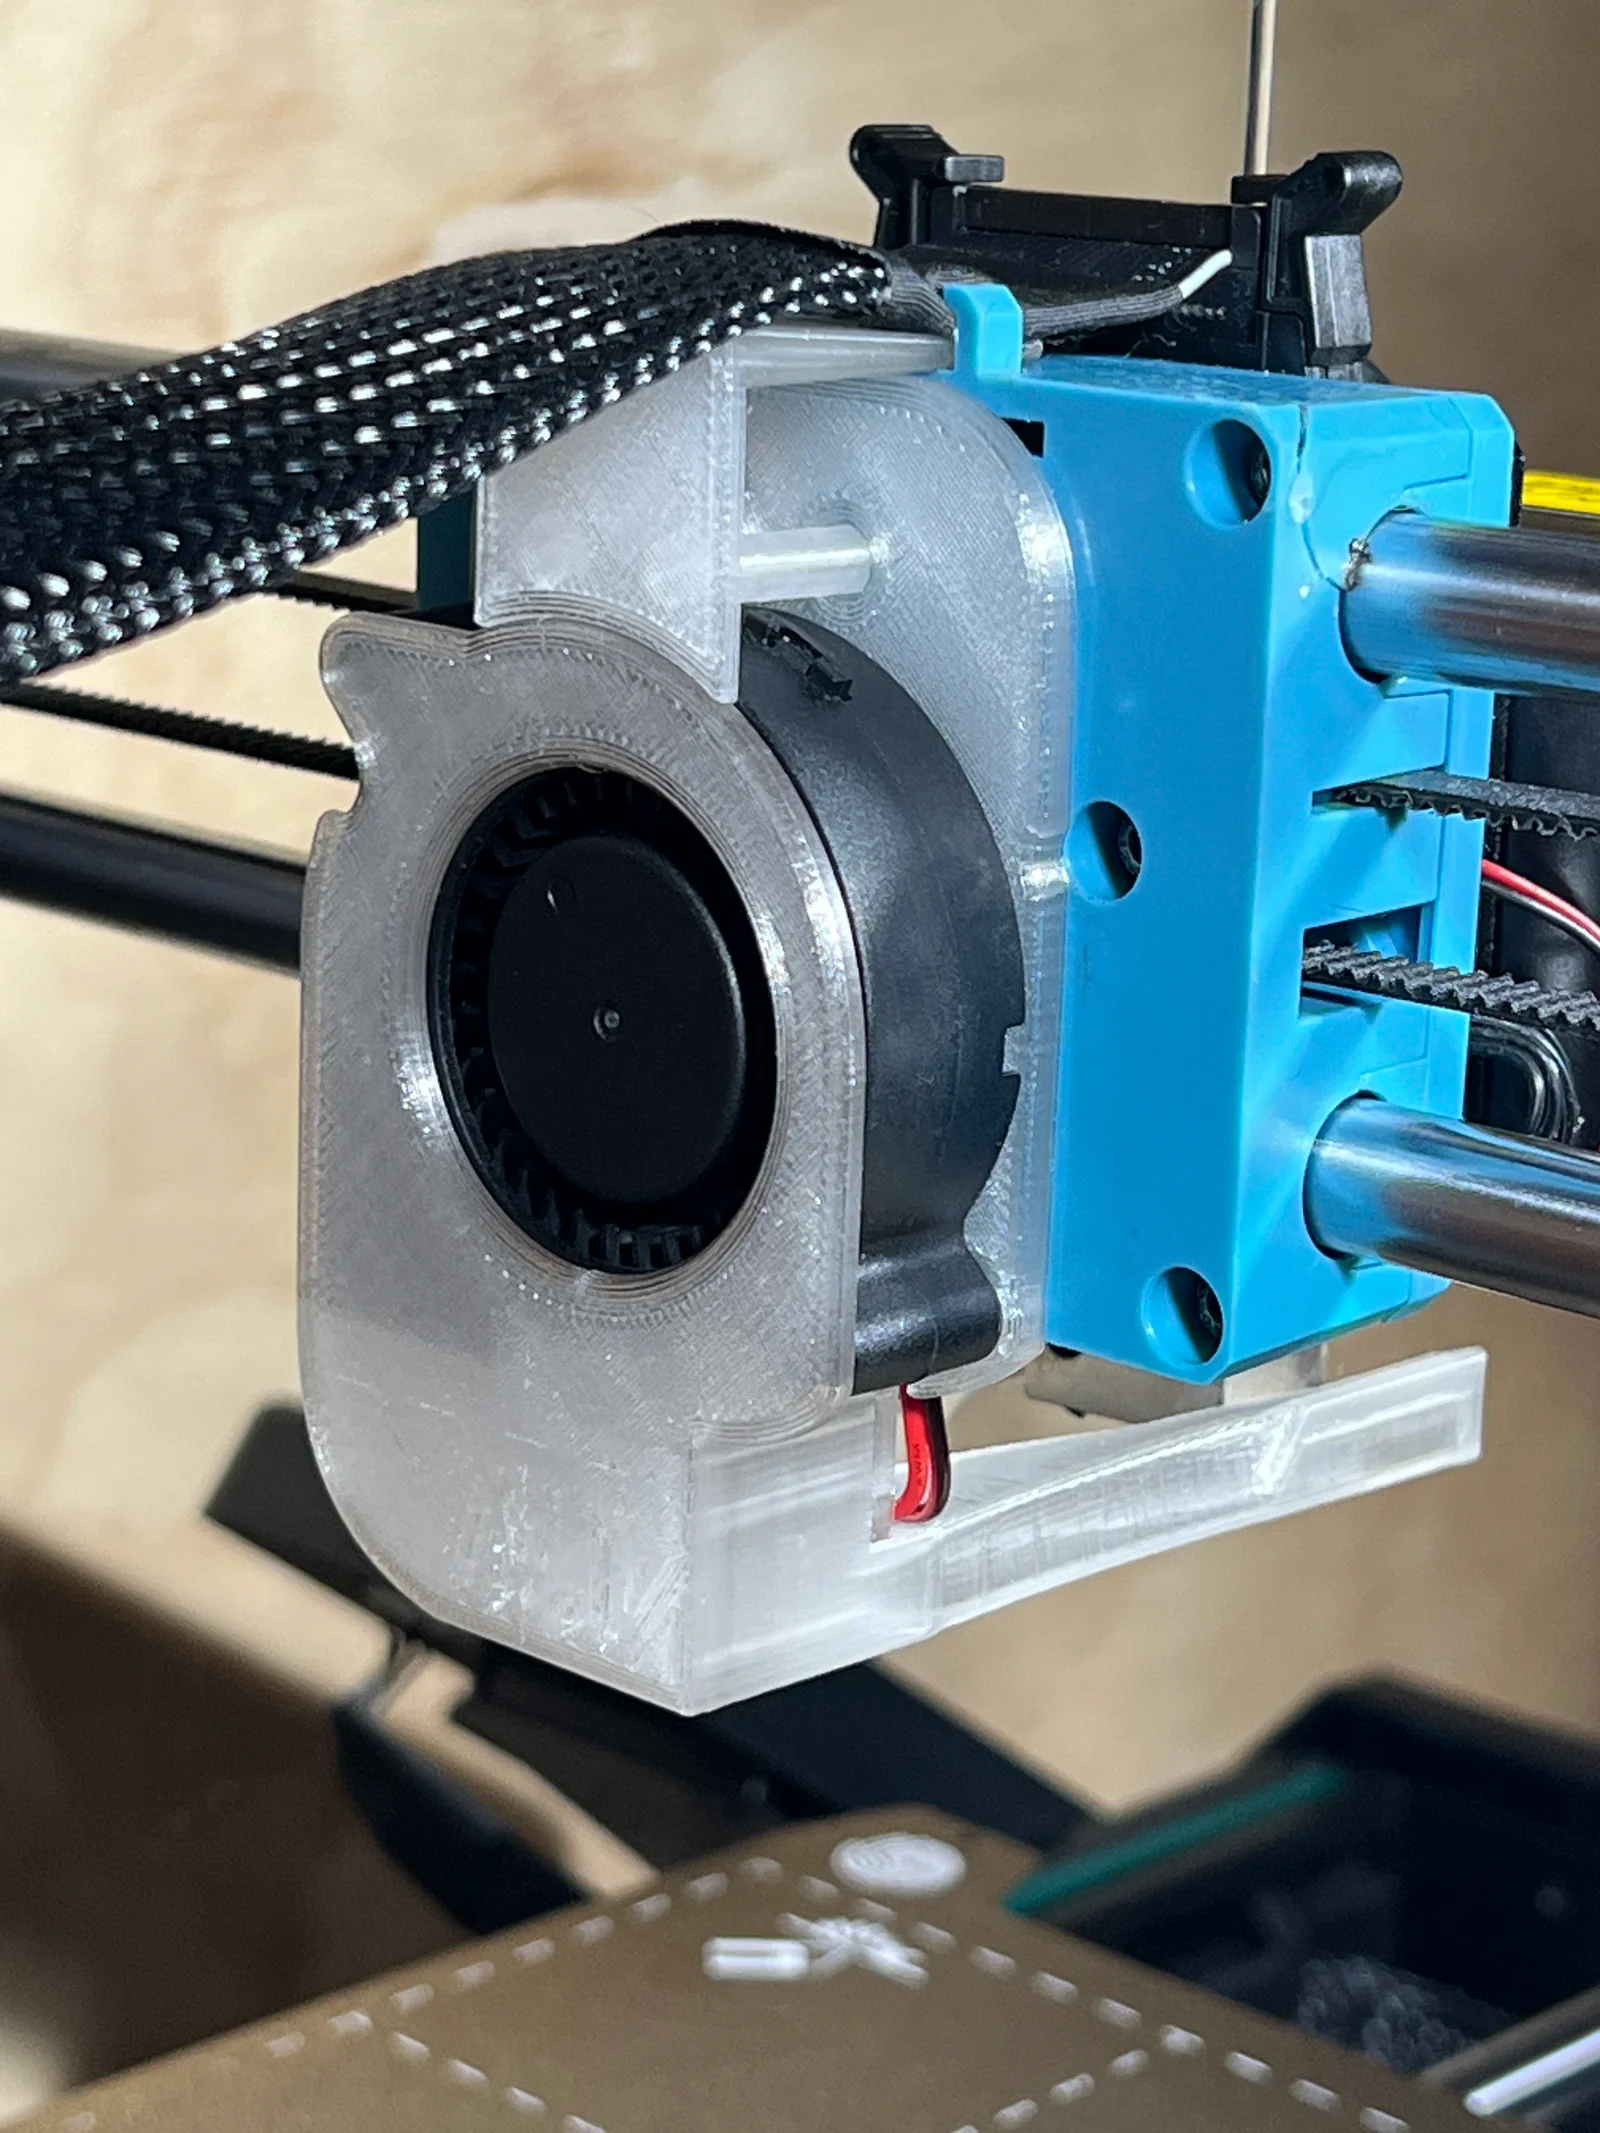
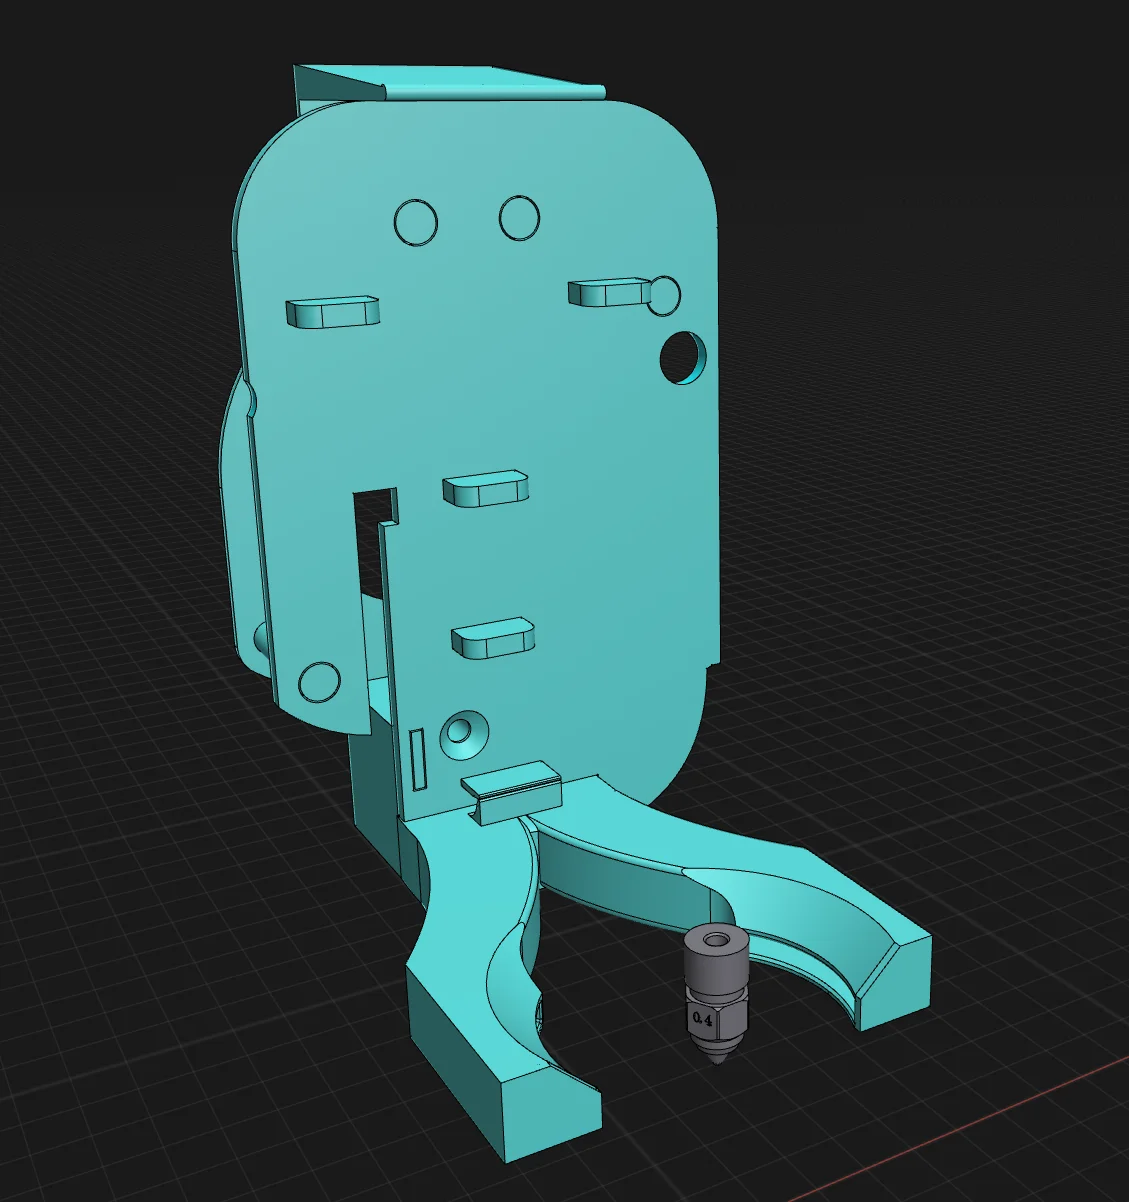
I designed a flush, rear mounted parts cooling fan duct around the TH3D 5015 blower fan, dubbed the NAV (Not A Voron). Design is very light weight around 25 grams(without fan), press fits into the print head mount and includes a removable cable hat to help keep the cable from sagging. Included the 3MF of the three parts and the step file of the mount itself incase the tolerances are not the same for your printer/slicer.
Printing:
The air gap between parts are 0.175mm for press fit using Orcaslicer and inner walls first, 4 walls, 4 top/bottom, and 100% infill on mount or 60% on air duct. Everything is printed on its “back”, with stems/poles facing upwards. Because of this orientation the filament used will need decent layer adhesion. I found no issues with PrintBed PLA, but using GratKit the adhesion was too weak and snapped off with the slightest touch. Any PLA+ should work fine as they typically have stronger layer adhesion.
This is a beta fan duct, only recommend trying this out if you already converted over to a 5015 blower fan.
Assembly:
First print the mount and check the press fit onto the back of the X gantry print head mount. It should be snug but easy enough to remove with a scrapper tool. Next print the fan duct and test the fitment of the fan and the duct to the mount. The blower fan opening is 15.4 x 19.4mm, some other cheaper 5015 fans will be larger. After the blower fan is installed on the air duct part, the mount should press fit on the pegs and the screw will keep the duct inlet tight. A small wood screw ½ inch or less in length should work as long as the head is flush on the mount. Screw hole works with screws around 3mm thick with a head size under 5.5mm, I found small cabinet screw to work fine.
Once the duct is press fit together and the screw installed, press the completed duct onto the back of the print head mount, just make sure the old 4010 fan and duct is removed first.
Notes:
Lastly the optional cable hat can be installed but it is not compatible with Z auto align, as the top cross bar will crush it.
Do not have cable hat installed before a Z auto align.
All feedback is welcomed and I will update or add changes to models as needed. I have personally ran this fan duct for 24 hours of print time using PLA, and without needing to bolt it to the print head mount. Feel free to change the mount using the step file, but I can update it to allow a bolt to be used if needed.
Thanks for testing my fan duct!
Bytinx_1344834Likes1.2KDownloads6K

 Byprusa-researchLikes0Downloads2.7K

 Bydet-manLikes0Downloads175

 Bygummiegecko8477Likes0Downloads166

 BydalleLikes0Downloads149

 Byarhi_585078Likes64Downloads545

 ByHanzo3dLikes155Downloads417

 BydarienLikes0Downloads1K

 ByGeek5DLikes147Downloads490

 ByNadirLikes25Downloads115

 ByBrokentooth_designsLikes23Downloads412

 Byla-cave-au-chatLikes0Downloads969