

New
Custom Road-Legal Electric Car (3D Printed PETG + Carbon Fiber Body)
 Bykevin-kuehnLikes0Downloads293
Build another version of this model.
Found time and motivation to finish this and got the magnets working :). The magnets I use (Finnish store): https://www.motonet.fi/tuote/pisla-ruuvattava-magneettinappi-16-mm-4-kpl?product=70-15239. So 16mm diameter, 5mm height, mounts to the frame with a ~3mm screw.
On the cover there is holes for 20mm washers that match the magnets. Printable screwable cap parts lock the washers in the cover. The space for the washers is ~3.8mm in height so either add enough washers or something else to fill it. There's a tool included for the magnet cap.
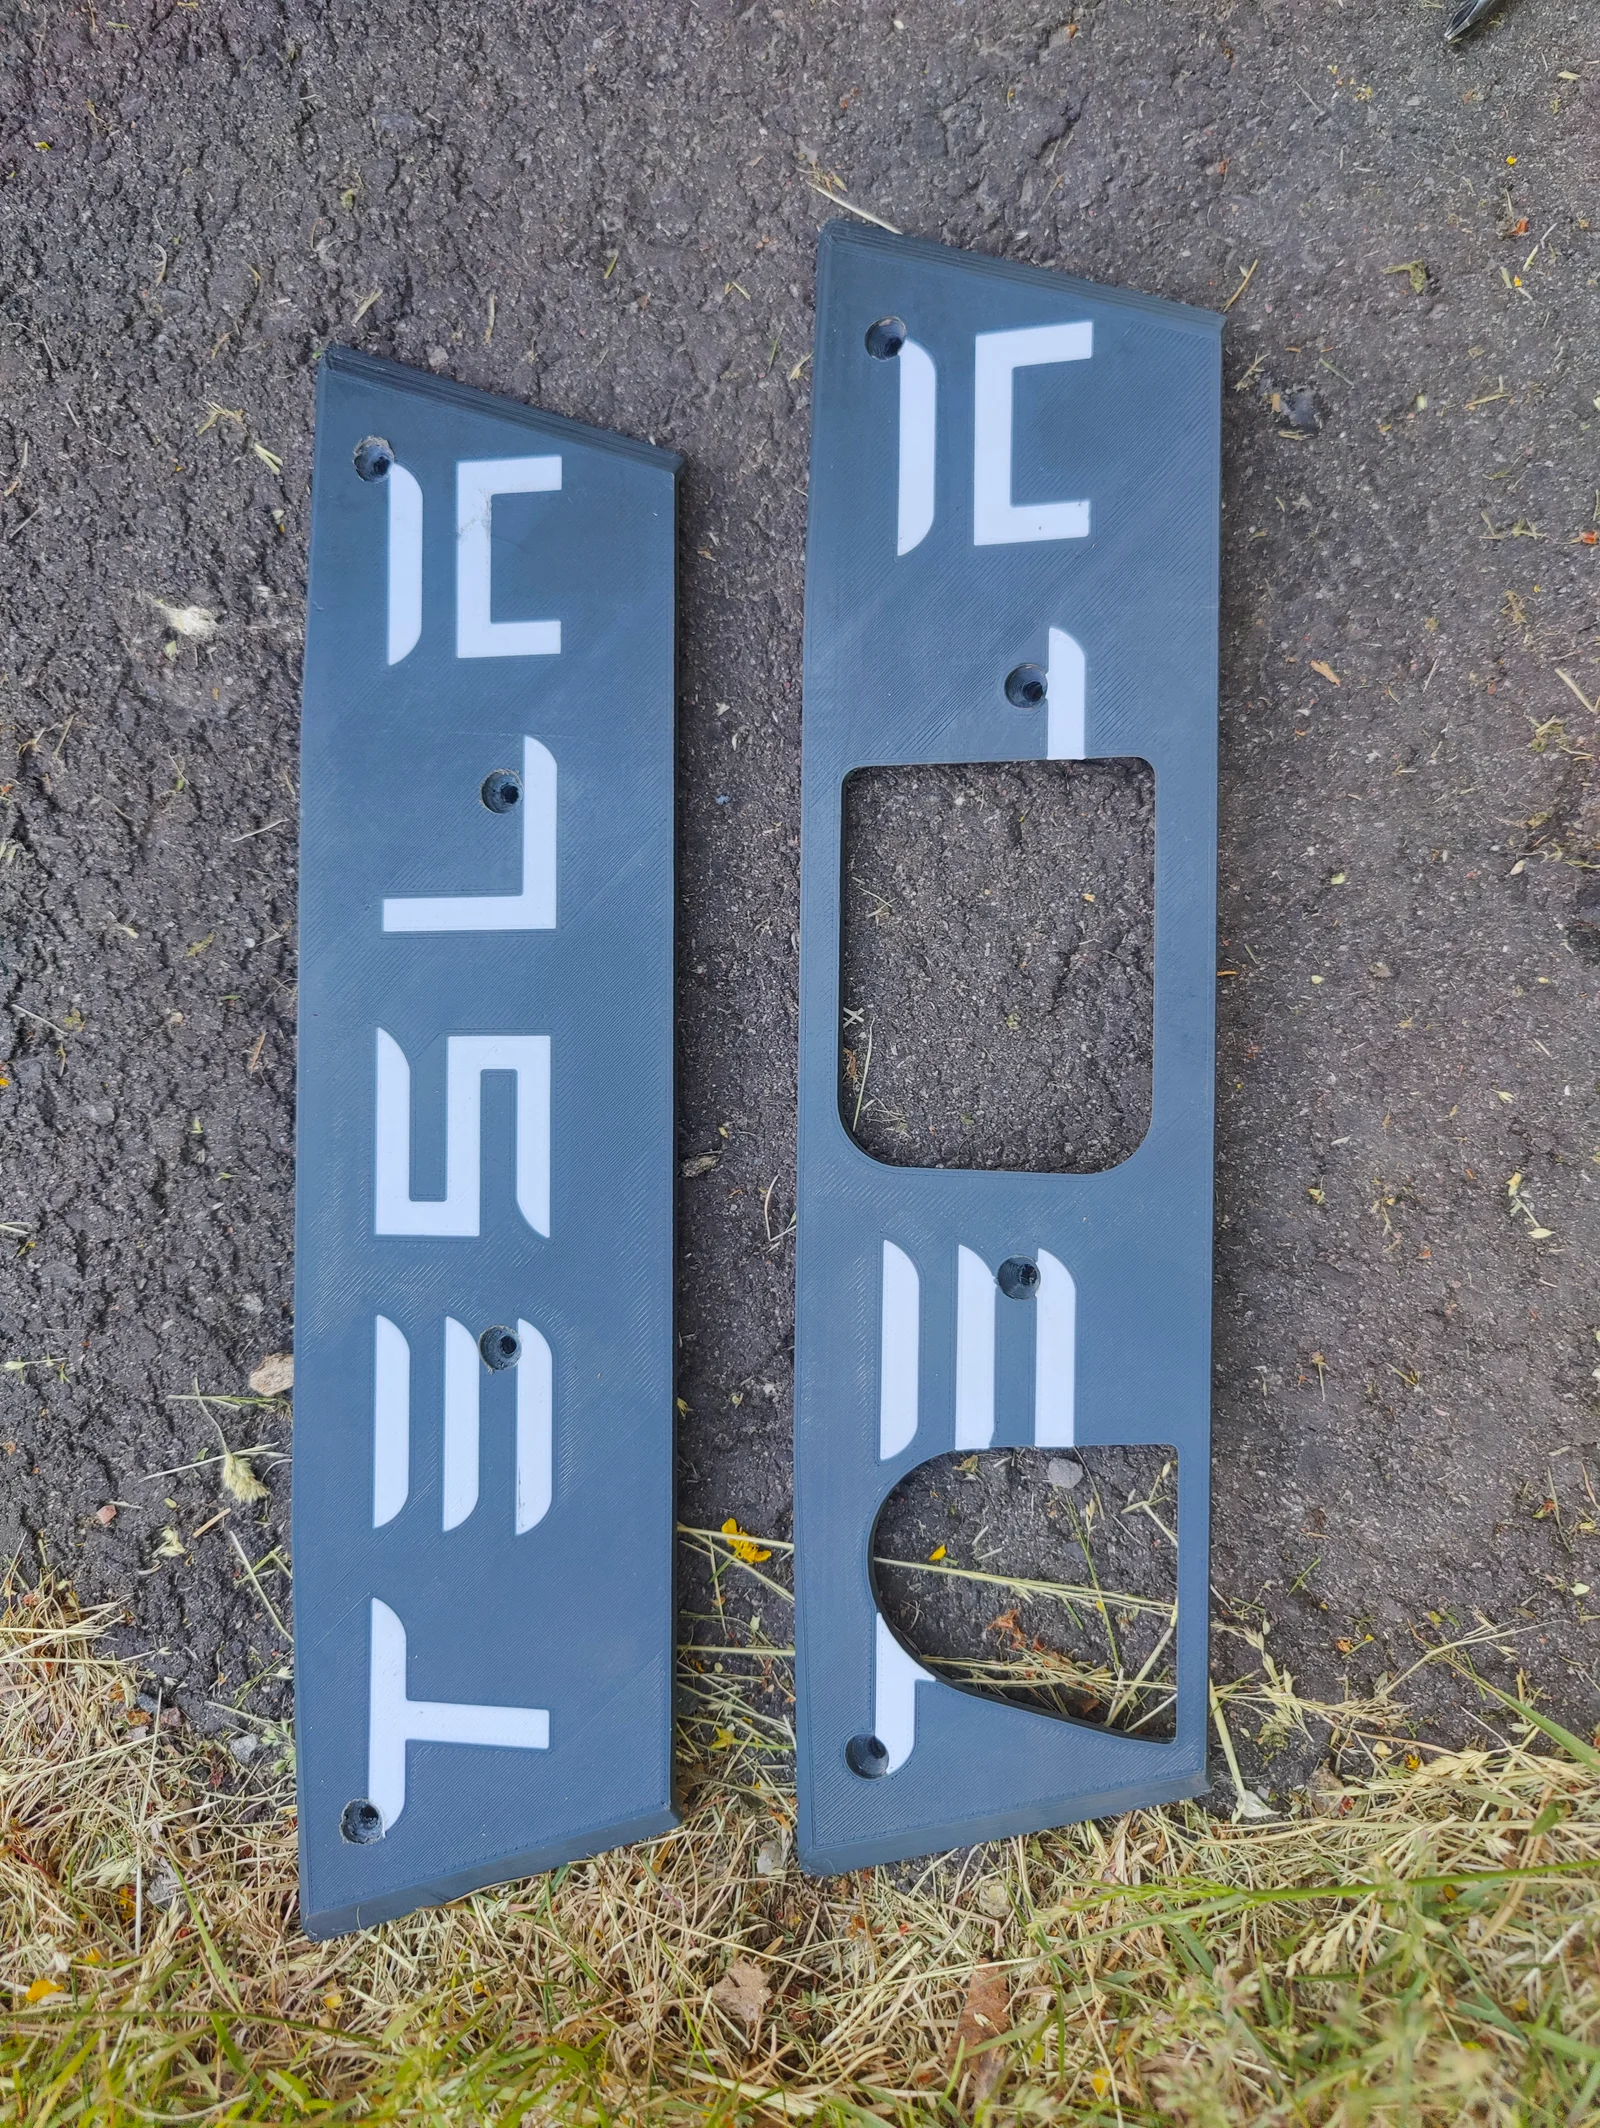
All models, including the wood screw ones are updated and optimized. Covers are available with and without the Tesla text.
Frame is still to be printed in multiple parts (frame + clips) and has to be assembled. I use soldering iron to weld the parts together, not the prettiest but holds very well.
-----------
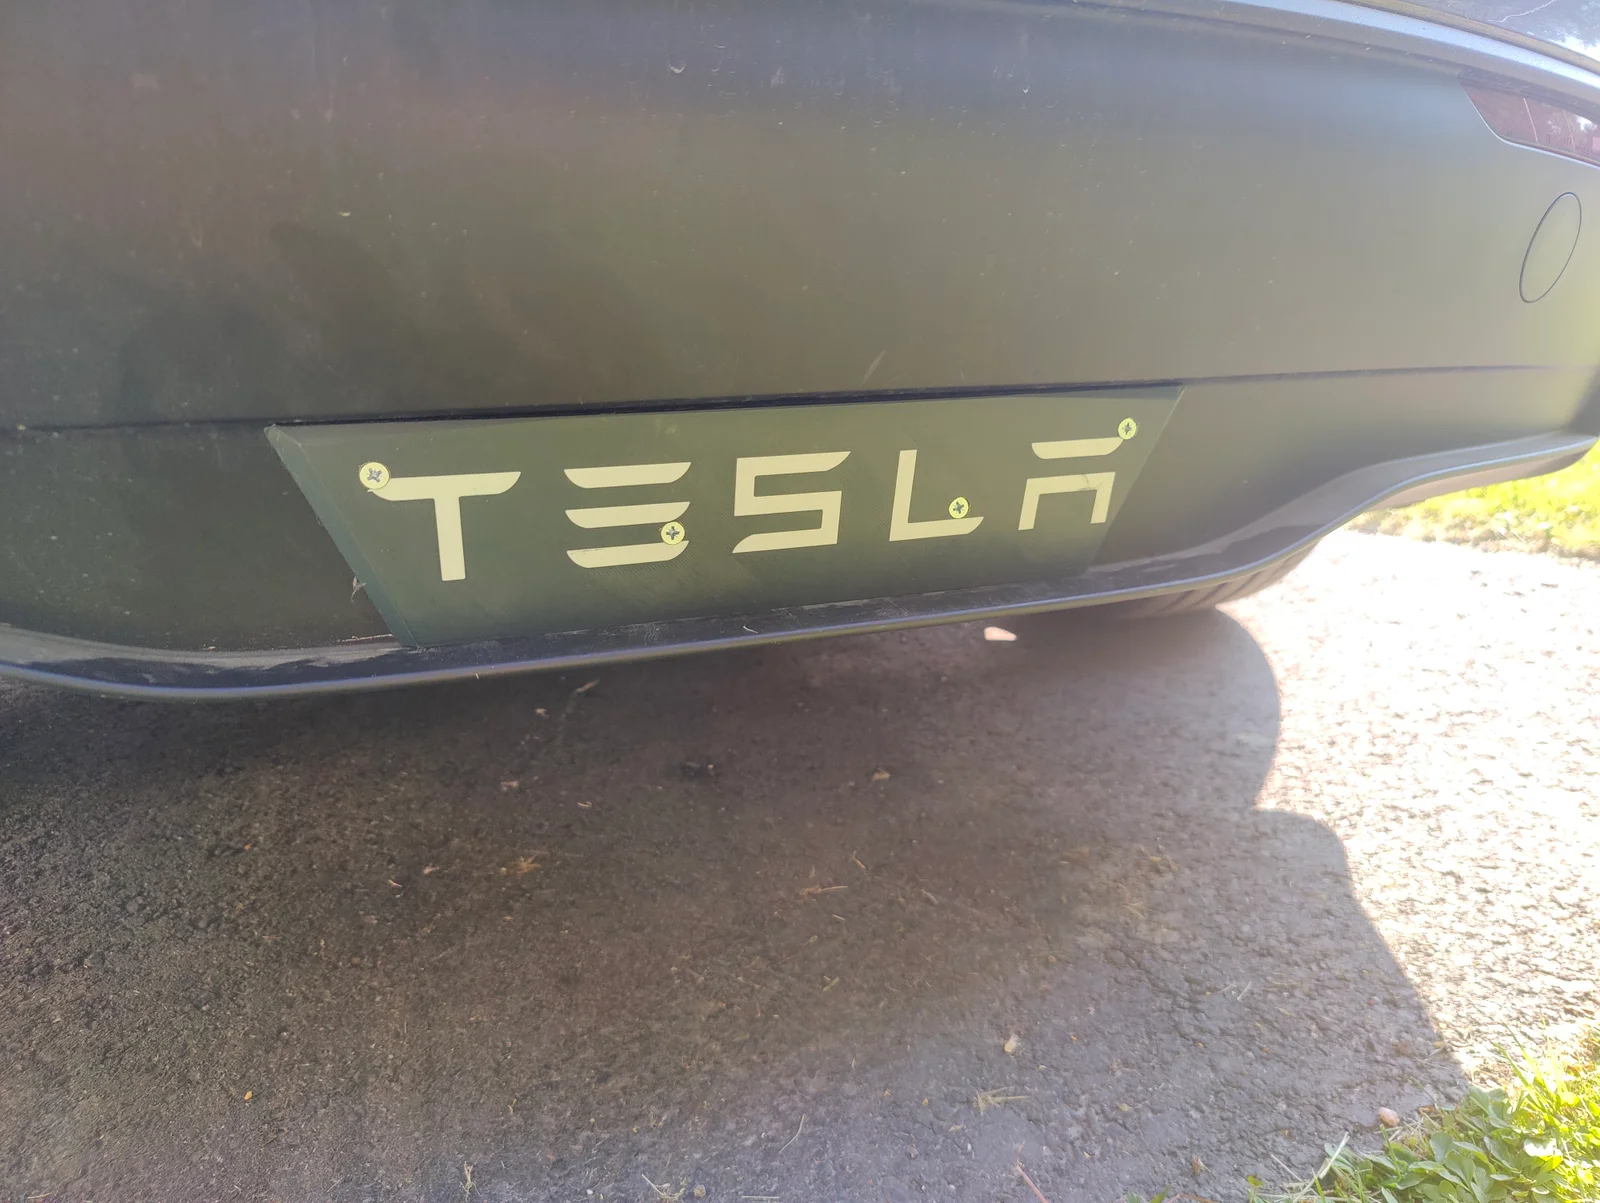
So I bought Tesla Model Y last year and immediately disliked the original cover. Started modeling an alternative solution and got quite far, current version is in use at the moment.
Original goal was to make a cover that would use magnets to attach. So the cover would be very easy and fast to replace with one that has holes for electric cable and the tow hitch and one that doesn't have holes.
To accomplish the requirement for magnets I split the new cover to two main parts:
In the end was that the magnets I used weren't strong enough and because I needed the car for summer holiday trip, I did a hotfix with 4 woodscrews. And that hotfix has been in use ever since, mainly because it works well enough… :).
But I do intend to improve this at some point, just have 99 other things to do before that…
Note: to make this easier to print, the cover is flat at the moment so it does change the look a bit. Personally I don't notice it so for me its not an issue.
Current issues:
OpenSCAD source: https://github.com/spegelius/3DModels/tree/master/Tesla_Model_Y_Trailer_Hitch_Cover
Bykevin-kuehnLikes0Downloads293

 ByleonicLikes0Downloads1.4K

 ByZED4EverLikes313Downloads5.2K

 ByfifindrLikes500Downloads4K

 ByVC_DesignLikes679Downloads3.6K

 ByDan Schwartz SchwartzLikes744Downloads3.4K

 ByJordanK_858807Likes42Downloads437

 ByMAFIXMAFIX_337316Likes130Downloads384

 Byvc-designLikes0Downloads3.2K

 Bythorin-oakenshieldLikes0Downloads531


 Bytorii-creative-studioLikes0Downloads448