



Grippy Broom Holder
 Byvc-designLikes0Downloads3.2K
Build another version of this model.
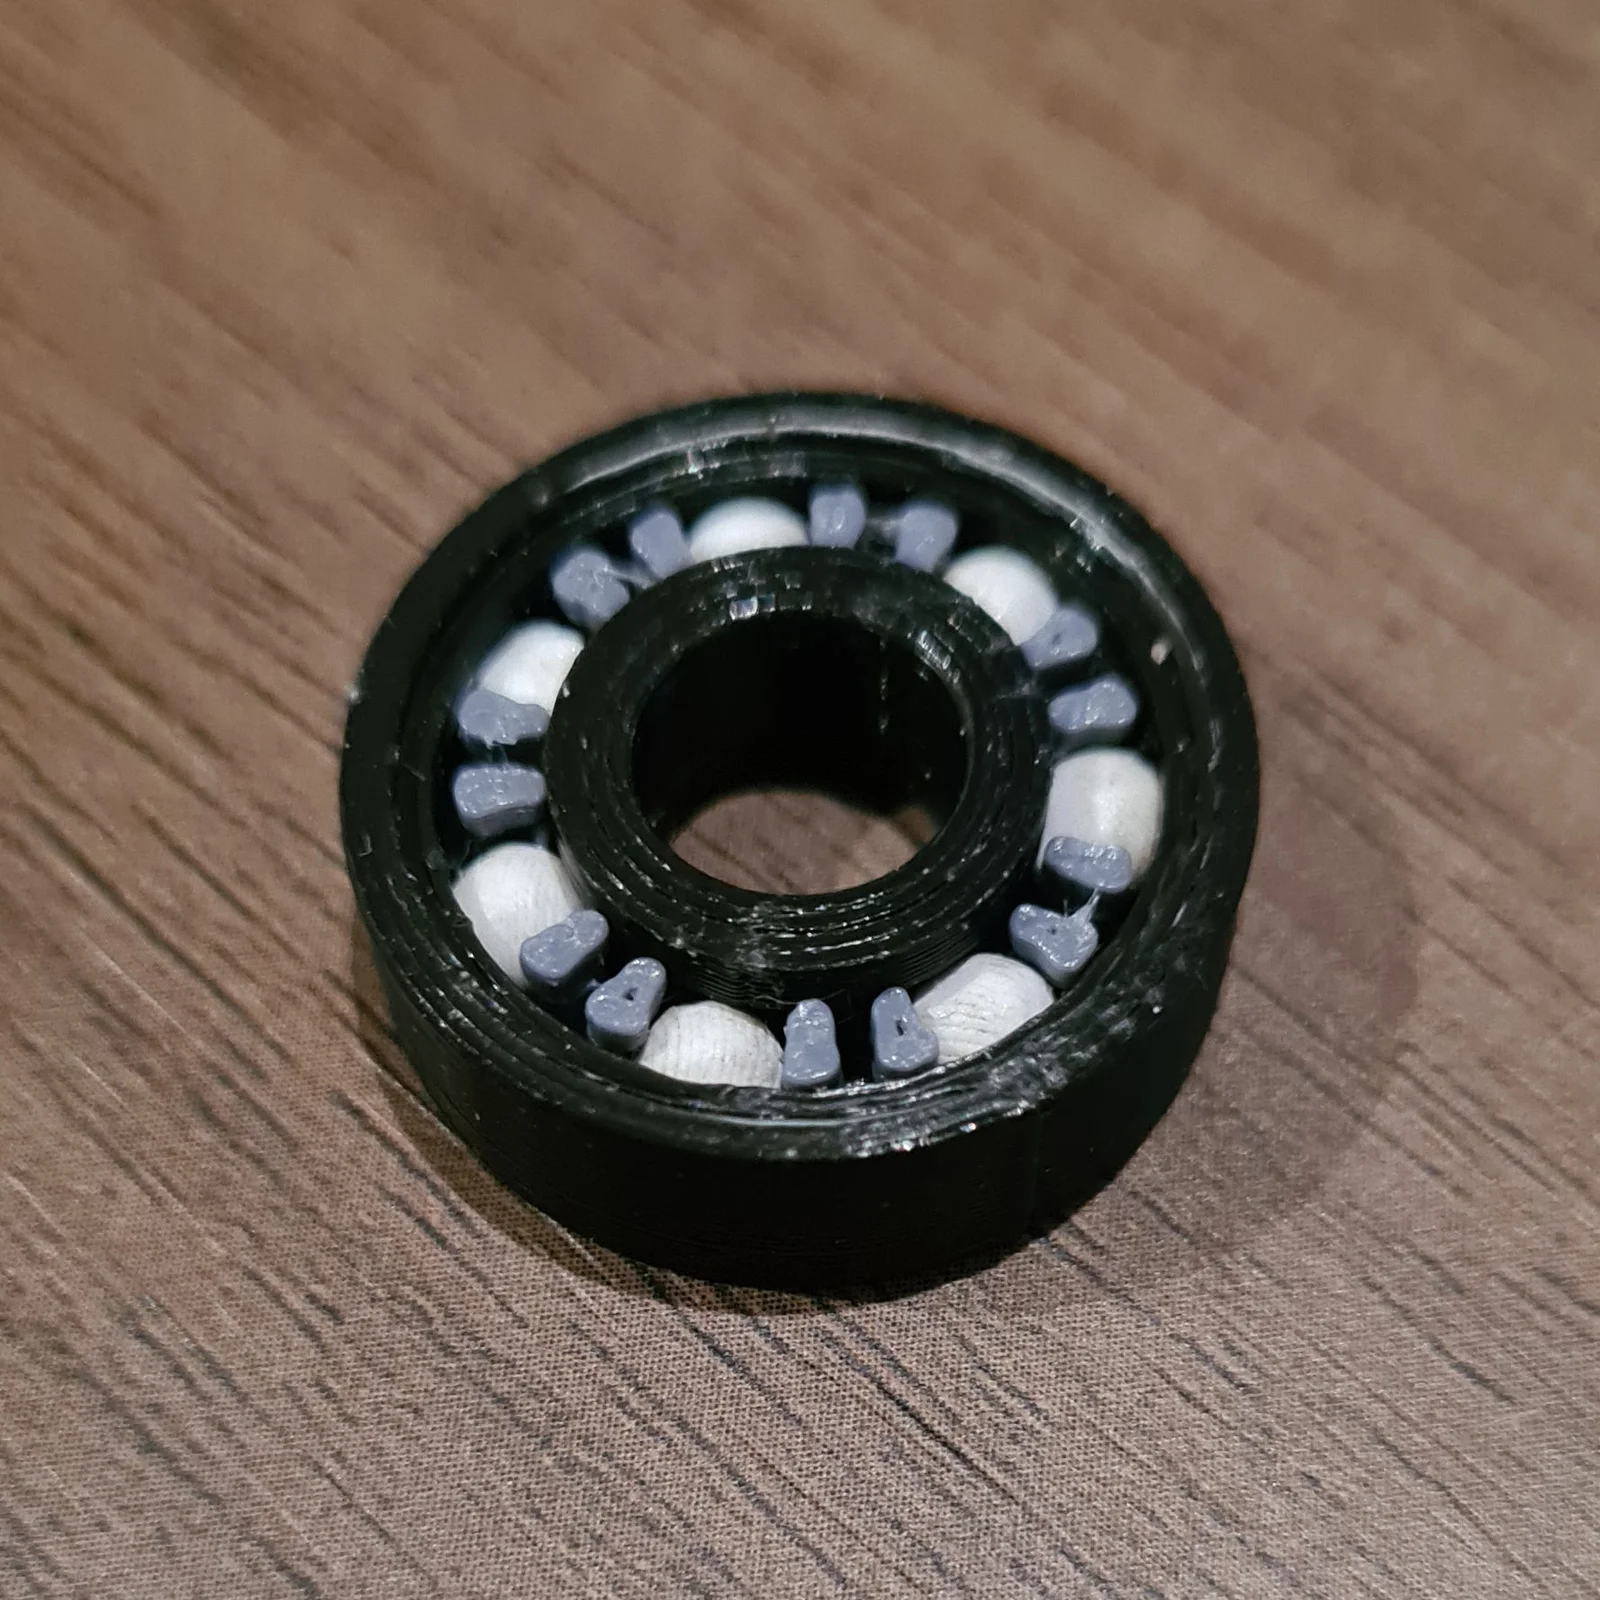
A dimensionally accurate version of the common 608 bearing, being the correct inner and outer diameters as well as 4mm balls. It can be used with or without the side covers. It does require some assembly and post processing of the balls and removal of the support material from the outer race, but all the helper parts are made available to assist in this endeavour.
Some print settings:
For the balls, you may need to play around a little with the settings, but no supports and brim with a little spacing worked well. I had a few false starts and failed prints as the balls moved. Try supports. I also had good luck with no supports or brim and used a raft which acted more like brim with support density. I printed most balls with 100% fill, but given their size even 15% fill results in an almost solid sphere.
Assuming all the parts have been printed:
Step 1: Using the Rill Plates (shaft, flat plate and grooved plate - and a drill) fill the grooves with balls, insert the shaft into the flat plate so that the hexagonal part engages. Using a drill attached to the shaft, work the balls until all the rough edges are cleaned off. Don't apply too much pressure or speed, they will be smoothed off with a bit of patience. I even tried a piece of fine sandpaper under the flat rill plate, but it was more of a headache and seems to be unnecessary. I only had seven balls in the device, but there is no reason that you can't add more.
Step 2: The crescent shaped piece is just to assist in loading the balls. It keep all the balls in the race grooves as you work the balls around the race. Place the assistance crescent inside the outer race, to one side. Place the inner race in also. Now fill the gap with the 7 balls. With tweezers or a toothpick, shift the balls around so that they are equally spaced. The assistance crescent is only needed until one of the balls can be moved around the grooves then let it fall out.
Step 3: With the balls evenly spaced, insert the cage.
Step 4: (Optional) Add the covers.
They can be a little hard to get in. Make sure the groove is clean.
Revisions:
I have updated the cover file to include some slots to assist in installing.
Byvc-designLikes0Downloads3.2K

 BySeppoTakaloLikes960Downloads1.9K

 Byrb_200934Likes48Downloads1.1K

 ByleonicLikes0Downloads1.4K

 ByZED4EverLikes313Downloads5.2K

 ByfifindrLikes500Downloads4K

 ByVC_DesignLikes679Downloads3.6K

 ByKNIN_CustomLikes112Downloads438

 ByDan Schwartz SchwartzLikes744Downloads3.4K

 ByUpcrid3D_1585693Likes808Downloads2.1K

 ByWilko_SLOLikes935Downloads2K

 ByshoheiyLikes0Downloads426