



Cute Cat Desk Organizer 3D Print Decor Model
 Byduo3dprintLikes0Downloads154
Build another version of this model.
NOTE: This project is still in development. 3D models may still change slightly. Once finalized, CAD file will be released. The description and documentation are currently incomplete and will be finished later.
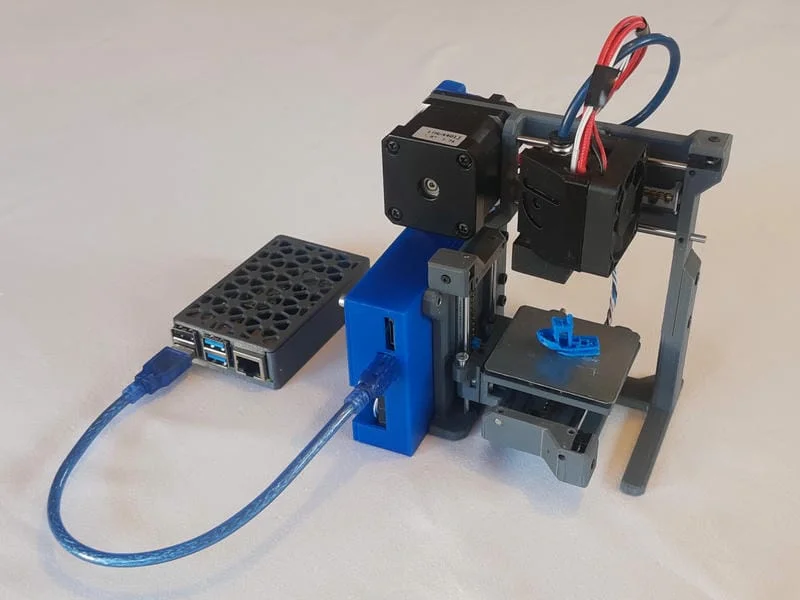
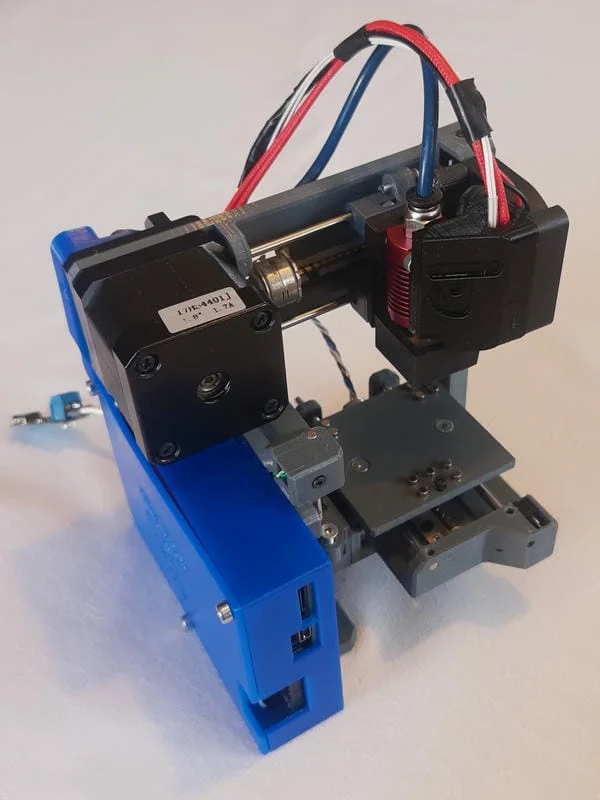
The goal of the project was to create a mini 3D printer that could be assembled only from "things at home". Specifically from:
Some of the first cheap 3D printers to gain wide popularity were models from Creality, particularly the legendary Ender 3.
However, the stock version of the Ender 3 had several problems that 3D printing enthusiasts often upgraded. The most frequently upgraded components were: mainboard with noisy A4988 drivers, print head, and single-drive extruder. These are exactly the components needed for my mini 3D printer:
As mentioned above, these are used, problematic components. Therefore, you can’t expect high print quality or reliability from the printer. Especially not in combination with stepper motors salvaged from CD-ROM drives, which don’t provide enough torque and will be used for movement in the x, y, z axes.
You’ll need to disassemble three old CD-ROM for the mini 3D printer. From each one, you’ll need:
From a computer mouse, only three switches are needed:
Additional accessories required:
This can be cut from any flat sheet metal, such as a CD-ROM drive cover or computer case panel.
For all wiring to switches and motors, I use standard stranded UTP cable. In general, any insulated stranded wire will work just fine.
1 m of UTP cable is more than enough for the entire printer.
It’s also nice to have connectors for crimping, though this can be avoided by soldering directly to the control board.
A PC power supply capable of delivering 24V can be used.
However, for greater compactness, I opted to power it via USB-C using a PD module:
A computer is not necessary for operating the printer.
However, since I want to use Klipper firmware, one is needed.
Practically any (old) computer that can run Linux will work — possibly even an old rooted smartphone.
Again, for compactness, I chose a Raspberry Pi 4 mini computer:
And printed this case for it:
https://www.printables.com/model/84680-raspberry-pi-4-case-pimesh4
Under construction.
All parts are printed from PETG, except for the hotend_mount part. That one should ideally be printed from a more heat-resistant material like ABS (or ASA).
The parts are designed for FDM 3D printing and require no post-processing, except for the carriage part. To achieve a precise and consistent diameter of the guide rod hole, it should be drilled with a 3.2 mm drill bit:
Solder wires to the switches, as shown in the image:
Insert the switches into the printed parts and push the cable into its channel using a blunt object:
Before screwing the switch in with an M2 screw, it's a good idea to cover it with heat-shrink tubing to prevent accidental shorting of the switch pins:
First, prepare the stepper motors. If possible, desolder their original connector. Otherwise, carefully snip it off with pliers.
Then solder the individual wires:
Crimp the necessary connector on the other end and attach the motor using M2 nuts.
First, place all nuts into the holes in the printed parts. Then screw all parts together according to the 3D model.
Finally, adjust the endstop screw so that the switch is pressed when the carriage is in its end position:
Connect the mainboard according to its specification.
For my mini 3D printer, I chose Klipper firmware in combination with Mainsail OS.
Under construction.
Byduo3dprintLikes0Downloads154

 ByBrokentooth_designsLikes23Downloads412

 Bytinx_1344834Likes1.2KDownloads6K

 ByteteomatLikes0Downloads137

 BytimLikes0Downloads528

 Bychrisd248Likes0Downloads441

 By3DSourcererLikes48Downloads379

 Bymateusz-tokarzLikes0Downloads165

 Byprusa-researchLikes0Downloads2.7K

 Bynadir-cn3dLikes0Downloads112

 Bybloblis67Likes0Downloads319

 Bydet-manLikes0Downloads173