
F3D
Đế bánh cho đèn mặt trăng ren vặn 1

6 images

Đồ Gia Dụng

Đế bánh cho đèn mặt trăng ren vặn

Remix of Đèn Mặt Trăng Lithophane với Đế Vặn Rộng By TheQuickSilver

By FritzPeppone

Downloads
98
Likes
31
Views
1,390

Files 8 18.7 MB

  • Puck_Base_Assembly_1766512286.stpSTP · 1 MB
  • Puck_Base_1766512287.stpSTP · 1 MB
  • Puck_Lid_1766512289.stpSTP · 225.6 KB
  • Puck_Cable_Clamp_1766512290.stpSTP · 85 KB

Make a variant with AI

Build another version of this model.

Open Studio

Description

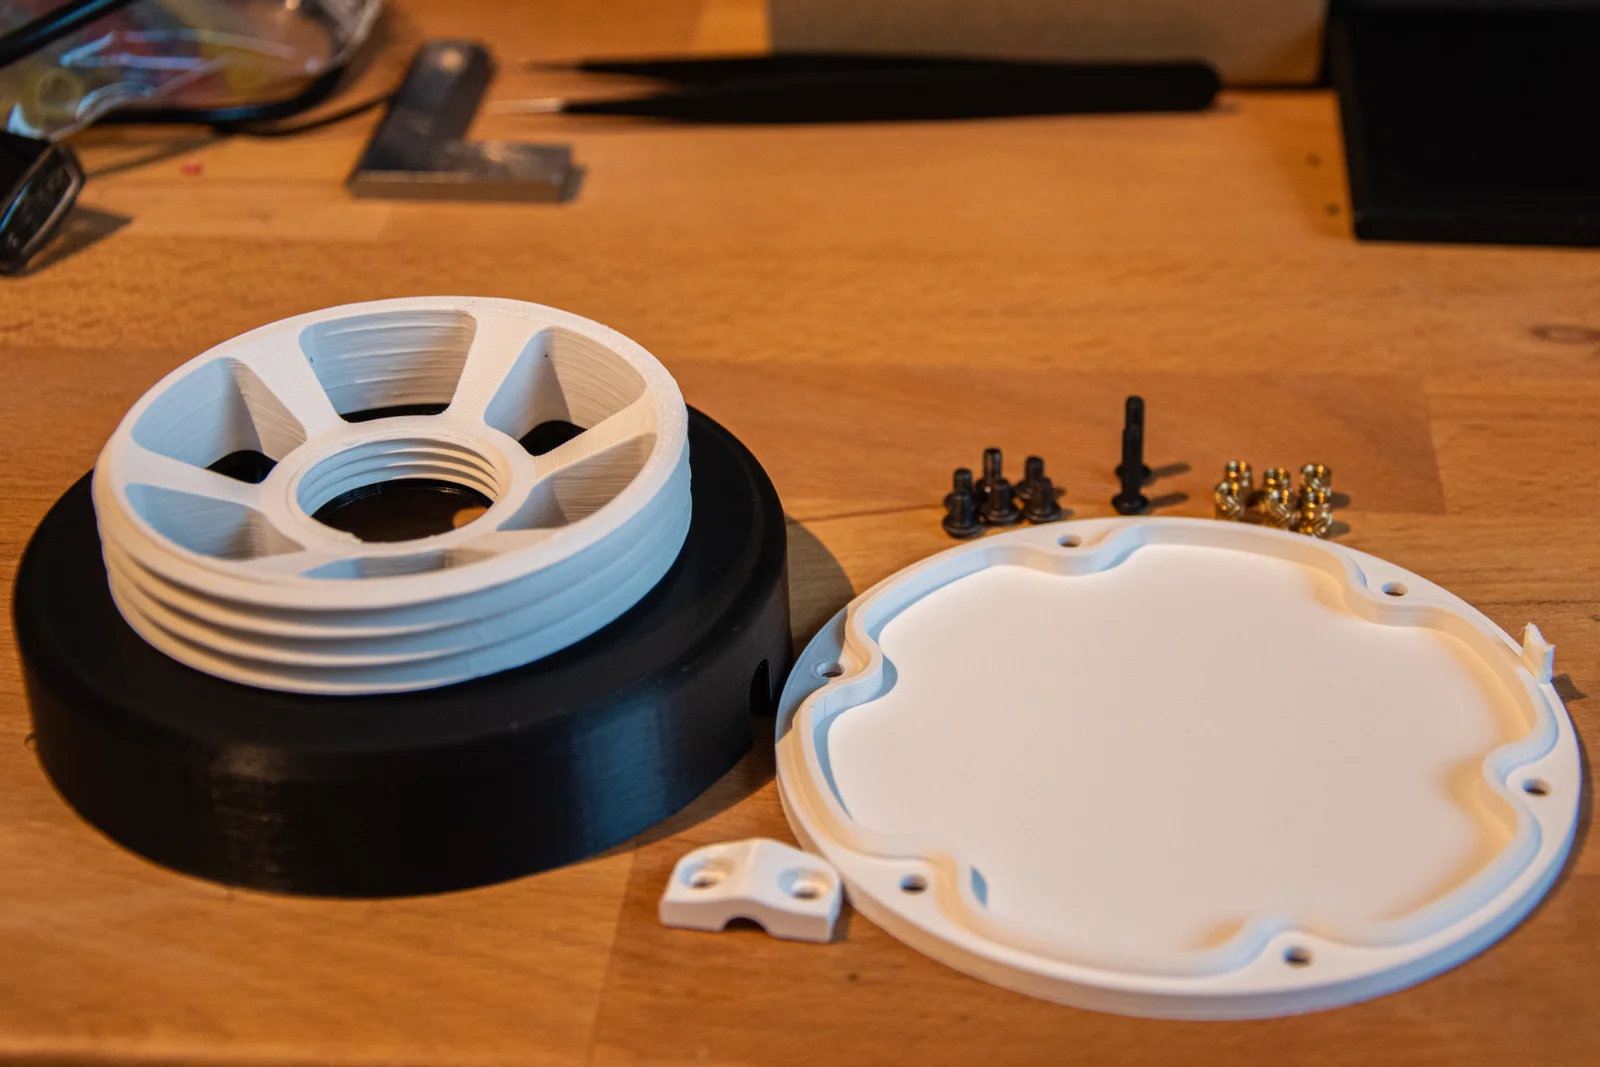
This is a puck-shaped base for The QuickSilver's Lithophane Moon Lamp with Wide Screw Base. It uses threaded inserts and features a strain relief for the cable. Technically this is not a remix but a complete new design.

BOM:

printed parts

  • 1x Puck_Base
  • 1x Puck_Lid
  • 1x Puck_Cable_Clamp

hardware

  • 8x M3 threaded heat set inserts (I used these) 
  • 8x M3x10 BHCS screws (other lengths or countersunk screws (if used carefully) may work as well
  • 1x cable (preferably with a switch) with a diameter of ca. 6mm (I used these but without the socket)
  • 1x E14 light socket with an outer thread. They should not have a fixed cap at the bottom, otherwise they may not fit (I used these, you should probably get something comparable at most hardware stores)

To assemble the base:

  1. Use a soldering iron to insert all heat set inserts. 
  2. Then insert the cable through the cable channel and screw in the light socket. If necessary, remove the bottom first! The light socket should be a pretty tight fit. If not, you may secure it using a socket nut (usually you will get them with your socket) or with glue
  3. Crimp the cable ends and connect them to the light socket
  4. Secure the wire with the cable clamp (strain relief!) You may additionally use zip-ties
  5. Close the bottom of the base
  6. Screw in an E14 light bulb and the moon lamp
  7. Enjoy

Additional information:

  • All parts are already oriented exactly how they're supposed to be printed
  • Only the Puck base requires support, everything else prints perfect without
  • Use the stl files for slicing. PrusaSlicer may not be able to mesh the step files correctly
  • If you require any changes or adaptations, modify the step files or contact me
  • You may want to test your printer and it's tolerances for the thread. I added an stl file to test just that

Read more Show less

Print spec

Formats
stlstp
Model files
8
Total size
18.7 MB
Largest file
9 MB

0 comments

See all