



Kẹp giữ sợi Filament
 Bytinx_1344834Likes1.2KDownloads6K
Build another version of this model.
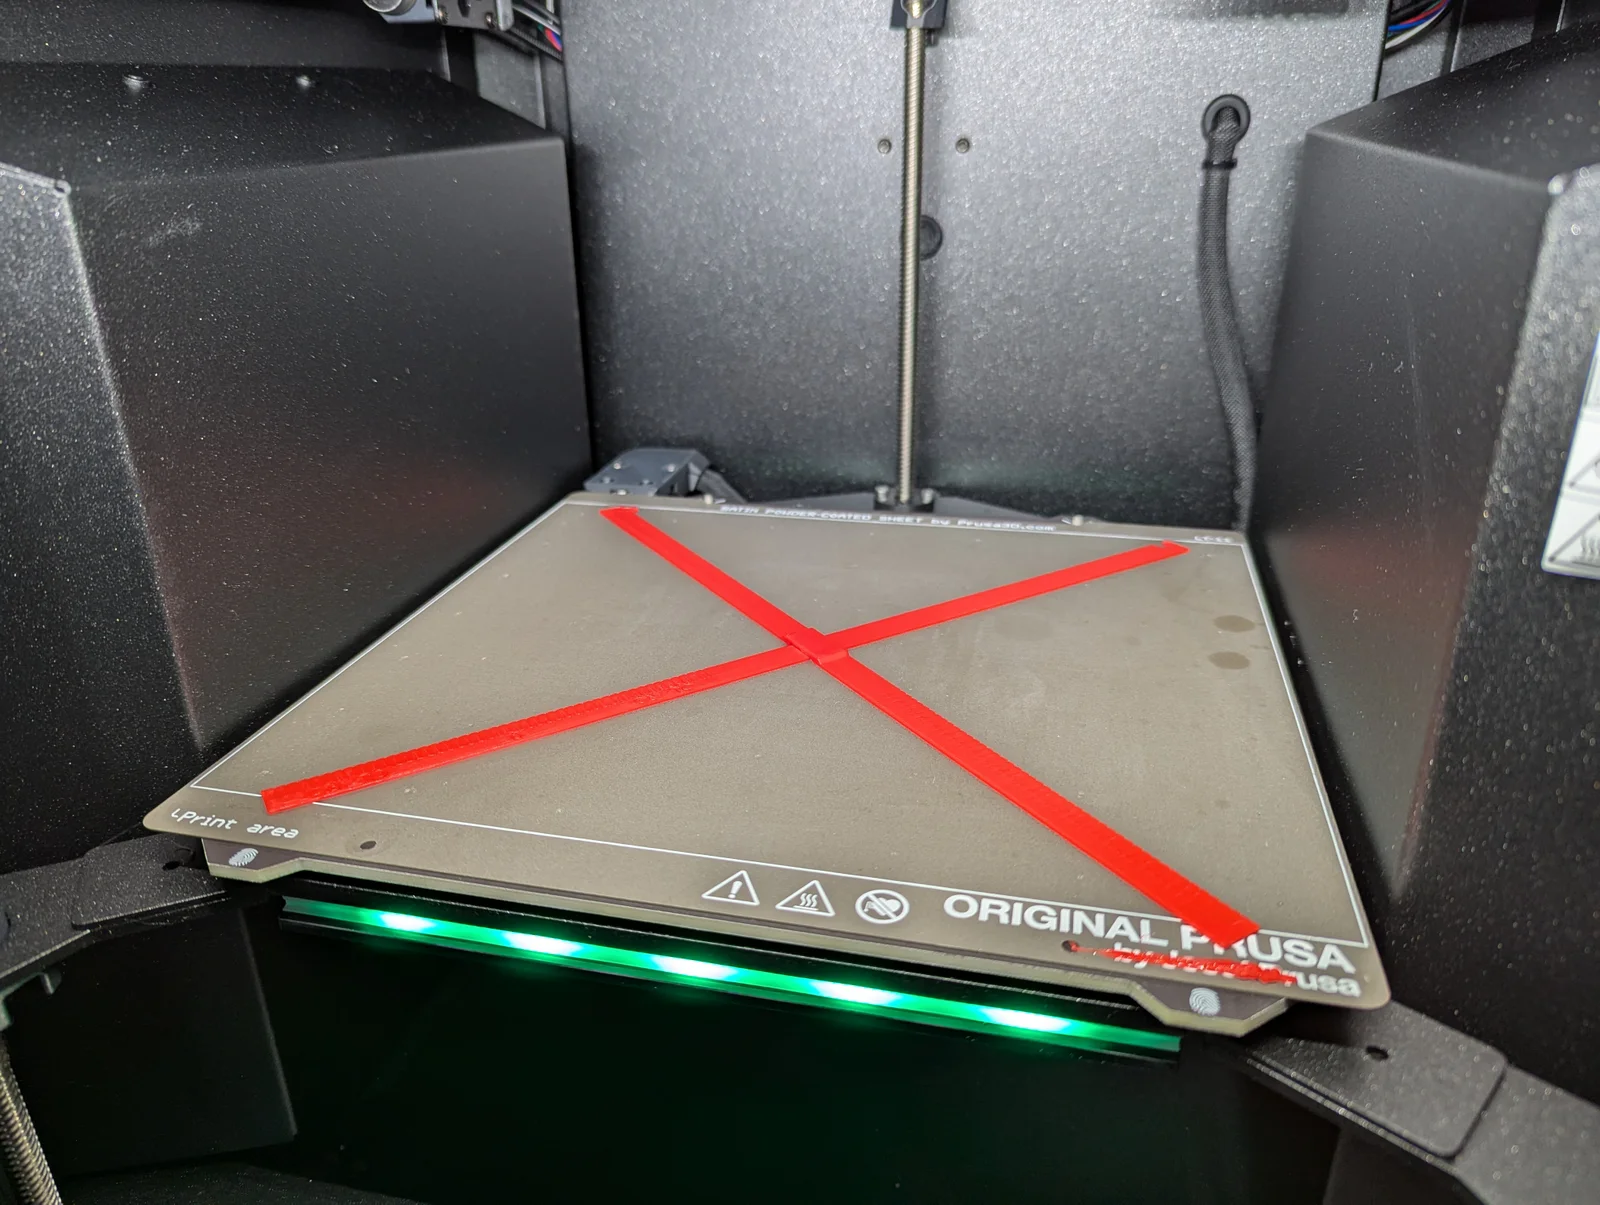
This print will show you how far out of square your printer is. It accurately measures up to 1mm of deviation between the X=Y and X=-Y directions.
When running a CoreXY printer it's very important that your belts are evenly tightened. Even with the tuner app slight differences in belt tension can lead to slight amount of skew. Most of the time this is small enough to not matter, but if you are printing large parts on multiple printers and expect a close fit it can cause problems.
Slice for 0.20mm STRUCTURAL. Set "Print Settings → Infill → Fill angle" to 0. Since the parts are already at a 45 degree angle to the bed we don't want the infill running the entire length.
Print the part and let it cool completely before removing. If the part is stretched or bent then it can affect the measurement.
Lay the two pieces side by side, aligning them using the keystone shape at the left end. Be careful not to force the parts together in a way that could cause a false reading. They need simply be aligned at the left end.
Now look at the right end. The 0 marks should line up.
If they don't line up it will look something like this
Note that the zeros do not align. The zero on the vernier scale (the one with all the numbers) is to the left of the lone zero. This is a negative reading as noted by the - symbol at the end of the vernier scale. Look for the tick marks that are aligned. In this case it is the tick labeled 6. That means that this reading is -0.6mm.
This is not an exhaustive guide on squaring your printer. This is a gauge for measuring skew. However here is a brief guide on how to get started.
CoreXY systems can be adjusted for skew by balancing the belt tensions. In a CoreXY system a positive value means that the right belt is too tight. A negative value means the left belt is too tight. For a CoreXY system you can use the hint arrows on the scale. These tell you which way to turn your tensioner screws. Turn them equal and opposite to maintain belt tension.
See also the adjustable endstop models for Prusa XL and Prusa CORE One that I have shared here on Printables.
For other printers, take a moment to look at the part as sliced on your printer. A positive value means that the vernier scale (the one with all the numbers) is longer than the main scale (the one with the single 0.) Think about which way the axes must be shifted in order to make this happen.
How you correct for skew is very dependent on the printer you are testing. You may be able to compensate for it using software. Marlin has a GCode setting for entering a skew factor. RepRapFirmware has orthogonal axis compensation.
You can view and export custom length scales in Onshape.
Rev2 fixes the spacing of the extra ticks on the scales. They were spaced out too far and not useful for measurement.
Rev3 reduced the width of the scale removing redundant marks, this speeds up print times considerably. Added hint arrows for CoreXY belt adjustment.
Bytinx_1344834Likes1.2KDownloads6K

 ByreddLikes216Downloads2.2K

 ByJasonOlliff_519145Likes241Downloads2K

 Bygafyx3dLikes0Downloads116

 Byarhi_585078Likes64Downloads538

 ByHanzo3dLikes155Downloads411

 ByGeek5DLikes147Downloads482

 ByBrokentooth_designsLikes23Downloads403

 By3DSourcererLikes48Downloads374

 ByWyomingWolf_261196Likes52Downloads424

 Bytopronix_2170418Likes41Downloads294

 ByKRYS_3DLikes8Downloads43