


New
Fortnite Pirate Shop Token
 Bylarp3dLikes0Downloads1.4K
Remix of Đèn Pin Minecraft By MichalFanta
Build another version of this model.
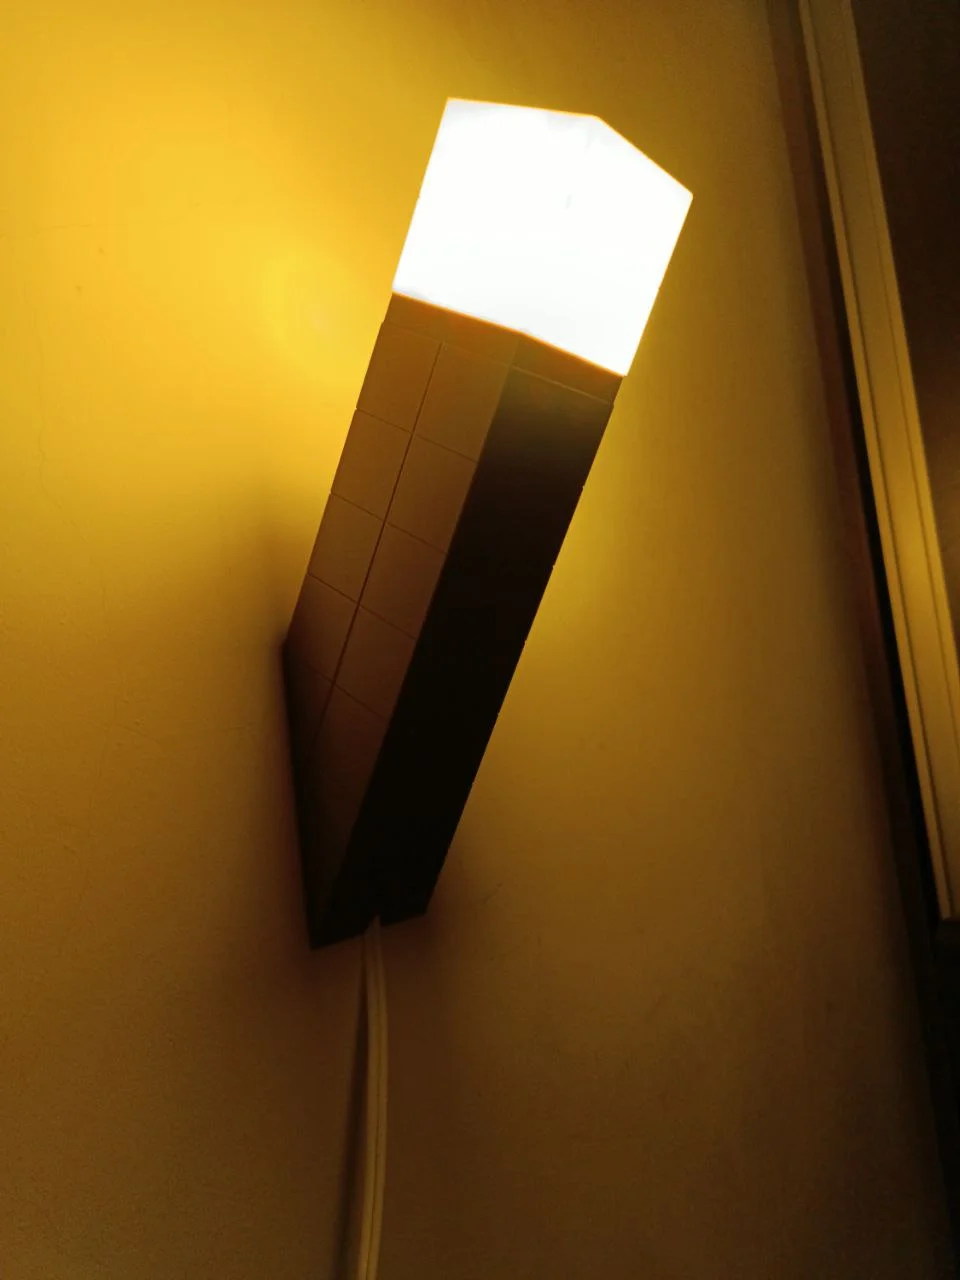
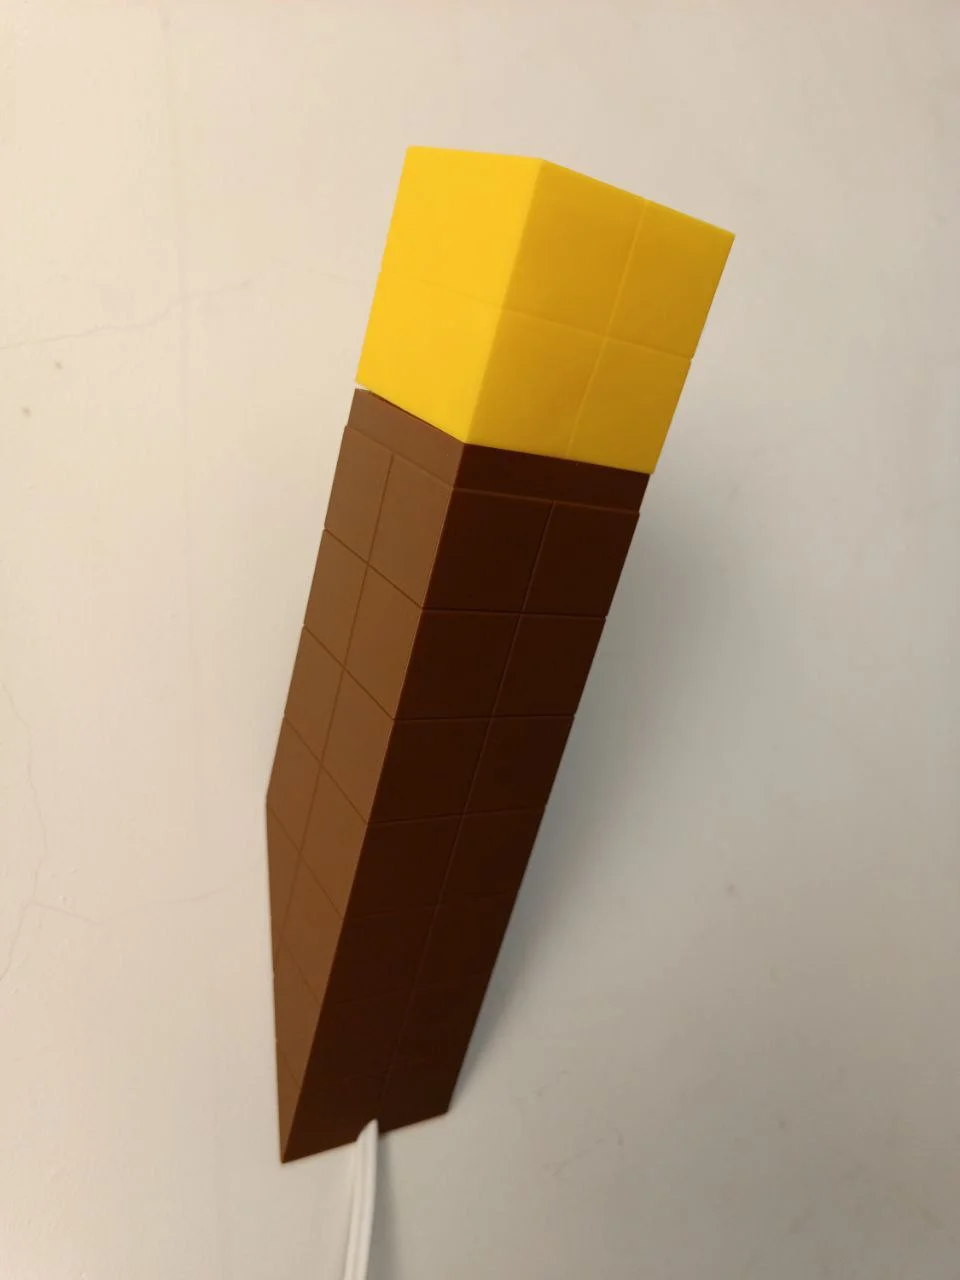
Minecraft Torch Lamp (No-Magnet Remix by Voxel Forge)
Hi, I'm Voxel Forge. I loved the original design but wanted to create a version that could be assembled without having to source specific magnets.
My version replaces the magnet-based mounting system with a simple attachment. This provides a secure connection using only the 3D printed parts.
Bill of Materials (What you'll need):
1. Printed Parts:
2. Non-Printed Parts / Electronics:
Printing Instructions:
Assembly & Wiring Instructions:
Disclaimer: Please be careful and take all necessary safety precautions when working with electricity. If you are not comfortable with wiring, please consult someone who is.
Check out the video!
I made a short video of the build on TikTok. You can watch it here:
Check my Web Page!
Credits & Original Design:
This is a remix, and all credit for the brilliant original concept and design goes to Michal Fanta. Please be sure to visit the original page and give it a like!
Bylarp3dLikes0Downloads1.4K

 ByjoranLikes0Downloads217

 ByckthLikes148Downloads2.4K

 ByJac2307_889487Likes36Downloads259

 By3dwakeLikes0Downloads365

 ByUpcrid3D_1585693Likes48Downloads215

 ByvladtheinhalerLikes64Downloads257

 BylclabLikes0Downloads293

 BynasikLikes0Downloads277


 ByJaronLikes310Downloads1K

 ByprogoonLikes0Downloads268