Cover Toolhead Siêu Nhẹ SE3D cho Elegoo CC
Remix of Chụp đầu in SE3D Carbon Elegoo Centauri By Syn3D_3309286
- Downloads
- 1,179
- Likes
- 295
- Views
- 7,870
- Remixes
- 1
- Comments
- 0
Files 3 2.1 MB
- Ultralight-SE3D-Toolhead-Cover_1766364174.3mf3MF · 477.5 KB
- Ultralight-SE3D-Toolhead-Cover-Front_1766364174.stlSTL · 767.8 KB
- Ultralight-SE3D-Toolhead-Cover-Back_1766364175.stlSTL · 883.5 KB
Make a variant with AI
Build another version of this model.
Remix versions 1
See all 1 remixDetails
- Model ID
- #173128
- Category
- Máy In 3D
- Published
Description
Big thanks to Synthetic Electron 3D for his excellent work on the original toolhead redesign. I took a few days to work out minimizing the weight of his design as far as I was comfortable taking it. Can it get even lighter? Maybe, but the cost might be a cover that's far too fragile to be used or even reliably printed. My print is admittedly somewhat ugly, but it doesn't have to be pretty to work.
What was remixed:
- Non-structural sections thinned. All of the meat left is primarily in corners, dovetail mounts, and attachment points.
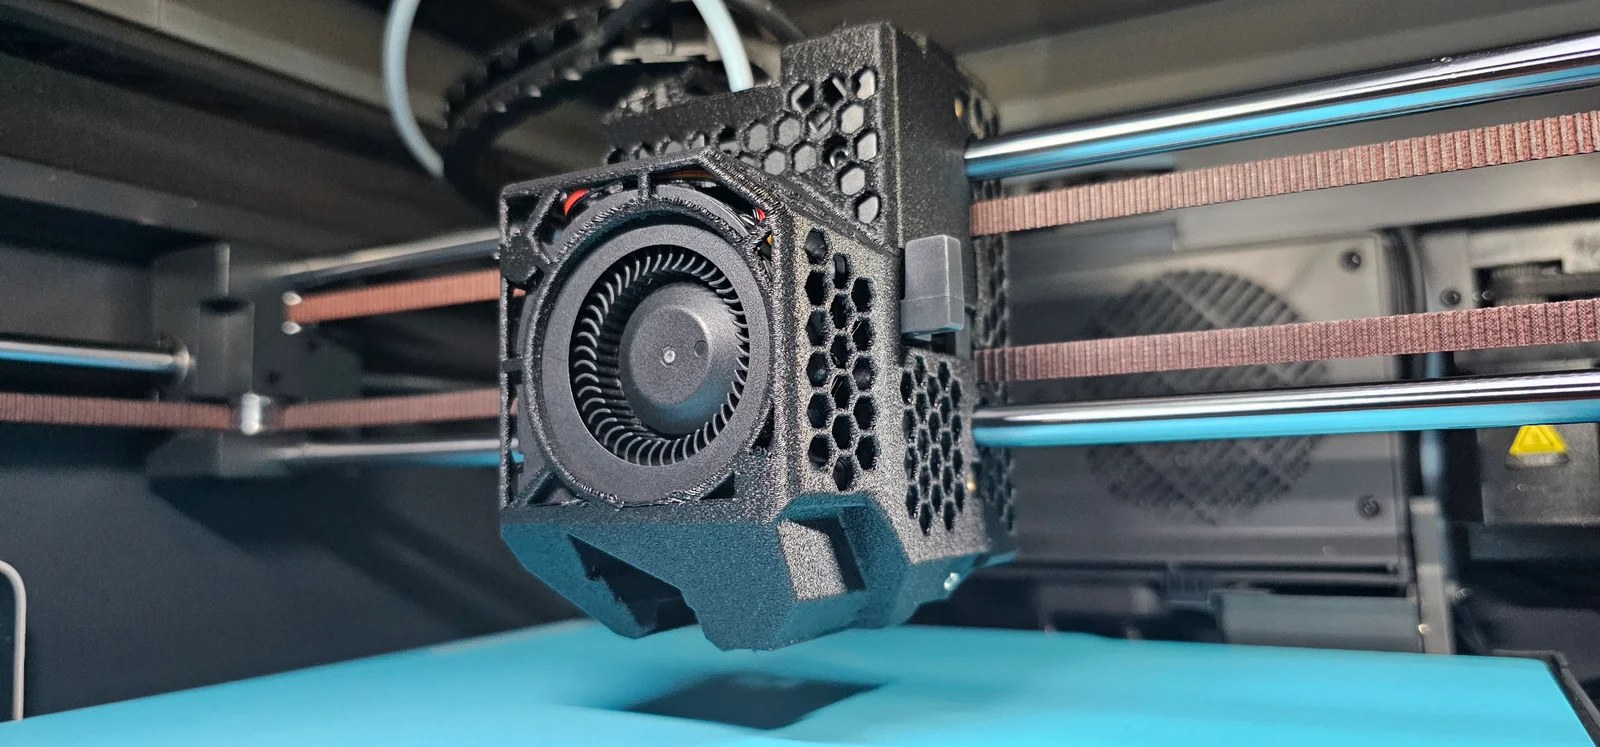
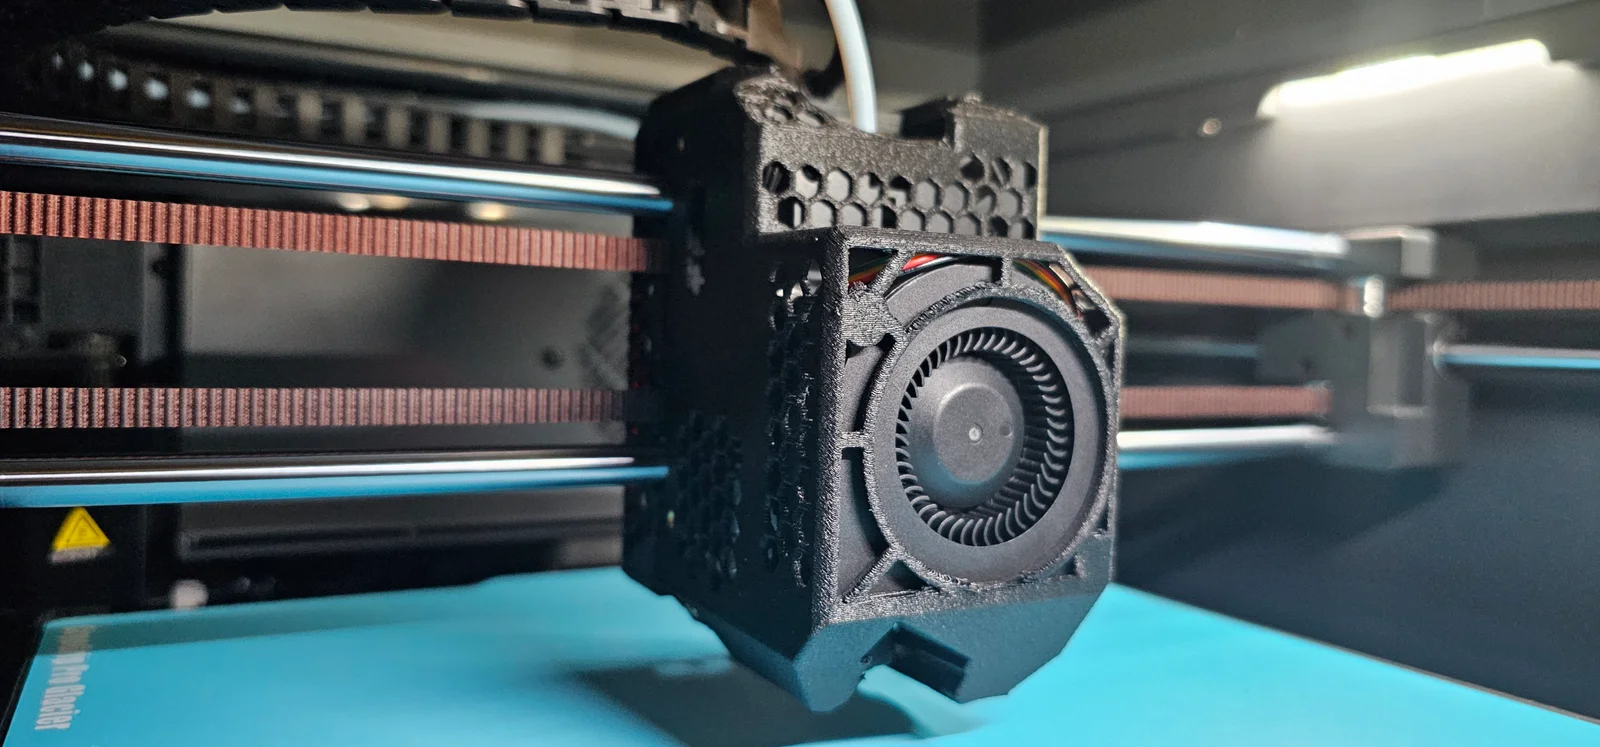
- Skeletonized panels and airflow vents, and removed unnecessary sections above the fan for even better weight distribution, most weight is now behind the fan. This moves the weight distribution further towards the guide rails and toolhead center of gravity for better inertia control.
- Reshaped parts cooling nozzles for more direct airflow, fan pressure should be theoretically higher and should allow for lower/quieter fan speed. This also allows for better part visibility under the toolhead.
Weight savings:
- Original toolhead assembly (without fan) weights ~82.5g. My example of this new design was printed in Elegoo PAHT-CF (about the same weight as ABS/ASA), and weighs in at ~33.5g (printed at an angle). Original SE3D redesign weighs ~63g with the same print settings.
Mounting hardware:
- This remix reuses the original fan and back plate screws
- M2x5mm self tapping screws to attach front and back covers
Print settings (0.4mm nozzle):
- 0.2mm Layer Height
- Arachne Wall Generation & Inner/Outer Wall Order
- 2 Wall Loops, 3 Top/Bottom Layers
- 8% Gyroid Infill
- 1mm Minimum Sparse Infill Threshold
- Tree Slim Support, 10° Threshold Angle (USE PROVIDED 3MF WITH ORCA SLICER, SUPPORTS ARE TWEAKED WITH BLOCKERS AND ENFORCERS)
- No Brim
Installation
- Remove all three OEM cover sections, remove fan from front cover.
- Install fan into new front cover using the two stock screws, route cable to the left side.
- Make sure fan “clicks” into the parts cooling nozzle section, otherwise it is not fully seated in the frame.
- Screws may feel sticky, carefully cut threads by screwing in and out a bit at a time until the screws fully seat against the fan. No need to overly torque them down.
- Install back cover using the three stock screws.
- Plug in fan, carefully position connector into the top left open corner of the fan shroud.
- Slide front cover onto back cover dovetails and secure with M2x5mm screws at all 4 dovetails.
- RECALIBRATE THE MACHINE, THIS MOD COMPLETELY CHANGES INPUT SHAPING AND PID TUNING DYNAMICS.
My best printing results came from printing this first in PETG, then using that toolhead cover and recalibration to reprint in my preferred material.
Updates
- 9/10/2025 - Added more belt clearance to the back plate.
Print spec
- Formats
- 3mfstl
- Model files
- 3
- Total size
- 2.1 MB
- Largest file
- 883.5 KB