



New
Pocket-Size Third Hand Mini Spring Loaded Vise
 ByrjunLikes0Downloads303
Remix of Hộp điện tử Atorch DL24 cho tải điện By FixDaily_608923
Build another version of this model.
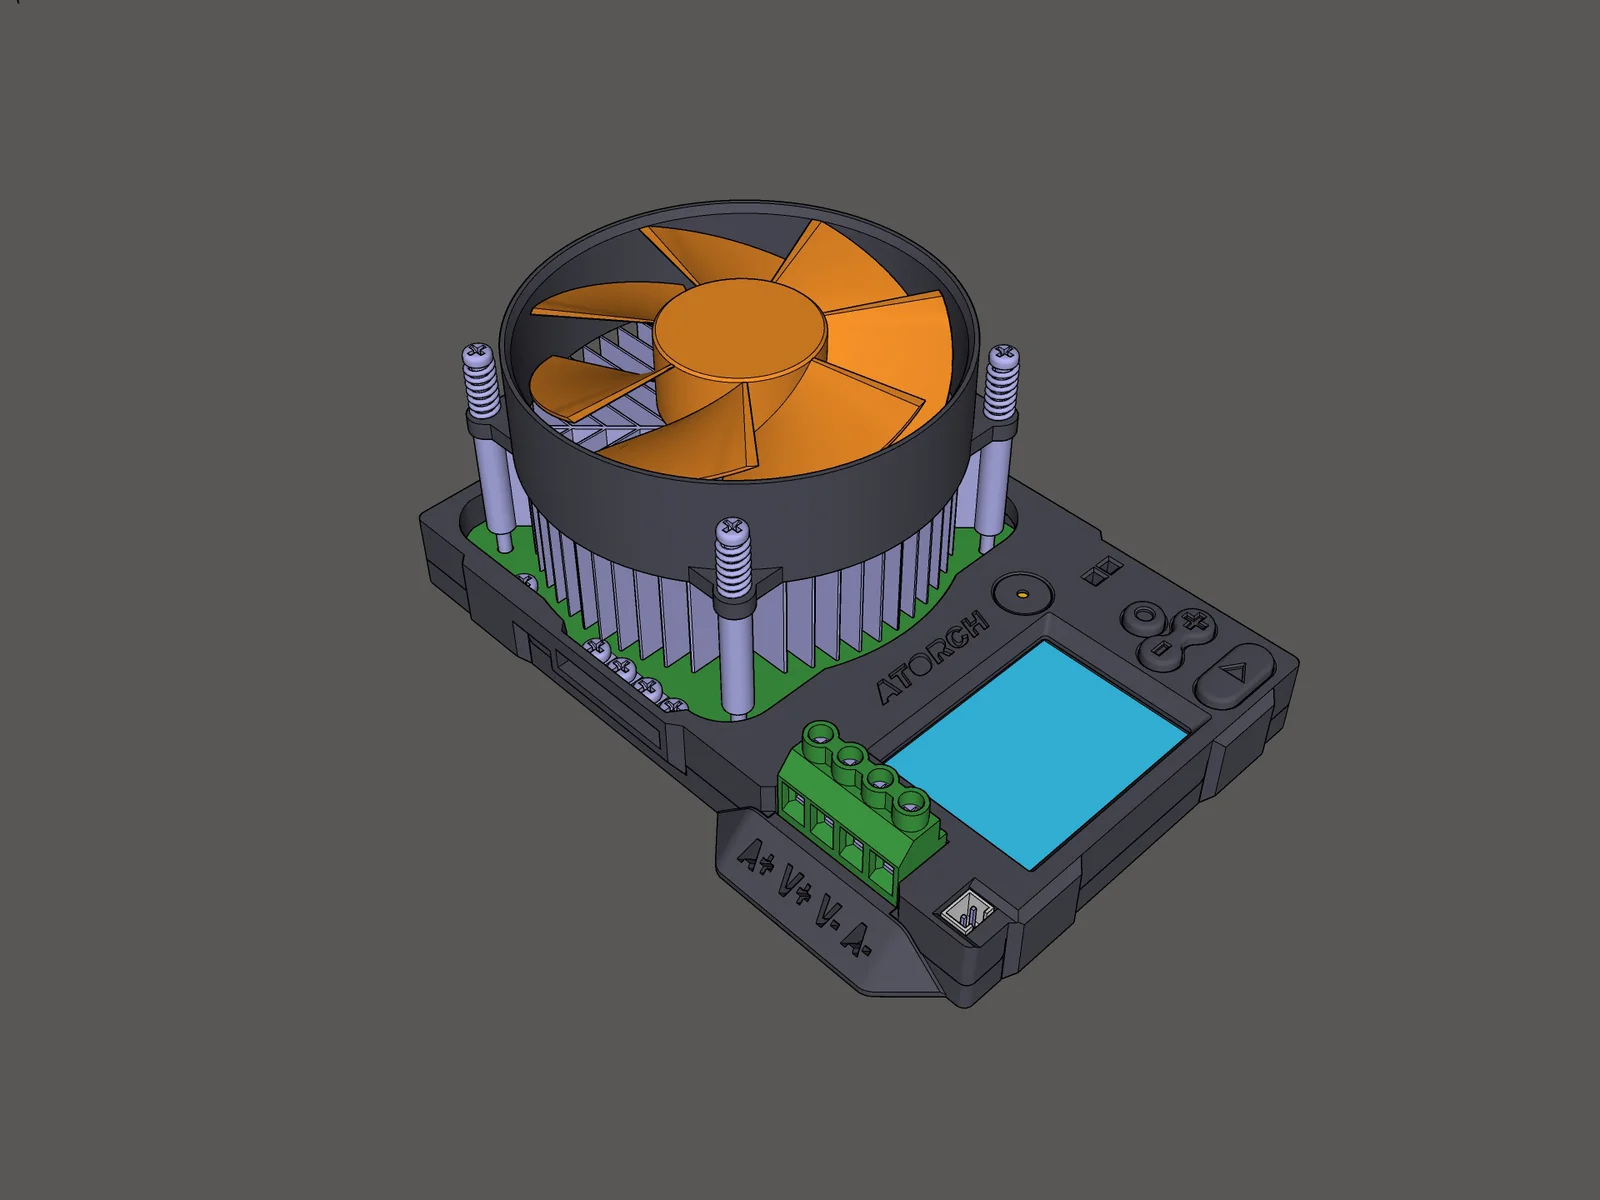
 Vỏ hộp bảo vệ Atorch DL24 150W (Cải tiến tản nhiệt)BySergeyStrelba_330624 · 06/02/2026
 Vỏ bảo vệ cho thiết bị tải giả Atorch DL24 (Bản tùy chỉnh)ByPolymath_147476 · 04/11/2026
 Vỏ Atorch DL24 Electronic Load + kính bảo vệByAndiyKo_367313 · 02/15/2026
(Both version works with 10 mm long M3 screws, half-round or countersunk head)
◦ Material: PLA, PETG, ASA
◦ Nozzle diameter: 0.6 mm
◦ Layer height: 0.2 mm
◦ Perimeters: 3 (with 0.4 nozzle use 4 perimeters)
◦ Infill: Honeycomb at 25%
◦ Print speed: ~ 30 mm/s
◦ Print orientation: As in STL files
◦ Support: No
If you choose ASA filament, you can use anti-warping triangles:
Open them in the slicer, split them into single objects, and move them to the corners you need to reinforce, place them with an ~ 2 mm offset from the object and use 4 mm brim on everything. Remove them with small cutting pliers. Otherwise for Buttons, print them without brim.
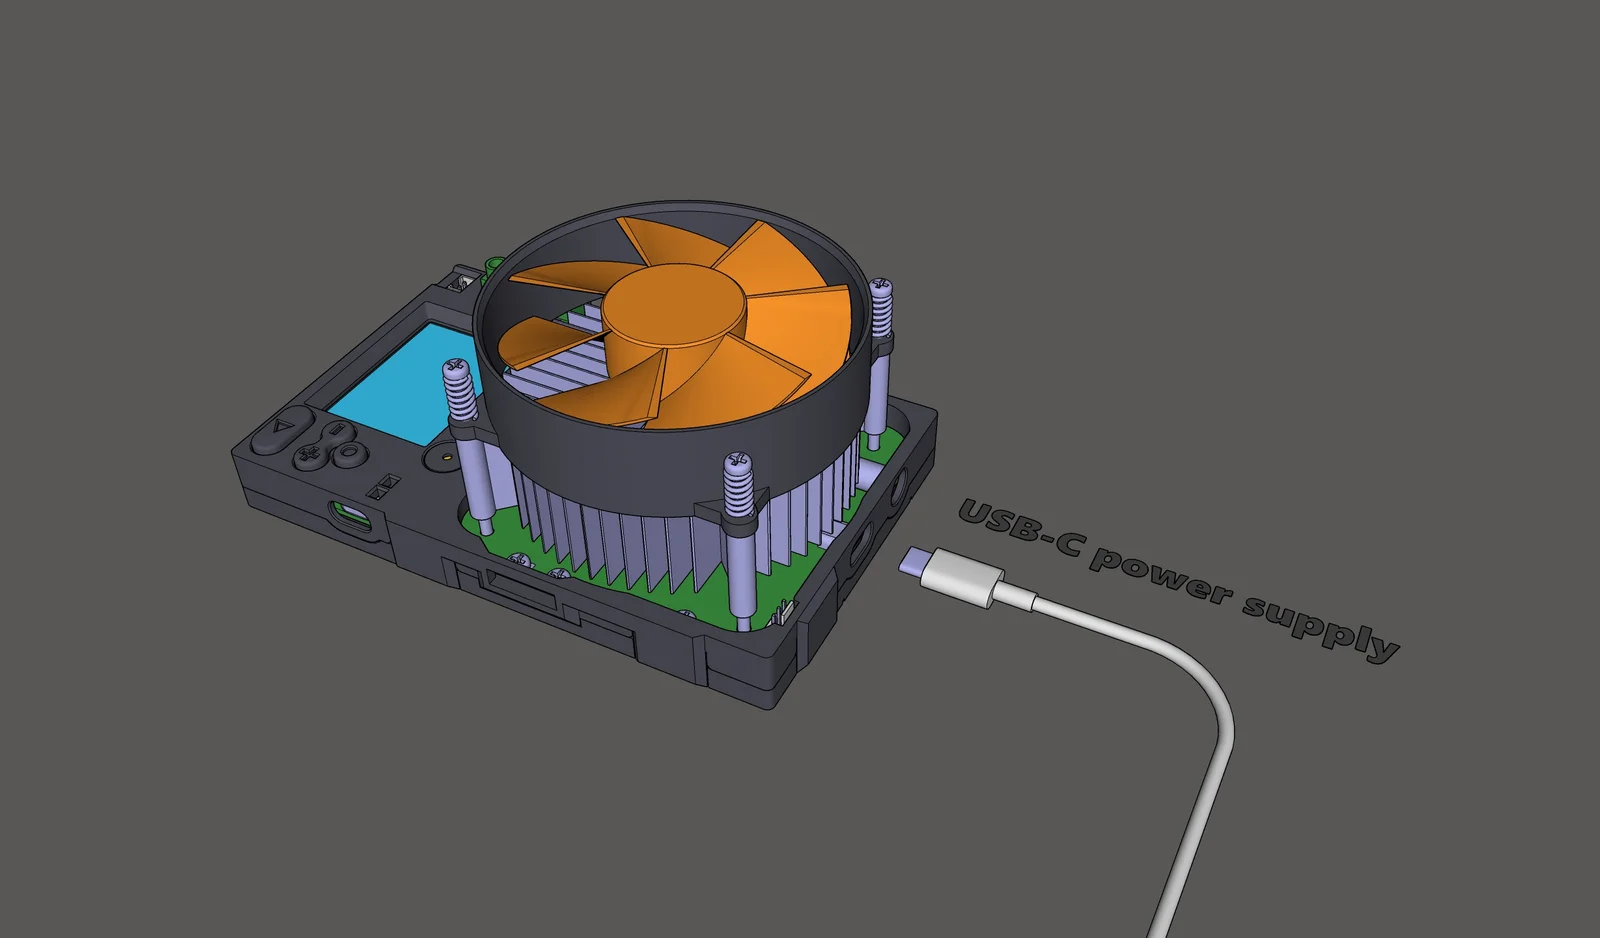
⚠ If you use side outputs with fork terminals (such as the calibration OUTPUT), always connect them when the Atorch is turned OFF: Voltage on the screw + nearby metal heat sink + metal screwdriver = risk of short circuit.
Note: In the comments, users Romys and Phil wrote to me that they tested the cover on the 180 watt Atorch version and that the cover fits well on this more powerful version (you need to remove the larger heatsink with fan). Thank you to users Romys and Phil for testing and feedback!
1) First, insert 10 heat-set nuts from above into the Atorch Bottom - Heat-Set nuts cover:
2) Screw the Atorch electronic board by four M3 10mm screws to the bottom cover:
3) Insert the Buttons into the Atorch_Top cover, make sure the buttons play smoothly. If they have a elephant's foot, grind their edges:
4) Turn the Atorch upside down to attach the top cover so that the buttons (red in the picture) do not fall out:
✔ After you hear 6 clicks, you are done.
ByrjunLikes0Downloads303

 ByleonicLikes0Downloads1.4K

 ByZED4EverLikes313Downloads5.2K

 ByVC_DesignLikes271Downloads756

 BymiceciczeLikes0Downloads597

 ByfifindrLikes500Downloads4K

 Bymrfixit_324954Likes65Downloads478

 Bylab-96Likes0Downloads105

 ByDan Schwartz SchwartzLikes744Downloads3.4K


 ByBrokentooth_designsLikes83Downloads453

 Bytomi-oneLikes0Downloads238