

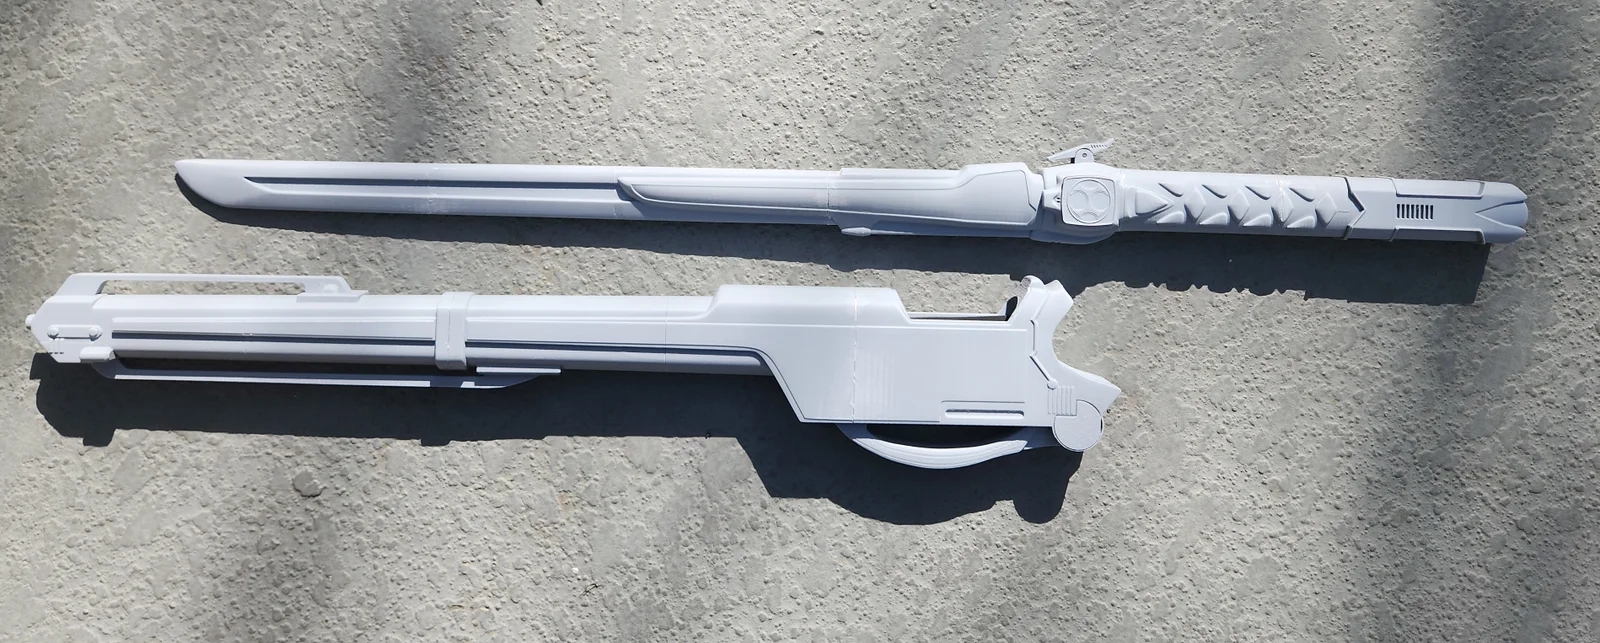
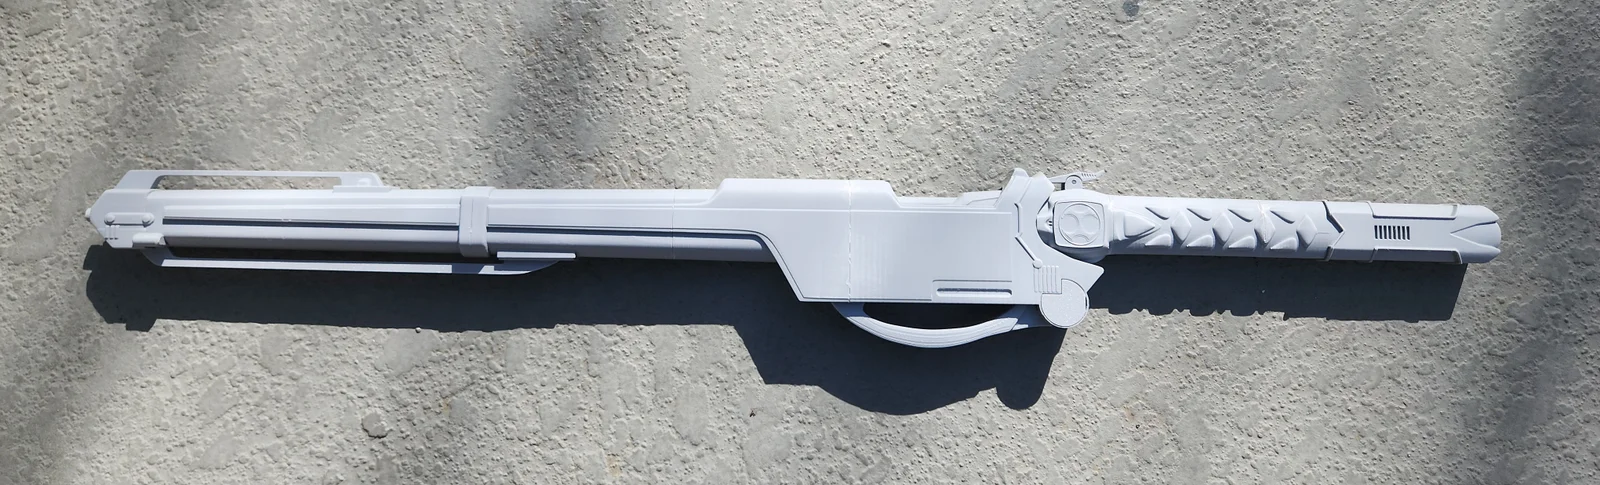

Power Rangers Ninja Storm Hawk Blaster (Mô hình in 3D)
 ByzAbso_1600844Likes1Downloads17
Build another version of this model.
All links are non-affiliate
Most of this is pretty straight forward. One thing that requires a particular orientation is the clip. Due to the design, there's really only one good surface to get a nice print from. You'll want it to be straight up, with the tip touching the bed. I used tree supports and a brim to help it, I'm sure normal supports would work just as well.
You can pretty much print these parts however you want. Duplicate the cap and mirror one on the y-axis. I recommend cutting the handle in half and printing it on the flat surfaces. I'd also recommend printing parts 2 and 3 with the thinner surfaces touching the build plate. I cut them specially for that orientation to allow the side detail to print a little easier.
Gluing everything up is pretty straight forward, just match up the surfaces. The pivot_set_helper is there to make sure you get the pivot to the proper height on each side. Just push the pivot in as far as you can, and lightly hammer it the rest of the way. I wouldn't glue it in place. It may wear out, so you'd only have to replace the pivot rather than the entire handle.
When it comes to the clip housing for the sword, do not glue them in place. They should be a pressure fit. The idea is to allow them to be removable in the event that the screw hole becomes stripped, or they break in a way that allows you to pull the rest of it out. I've also included 2 screens. One blank, and one with the Ninja Storm logo. The hope is that it makes it easier to customize by editing the stl or painting on it.
After putting the pivot through the handle, slide it into place. When screwing it in, put a wash between the plastic and the screw. You'll want to tighten the screws as far down as you can, but try not to strip it. This is why I said not to glue the pivot in place. It's meant to be replaceable if needed. This will give you a good bit of friction to hold everything in place for the most part. There is an optional hold there to put a locking screw through. It's there if you're going to be moving it around a lot and need the handle to roughly stay in place when opened. The hole is purposely over sized so you can just pop it in and out.
There is space for 2 magnets for the caps, though 1 should be enough. It can be a little tricky to get the cap off, so I provided a helper tool for lifting it.
The foam for keeping the sword in place should go across part 5, and about halfway across part 4 of the sheath. It'll be a tight fit so you only need to put a piece across the sides. There shouldn't be any foam on the top or bottom of the pieces. I use double sided tape to stick it down. It keeps the foam removable if it wears out. You don't need to put tape down the entire length of the foam, just on the area that will be touching part 5. The clip is there for the aesthetics. It doesn't have enough power to hold the sword in place. Running some heat over the foam can help seal it as well to lower the changes of it rubbing off.
Length of the sword: 31 inches (787.4 mm)
Length of the sheath: 24 inches (609.6 mm)
Length of sword in sheath: 34 inches (863.6 mm)
Overall, the sword and sheath are a mashup of things that I liked from the toy, reference images, and concept art. The size of everything feels right to me, though that resulted in some pretty tight tolerance in some places. I considered adding some spots for a sling, but decided against it. The sword in the show just floats on their back. If you want to add a sling yourself, then use a torus primitive in the slicer as negative space near the sheath entry. From there you could just tie the other end of your sling around the ring on the sheath, or even use the same torus trick on that as well.
There are stands included for displaying it sheathed or unsheathed. I'd usually go for a wall mount, but this doesn't really have the profile for it. I may restyle them at a later date.
ByzAbso_1600844Likes1Downloads17

 Bybonzai000Likes716Downloads16.8K

 ByFotisMintLikes340Downloads2.5K

 Bypapyskull_3946746Likes152Downloads507

 Bypokon_nurdspaceLikes429Downloads1.8K

 ByZabricot200_1688175Likes8Downloads186

 BybobmakesLikes37Downloads287


 ByDajaLikes119Downloads147

 Bythomaseap_259823Likes6Downloads122

 ByunofficialrivalsdesignsLikes0Downloads480

 ByDC_8576Likes454Downloads1.8K