



Ốp lưng cho Samsung S22 Ultra
 ByckthLikes148Downloads2.4K
Build another version of this model.
 Case Ferris Sweep & stand tenting 10° với chân cao su 8mmByMonkeyMadeMediocrity · 05/03/2026
 Giá đỡ nghiêng (Tenting Mount) đơn giản cho case Ferris Sweep v2Bypgtrots_403215 · 04/03/2026
 Ferris Sweep High Case (Vỏ đáy in 3D cho Ferris Sweep High)ByArtemisStiles_436923 · 03/06/2026
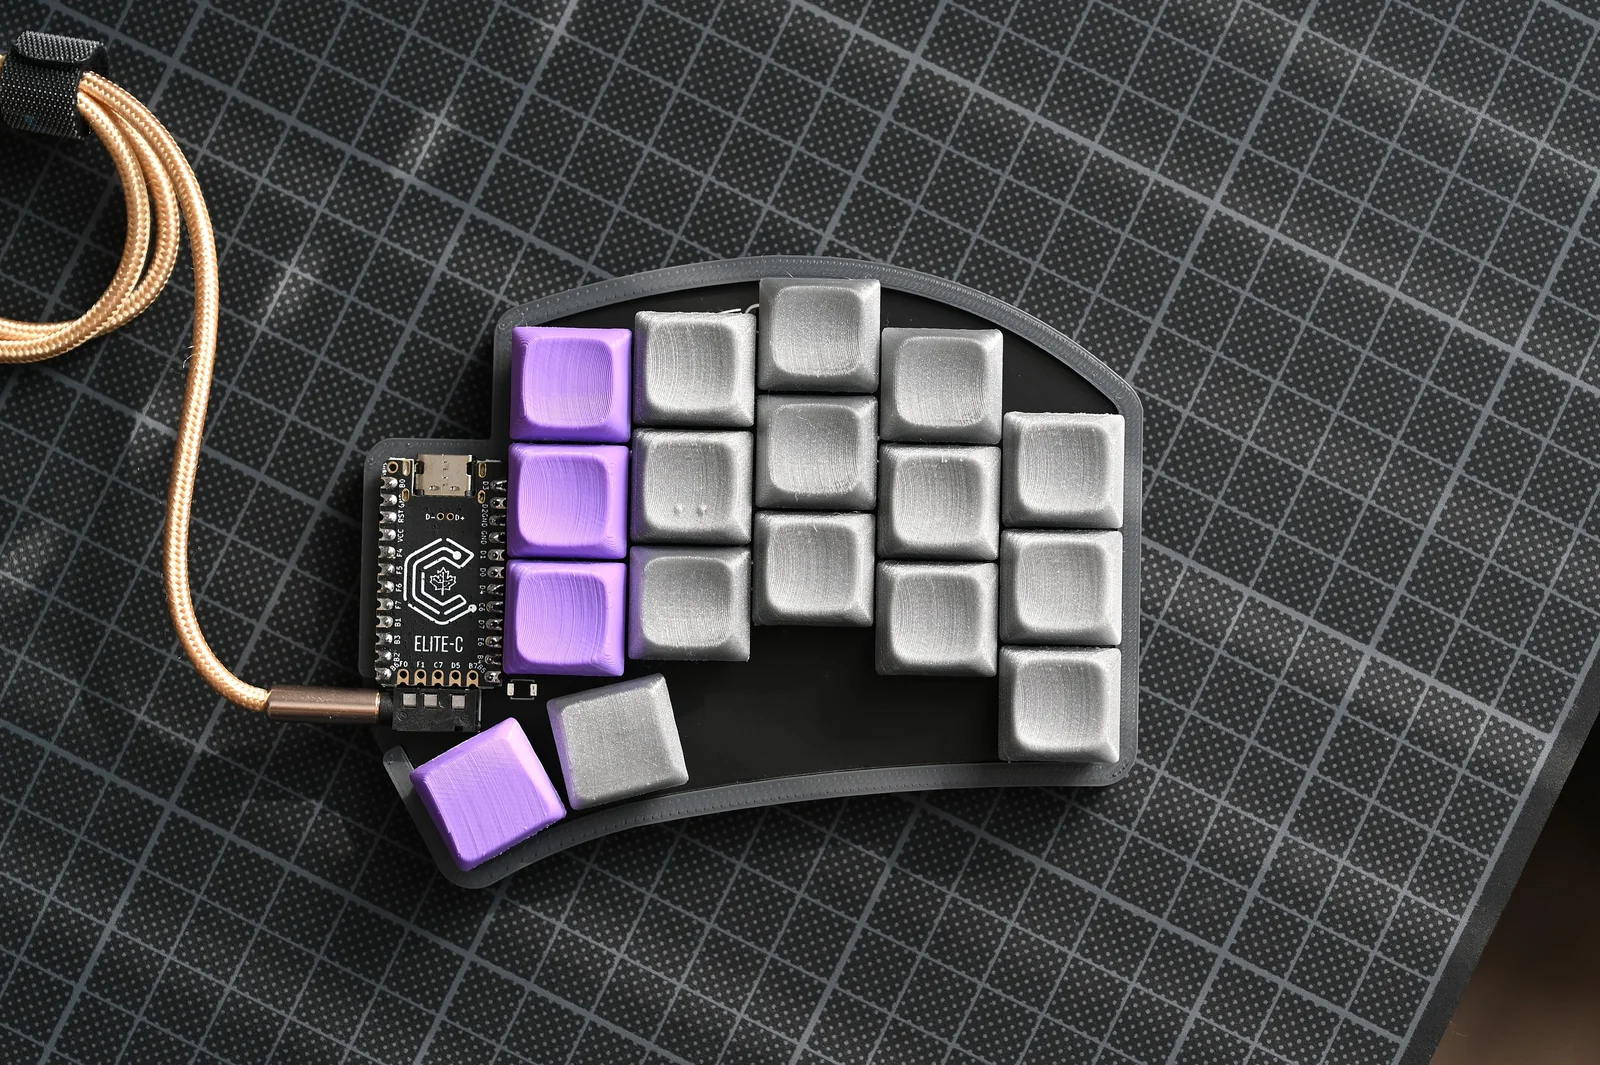
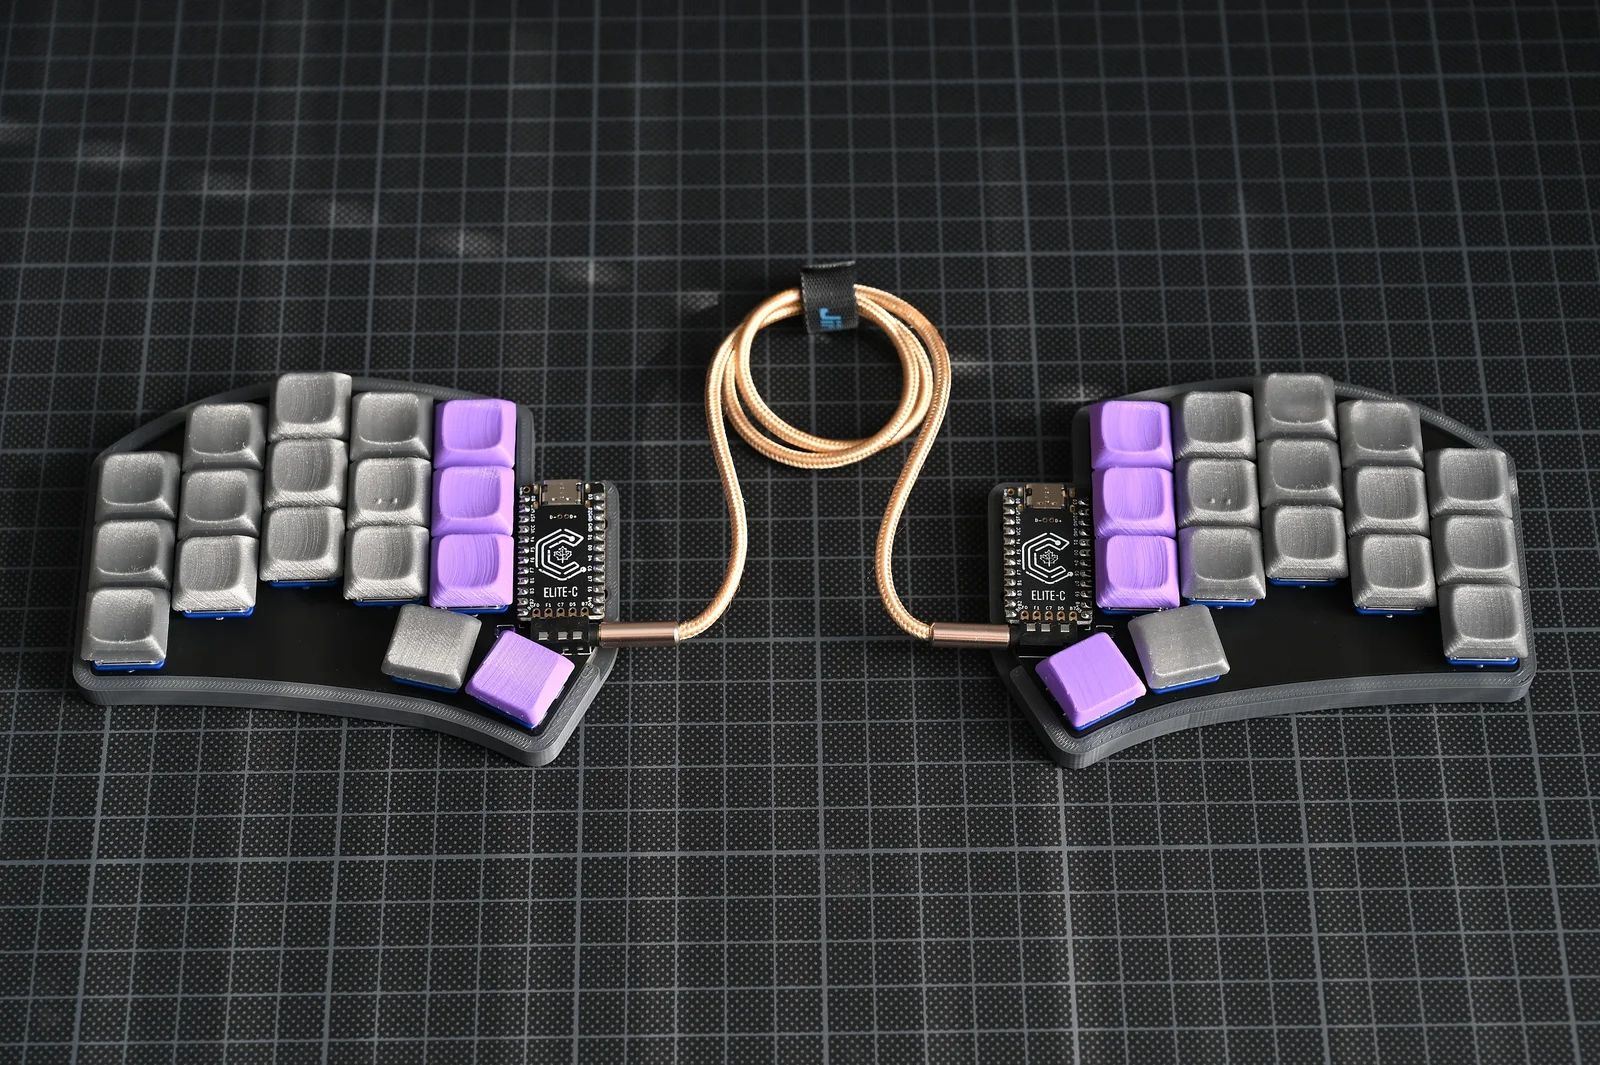
A PLA/PETG printable bottom case for the Ferris Sweep v2. The case is designed to accommodate one layer of 2mm thick foam that sits between the PCB and the bottom case. The foam slightly deepens/mutes the sound of the choc switches making it sound better compared to the sound on the bare PCB. The PCB is then screwed to the bottom case using the existing ‘tenting pucks’ screw holes.
Important: this case might not suit other versions of the sweep since different sweep versions may have different edge cuts.
For the full build you'll need the following items
Tips: It's sufficent to use 3x screws to tighten the pcb to the case, since one of the screw holes of the tenting puck is hard to get to with the choc switch being in the way.
There are several .stl files of the case, so choose the one that suits you.
On top of that: I made small cutouts on the sides of the inner case wall to allow some “uncleany broken” FR4 to stick out where the PCB had to be split.
Depending on the iteration of the Sweep v2 the break out points are either on…
Example of the PCB breakout being placed on the outter columns of the PCB.
Example of the PCB breakout being placed on the inner columns of the PCB.
ByckthLikes148Downloads2.4K

 ByJaronLikes310Downloads1K

 Byw3rN42Likes127Downloads935

 BynasikLikes0Downloads273


 ByjoranLikes0Downloads213

 Byjodinskylab_3390035Likes144Downloads168

 ByftoerringLikes79Downloads187

 ByFosphorLikes20Downloads239

 ByTomDDLikes89Downloads576

 Byrorys3DLikes0Downloads325

 BykukulinLikes77Downloads520