



Kẹp giữ sợi Filament
 Bytinx_1344834Likes1.2KDownloads6K
Build another version of this model.
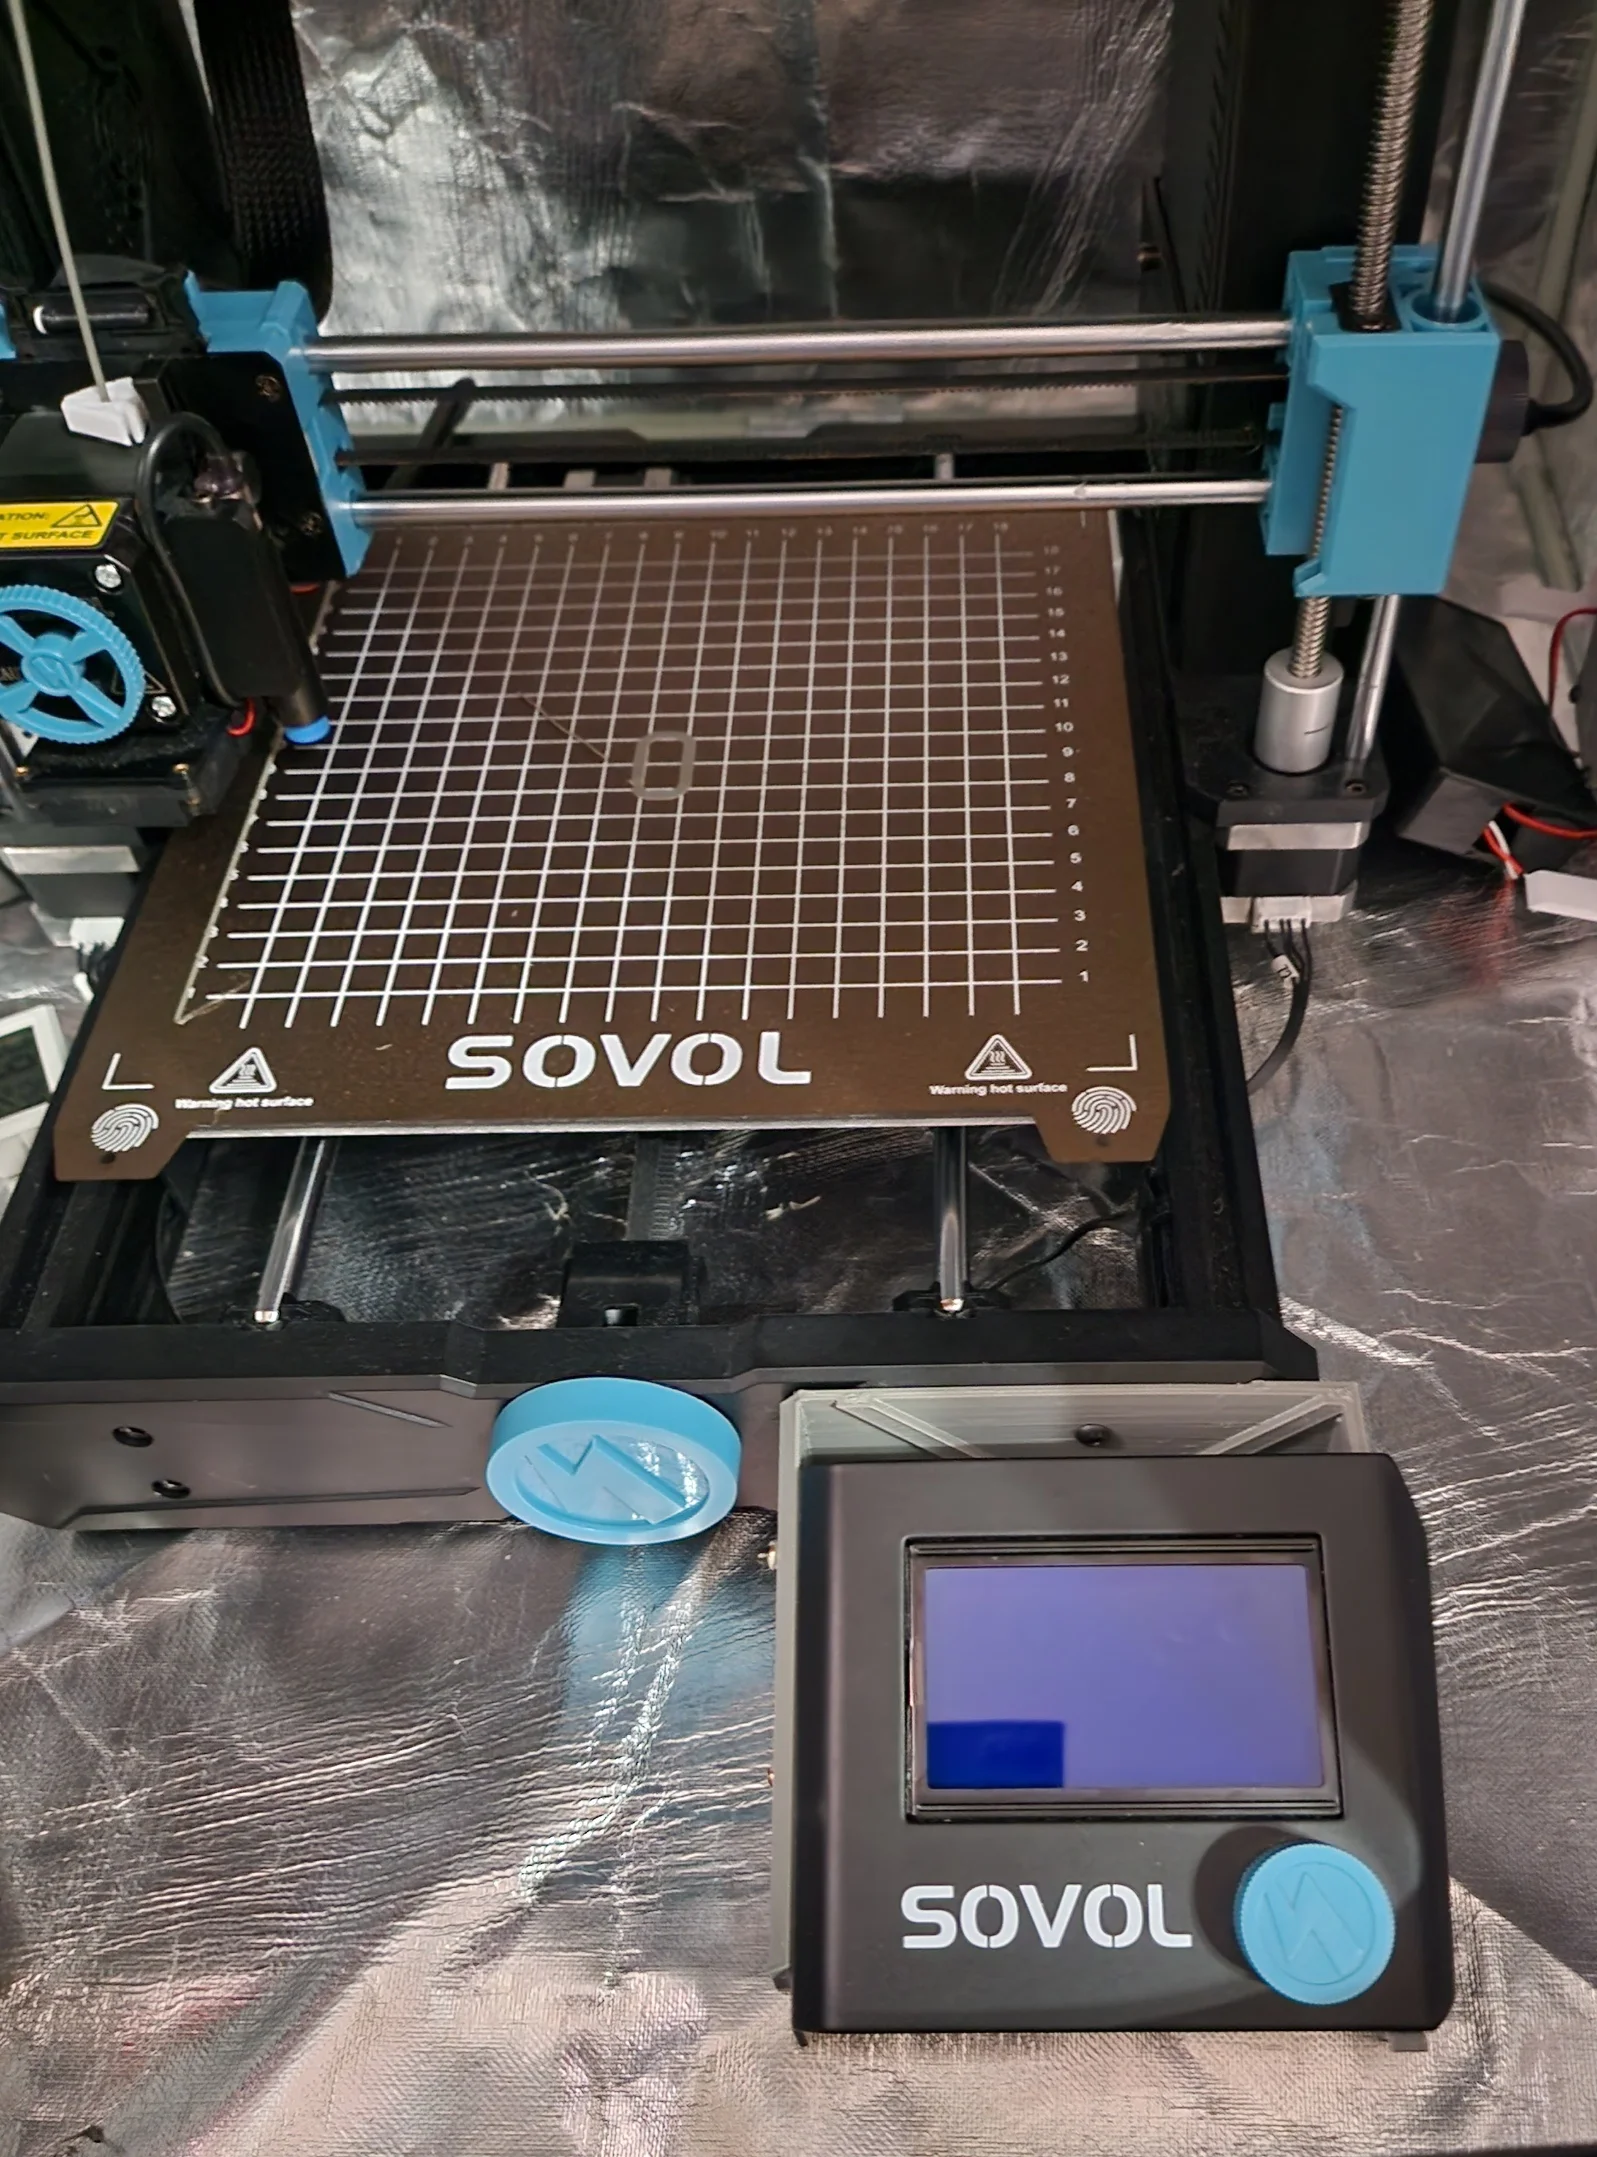
Remove the screen and disconnect the cable. Unscrew the two little mounts that hold the screen.
Skip to Step 3 if you printed the screw holes version.
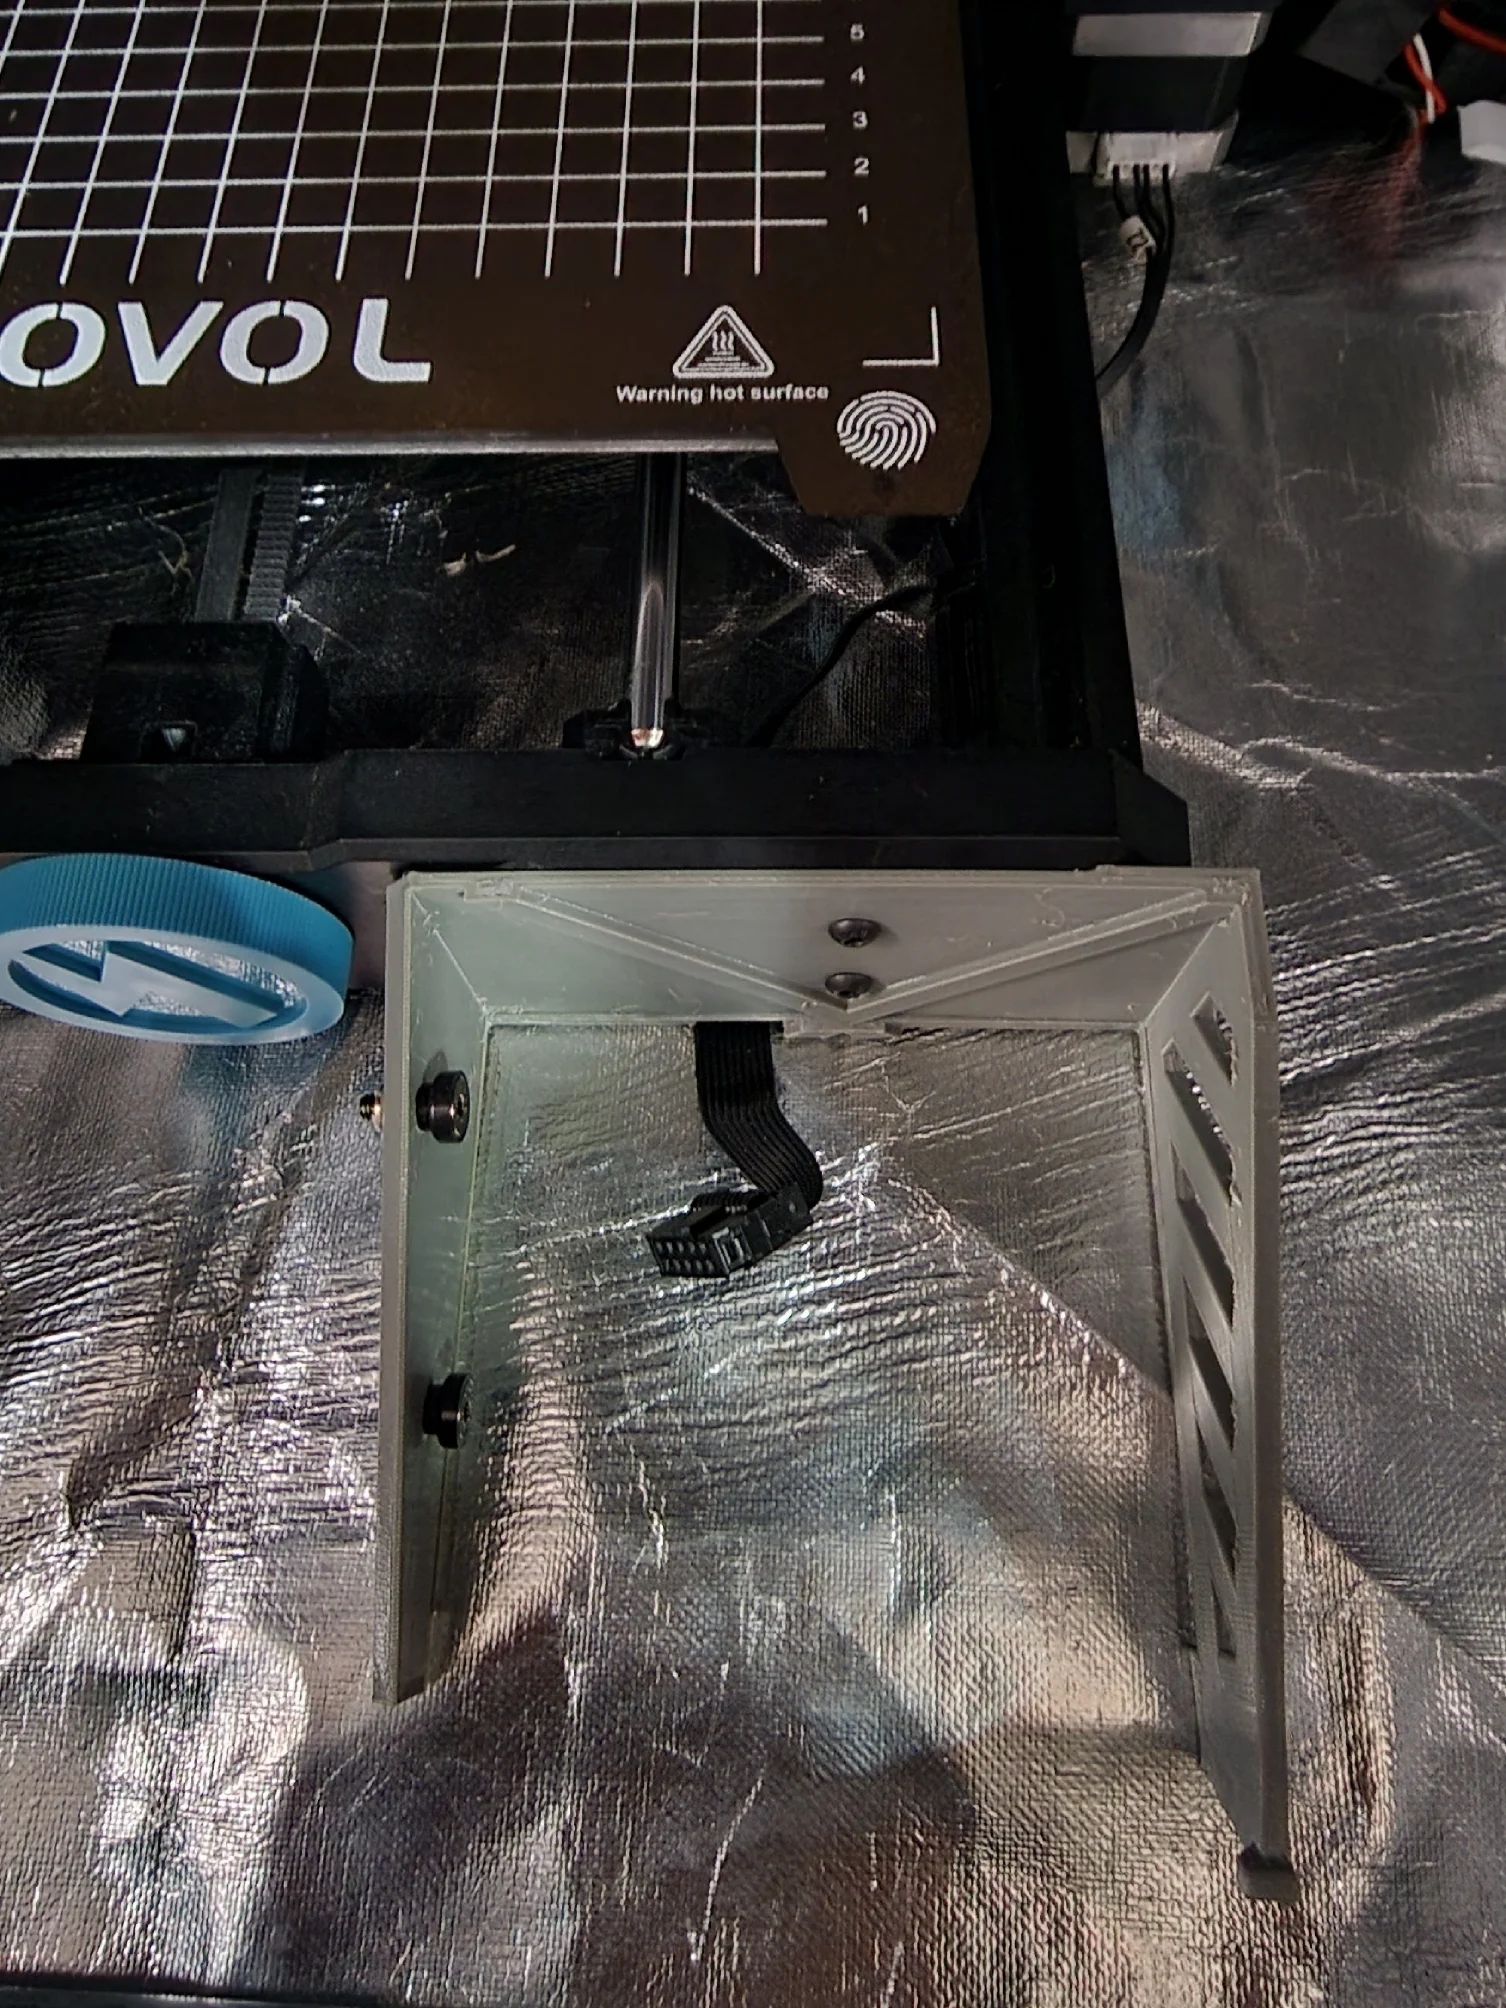
If you printed the heatset insert version, install the inserts, making sure they are flush with the surface on the inside.
Screw the screen mounts from Step 2 into the left arm of the printed part
Remove the two screws next to the Y-axis tension knob, and mount the printed part using M4x16 or longer screws
Pass the LCD cable under the front of the printer, through the cutout in the printed part, then connect it to the screen (it goes in the EXP3 port)
Mount the screen by aligning the mounts with the holes and sliding the screen down. The right arm goes under the screen.
Bytinx_1344834Likes1.2KDownloads6K

 Byprusa-researchLikes0Downloads2.7K

 Bydet-manLikes0Downloads175

 Bygummiegecko8477Likes0Downloads167

 BydalleLikes0Downloads149

 Byarhi_585078Likes64Downloads545

 ByHanzo3dLikes155Downloads417

 BydarienLikes0Downloads1K

 ByGeek5DLikes147Downloads490

 ByBrokentooth_designsLikes23Downloads412

 Byla-cave-au-chatLikes0Downloads970

 Bycrawler-3903250Likes0Downloads909