



Kẹp giữ sợi Filament
 Bytinx_1344834Likes1.2KDownloads6K
Build another version of this model.
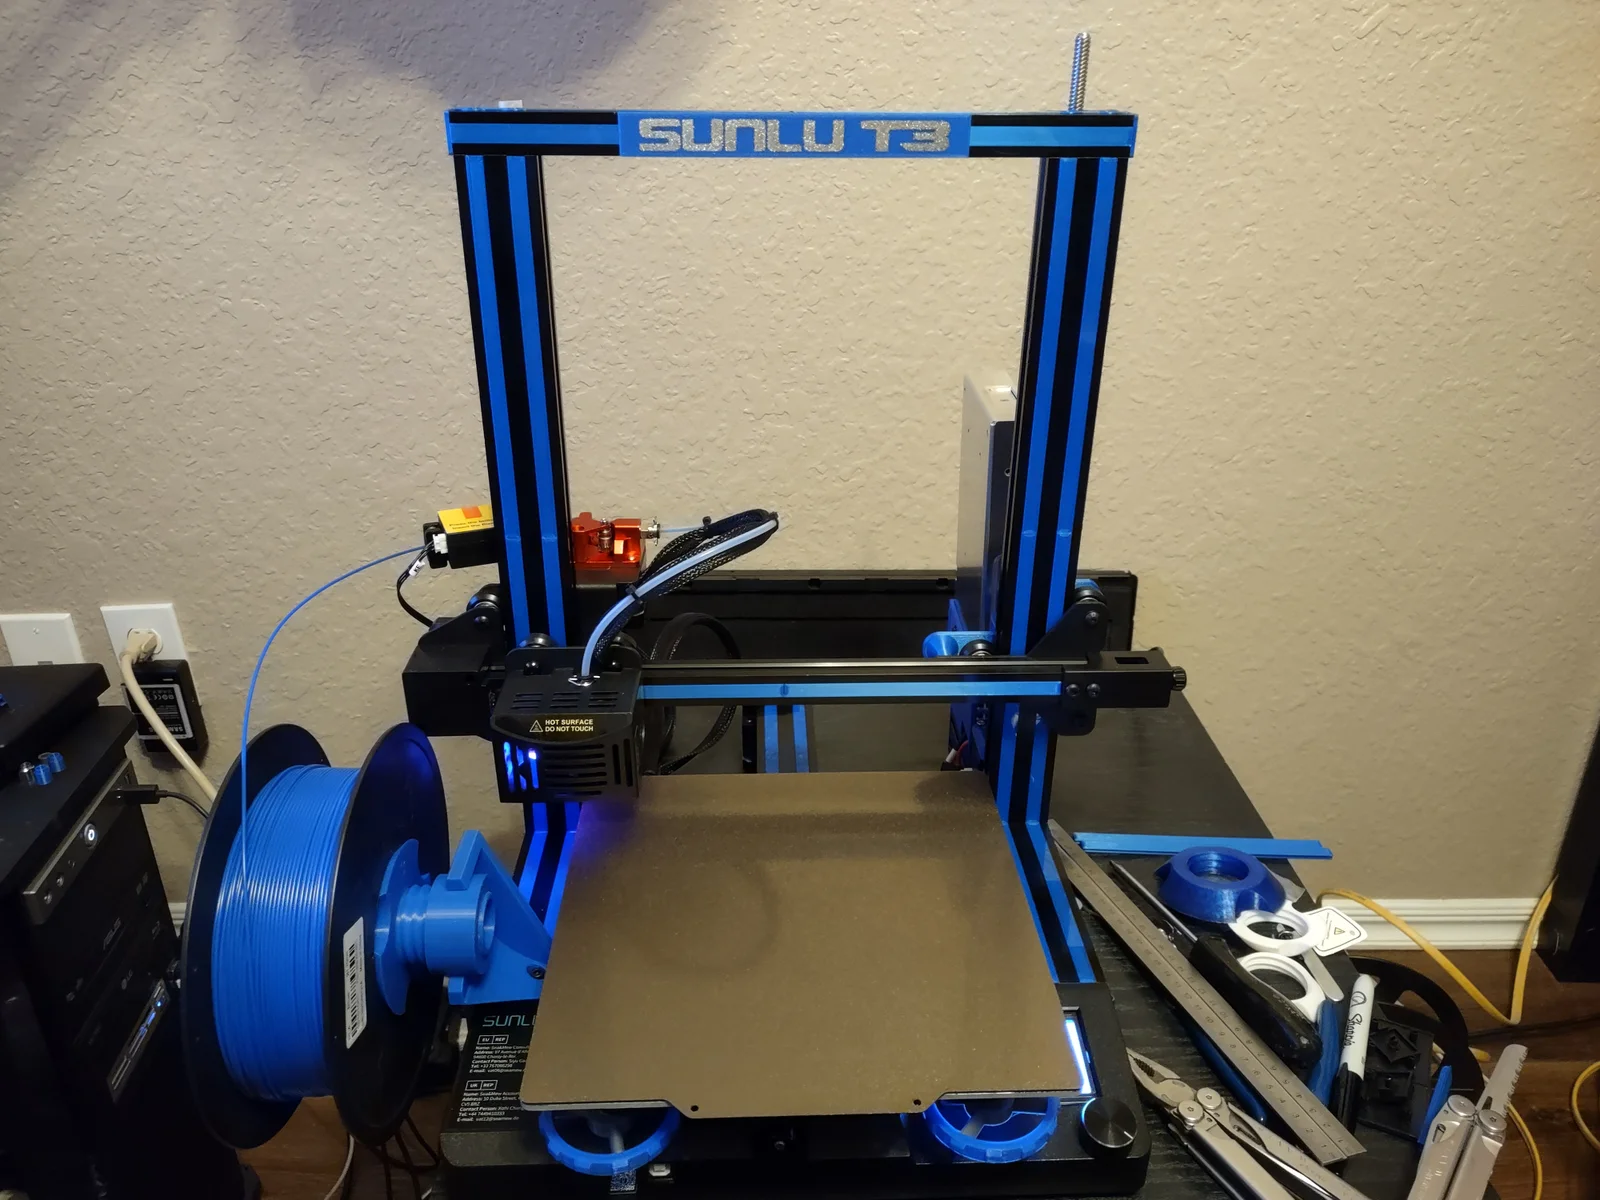
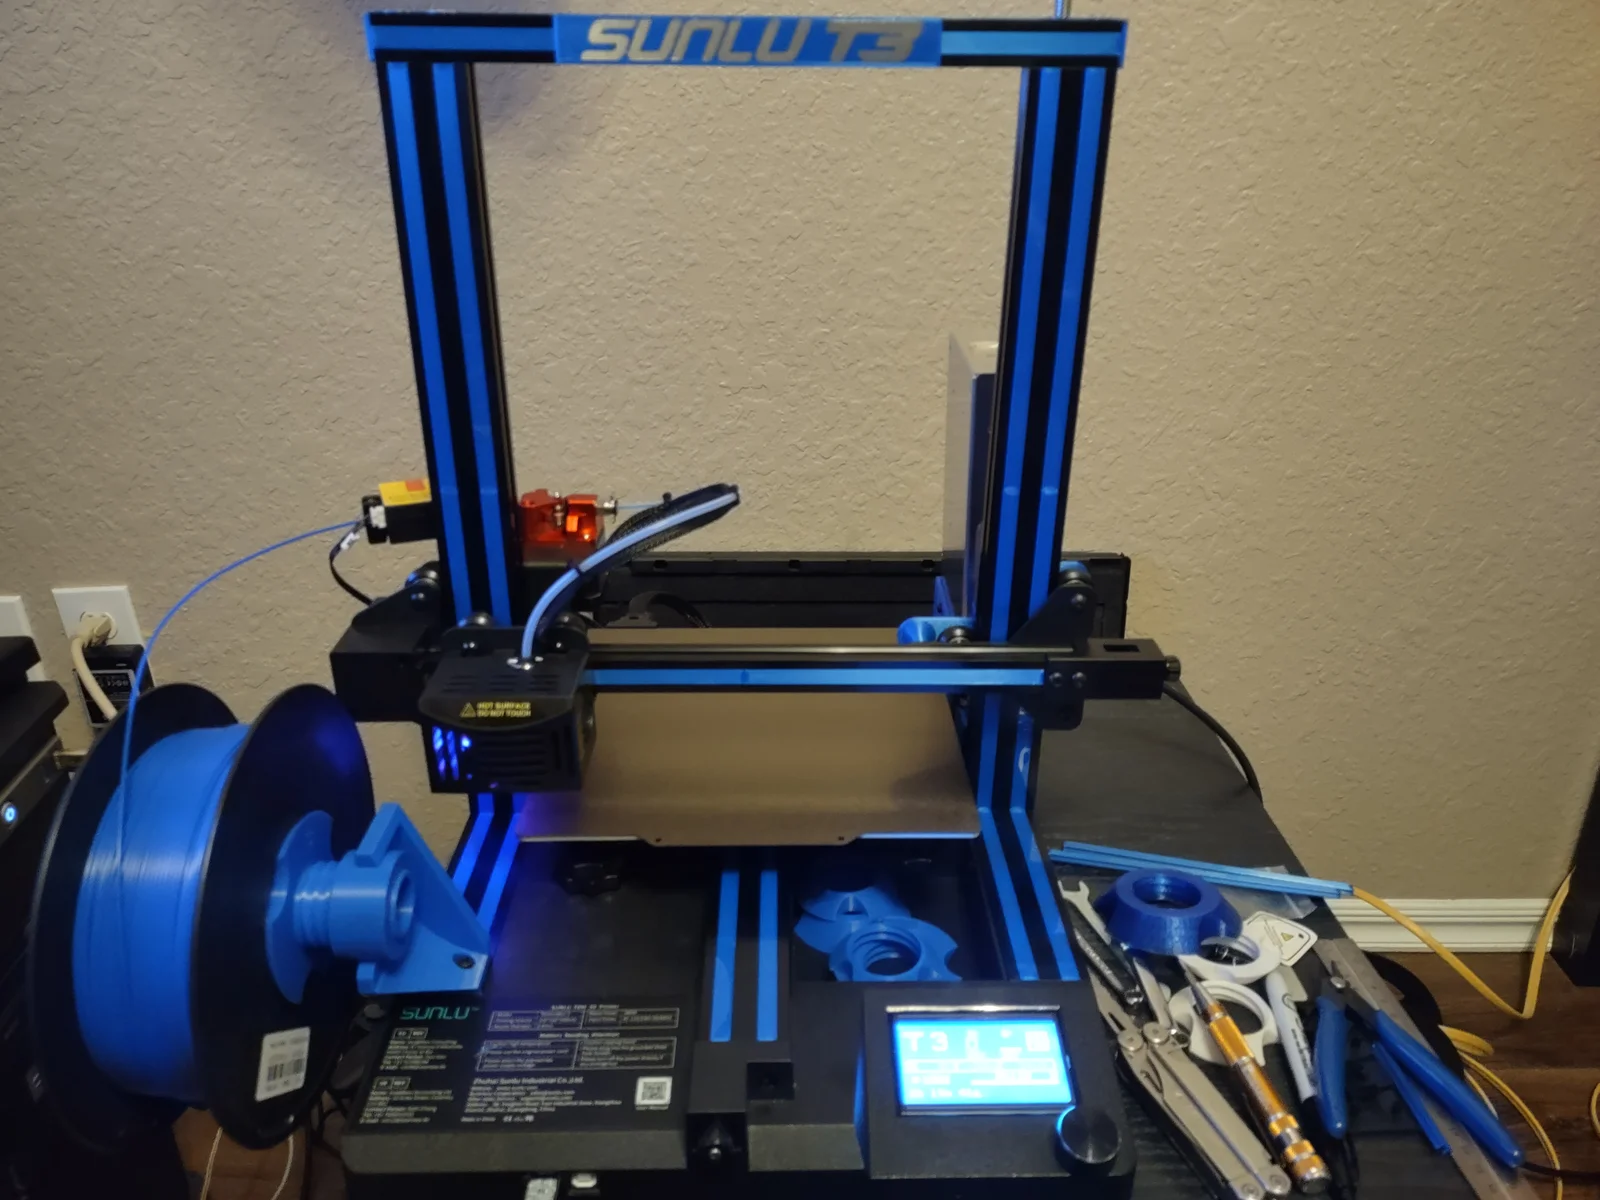
I wanted to come up with an easy method for making pretty frame logo's for my 3D printers. I have done different things for achieving that goal in the past with either raised logo's, or logo's that are cut out from the base material of what I'm printing. This is something new I'm trying out.
At its core, this design comes in two pieces, a blank plate for attaching to a v-slot groove of an aluminum extruded printer frame and a stencil that goes over the blank, covering the edges, and leaving only the logo so that spraying it will result in a clean logo.
I printed the first iteration on both bare glass and a frosted PEI build surface. I sprayed them both at the same time and installed the better of the two which happened to be the one printed on glass. Neither spray job came out as well as I'd hoped, but I think I've got the design to a place I'm reasonably happy with.
After playing with the T3 for a few days I decided I wasn't happy with the italicized logo, and I thought too that I made the lettering too tall, not leaving enough of a perimeter especially vertically. I had installed the piece that I'd printed the blank for on glass because the stencil for the one I'd printed on textured PEI shifted a bit while I was spraying it. I've added a tiny part to this design, “Stencil_To_Blank_Clip.stl”. It's a tiny clip that is for firmly connecting the stencil to the blank. I print 4 copies and install one both top and bottom horizontally, and one left and right vertically. Hopefully that will make more sense when looking at the photos.
The three pieces of this model are best printed as oriented in the STL's with no need for a brim or supports. The clip piece will need to be printed 4 times, once for each edge.
I've left the original stencil piece with the taller italicized lettering and added the non-italicized stencil as “V2”. The blank is unchanged, so print and use whatever version you prefer, if either.
I decided I prefer the affect of the silver paint on the part I printed on the textured PEI sheet, so I only printed version 2 once and installed that in place of the plate I'd previously installed.
Bytinx_1344834Likes1.2KDownloads6K

 Byarhi_585078Likes64Downloads547

 Byprusa-researchLikes0Downloads2.7K

 Bydet-manLikes0Downloads179

 Bygummiegecko8477Likes0Downloads171

 Bychukwufumnanya-arinzechukwuLikes0Downloads155

 Bychris-barwickLikes0Downloads134

 BydalleLikes0Downloads153


 BynasikLikes0Downloads125

 ByFonnPrintsLikes4Downloads26

 ByHanzo3dLikes155Downloads417