


New
SolderMate - Fully 3D Printed Desk Soldering Companion
 ByleonicLikes0Downloads1.4K
Build another version of this model.
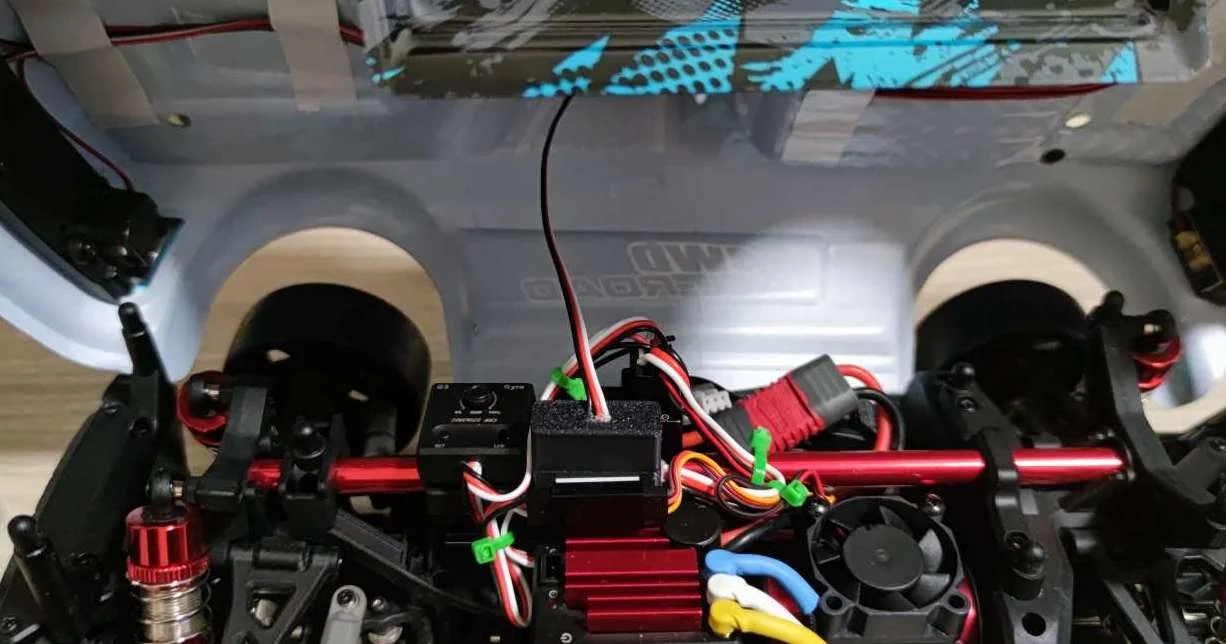
The MJX Hyper Go 14301 comes equipped with body-mounted lights connected to receiver CH3 via a standard 3-pin servo connector with a bevel. However, changing the battery became a cumbersome task as disconnecting the connector involved navigating through cables from other channels.
To streamline this process, I acquired pogo 3-pin magnetic connectors and crafted housings for both the male and female connectors. This solution allows effortless detachment of the body. Connectors I bought were listed as “5PCS 2A 12V Waterproof Magnetic Pogo Pin Connector 3 Pin Male Female 2.8 MM”.
Two distinct housing models are necessary due to a 0.5mm size discrepancy between the male and female connectors. Each connector housing comprises an outer shell, an insert (ensuring the secured placement of the inserted connector), and a cover. The connector with pads is affixed to the car chassis, securely attached to the receiver through double-sided tape. Conversely, the connector with pins is designed for mounting on the cable responsible for powering the lights.
ByleonicLikes0Downloads1.4K

 ByZED4EverLikes313Downloads5.2K

 ByfifindrLikes500Downloads4K

 ByVC_DesignLikes679Downloads3.6K

 ByDan Schwartz SchwartzLikes744Downloads3.4K

 Byvc-designLikes0Downloads3.2K

 ByUpcrid3D_1585693Likes808Downloads2.1K

 ByWilko_SLOLikes935Downloads2K

 ByshoheiyLikes0Downloads426

 Bychubbs8697_2027893Likes585Downloads1.7K

 Byquibeck_3353173Likes965Downloads1.9K

 BySeppoTakaloLikes960Downloads1.9K