
F3D
Pát Kẹp Dây Nón Cho Đèn Thợ Mỏ 1

10 images

DIY

Pát Kẹp Dây Nón Cho Đèn Thợ Mỏ

By carsonscarr_785252

Downloads
24
Likes
4
Views
322

Files 4 1 MB

  • LampBracket_1765551619.3mf3MF · 73.1 KB
  • Headband_Slotted_1765551620.3mf3MF · 284.1 KB
  • Headband_w_Mount_1765551621.3mf3MF · 309.4 KB
  • Fusion_360_Archive_File_1765551622.zipZIP · 406.8 KB

Make a variant with AI

Build another version of this model.

Open Studio

Description

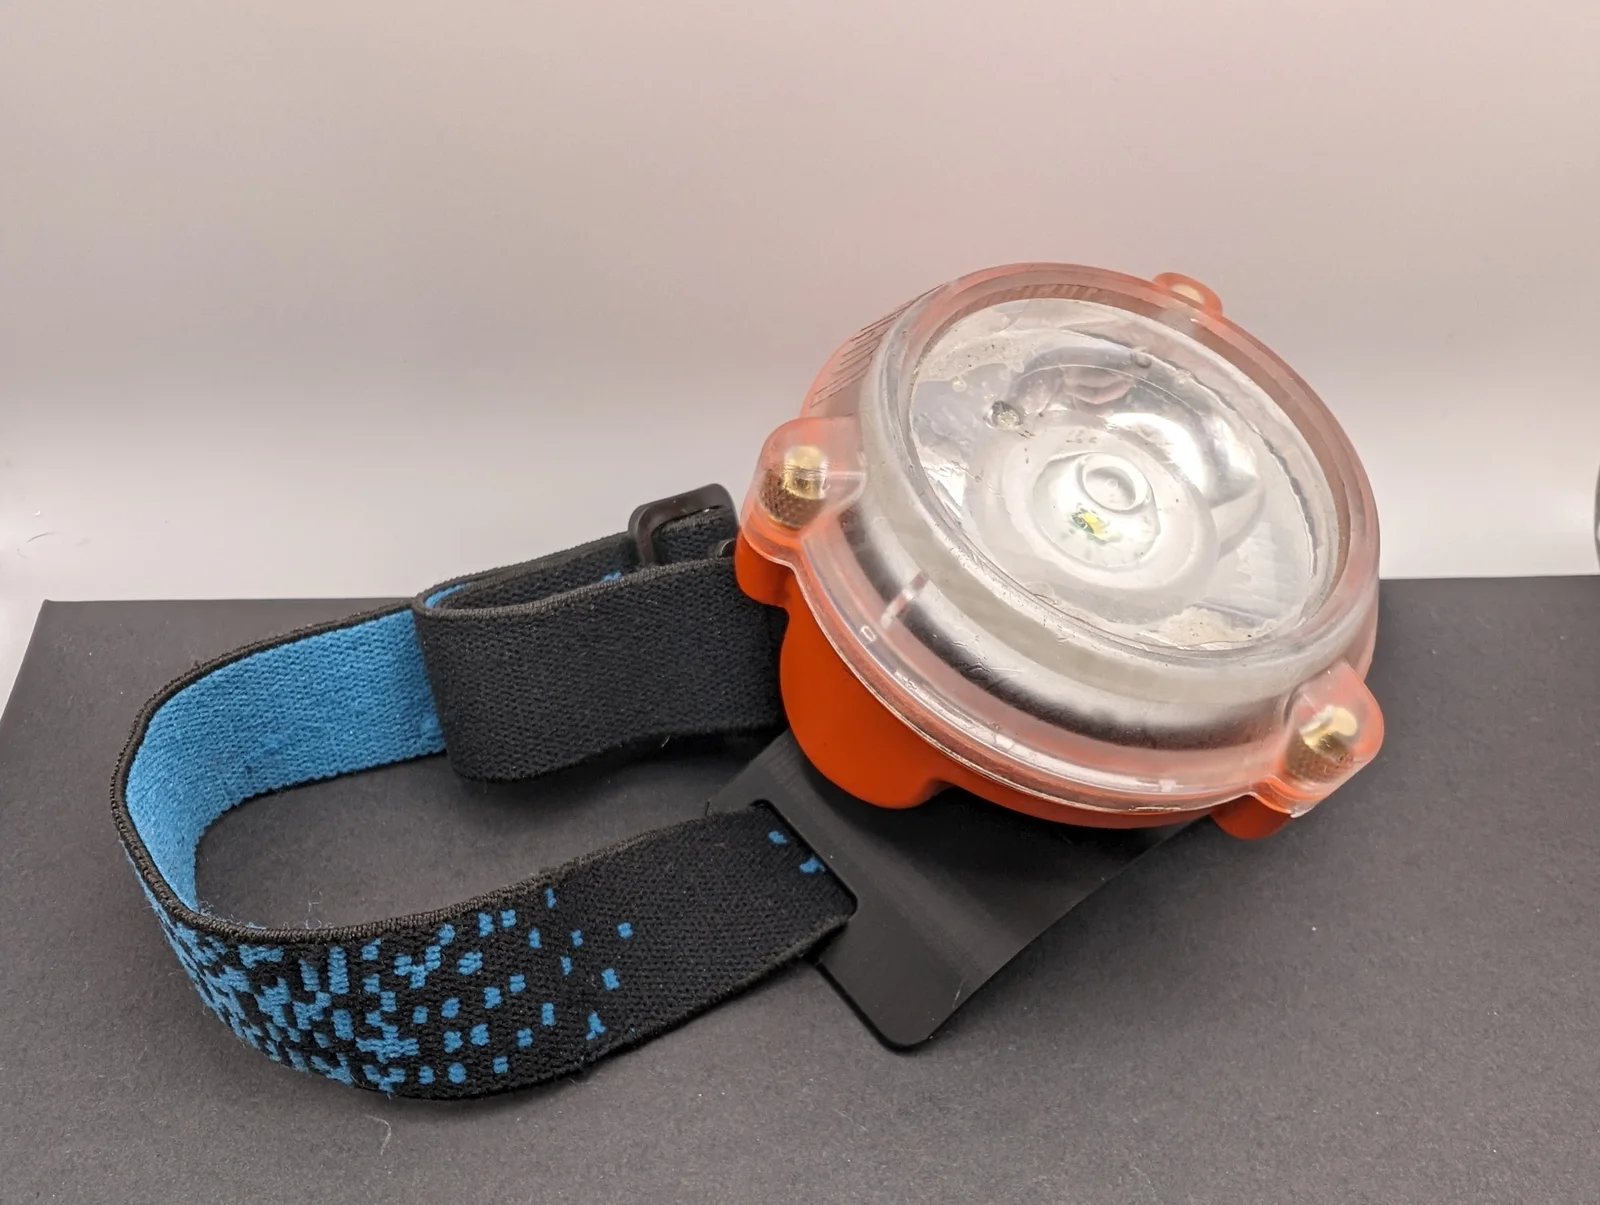
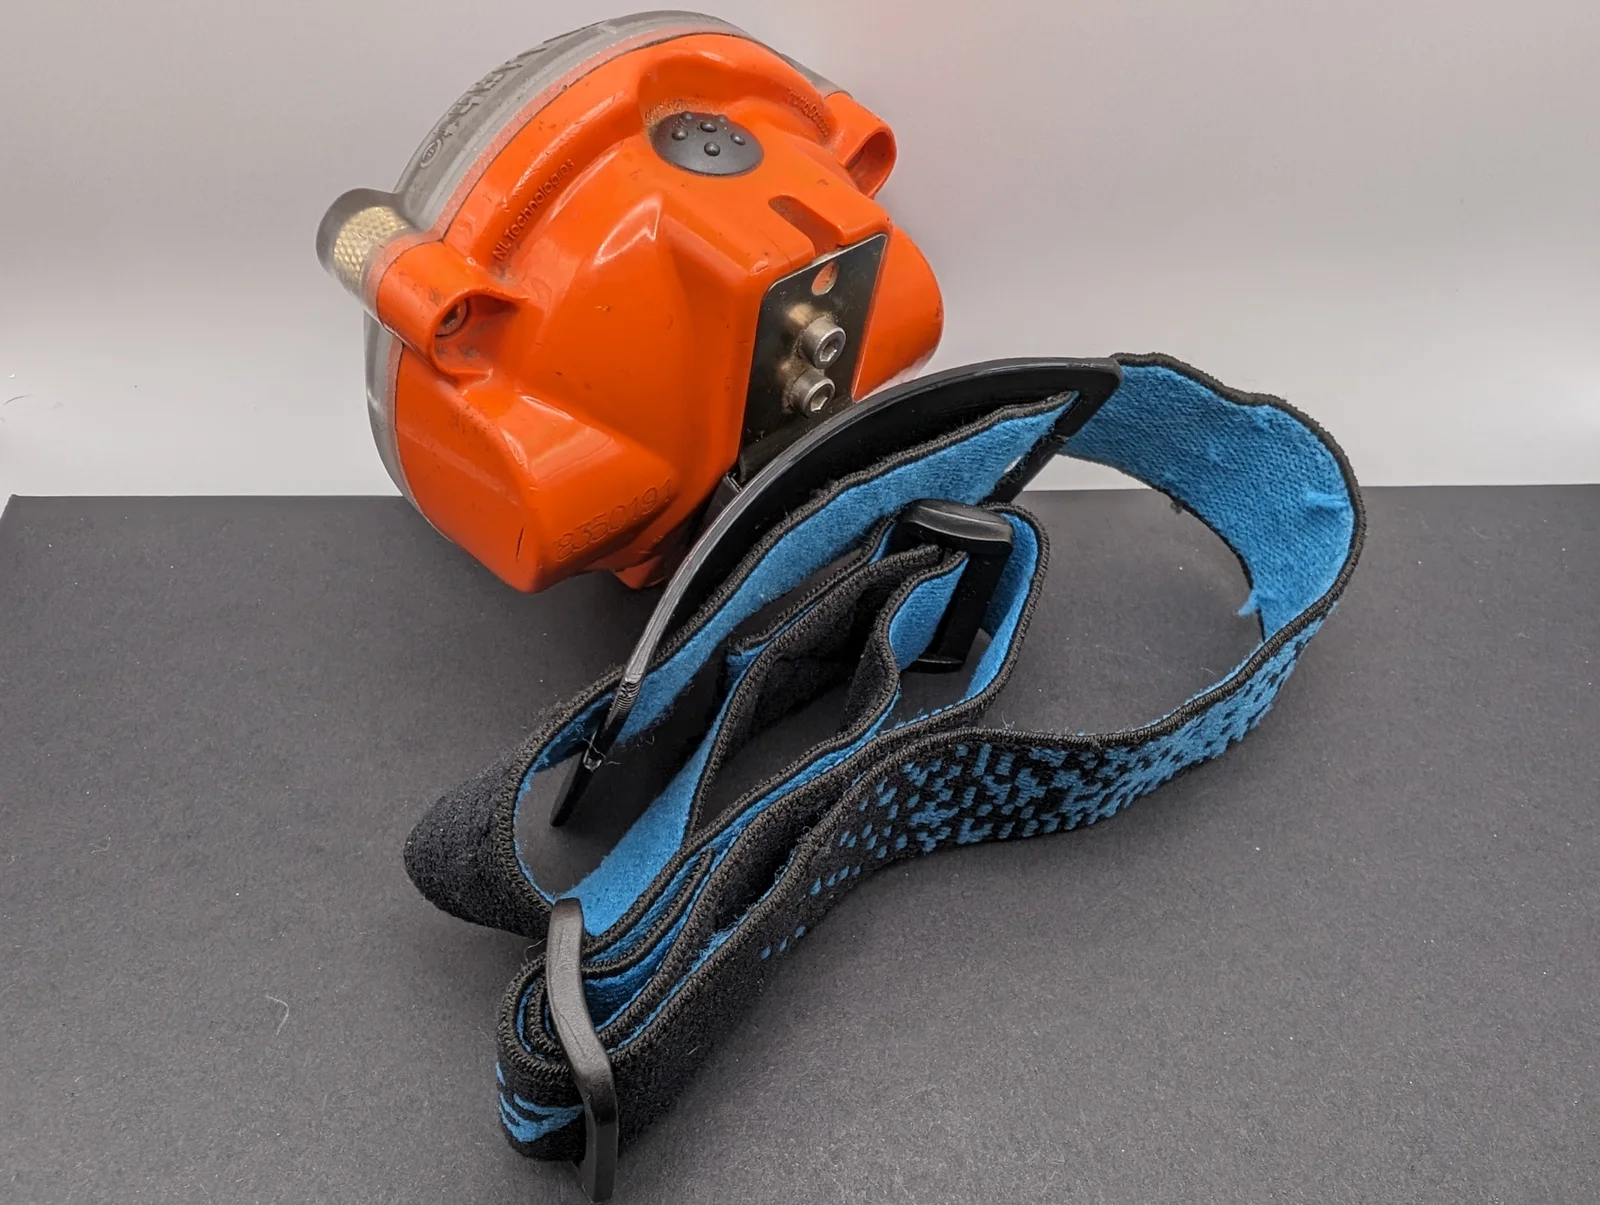
These headband brackets allow you to clip a mining headlamp onto a headband for use around the house / etc. Based on the same measurements as the MSA 15244 hard hat bracket. I'm using an NLT Polaris cap lamp.

Design Notes:

  • Slotted for a 1" wide headband strap:
    • I took the strap off a cheap Energizer headlamp I wasn't using.
    • You can use a feed-through headband, or a one-piece band that cannot be separated, by notching the straps in the center (refer to below).
  • The positioning of the strap slots, the bracket, and the overall size of the headband plate was tested to get the best balance/center-of-gravity, and security when moving around.
    • I opted for the bigger overall “forehead plate” to help secure the weight of the mining cap lamp. I found smaller plates tended to wiggle around and meant the strap needed to be uncomfortably tight. The bigger plate lets you use a looser strap.
  • There are two (2) models: an all-in-one bracket, and a two-piece that allows you to adjust the up/down position of the lamp (for balance), or you could use the bracket to mount to something else entirely.
    • I recommend using the simple all-in-one bracket, unless your lamp is very different than mine.

Printing Instructions:

  1. PLA or PETG worked fine for me.
  2. I suggest using a brim just in case. My PLA prints worked ok without, whereas the PETG pulled up a bit without the brim.
  3. Observe the orientation of the parts, the “all-in-one” headband and individual lamp bracket must be printed with the rectangular slot down. For the “all-in-one” headband,  “support on build-plate” should be used.

(Optional) Notching the Strap Slots:

If you're using a one-piece headband that cannot be separated (like an Energizer headlamp strap), cut notches into the middle of the slot to insert the strap:

(Optional) Using the Lamp Bracket:

Nut pockets and mounting holes/slots for the individual lamp bracket are for M3 hardware. The slotted headband uses M3 countersunk screws. Mounting holes are 32mm center-to-center, if you want to mount the bracket to something else.

  • If you find the up/down lamp angle of the “all-in-one” headband doesn't work for you, you could modify the bracket to include an up/down angle that works for your situation.

Other Customization Notes:

  • I've included the Fusion 360 archive (.f3d) file so you can modify the design for your needs. The timeline is a bit messy but you should be able to tweak the design or check measurements (eg: forehead curvature, strap width).

Read more Show less

Print spec

Formats
3mfzip
Model files
4
Total size
1 MB
Largest file
406.8 KB

0 comments

See all