



New
Pocket Memory — SD & microSD Case | Print in Place
 By3dwakeLikes0Downloads362
Remix of Giá đỡ camera Raspberry Pi khớp nối cho Prusa MK3 và MK2 By Sneaks
Build another version of this model.
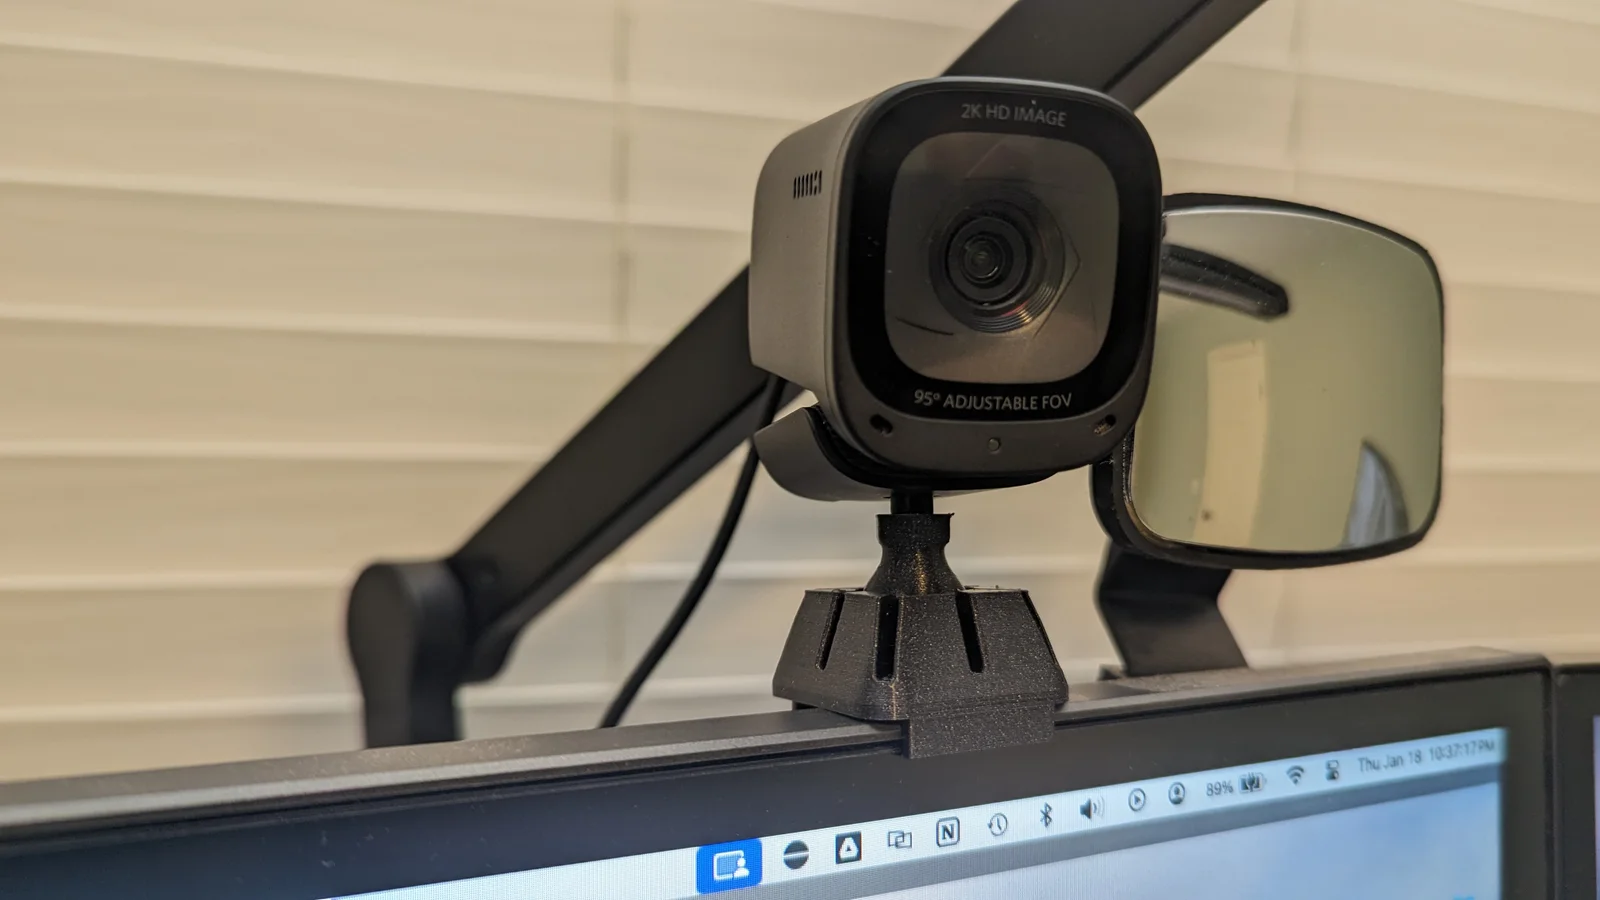
Most monitor mounted webcams only allow tilting up and down. I have two monitors side-by-side, and the ideal camera angle requires the camera to pan to one side for a more direct angle. I wanted a solution that was simple and ultra-minimalist.
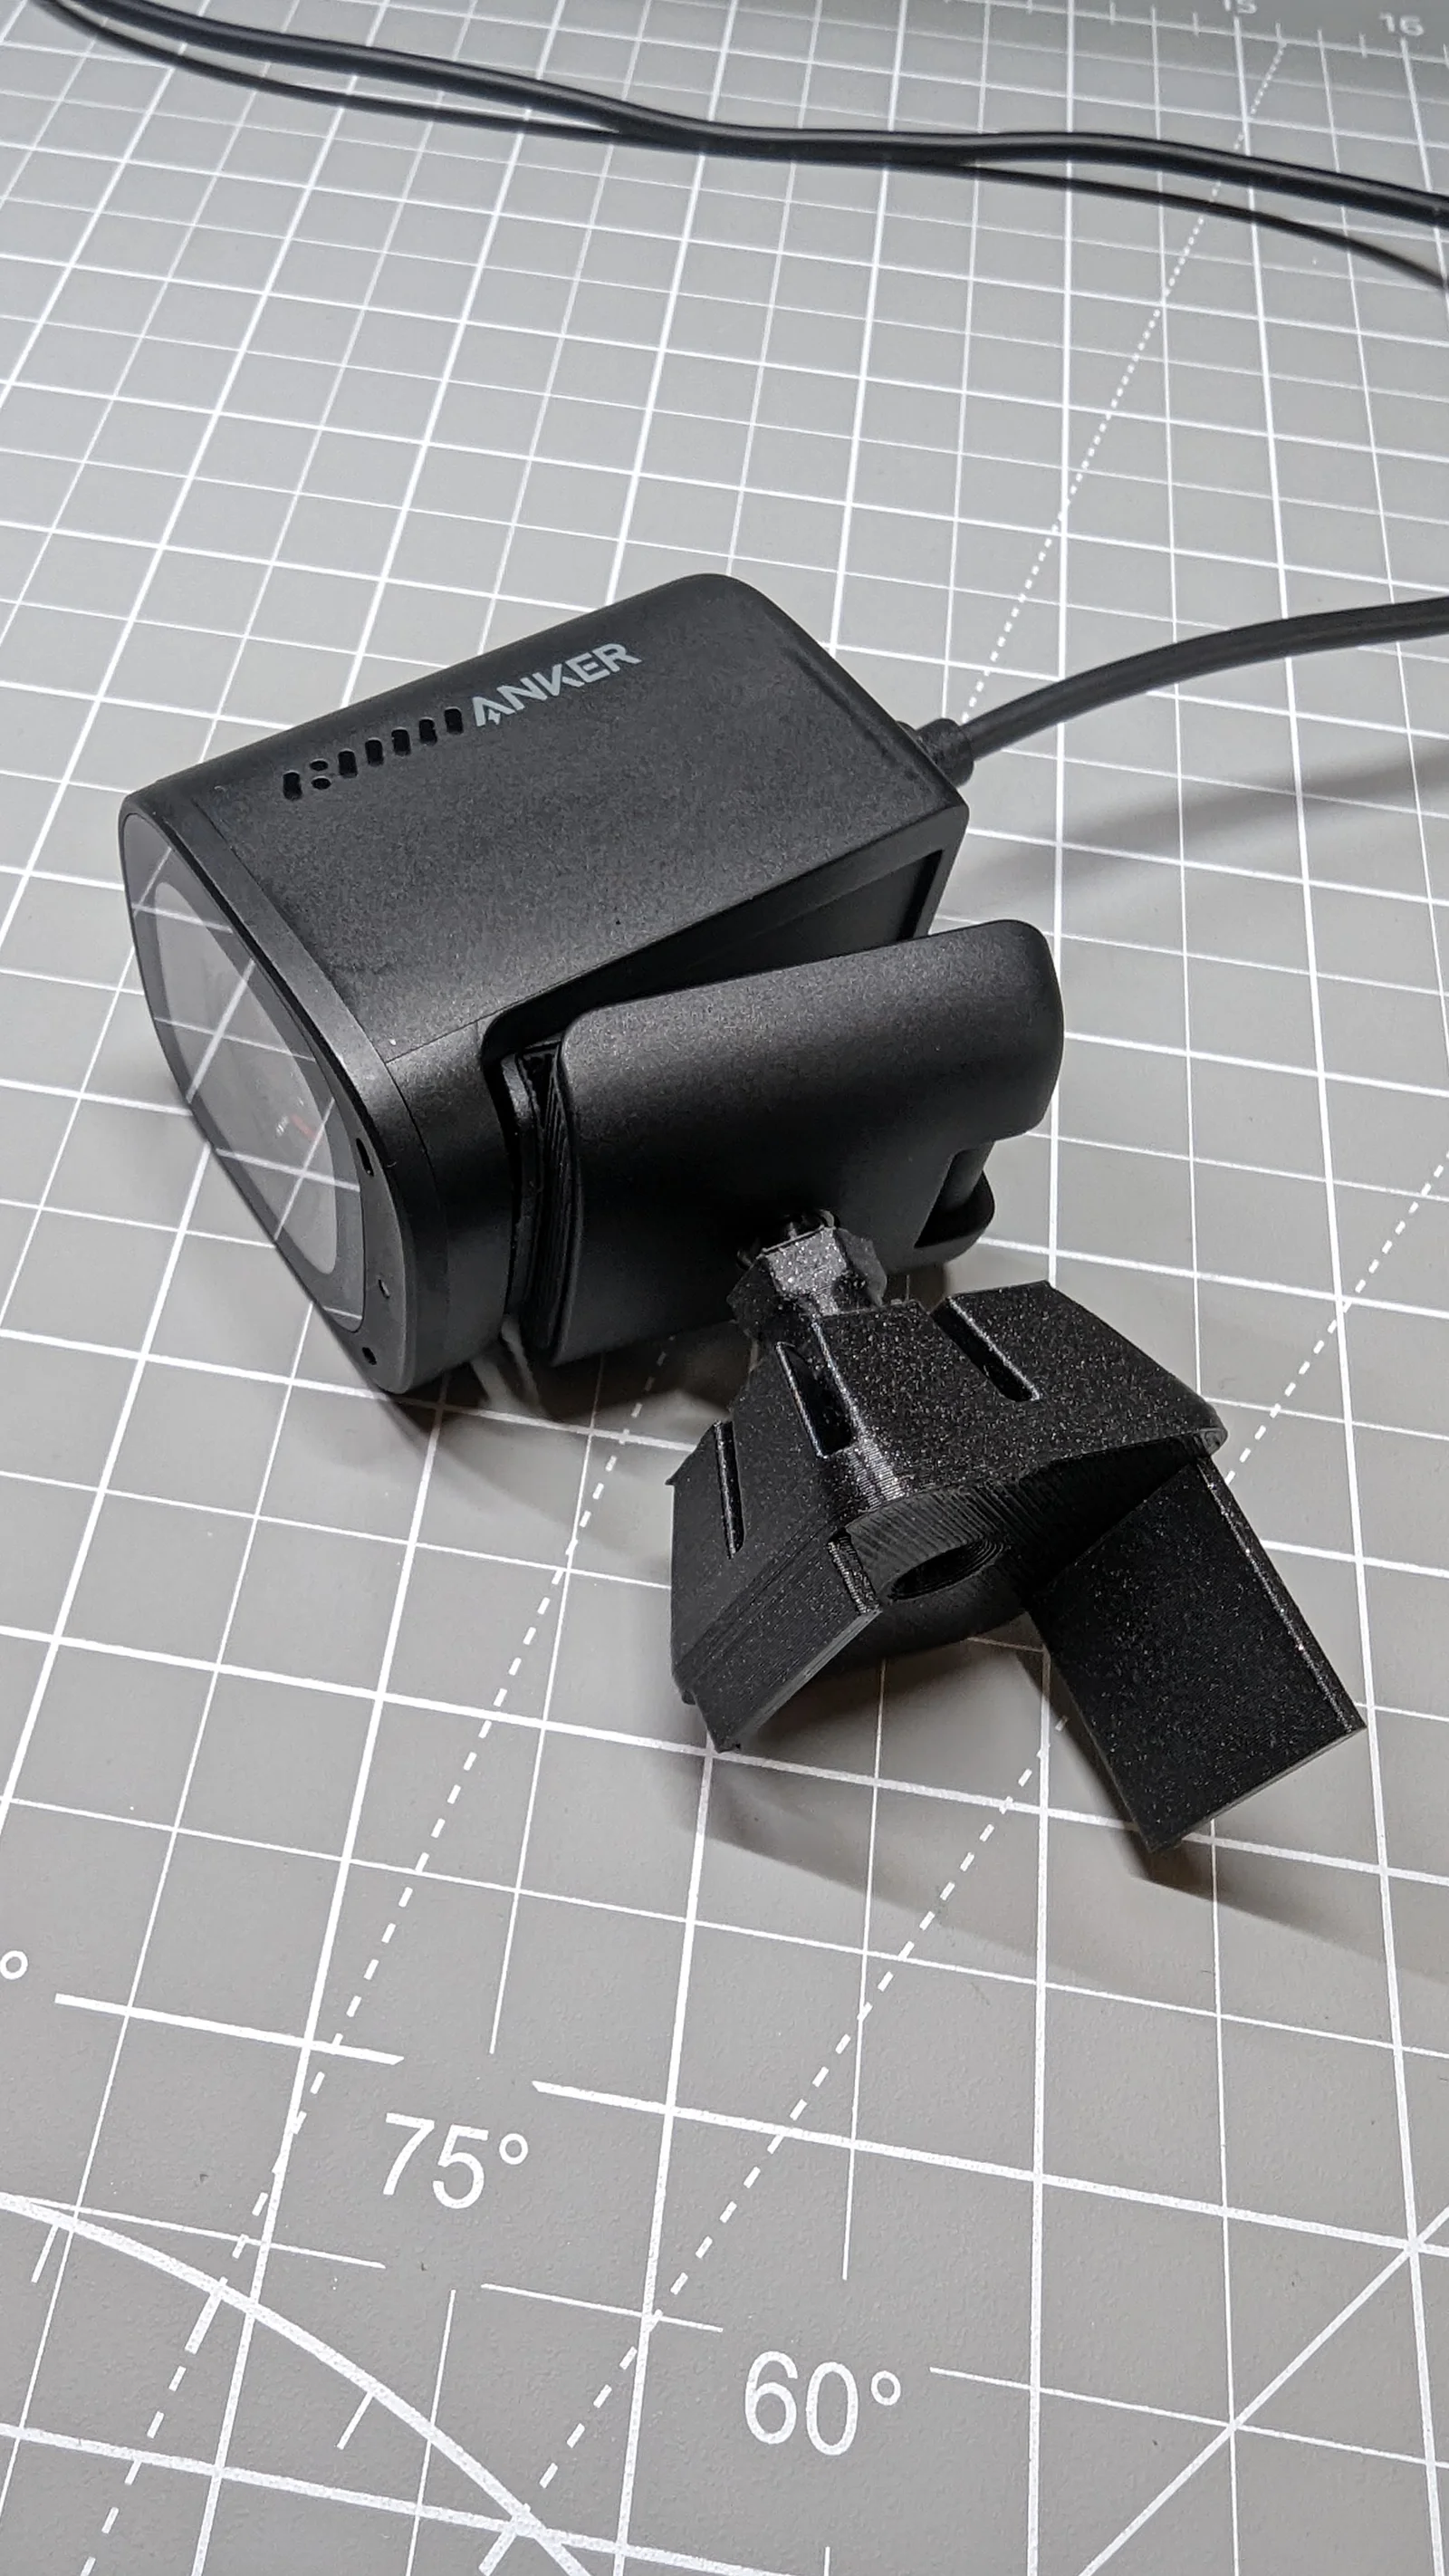
This mount supports any webcam that has 1/4-20 threads (usually for a tripod) on the bottom. I have a Logitech C920, an Anker PowerConf C200, and an AnkerWork C310, all of which have the same tripod screw on the bottom.
While the pan/tilt angles can be adjusted to suit almost any need, the ball & socket are a pretty tight fit - so this is not the model for you if you are constantly wanting to adjust camera angles.
The photos are with the mount and ballnut in galaxy black Prusament PETG, and the bolt in black Hatchbox PETG.
Orientations as shown here:
Putting lateral pressure on the bolt is just asking for it to snap off in the bottom of your camera. If you need to adjust the position of the ball, use a pair of needle nose pliers around the thin neck of the ball to put it into position without the webcam attached. It's a pretty tight fit, and the pliers will give you the leverage you need to make the necessary adjustments.
By3dwakeLikes0Downloads362

 ByNK01_3850118Likes13Downloads216

 ByMandicReallyLikes0Downloads138

 BycharlieLikes0Downloads120

 ByckthLikes148Downloads2.4K

 ByvideograndpaLikes36Downloads287

 ByLyco_252610Likes0Downloads10

 BylclabLikes0Downloads290

 Bynexgen-3d-printingLikes0Downloads395

 BynasikLikes0Downloads277

 ByBaGooNLikes64Downloads144
