

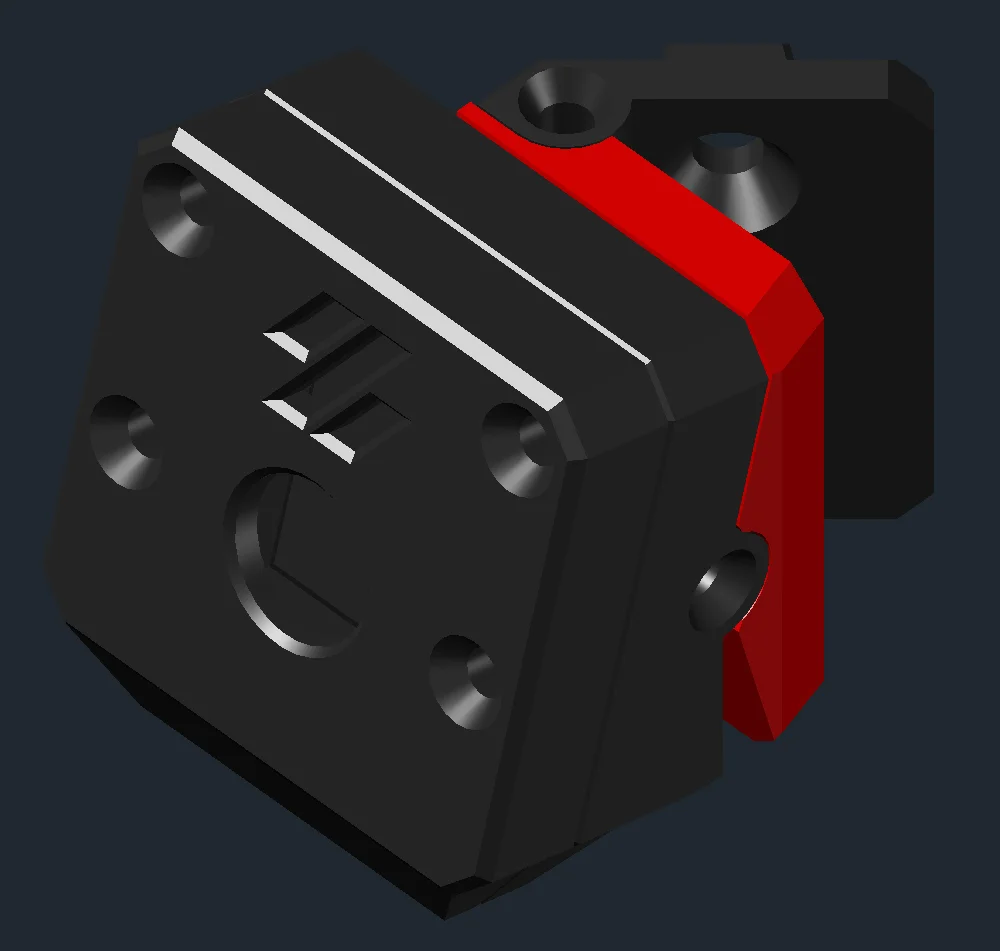

BTT EBB36/42 Gen2 USB Adapter Board vertical stand
 ByroedLikes0Downloads107
Build another version of this model.
 Cammy - Giá đỡ Pi Cam Model 3 cho máy VoronByMR3DPrintWizard · 05/13/2026
 Giá đỡ camera Pi (pi camera mount)Bybioshank_262746 · 04/25/2026
WARNING: I did my best to not make the Stealthburner bump into it at max travel points, feedback on this is highly appreciated.
WARNING: IRL pictures of the new version are missing. Will update.
_____________________________________________________________________________________________________________
NEW OPTION! Back gantry extrusion mount by GAB-3D
_____________________________________________________________________________________________________________
Introduction:
Minimal setup for surveillance of any printer using a 2020 extrusion as frame.
It has adjustable angles of 15° vertical and 45° horizontal.
I made this for my VORON 2.4.
______________________________________________________________________________________________________________
HARDWARE
Q.ty
FHCM2x10[mm] flat head screws for the camera housing and arm asembly.
4x
FHCM2x8[mm] flat head screw to fix the arm to the frame.
4x
M3 Hammer Head T-nut to fix the arm and z belt guard to the frame.
5x
Foam Tape to protect the ribbon cable.
-
SHCM3x6[mm] socket head screws to fix the Z belt guard.
3x
________________________________________________________________________________________________________________
Slicing Instructions
Material: Required ABS/ASA or better
Layer Height: 0.2 [mm]
____________________________________________________________________________________________________________
- Removing supports:
- Assembly:
---FOR VORON 2.4: Try to insert it through the deck panel directly, or via one of the Z belt holes. If you can't, try to make your way in by using some sort of spacing tool.
If you still can't, use the spacing tool to insert some sandpaper between the estrusion and deck panel, and make some space.
Then carefully insert the cable into the Z belt guard and fix it in place.---
________________________________________________________________________________________________________________
Adjusting & Testing:
[MISSING PICTURE]
______________________________________________________________________________________________________________
Feel free to post your makes, feedback is highly appreciated.
ByroedLikes0Downloads107

 Bytinx_1344834Likes1.2KDownloads6K

 Byprusa-researchLikes0Downloads2.7K

 ByAnthonyDouri_1604724Likes24Downloads224

 Bydet-manLikes0Downloads177

 Bygummiegecko8477Likes0Downloads168

 Bychukwufumnanya-arinzechukwuLikes0Downloads153

 BydalleLikes0Downloads152

 ByBrokentooth_designsLikes17Downloads159

 BynasikLikes0Downloads123

 Byarhi_585078Likes64Downloads547

 ByhartkLikes59Downloads120