

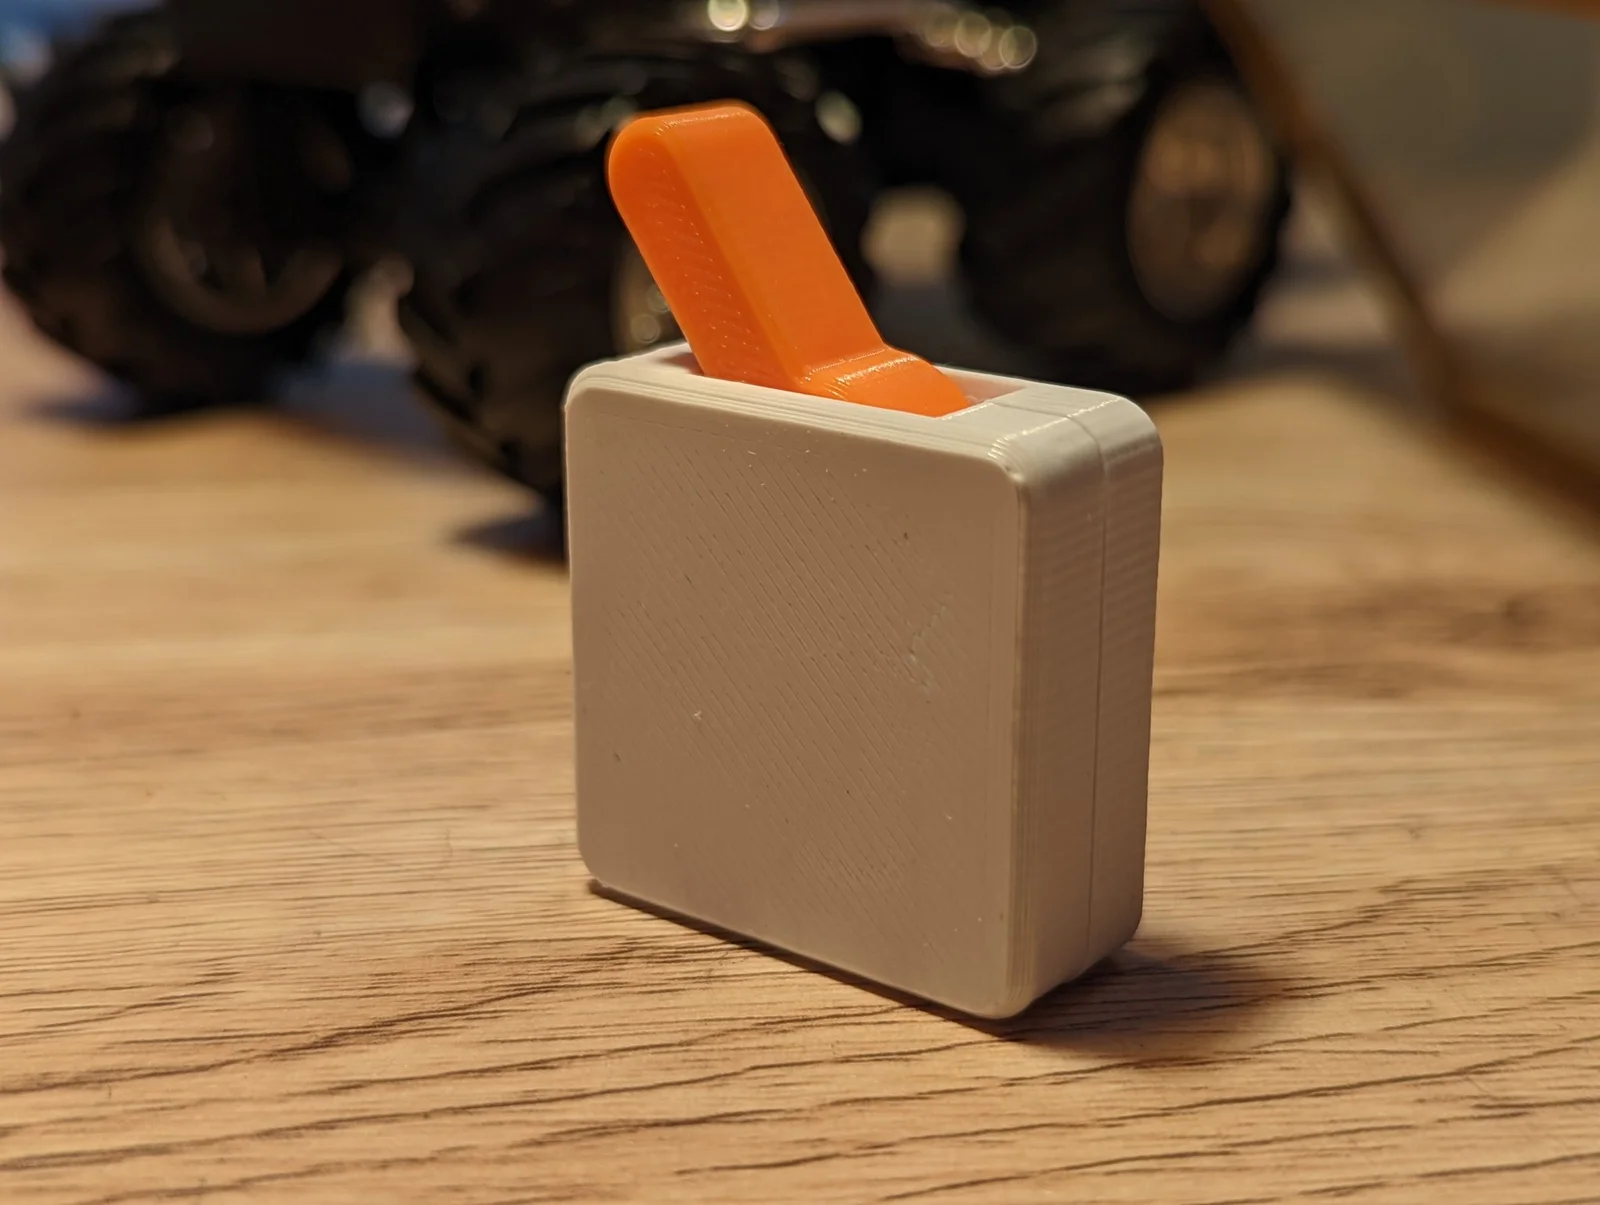
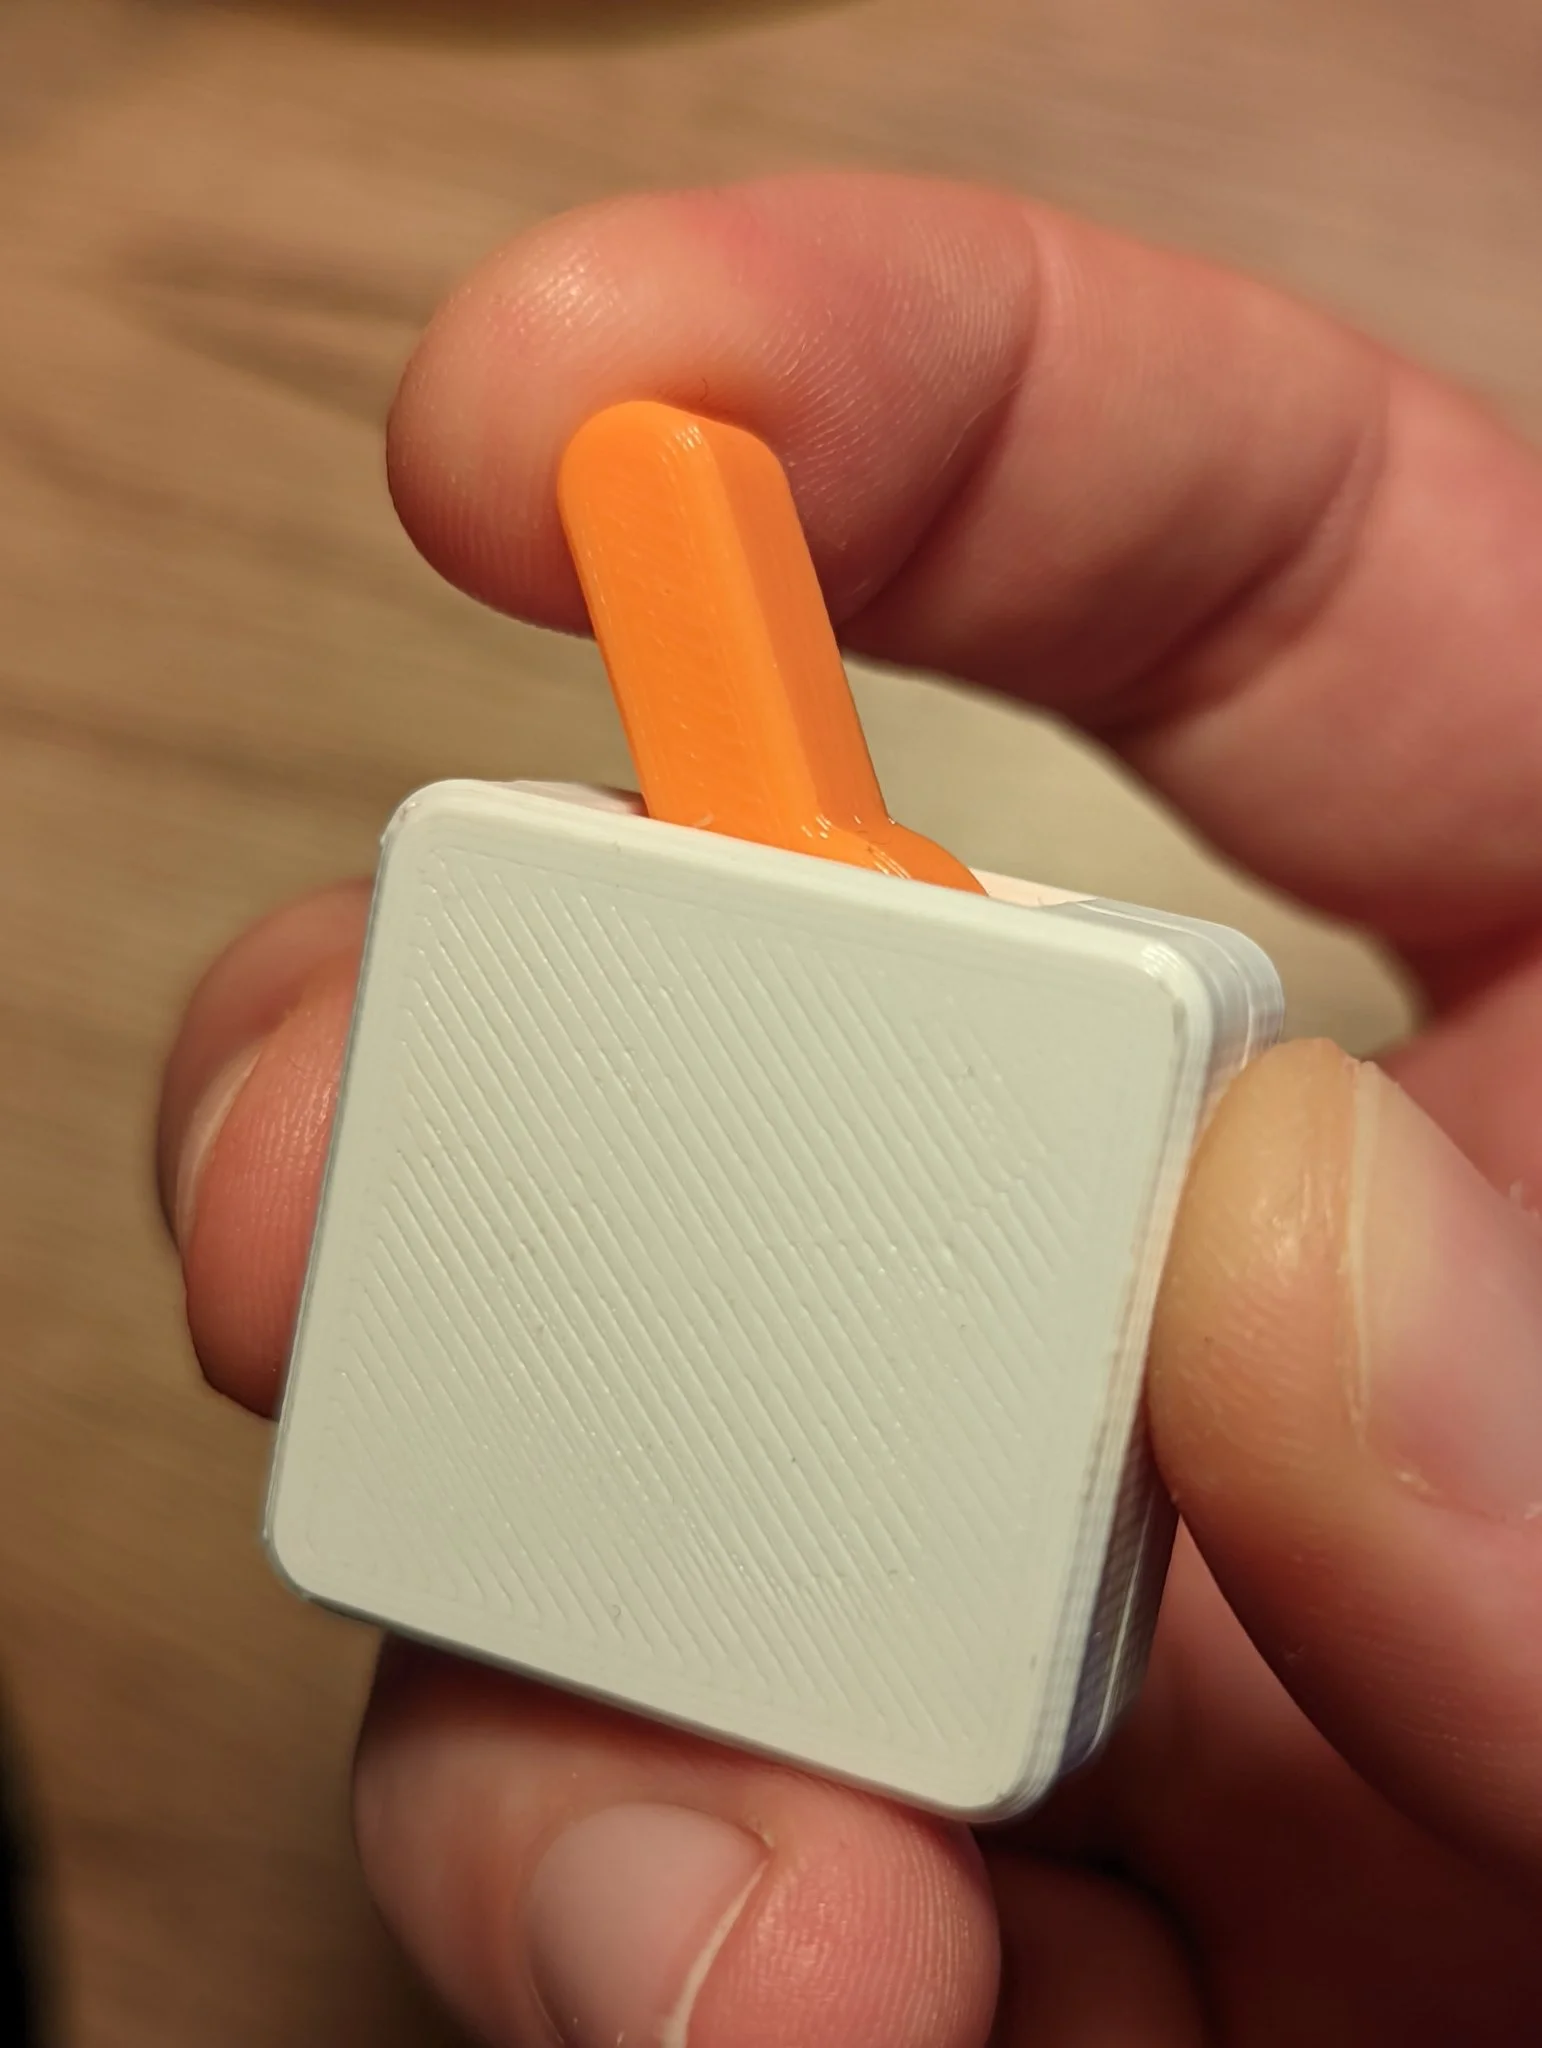

Fidget Clicker-Spinner
 BynotatiationLikes0Downloads168
Build another version of this model.
 Móc Khóa Fidget Toggle Switch Độc Đáo - In 3D Tiện LợiBynortmann_c · 03/06/2026
 Hộp nhấn "Fidget Box" 3 công tắc độc đáoByLiova · 03/06/2026
 Công Tắc Bập Bênh FidgetBylkro13 · 12/25/2025
 Chuyển đổi Fidget huyền thoại với Off Off được đánh dấuByvaclavh_797838 · 12/15/2025
This fidget toy is a tiny, clicky toggle switch! It's fully printable in about an hour and is only four pieces. You can change the "snap" effect by using either spring option and/or different materials.
Want to sell prints of this model? Check out my Printables Club!
You'll need 2x Case, 1x Toggle, and 1x of either the HardSpring or SoftSpring or ReallySoftSpring.
I recommend printing all of springs and trying them out to find what feels best for you. For most filaments, I found the HardSpring works best, but if the filament is particularly stiff, use the SoftSpring or ReallySoftSpring.
The tolerances should be generous enough, but if you are having any problems, check your flow rate.
1. Place the spring into one side of the case. Try out the HardSpring first as it should last longer theoretically. If you are using the SoftSpring or ReallySoftSpring, the cutout should be facing away from the peg.
2. Place the toggle on to the peg in the case and test out the movement. Note that the action will be stronger with both side of the case present.
3. Attach the other side of the case and enjoy! The case should hold together with friction, but if not, a small amount of glue should suffice.
If you printed a few switches and need a convenient holder, check out Liova's 3-switch box. nortmann_c also made an awesome keychain remix that's worth checking out.
BynotatiationLikes0Downloads168

 BycajunmeemawLikes0Downloads213

 Byfilament-frenzyLikes0Downloads453

 Bylayer-by-layerLikes0Downloads163

 BykriswillcodeLikes4.1KDownloads31.4K

 ByflexiozzLikes0Downloads947

 BylayerworksLikes97Downloads684

 Bymp3d-artLikes0Downloads317

 ByaustinvojtaLikes13.7KDownloads107.3K

 Bycustom-3d-partsLikes0Downloads197

