


Mẫu tranh treo tường nghệ thuật phong cảnh thiên nhiên Nature Decor
 ByCodyMeyer_2545340Likes163Downloads728
Build another version of this model.
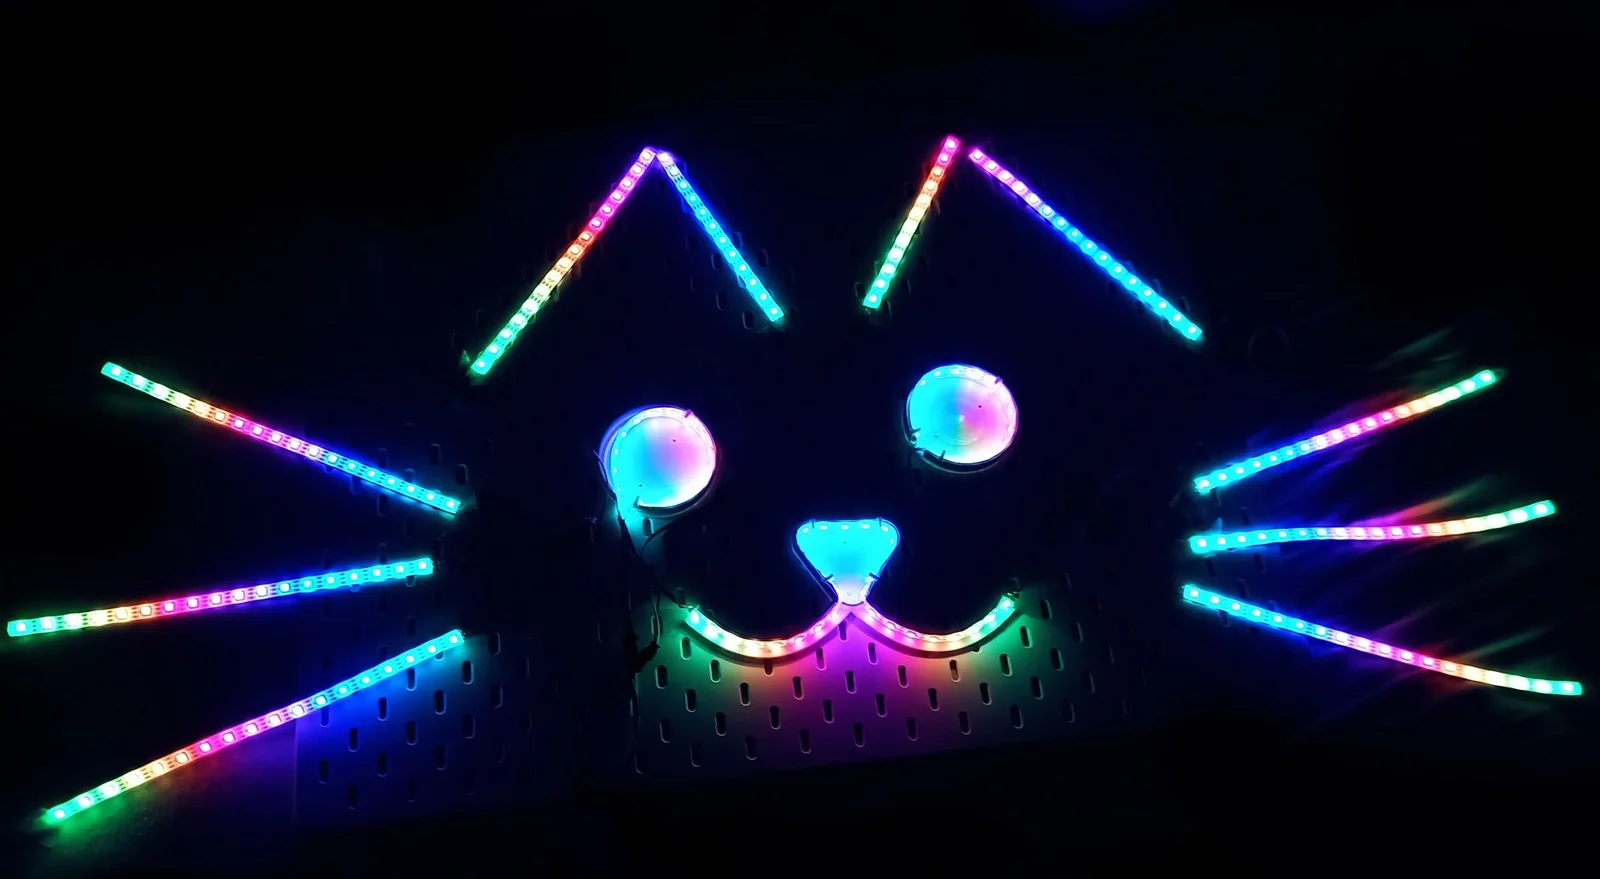
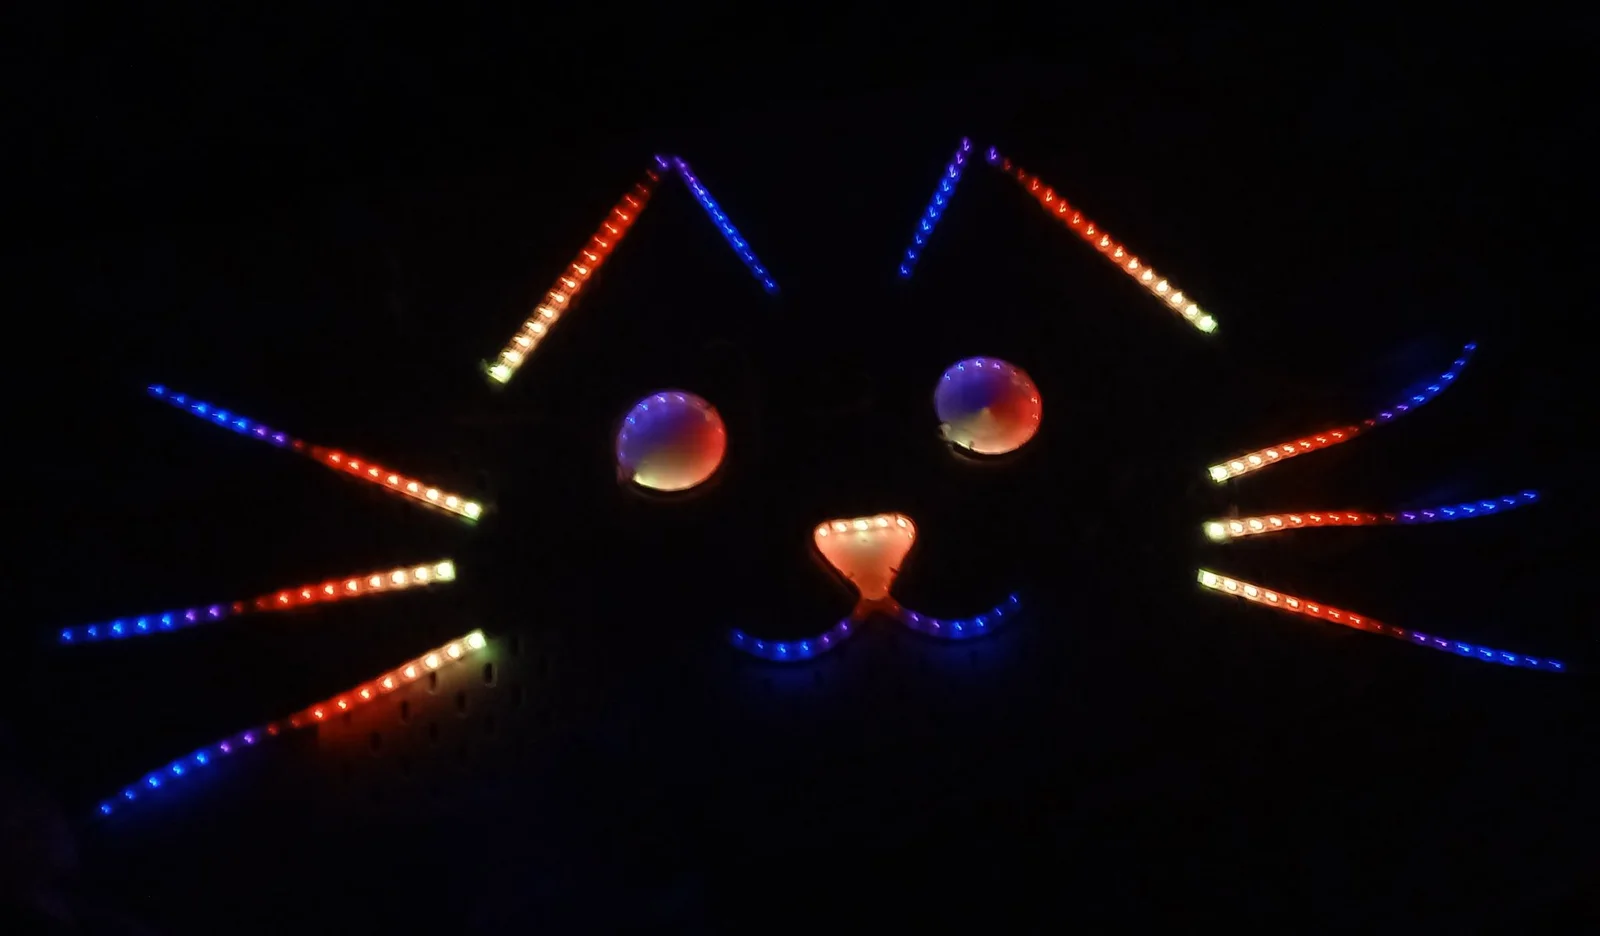
LED stripes can easily bended up and down but not left/right. For building round shapes a perpendicular mounting on 3D printed shapes can be done. For this blinky cat head two 3D models are necessary for eyes and nose/mouth.
The LED stripe segments are connected by 3 wires for VCC, DATA and GND. Most of them are just connected in a row, only the three whiskers on each side are in parallel.
In total 225 RGB LEDs are used (almost 4m). The total length is 153. If you use 5V LEDs it is highly recommended to connect 5V and GND at multiple points along the route, not only at the beginning.
The model size is around 1.20m x 0.60m.
As control system WLED (https://kno.wled.ge) can be used together with ESP8266 or ESP32 microcontroller.
So for building a blinkekatze by yourself you need:
Cut and solder sections as described here.
Freecad model and .stl files attached.
Have fun, comment, rate and share your results. :-)
ByCodyMeyer_2545340Likes163Downloads728

 ByvanessaLikes0Downloads114

 Bykallekubinsk_3569049Likes37Downloads189

 ByMrCoolGaming_2947996Likes47Downloads177

 ByDrewmundLikes833Downloads4.6K

 ByJous42Likes35Downloads116

 ByMichael Phillips PhillipsLikes26Downloads115

 ByStreamMovieY_3470525Likes30Downloads123

 BySuegLikes0Downloads110

 Bywerti_3595676Likes46Downloads126

 Bylame_3949573Likes42Downloads107

 Byjimreurink1_902740Likes25Downloads84