



Đồ chơi giải tỏa căng thẳng Hourglass Fidget thiết kế xoắn ốc đẹp mắt
 ByMichaelCurri_3940753Likes26Downloads147
Build another version of this model.
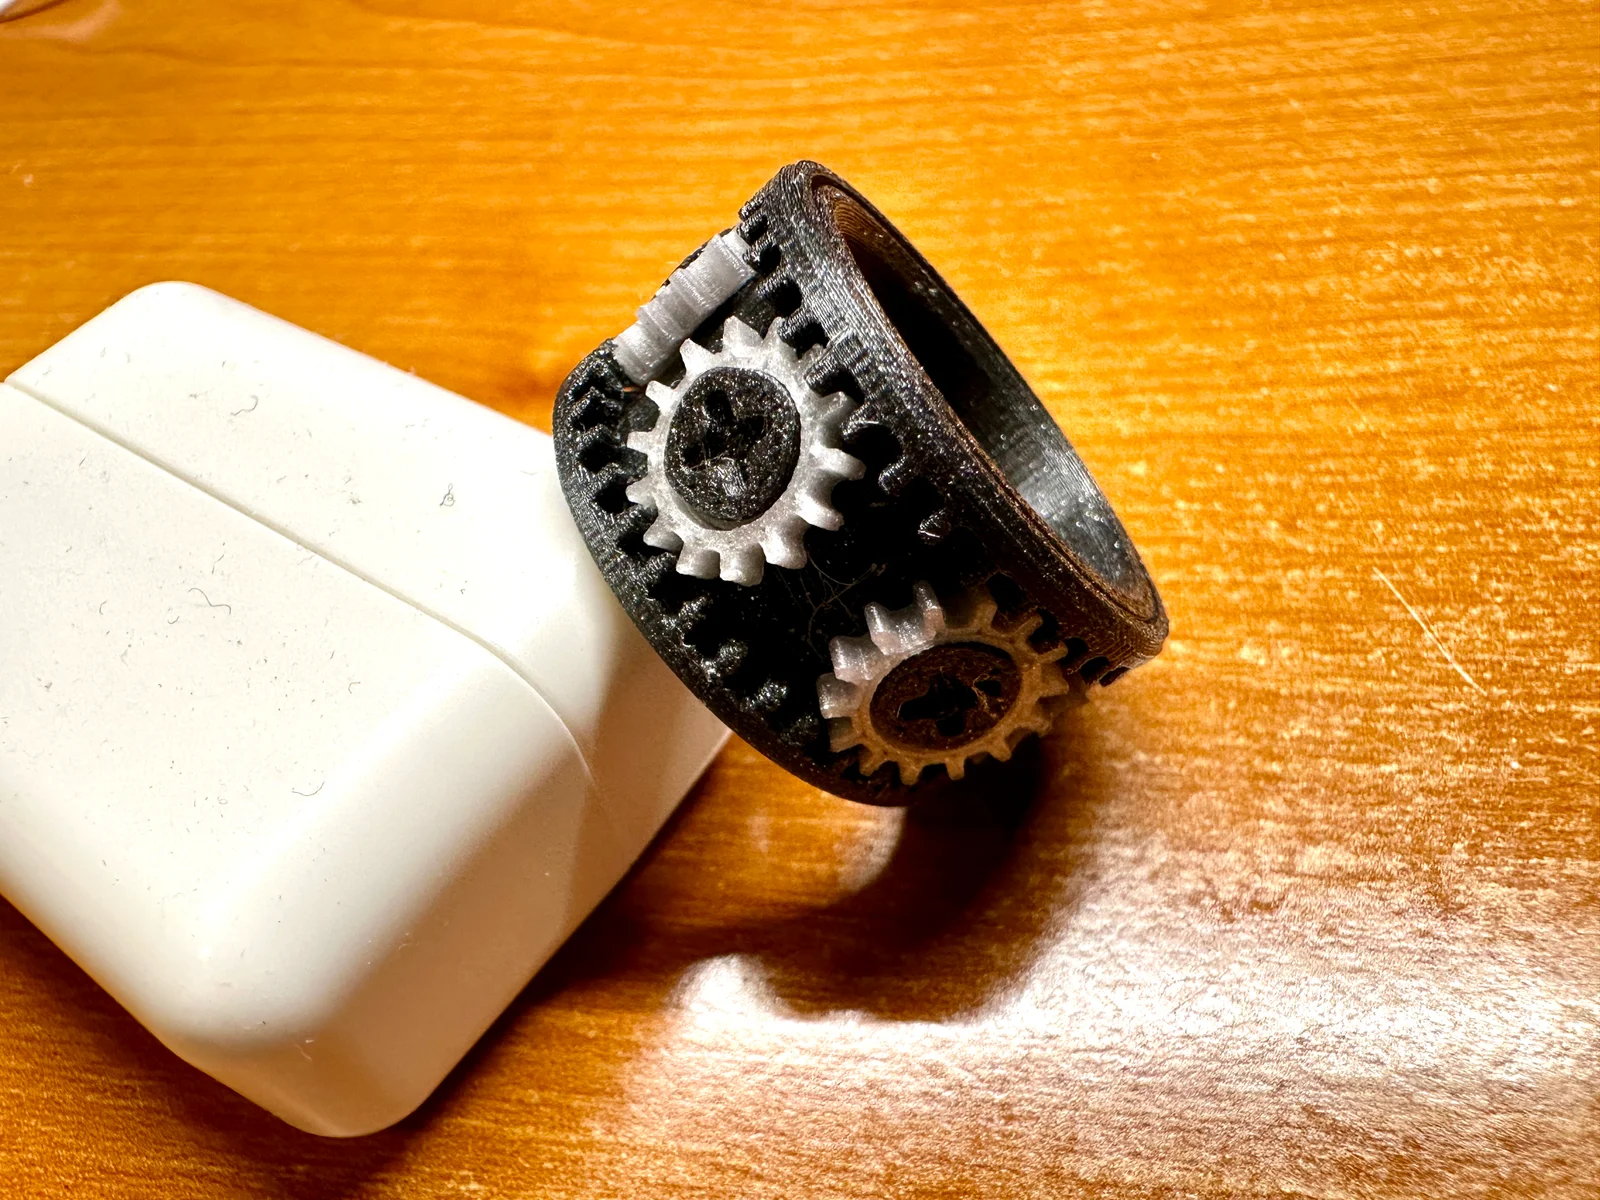
This is a design exercise to reverse engineer a commercially available Gear Ring into a fully 3D printed working model.
UPDATE - added 23mm and 19mm versions
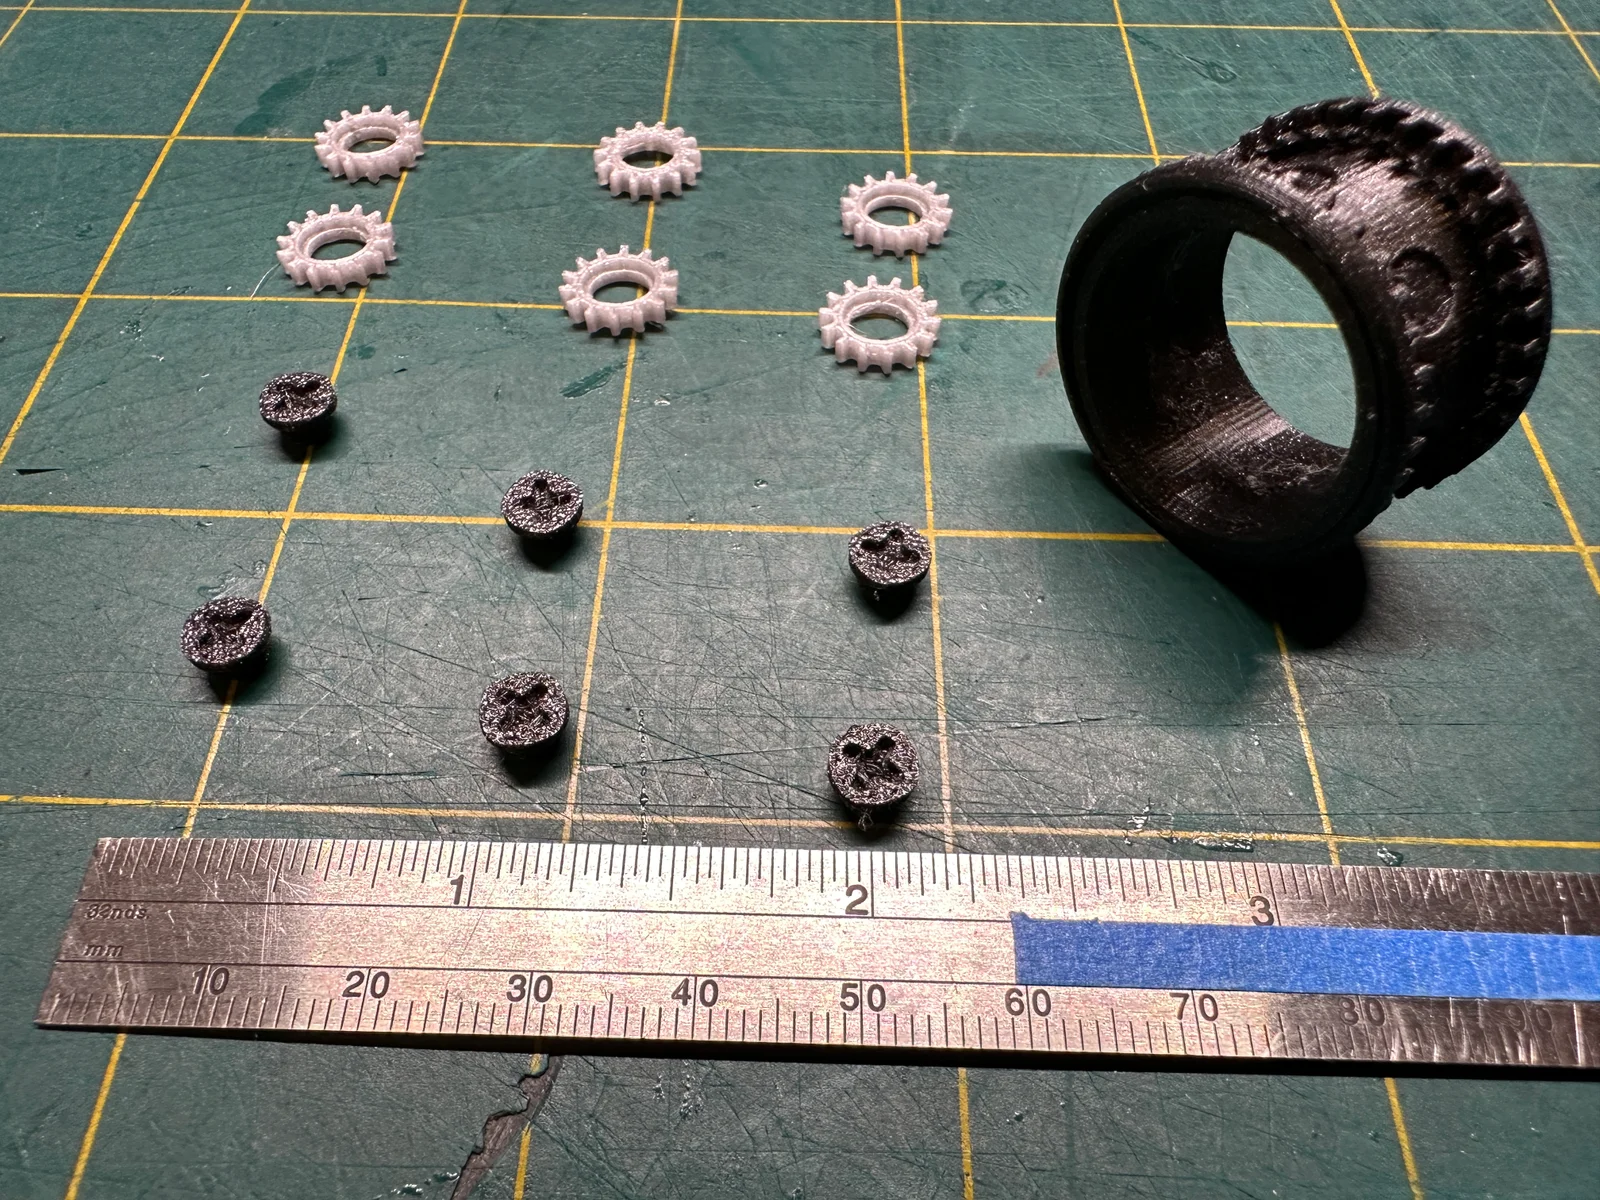
BOM
1x - Gear ring main body with the outer rings
6x - Gears
6x - Studs
PLA or any kind of plastic cement. Slow curing is highly recommended.
Assembly
Moving parts have a 0.4mm tolerance
Fixed parts have a 0.2mm tolerance
This is a working model more than an actual EDC fidget ring. Don't rotate too fast or apply too much force while rotating the gears.
Happy New Year!! and Happy Printing :)
ByMichaelCurri_3940753Likes26Downloads147

 Byrorys3DLikes0Downloads321

 ByAustin Wolt WoltLikes162Downloads377

 ByLecso_113752Likes76Downloads331

 Bytovelaermans_3355197Likes63Downloads423

 ByAlexMuLikes41Downloads328

 ByckthLikes148Downloads2.4K

 ByTangoOscarMik_505113Likes31Downloads249

 ByxsynaticLikes27Downloads210

 BySimin03Likes84Downloads198

 ByDerTapirLikes34Downloads170
