Lenovo ThinkVision X1 Gen2 VESA mount adapter

Bộ chuyển đổi Mount Vesa 100x100 cho màn hình Lenovo ThinkVision X1 Gen2


Mô tả
Intro
I own 2 Lenovo ThinkVision X1 Gen2 monitors that I am quite fond of. The stand is not bad, but I just wanted to mount them on a dual arm monitor stand with a VESA mount. Unfortunately, the X1 only has the option to use the proprietary mount, so I designed this mount.
Material
You probably want to use something that is strong and has good layer adhesion. I feel like PLA is probably too stiff and will break, and carbon or glass reinforced filaments tend to have poorer layer adhesion. I went with ABS printed at a little higher than normal temperatures. I used Jayo ABS, Black.
Printing
Print as usual. Layer thickness doesn't matter that much, but I would recommend staying in the ‘sweet spot’ for your nozzle size (so layer height of about 50-to-75-ish percent of nozzle size) since that's apparently good for strong parts (see CNC kitchens YT video about this). Slightly higher temperatures than normal tend to also be good for layer adhesion. I used the ‘voron standard’ settings.
Assembly
Start by removing the foot from the monitor by pulling the button under the mount on the back of the screen and tilting the whole foot upwards. It should come away from the monitor easily. Remove the 7 screws from the metal plate that is attached on the end of the original mount (the part that would sit inside the monitor when the mount is attached). We need the screws and the metal plate. Two or three screws may be hidden under a barcode sticker. Once you have the plate and the screws, you can put the old mount aside.
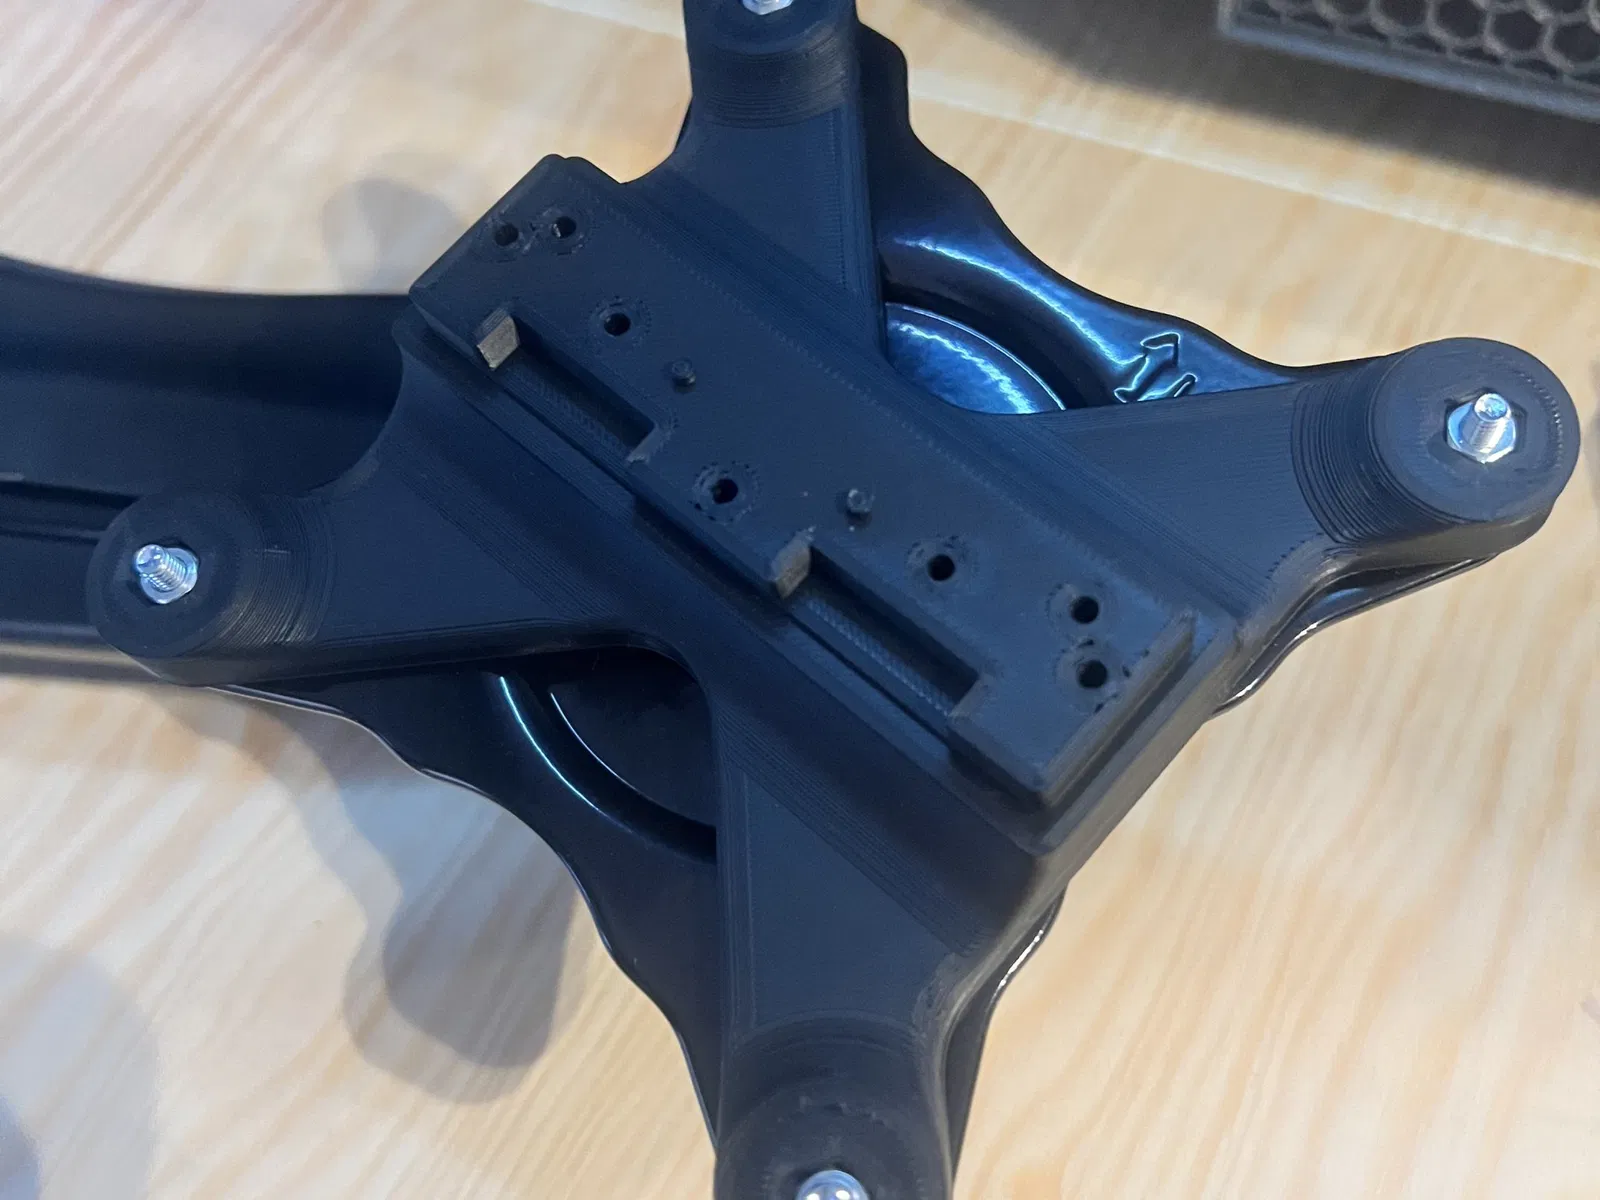
Attach the metal plate to the printed mount. It should be obvious how to orient it on the print. Put the screws in. Note that the screws aren't the most tight fit ever, however due to the center of gravity of the monitor, and the fact that the original holder was also VERY flimsy plastic, I feel confident that this is sufficiently strong to hold the weight of the monitor.
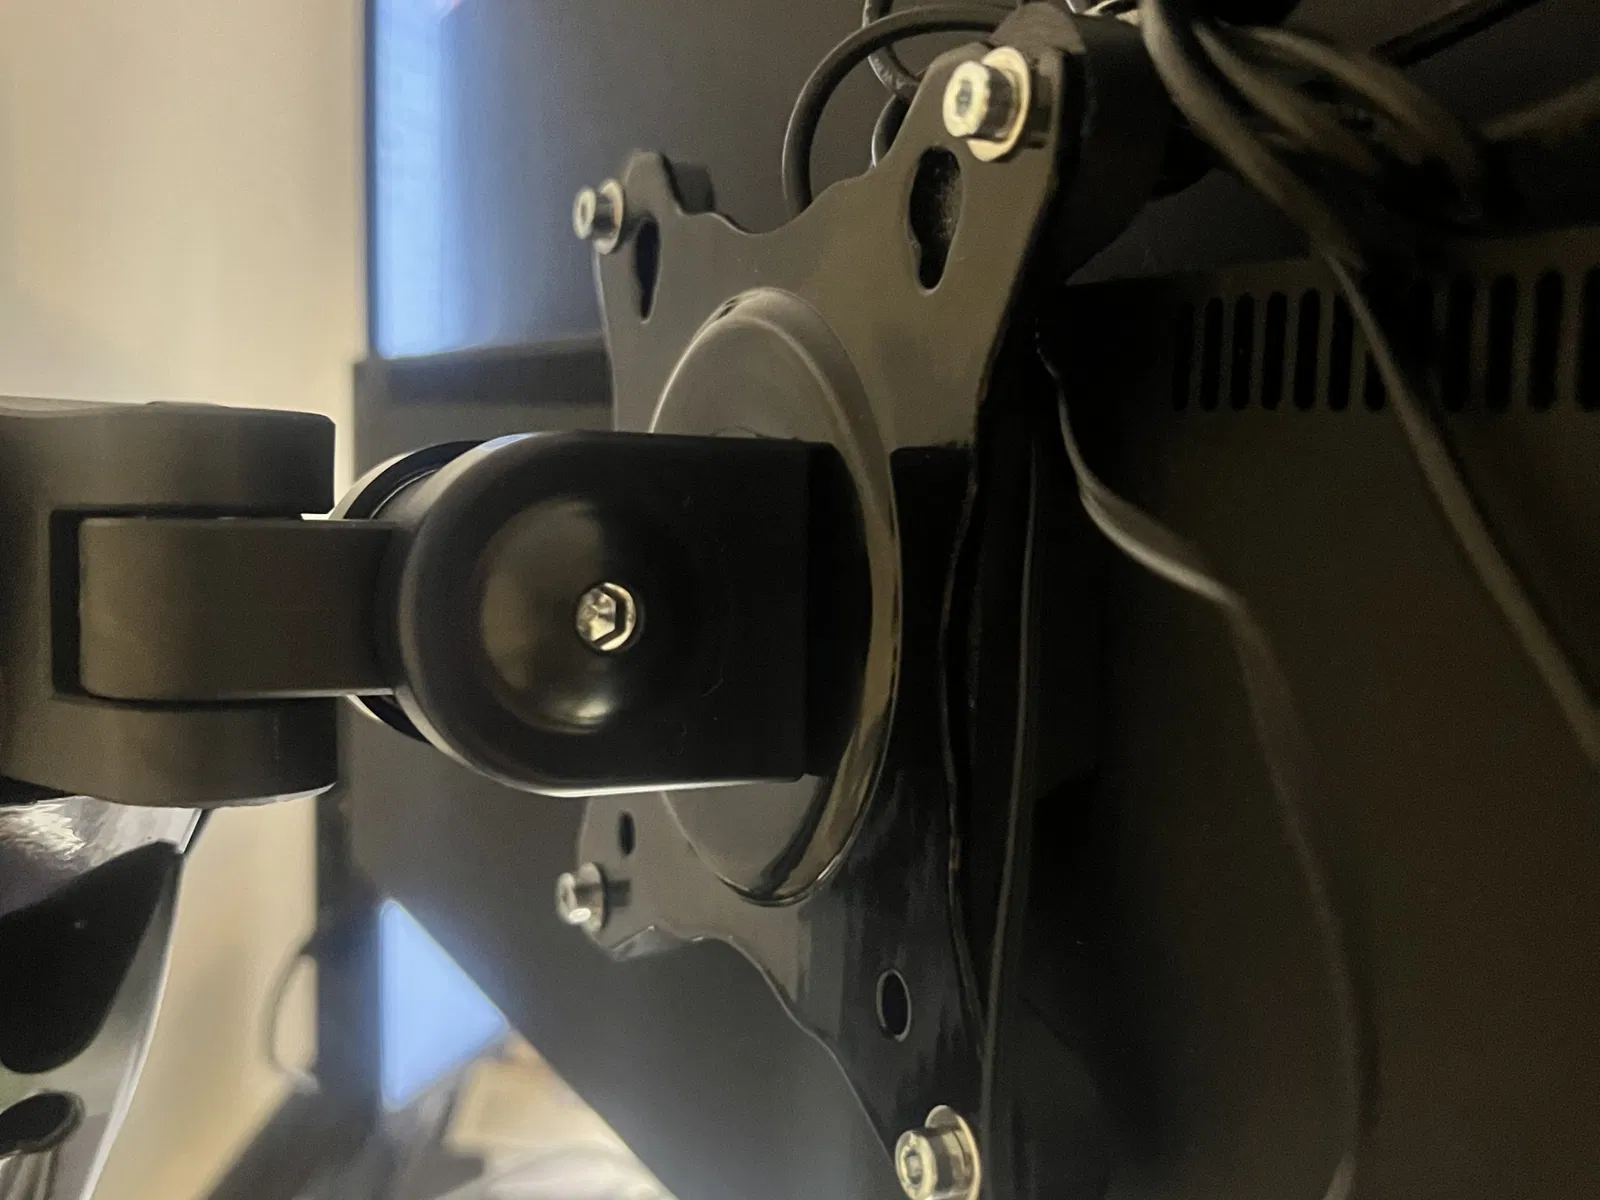
Either screw the mount onto the VESA mount first, and then attach the monitor to it (reverse of the first step), or first put the mount on the monitor, and then screw it to the VESA mount. I found it easiest to do the former, YMMV. You will need M4 bolts and nuts. The nuts should fit easily in their recesses.
Enjoy!
Giấy phép

File mô hình

Chưa có bản in nào được khoe. Hãy là người đầu tiên!

Chưa có bình luận nào. Hãy là người đầu tiên!