Remix: Prusa MK3s+ Einsy and Pi enclosure (larger case and internal zip tie mounts)

Remix của Kalleknall Prusa MK3/S Einsy Raspberry Pi 4B/3B bao vây với Niềng


Mô tả
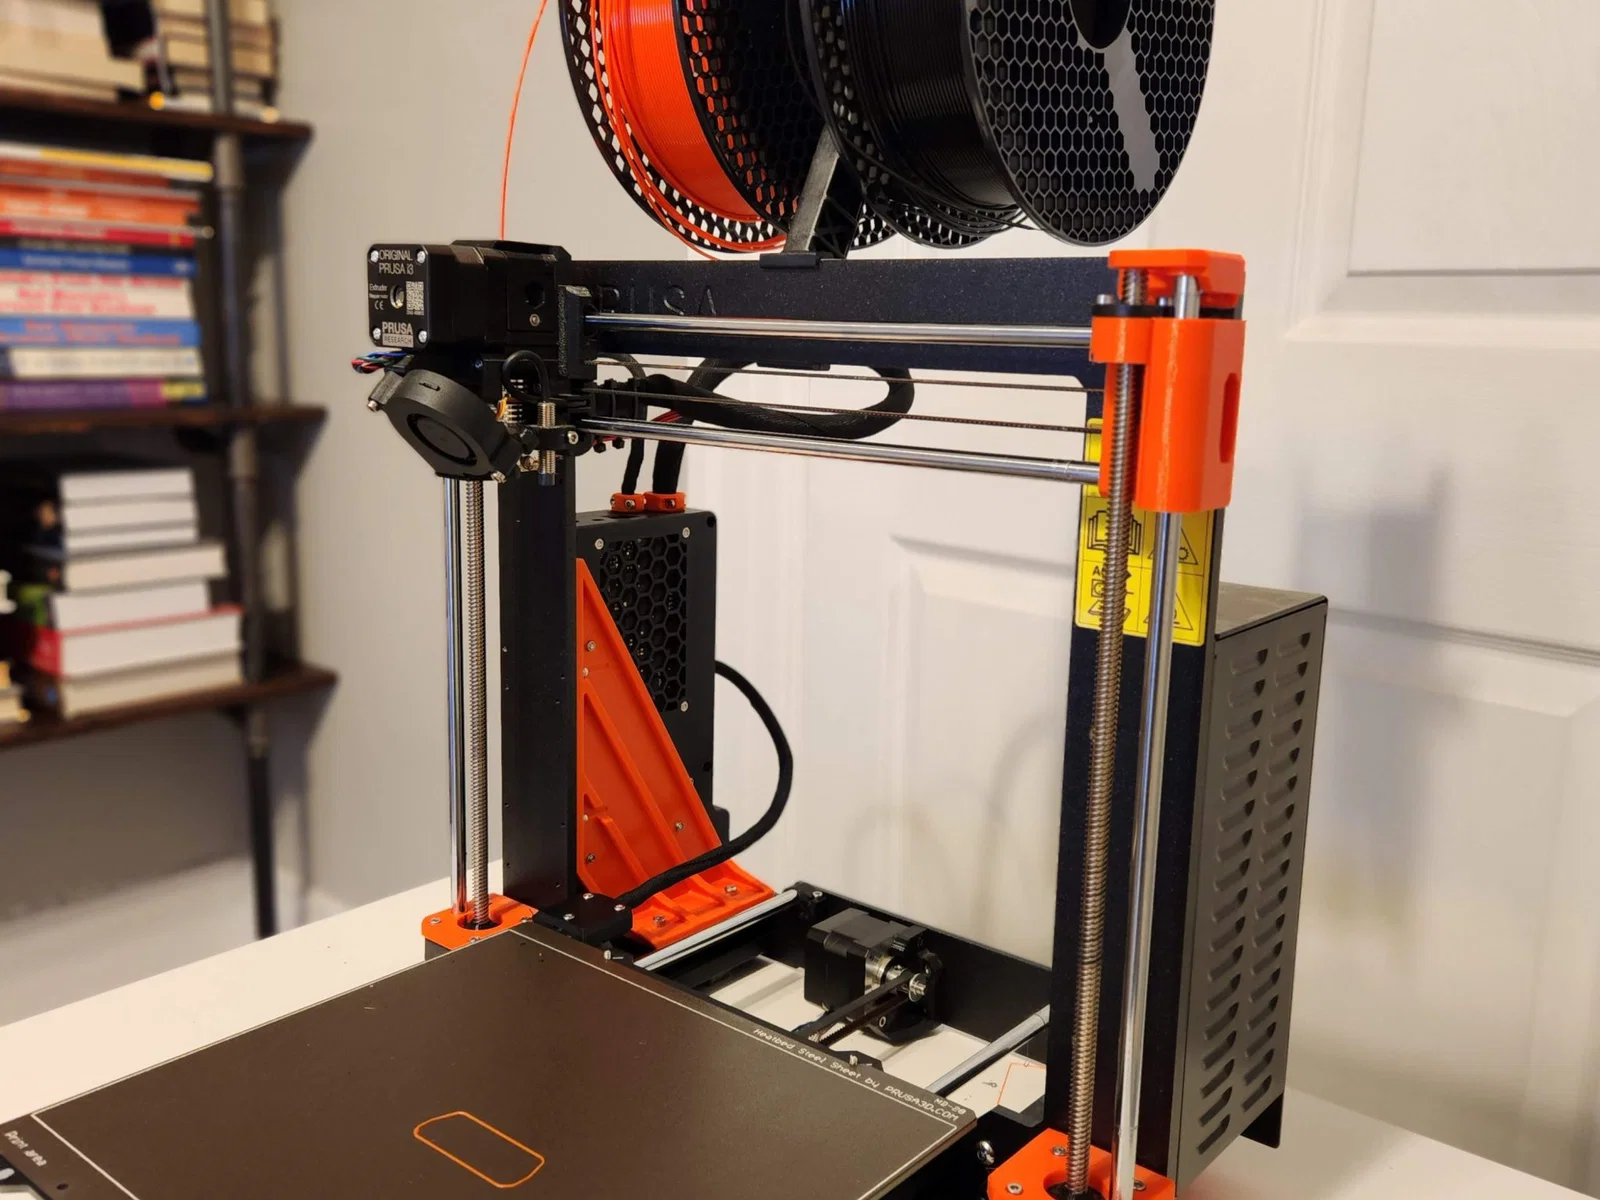
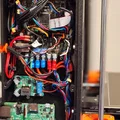
First of all, huge shoutout to @KalleKnall for this wonderful design; I'm very impressed by the design and attention to detail. It's my first time adding a Raspberry pi to my printing setup and it was nice to find this great enclosure to house all the electronics neatly in one place.
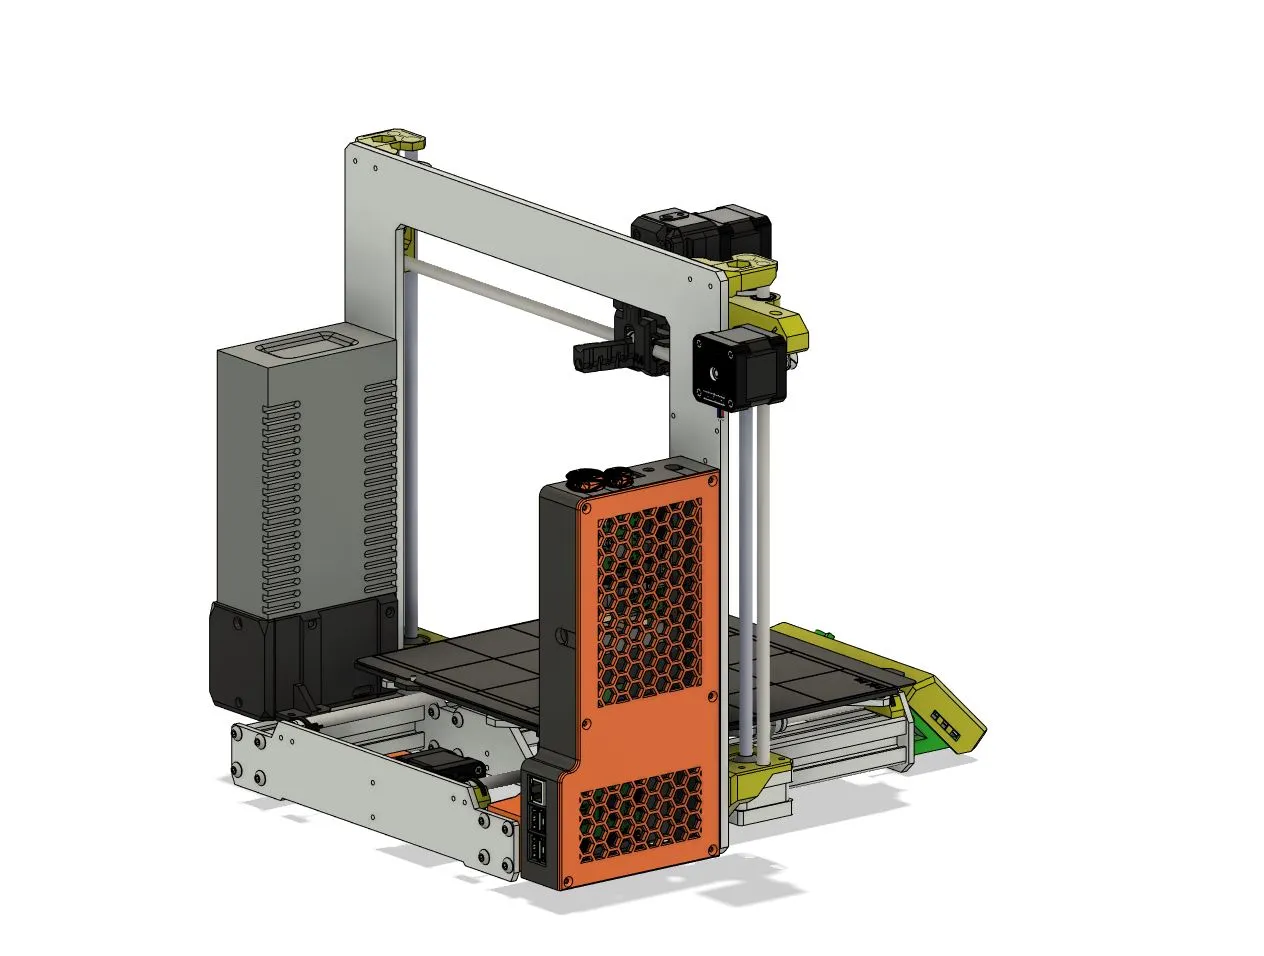
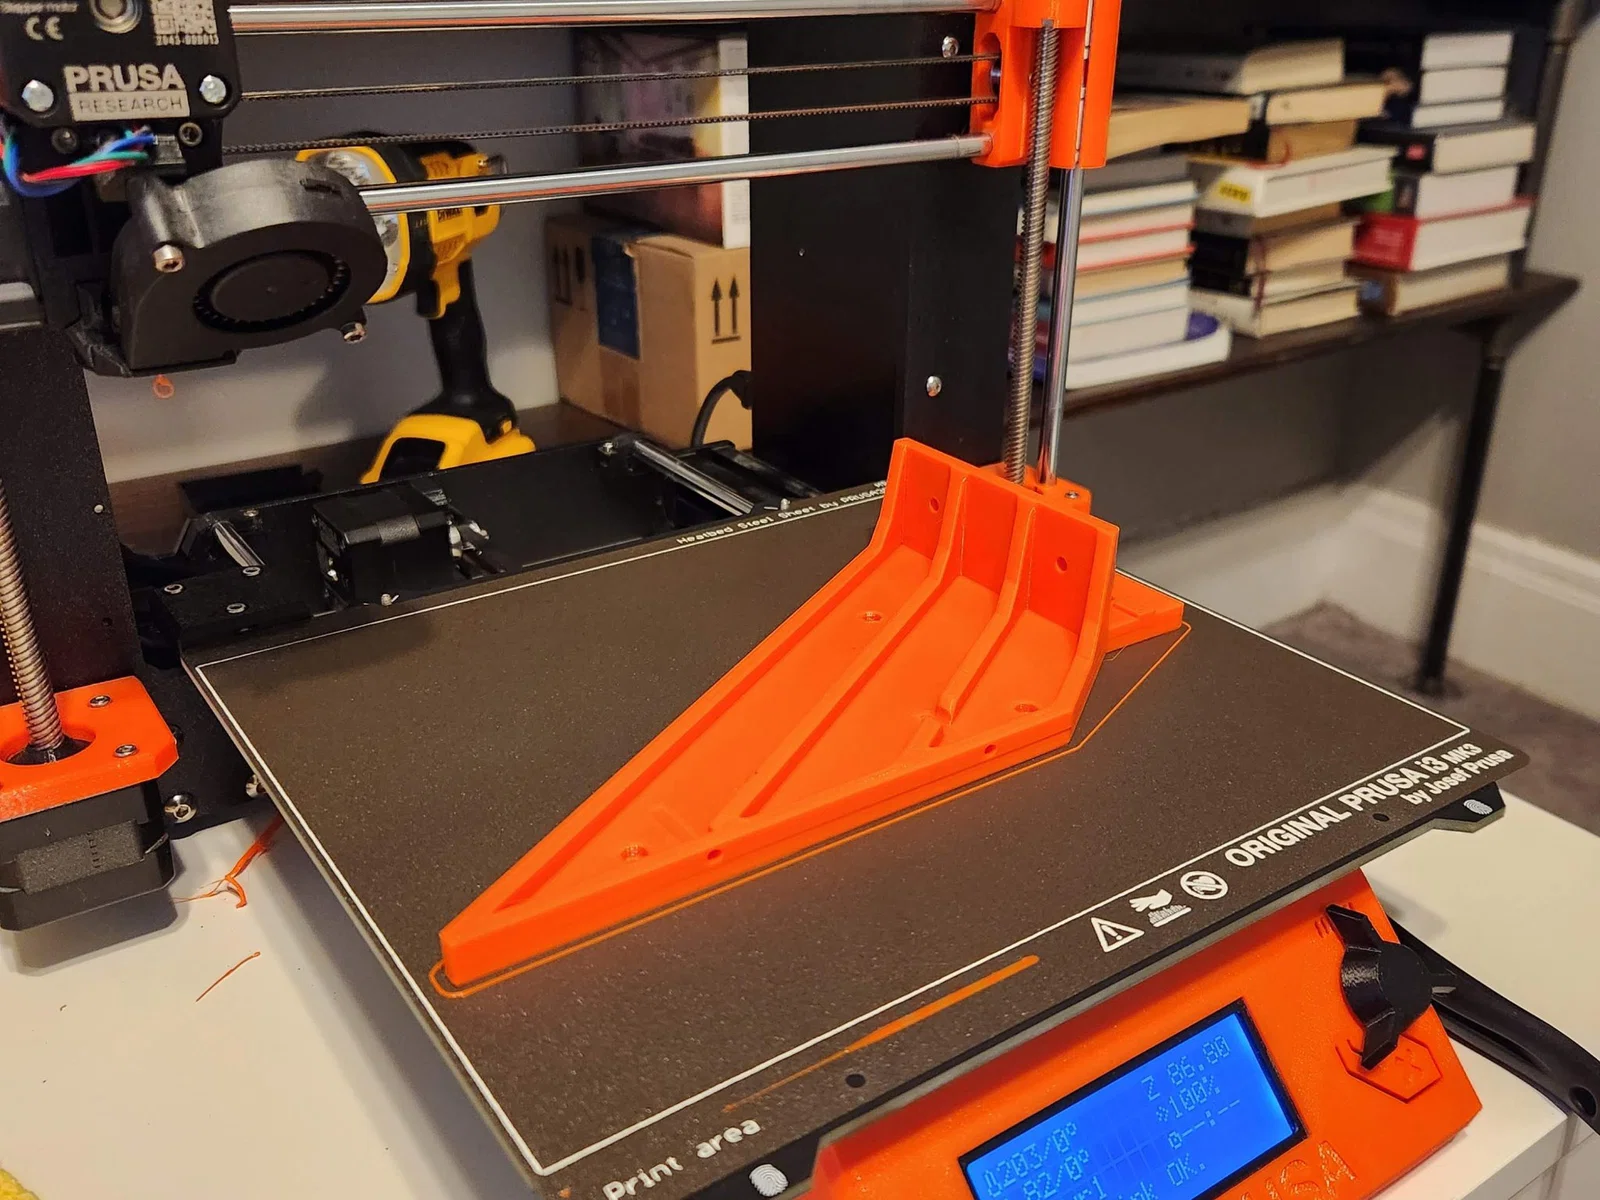
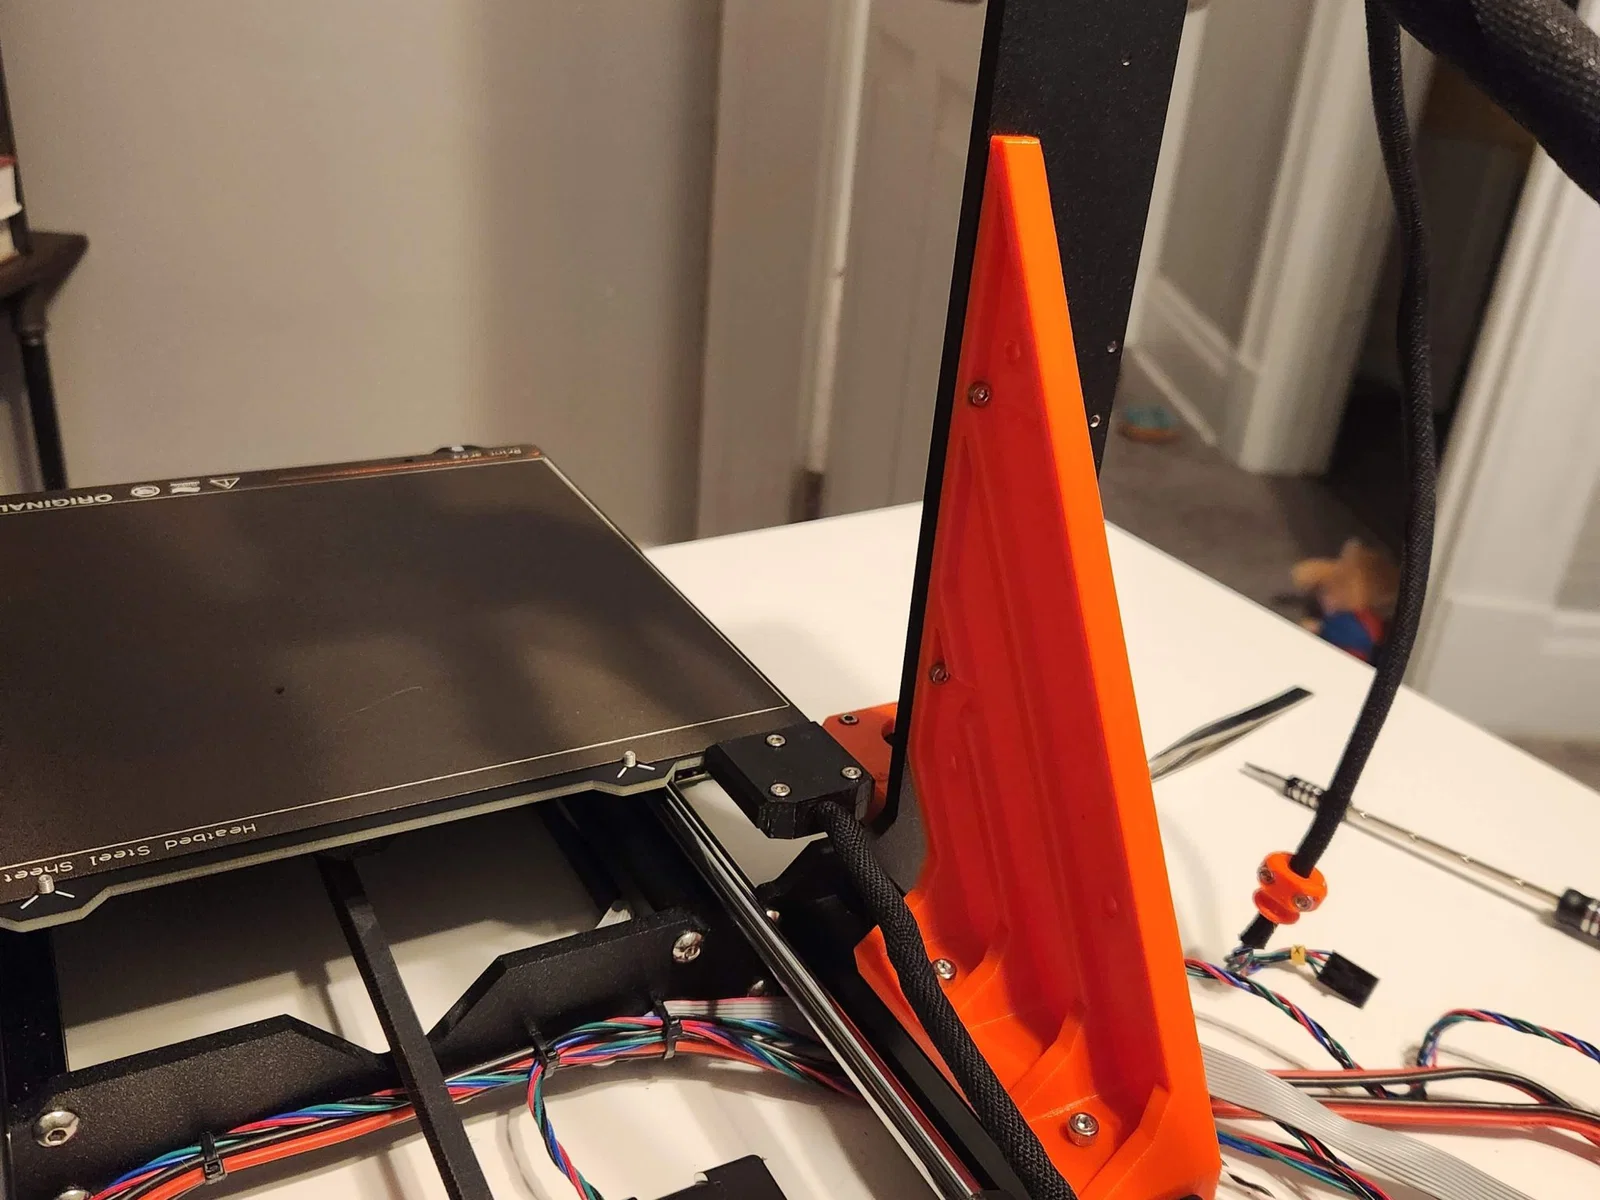
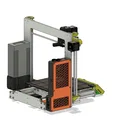
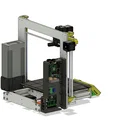
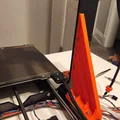
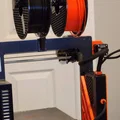
Please see the section below “Differences of the remix compared to the original" for more details about the changes I made to the original design. The biggest change I made was to increase the overall height of the enclosure. I wanted the enclosure and the power supply to have similar heights for improved visual symmetry. I also wanted the brace not to stick up taller than the enclosure.
A few random notes:
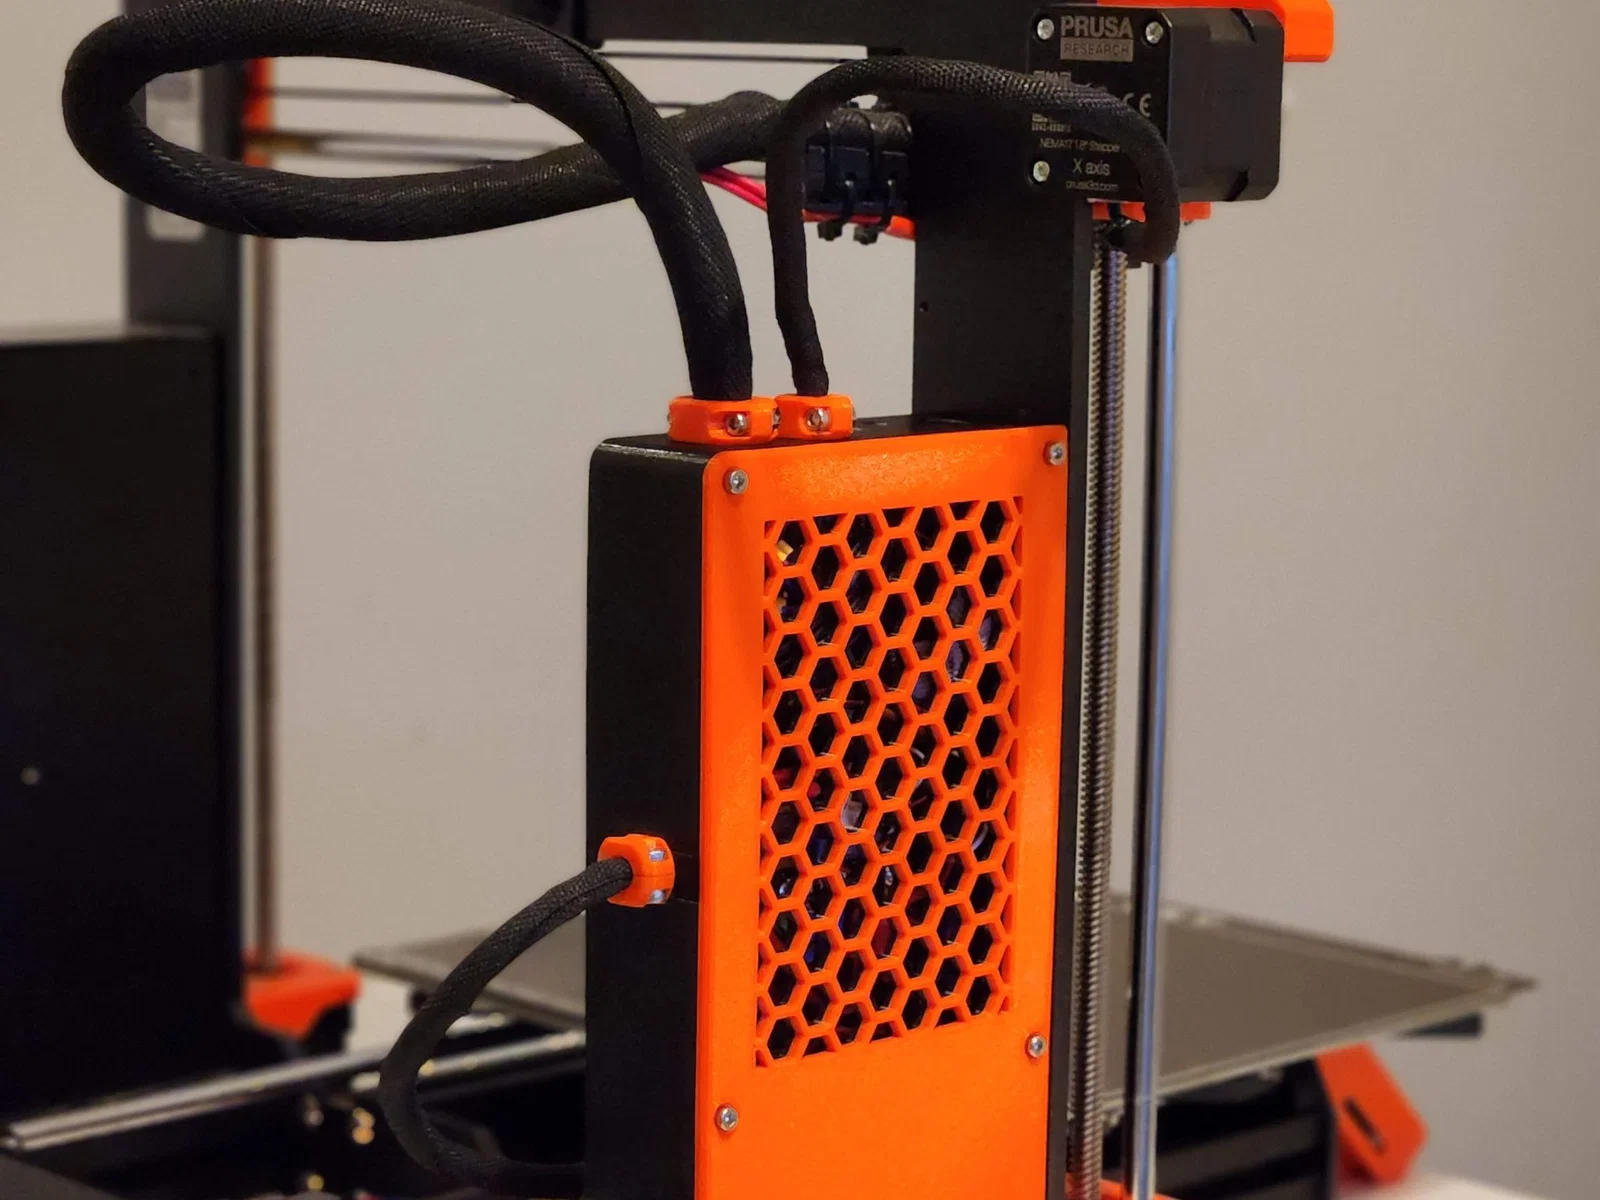
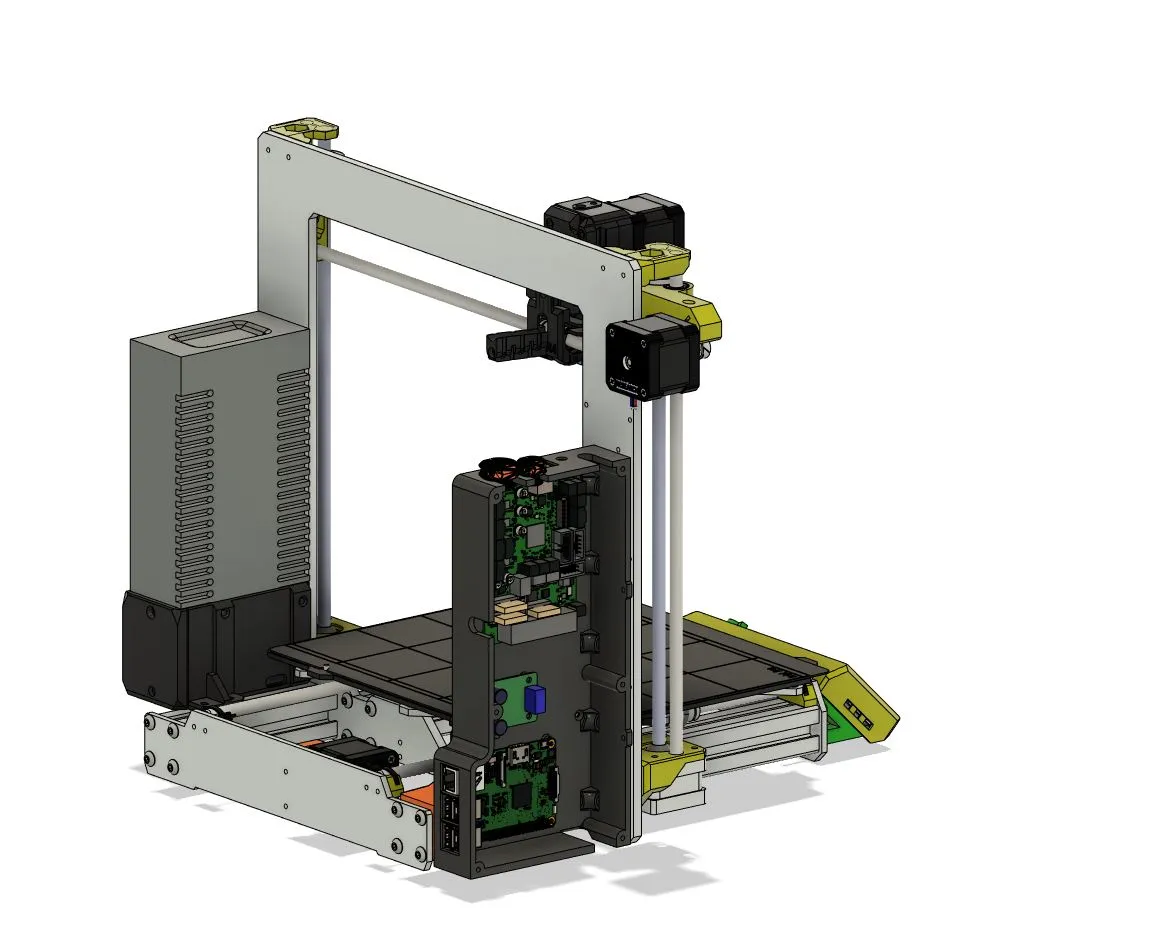
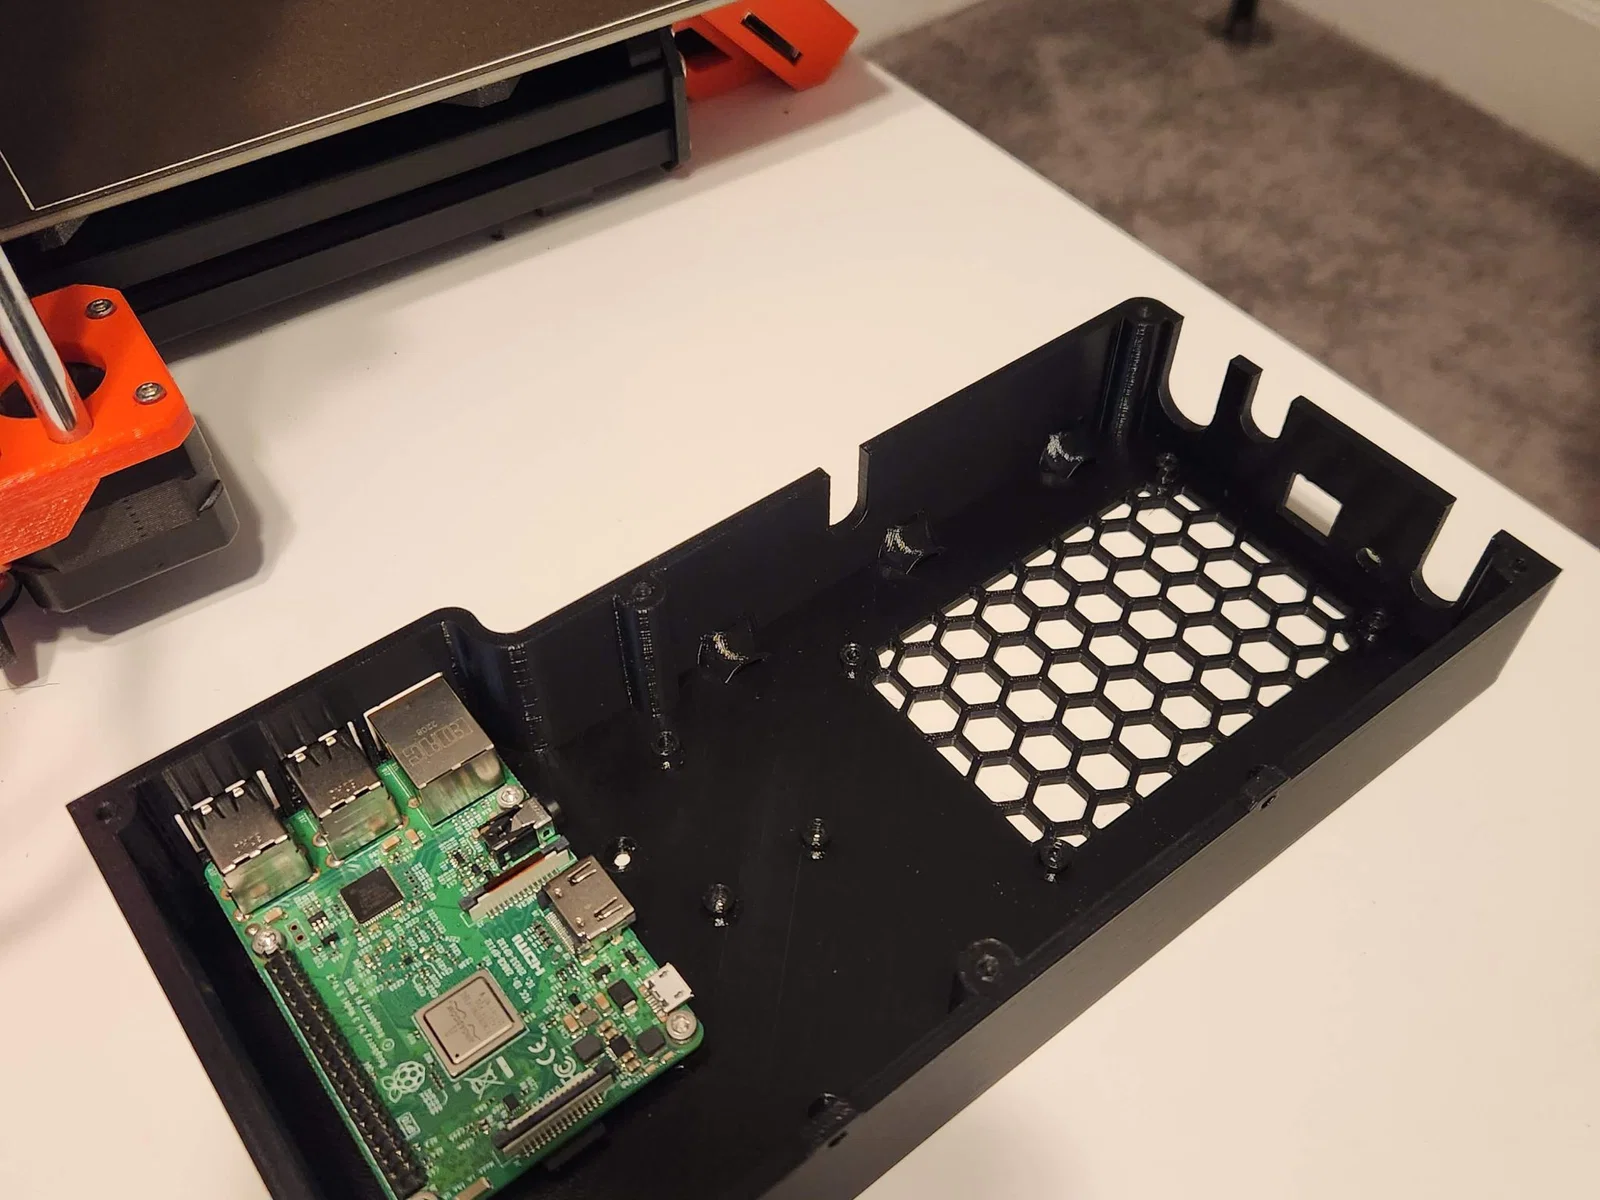
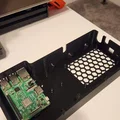
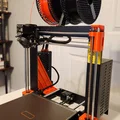
- My printer is a Prusa MK3s+ and I am using a Raspberry 3 model B, I can confirm that this build works for me. (see pictures)
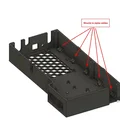
- I had to use a drill to increase the bolt holes on the enclosure (and even on the raspberry pi itself) in order to fit M3 bolts. It was a very tight fit otherwise.
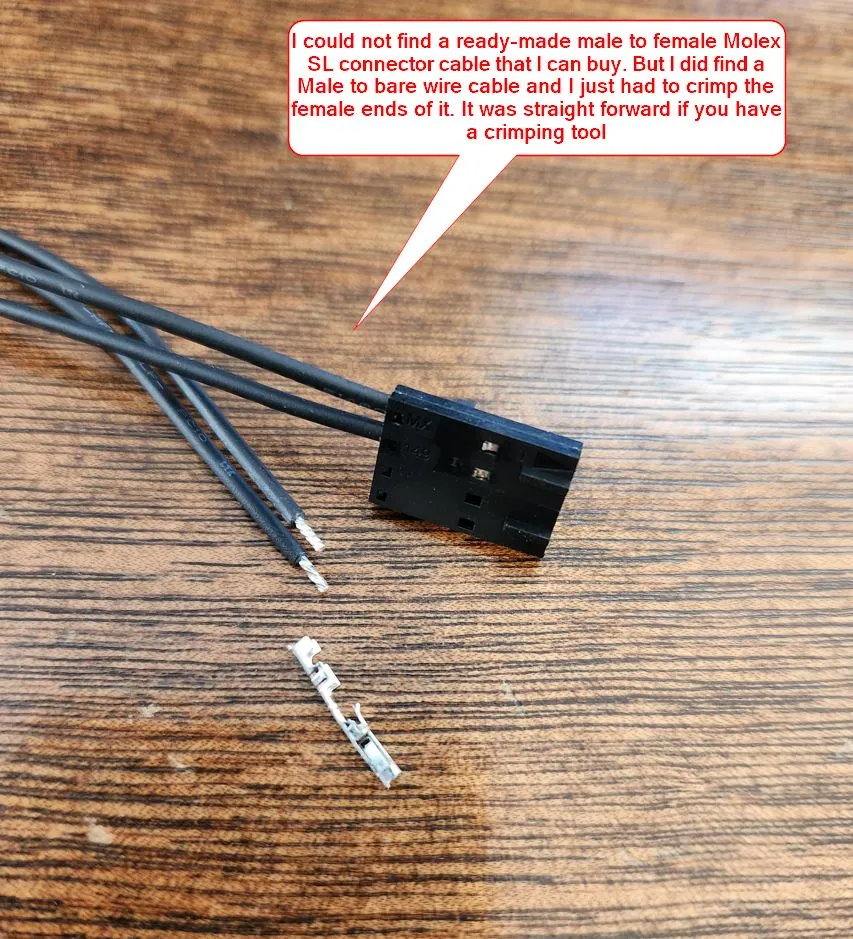
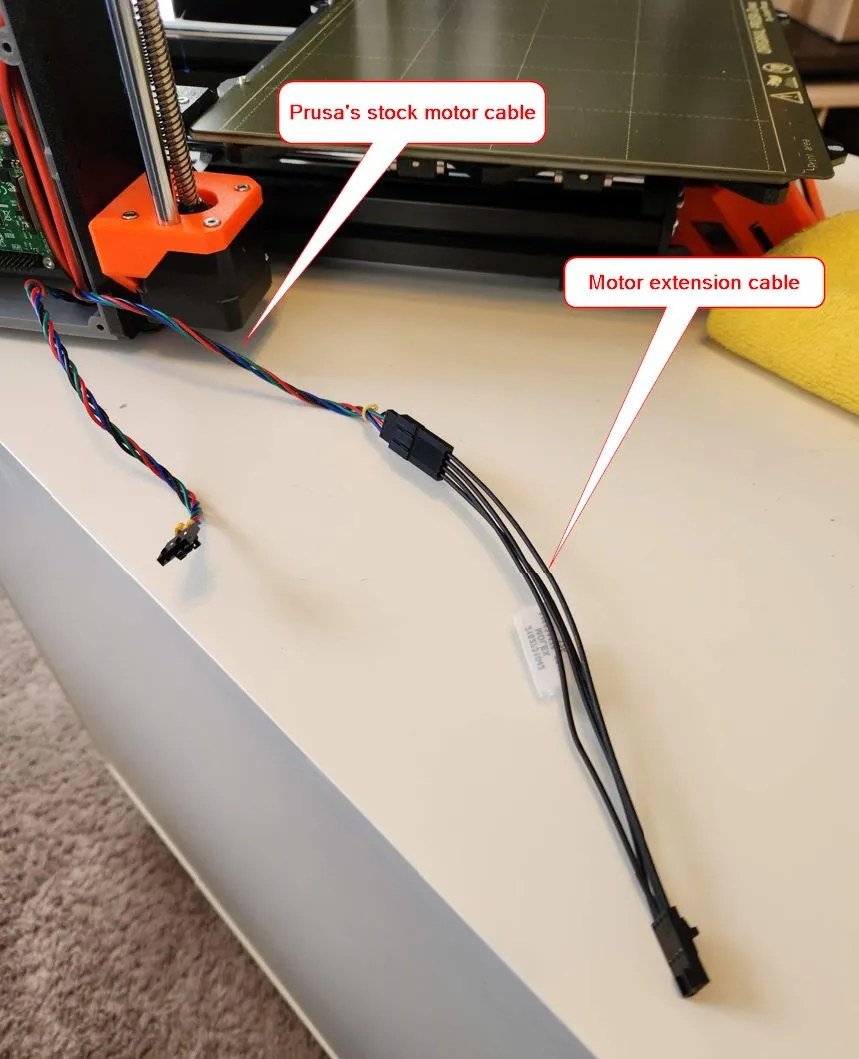
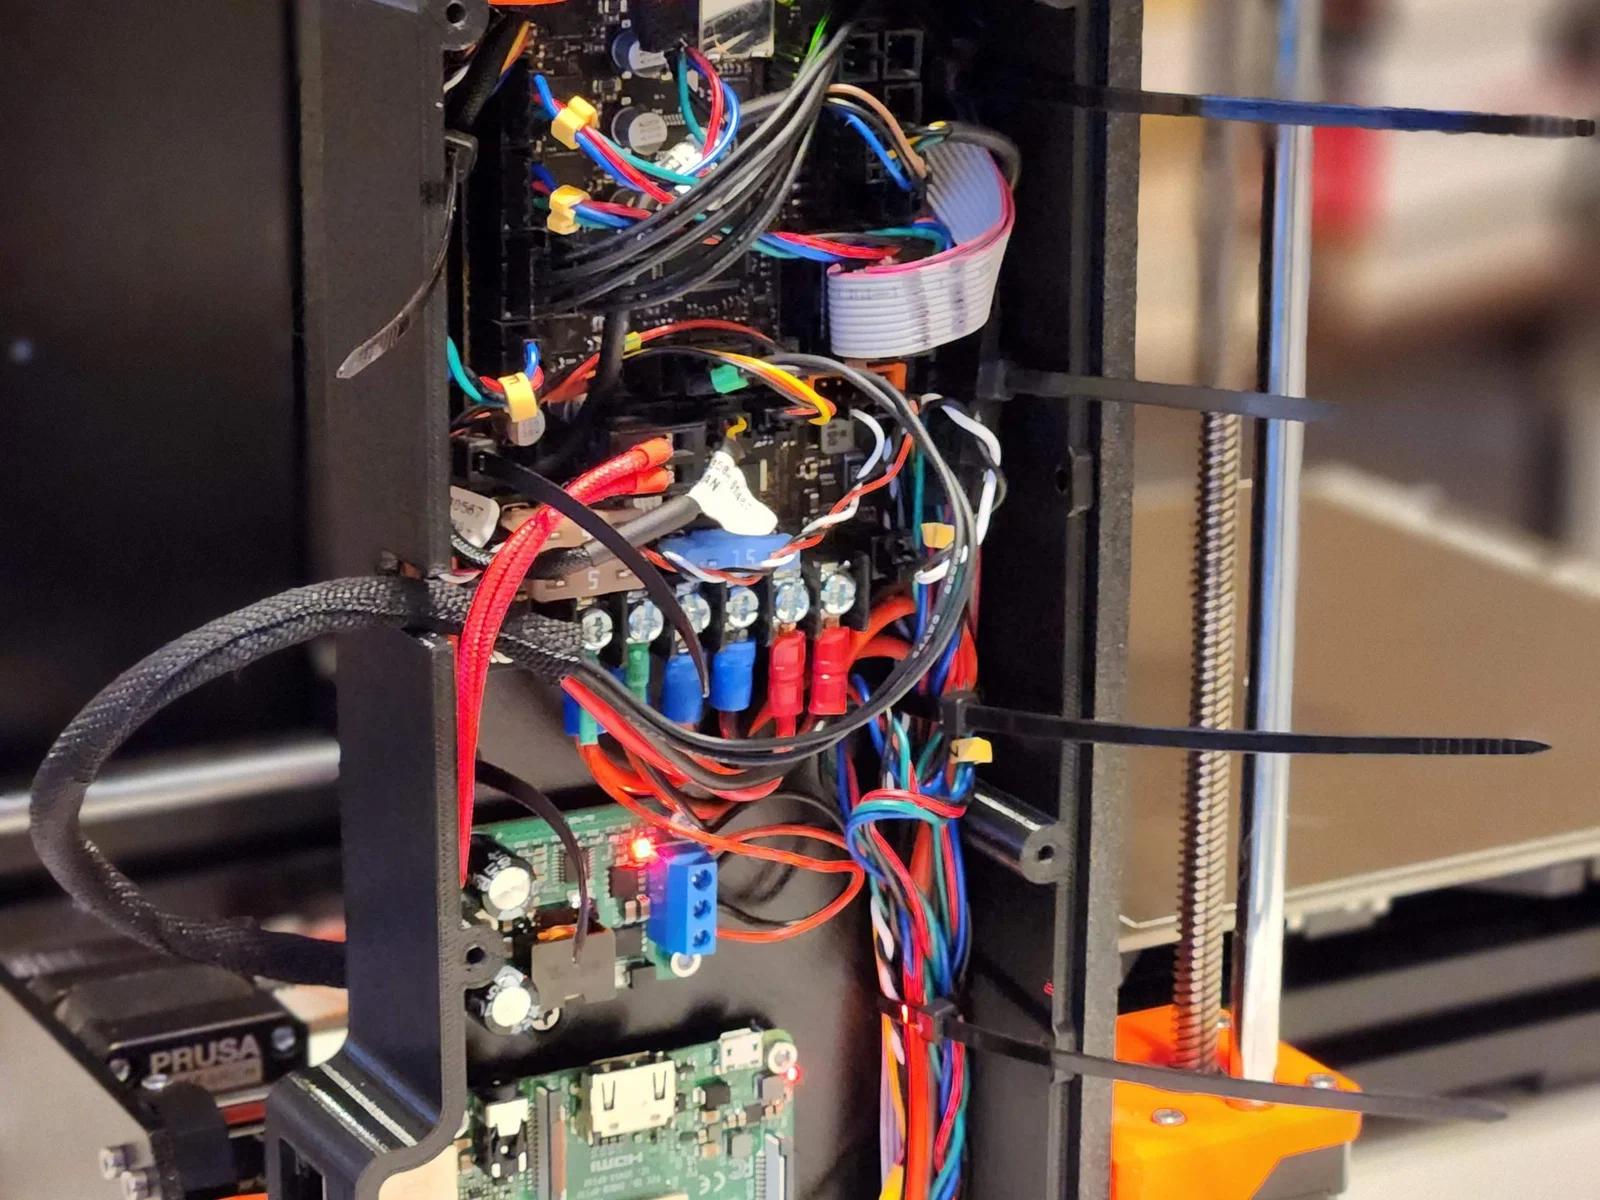
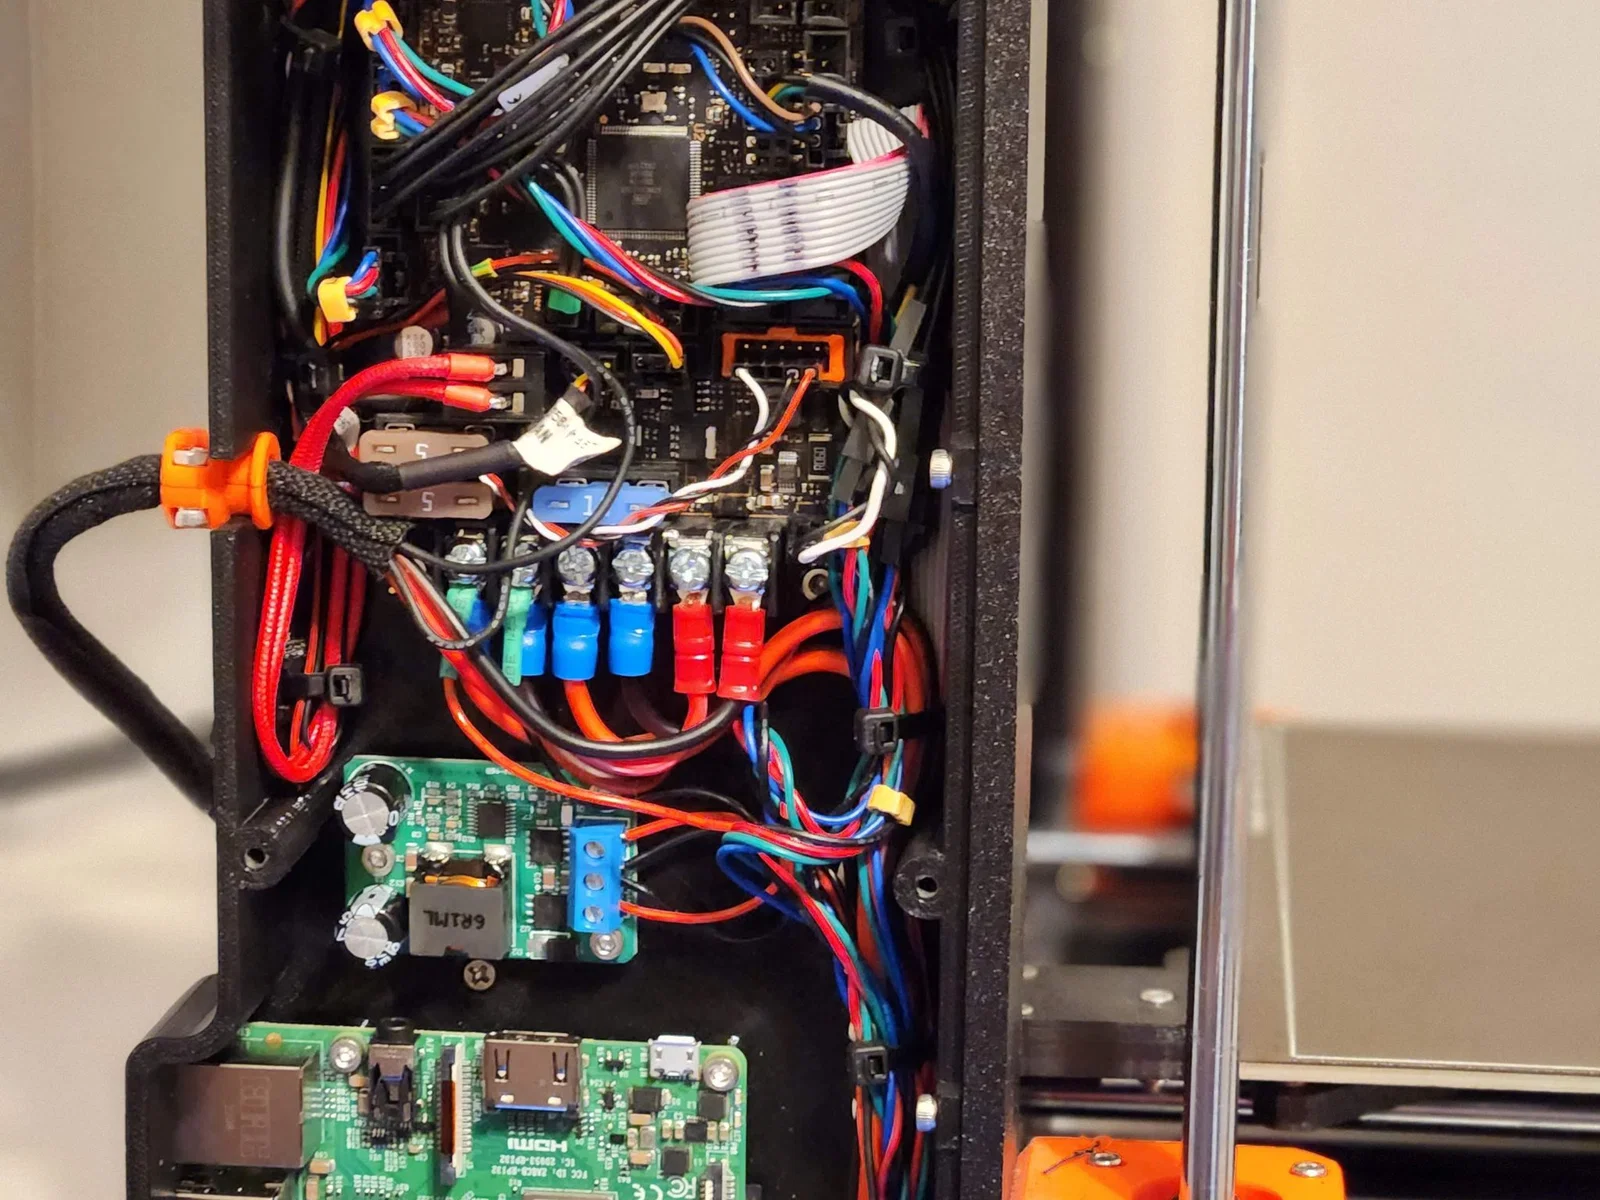
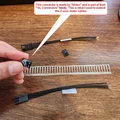
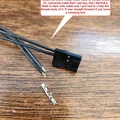
- Because of the increased height, I realized that the Z-axis motor cables would not reach the Einsy board so I looked online and found the parts I needed to create motor extension cables. These use “Molex SL connector”, here are the digikey parts that I ordered:
- 900-2162731042-ND (https://www.digikey.com/short/htb5jqq5)
- WM2902-ND (https://www.digikey.com/short/bc79rntf)
- WM2510CT-ND (https://www.digikey.com/short/zc4mqqcj)
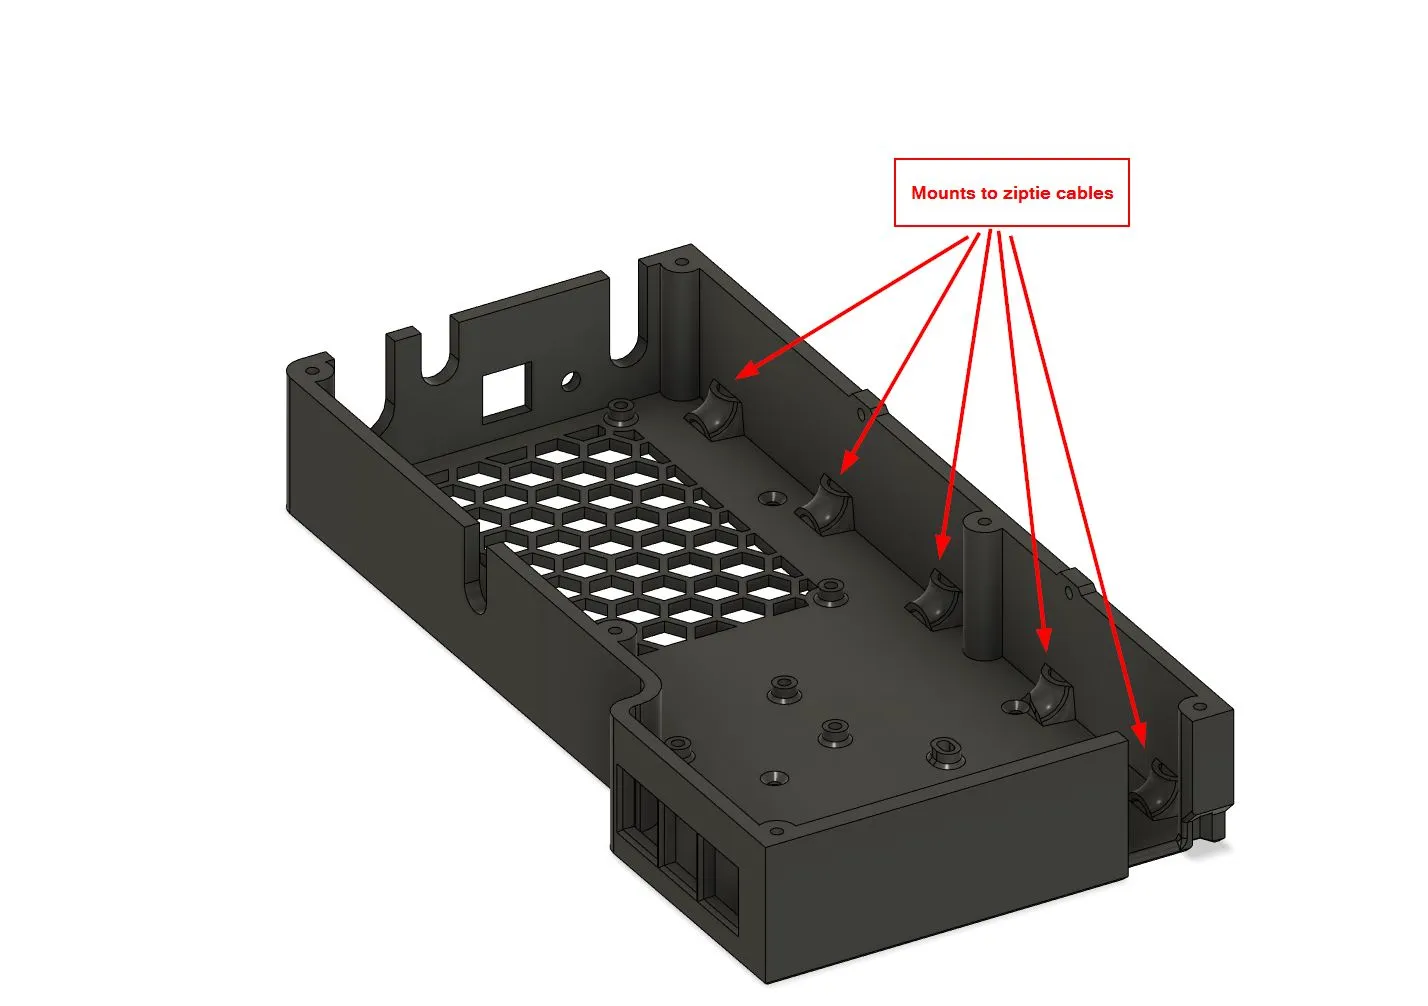
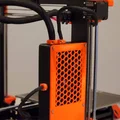
- I liked the idea of the cable management interior walls in the original design but I felt that those walls consumed some interior volume that could be used for the cables themselves. So I removed the walls and made some “tunnels” that can be used to run zipties to tidy the cables.
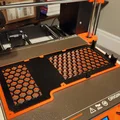
- I wanted the brace, enclosure and cover to have the same black and orange theme as my original printer. I contacted Prusa customer support and they confirmed that the printed materials on the printer use the following filaments (I used those on my build as you can see in the pictures):
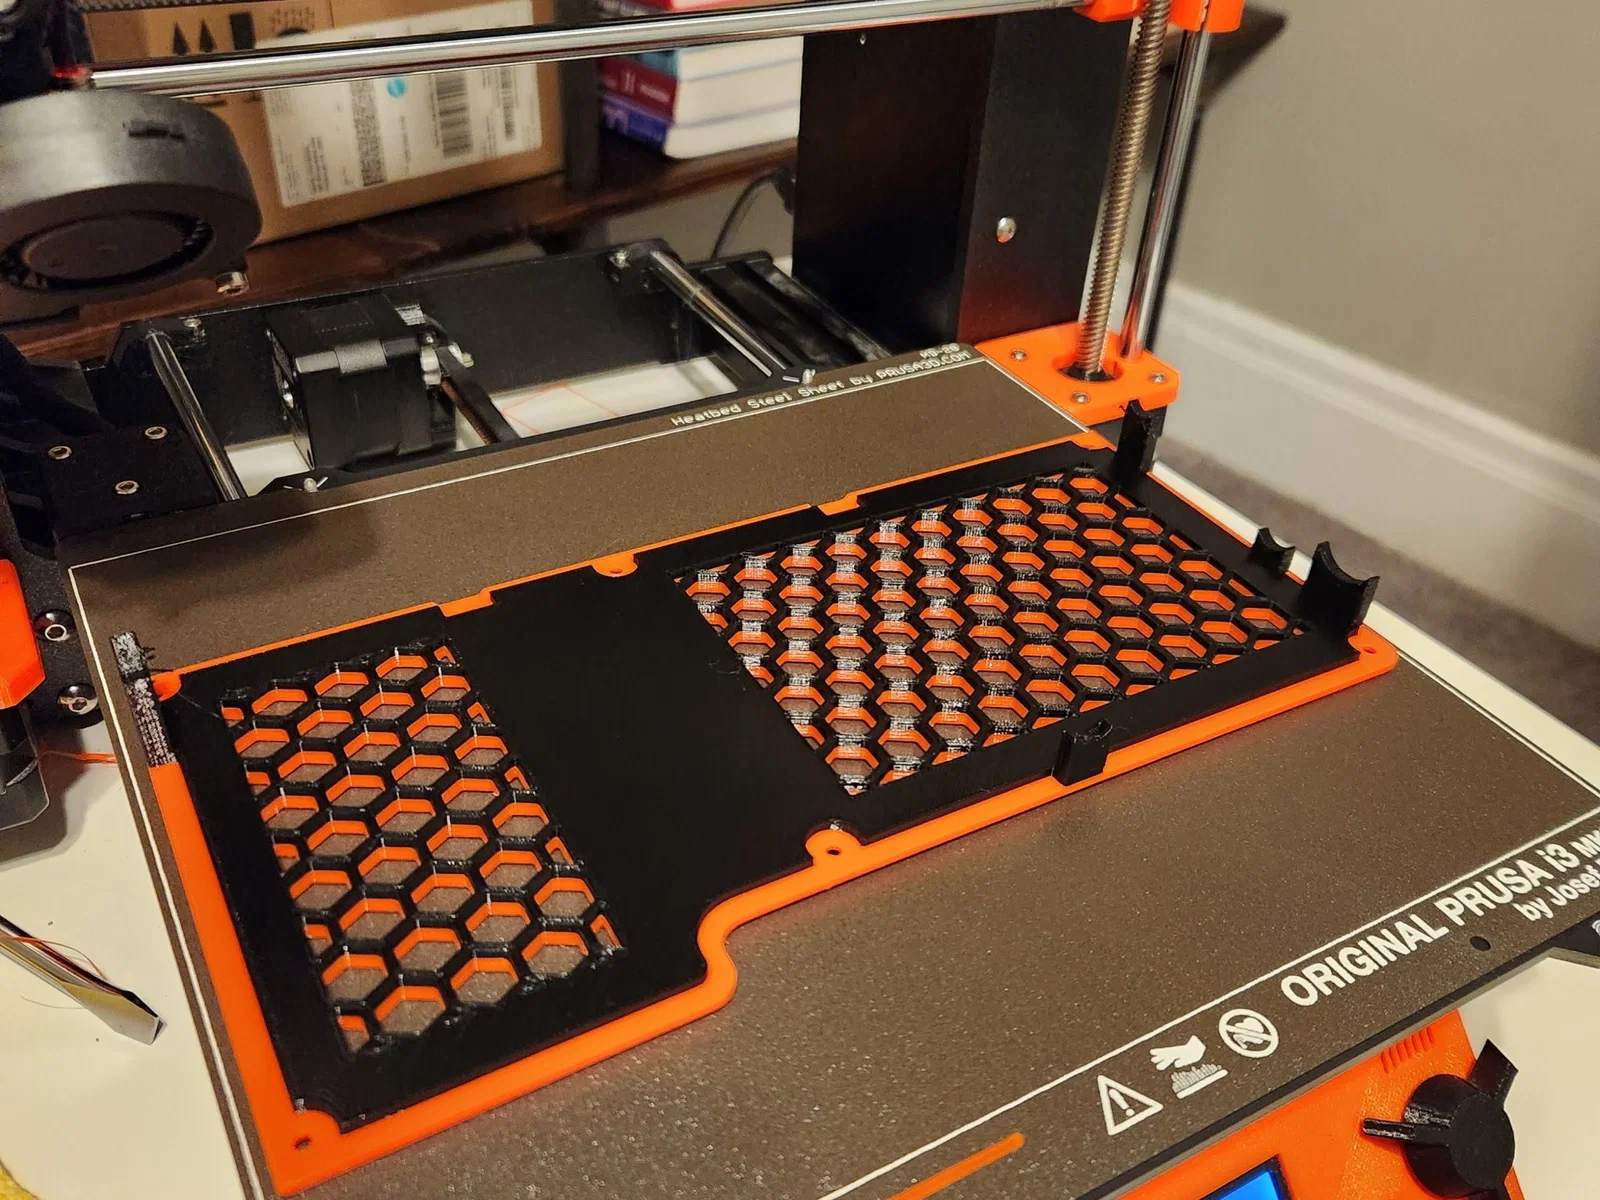
- I printed the cover in two different colors. The bottom half of the cover is in orange and the top color is in black. This is so when the cover is attached to the enclosure, it looks like the enclosure has one solid black color. Please see pictures for clarification.
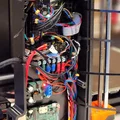
- The voltage regulator that I used was this one: (link)
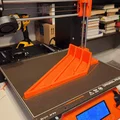
- For the prints, I believe I used “0.2mm quality” setting with 20% infill, no supports.
I learned a TON with this build:
- First time tinkering with a raspberry pi in 3D printing; I am very impressed with the added capability.
- First time printing with PETG (always used PLA instead). I used a textured steel bed sheet for the first time and had great luck with it.
- First time remixing an existing design via an step file (forced me to learn a lot more about CAD design).
Giấy phép

File mô hình


Chưa có bản in nào được khoe. Hãy là người đầu tiên!

Chưa có bình luận nào. Hãy là người đầu tiên!