SNO-ZER

Tệp tôi đang gửi cho sự kiện Prusa Printables Remsing Cars và hy vọng nó có thể giúp đỡ một số người.

Mô tả
This is a File i submitted for the Prusa F3D contest and willing to share with people to help get through winter. i am uploading a few winter tools to help people make life easy that have a printer.
i would print these with 10% or less support desnisty but the supports will help have a more successful print. i have not had a chance to print this yet if you do please leave some feed back what might need to be change.
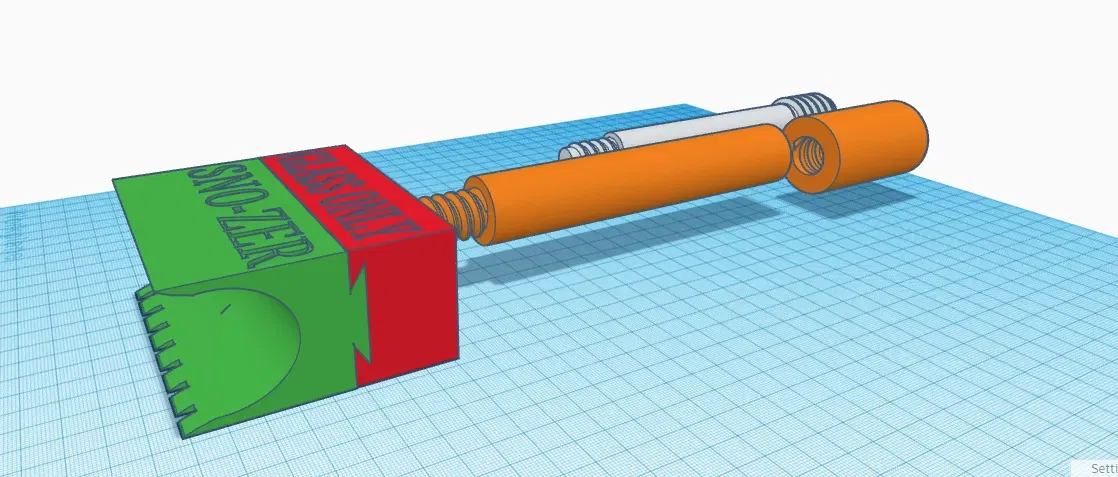
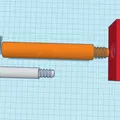
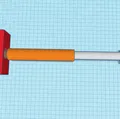
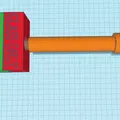
the front blade should help push snow off the window and out of your blades way while push. the one grooved edge should help to break up some of the ice. but please don't wack your window. and idk if it would be safe to use most plastics on the auto paint with out leaving small scratches. so use at your own risk there.
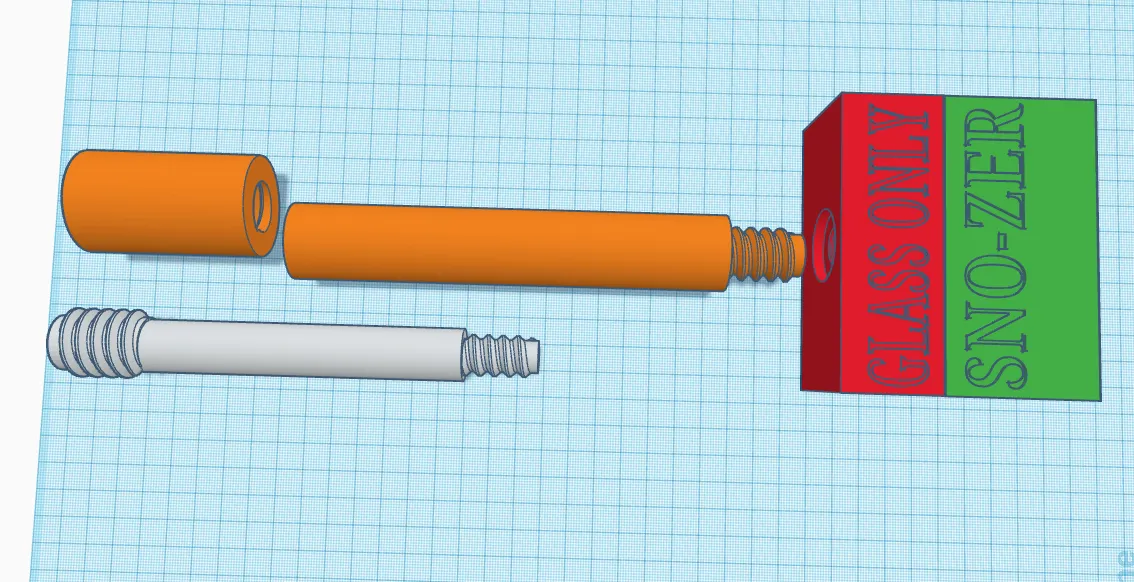
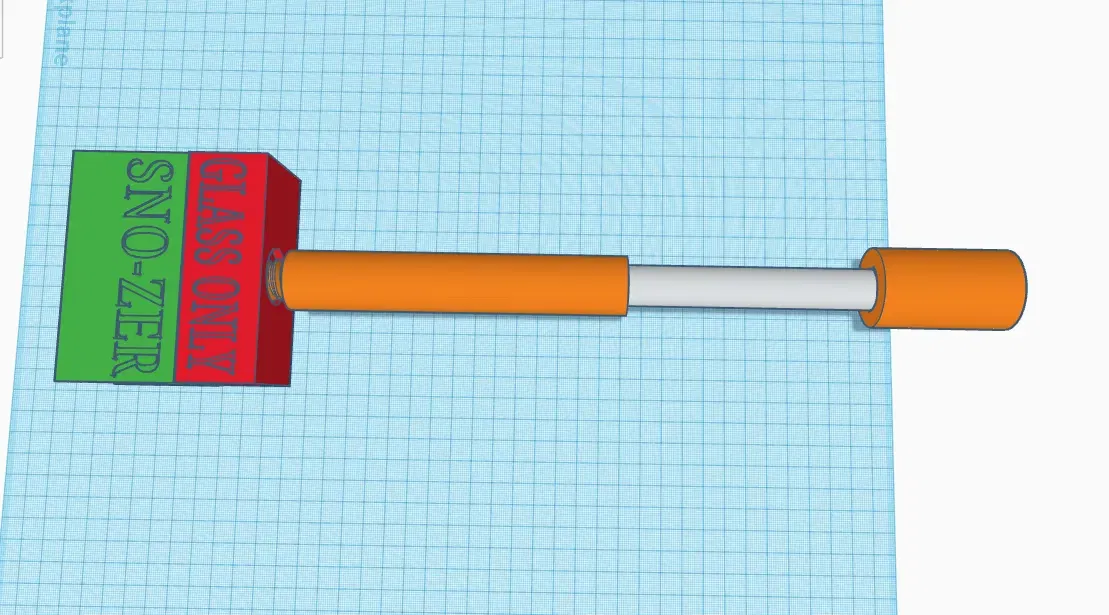
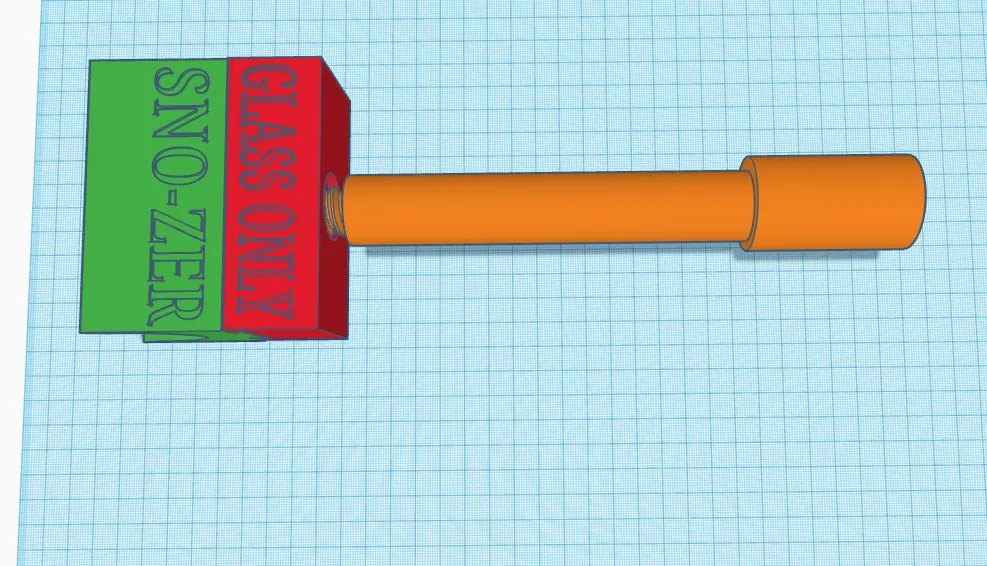
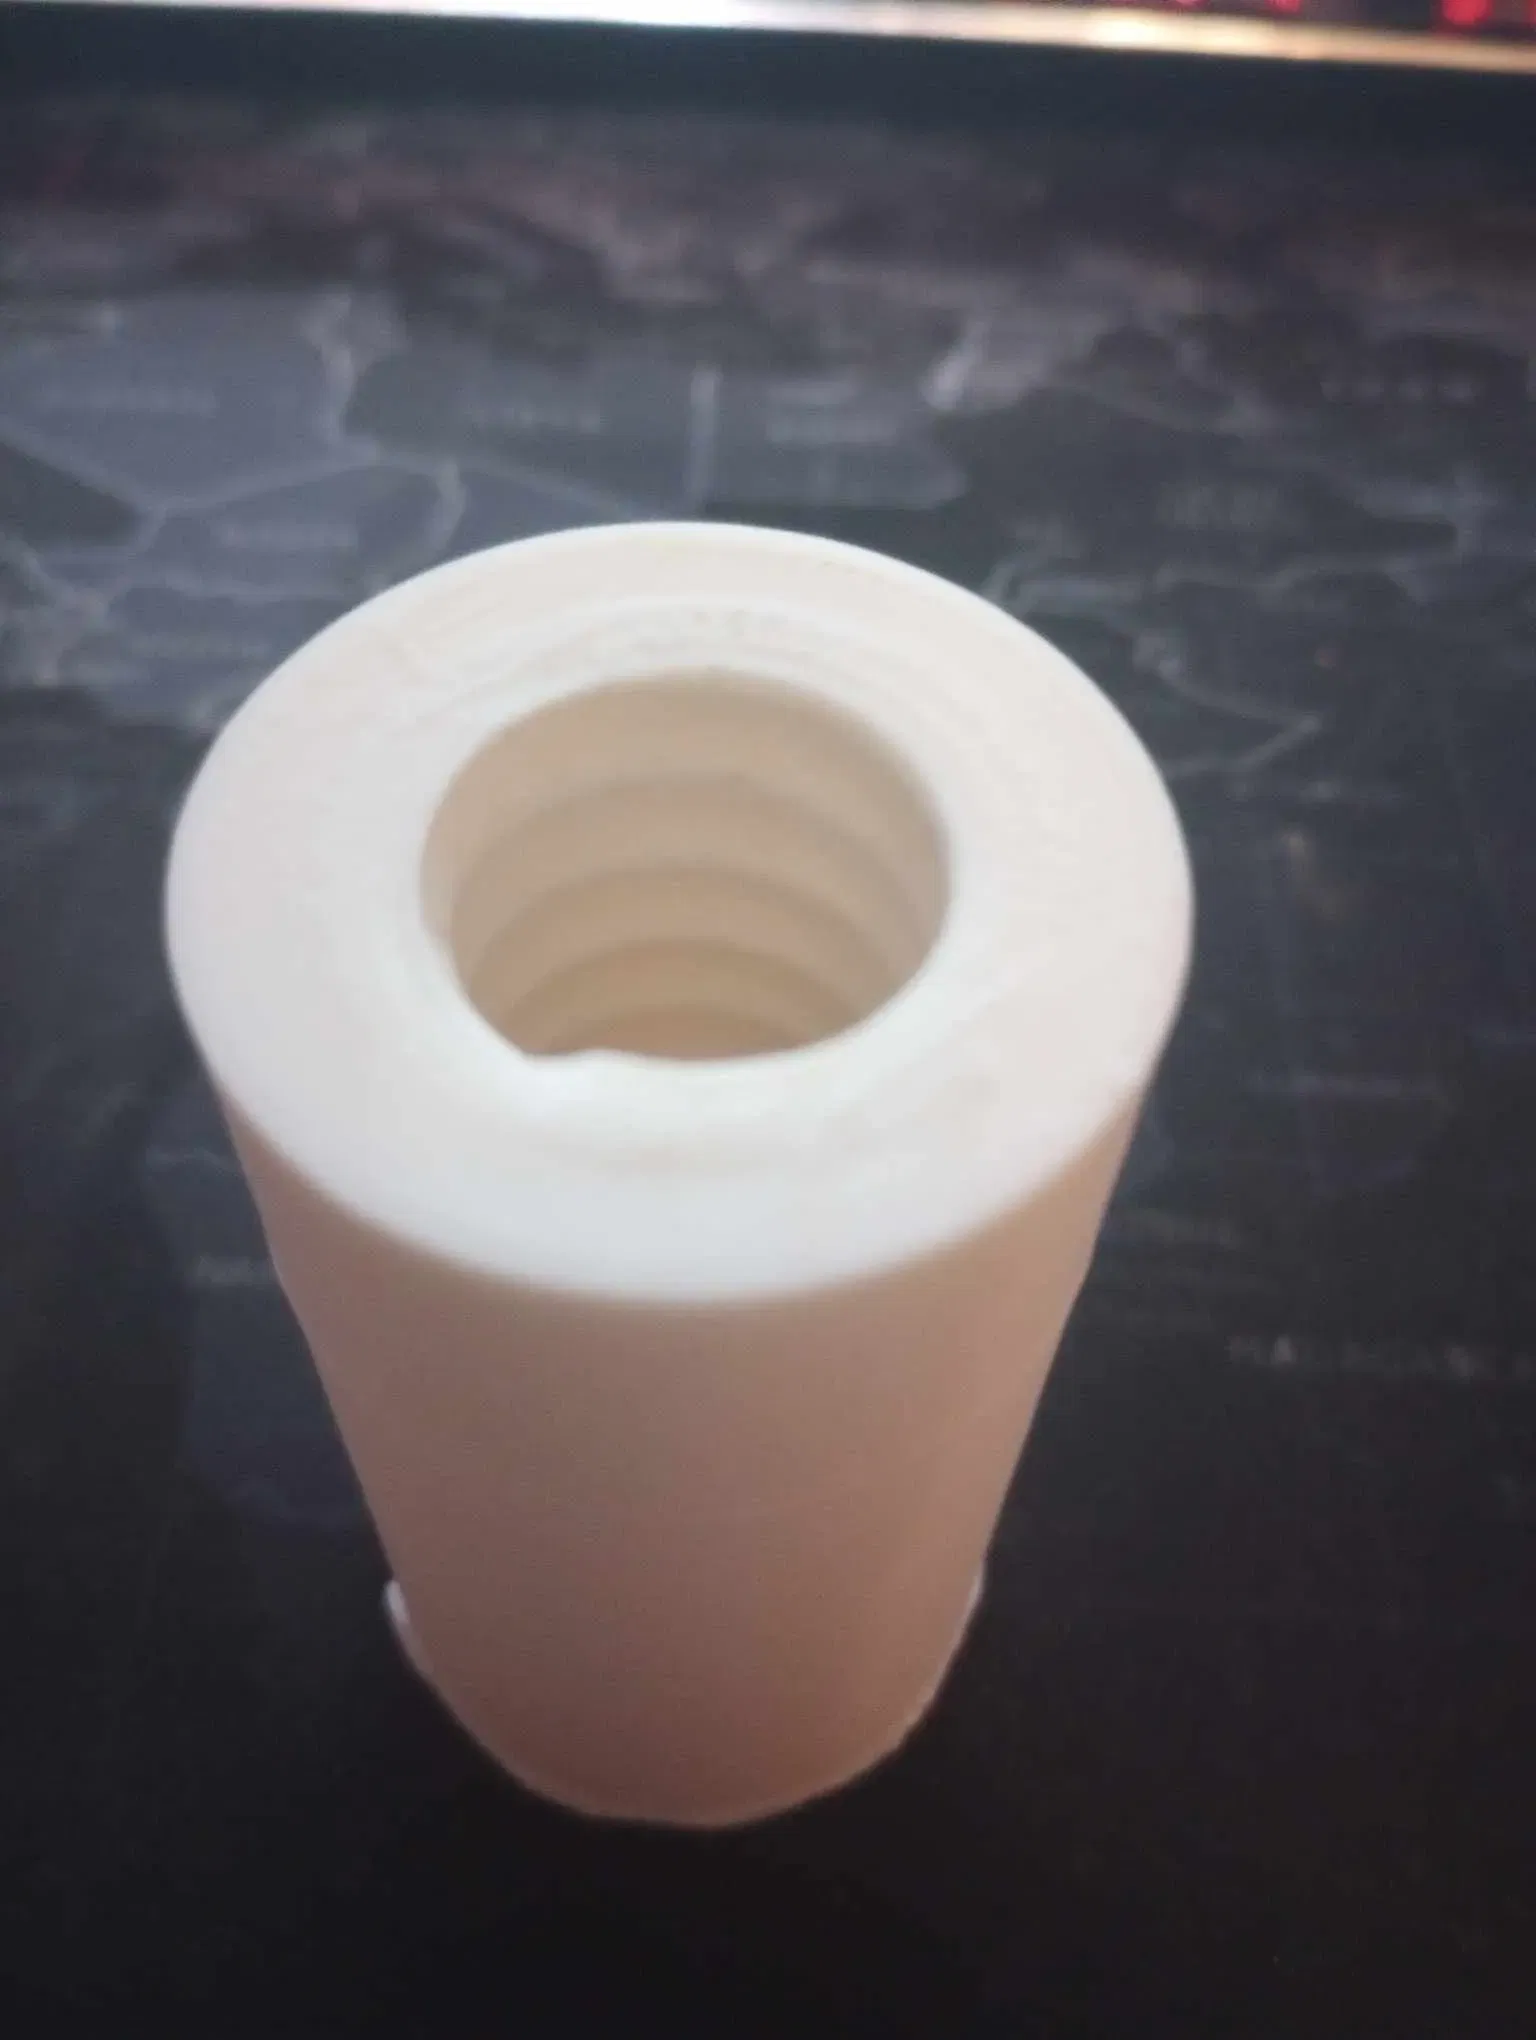
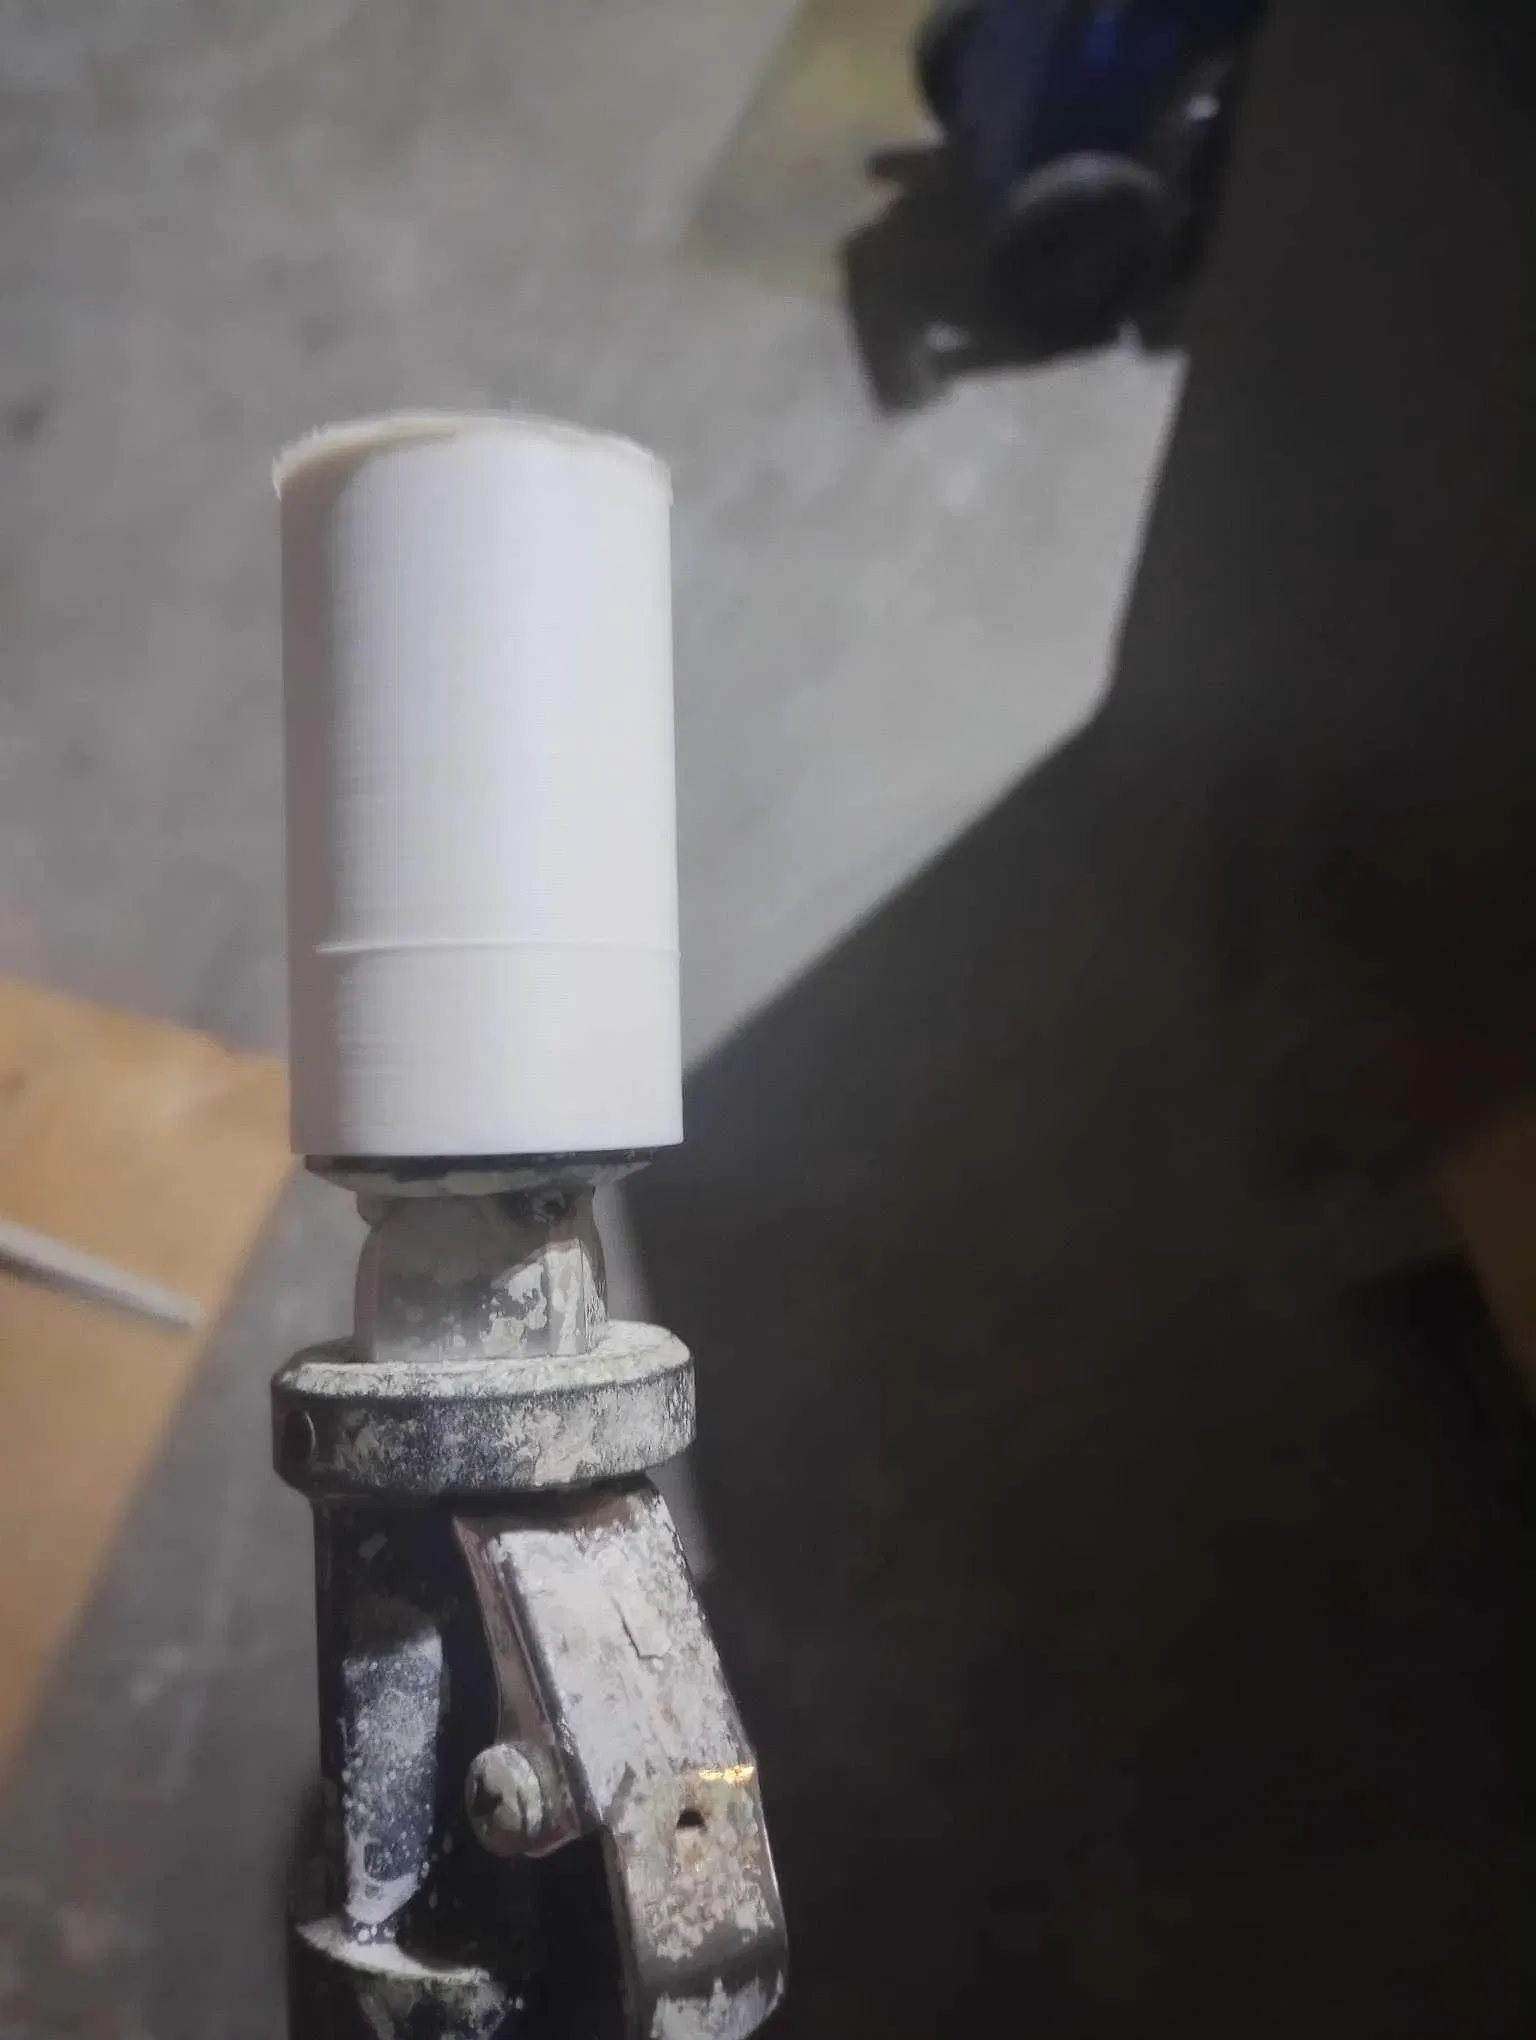
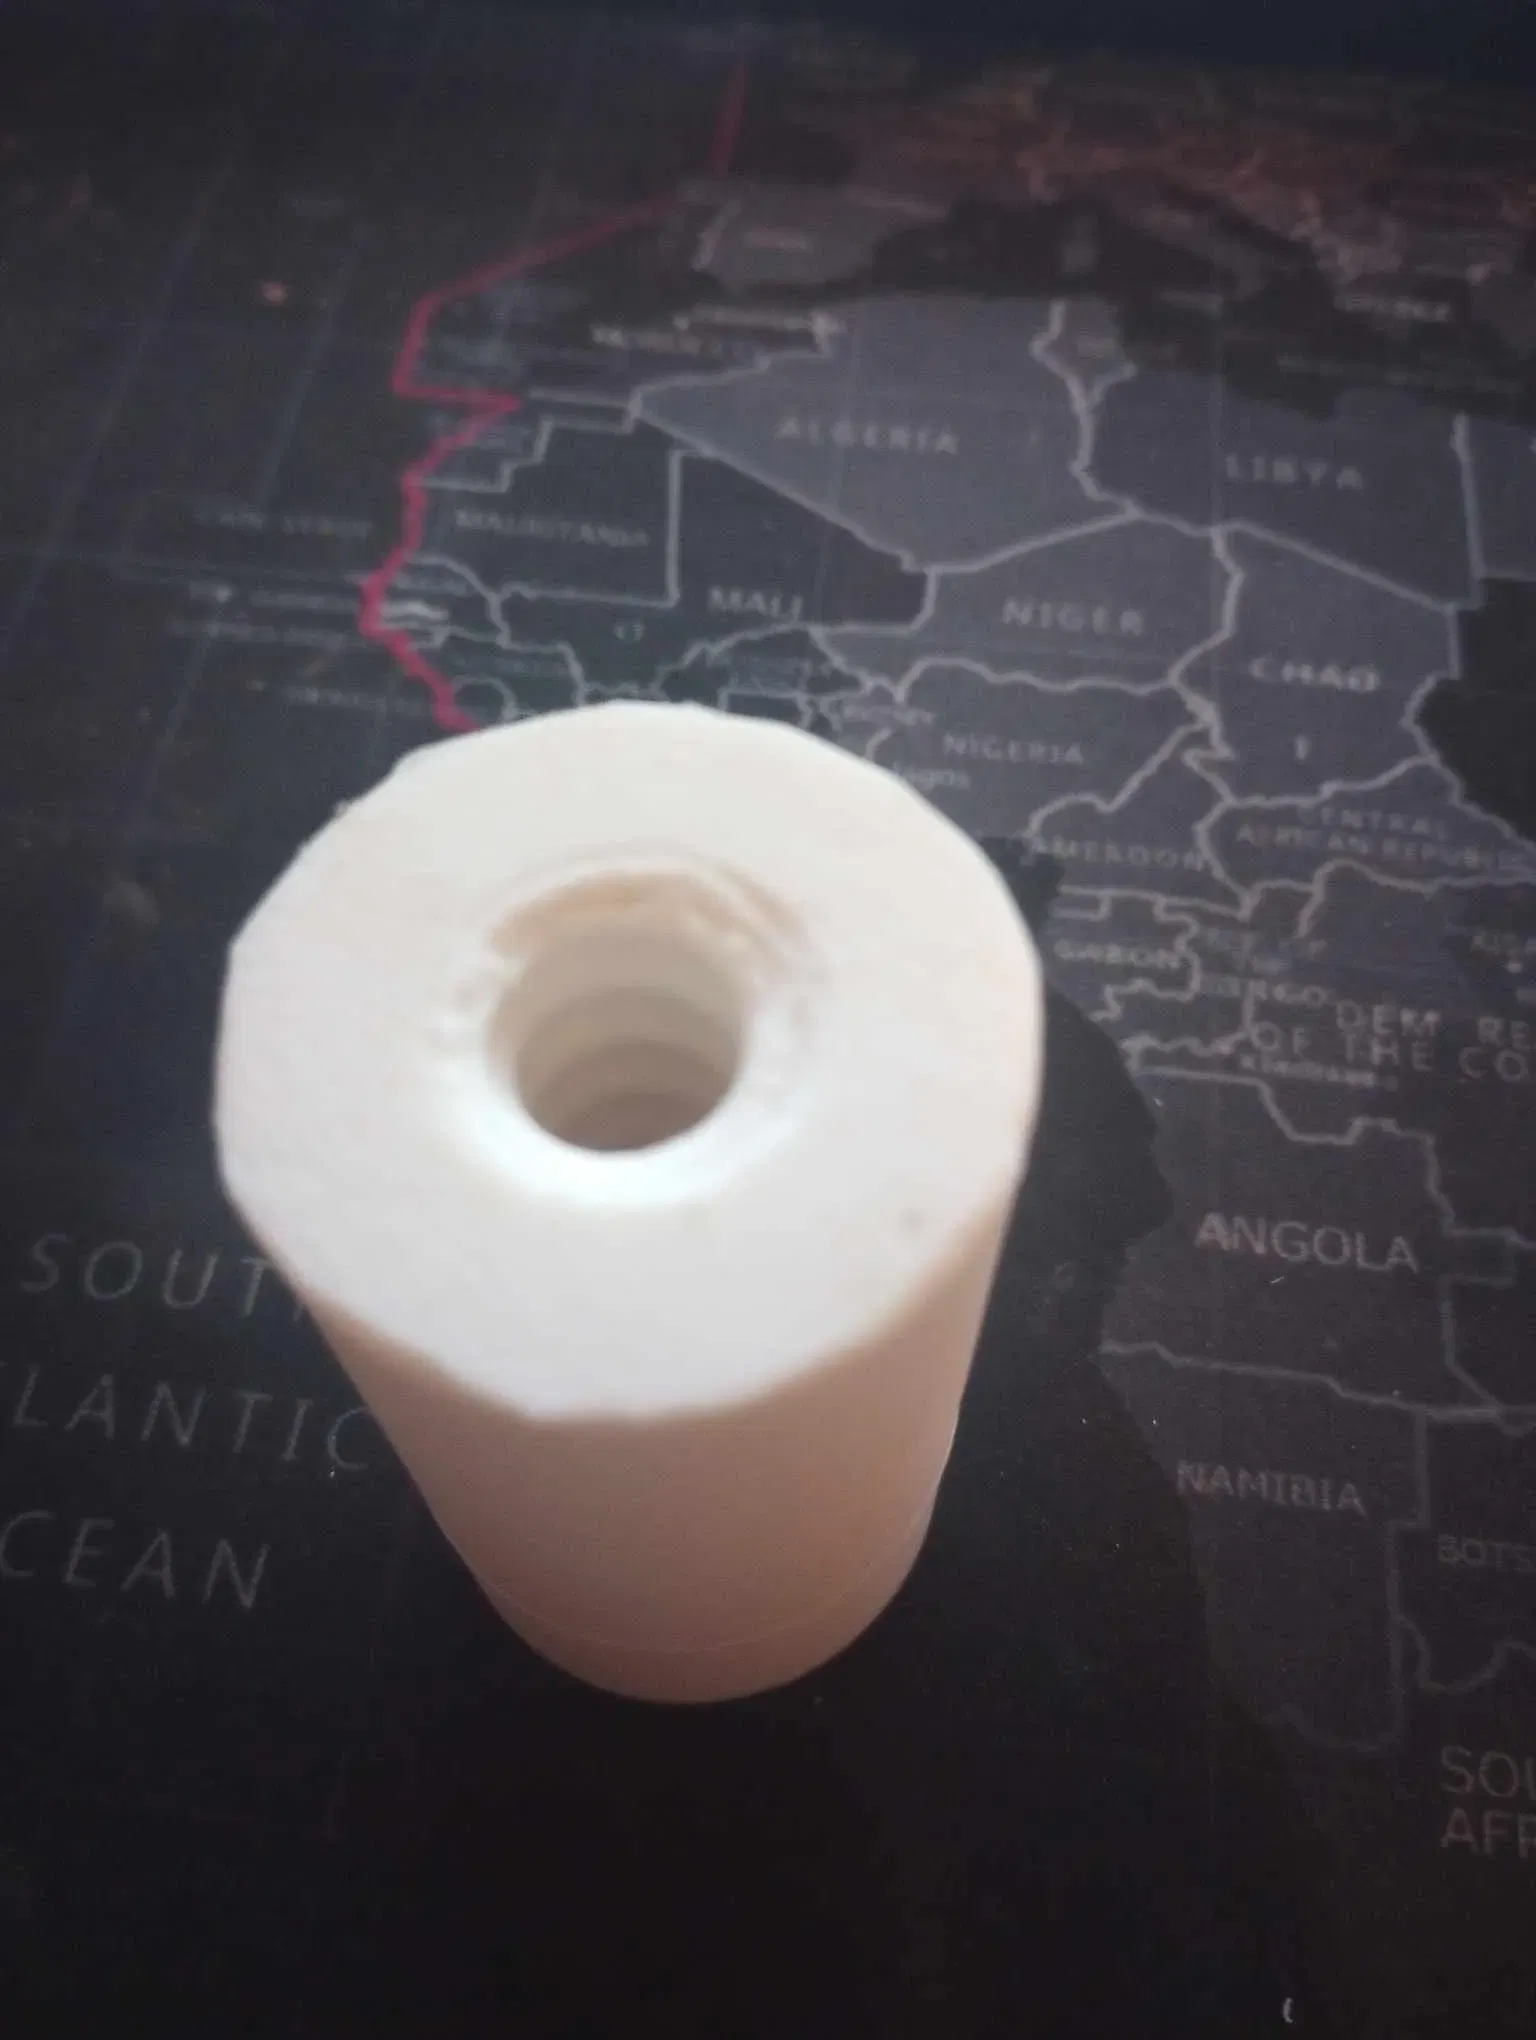
the handle. 3 pieces. part 1 slides over part 2 and they screw together to be short to make long flip part 2 180 degrees and screw together and now its around 14" long. and the end of the handle fits both ends to help lock it all together for being short or for long. but the end cap always goes on the end of what ever threads you need for that time. it is not a coupler. if you don't want to print a handle then print just the 2 blade parts and you can use a broom handle or paint roller handle as they should be the same threads from measuring a paint roller i have. thus you can have a stronger handle.
the blade works like this. its 2 parts. dove tail style where 1 slides over the other and the handle tightens it all together so the blade parts should not move. this is so the parts can be printed into individual parts. i plan to come back and edit and make it so each part can be downloaded.
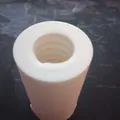
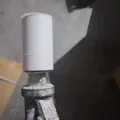
i have a elegoo neptune 4 max. i printed the end cap to test the thread fitment. i would use a 10% support density on the other parts with my settings around 350 MMS printing speed. with 100% infill and using a brim. and let the parts completely cool before removed from bed to prevent warping during cooling. print at your printers best settings for the material you are using at the nozzle thickness. but the finer you can print this around the .4 on fine you could have a much stronger part then if used a .8 on draft settings. i would never suggest using a .2 nozzle unless making characters.
Giấy phép
Tác phẩm này được cấp phép theo
Creative Commons — Attribution — Noncommercial — Share AlikeCC-BY-NC-SA

File mô hình

Chưa có bản in nào được khoe. Hãy là người đầu tiên!
Chưa có bình luận nào. Hãy là người đầu tiên!