Servo Light Switch Flipper

Nhiều hơn một bản tưởng tượng lại hơn là một bản phối lại khi tôi thiết kế lại từ đầu. Giống như bản gốc, điều này sẽ sử dụng 9G SG90
Mô tả
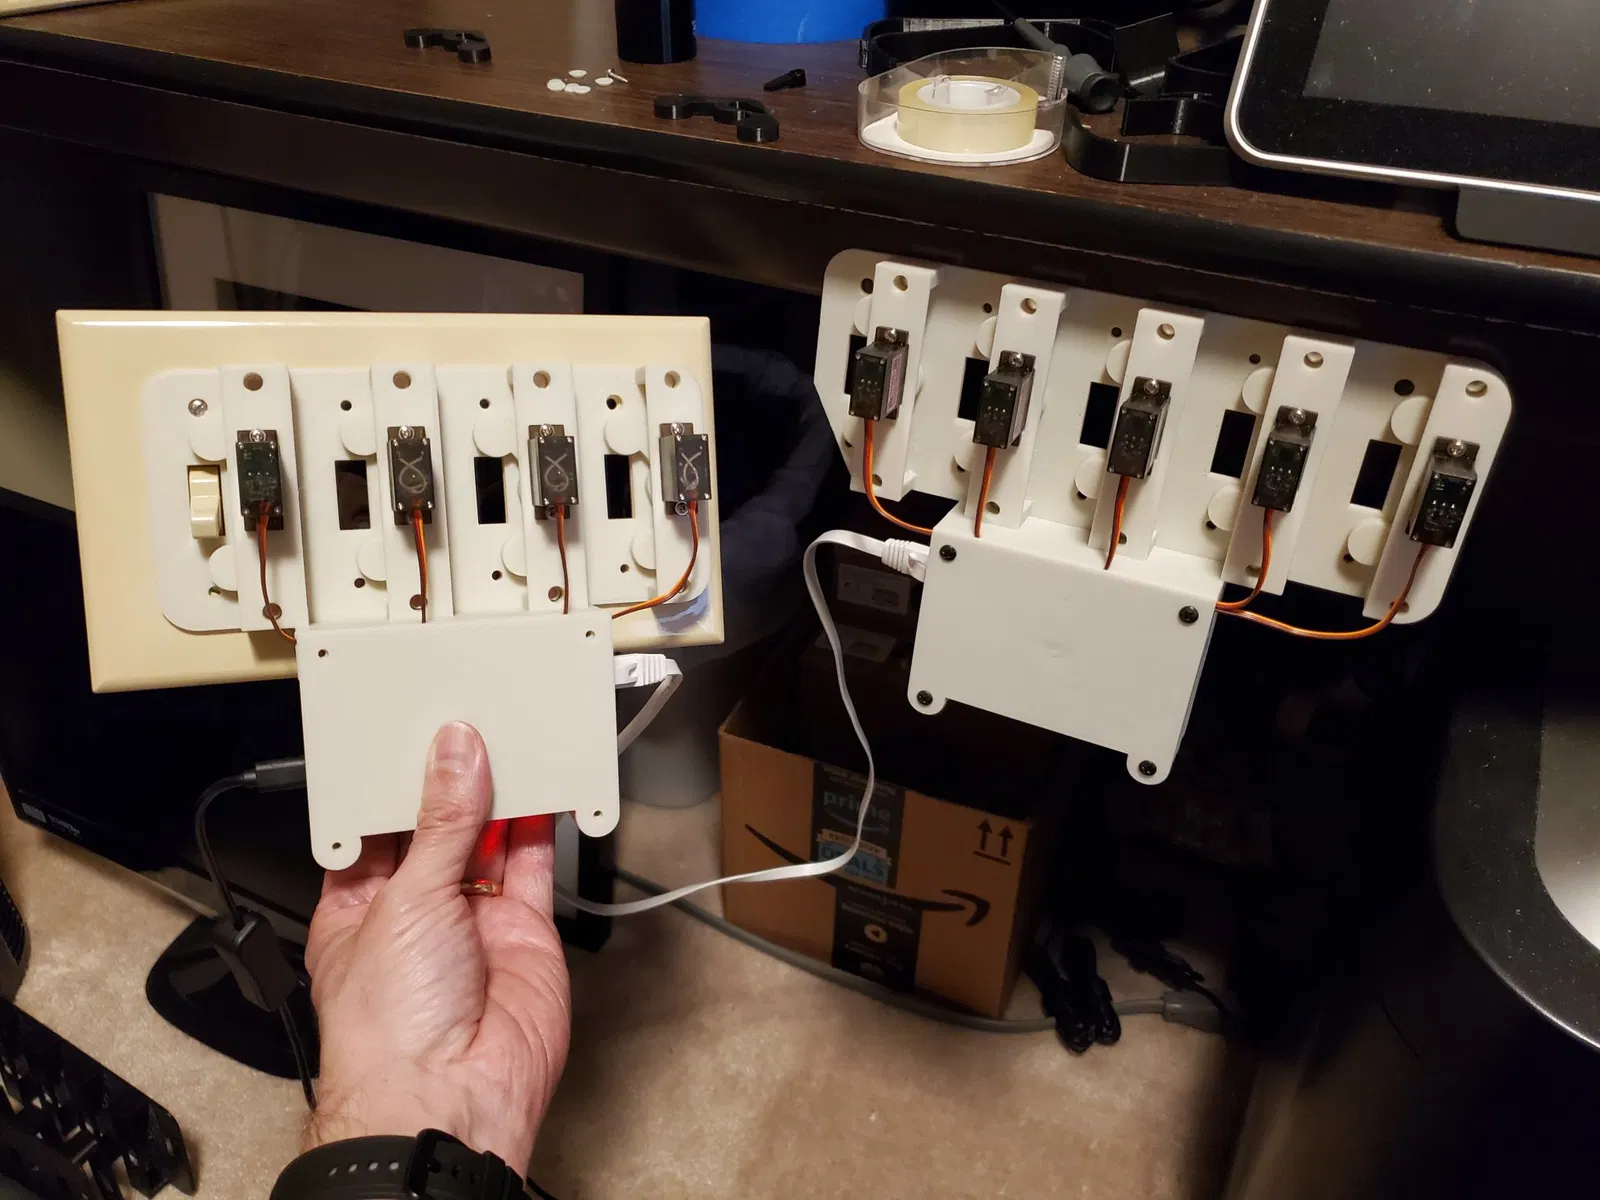
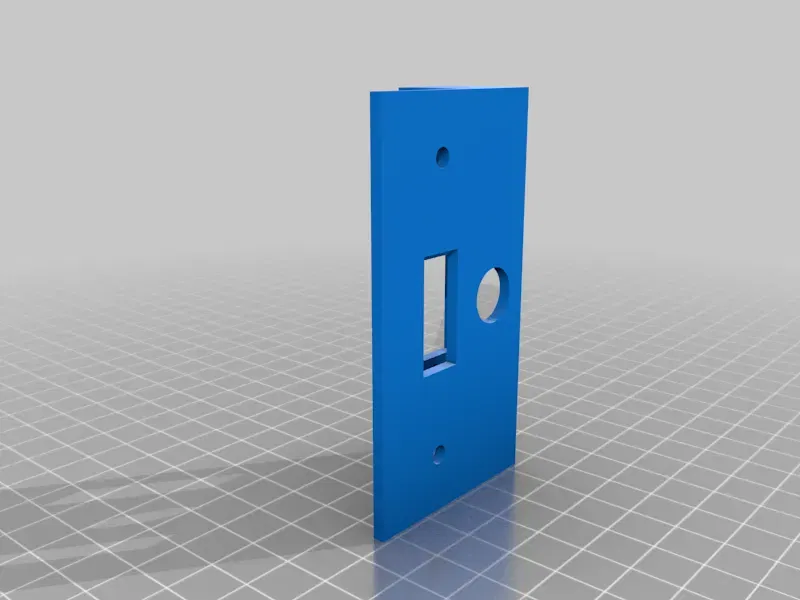
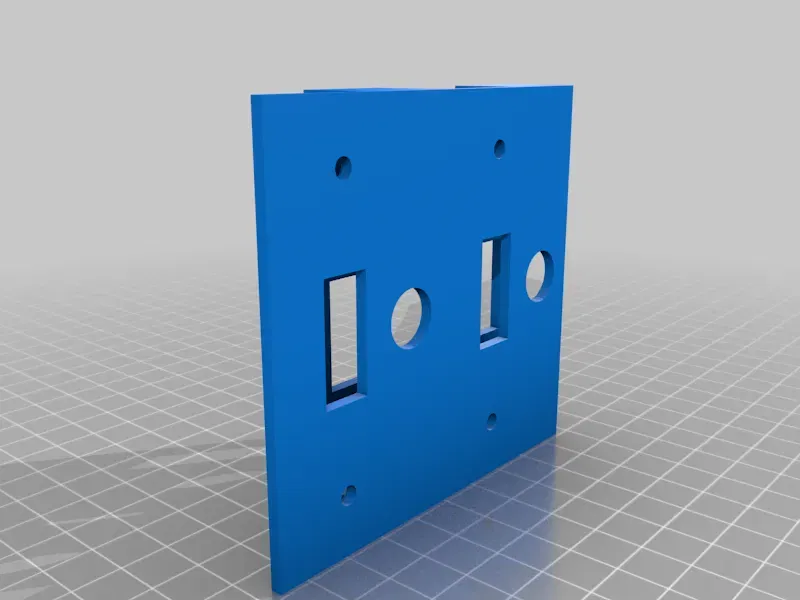
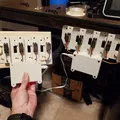
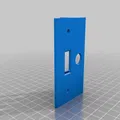
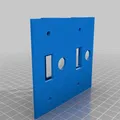
Updated to include pockets for embedding 6x10mm neodymium magnets in print, in combination with gluing matching magnets to back of switch plate allows easy setup/removal. Two screws in the wall-plate need to be replaced with fillister head screws to provide leverage for the servos to actuate the switch. (larger holes above switch hole on both ends)
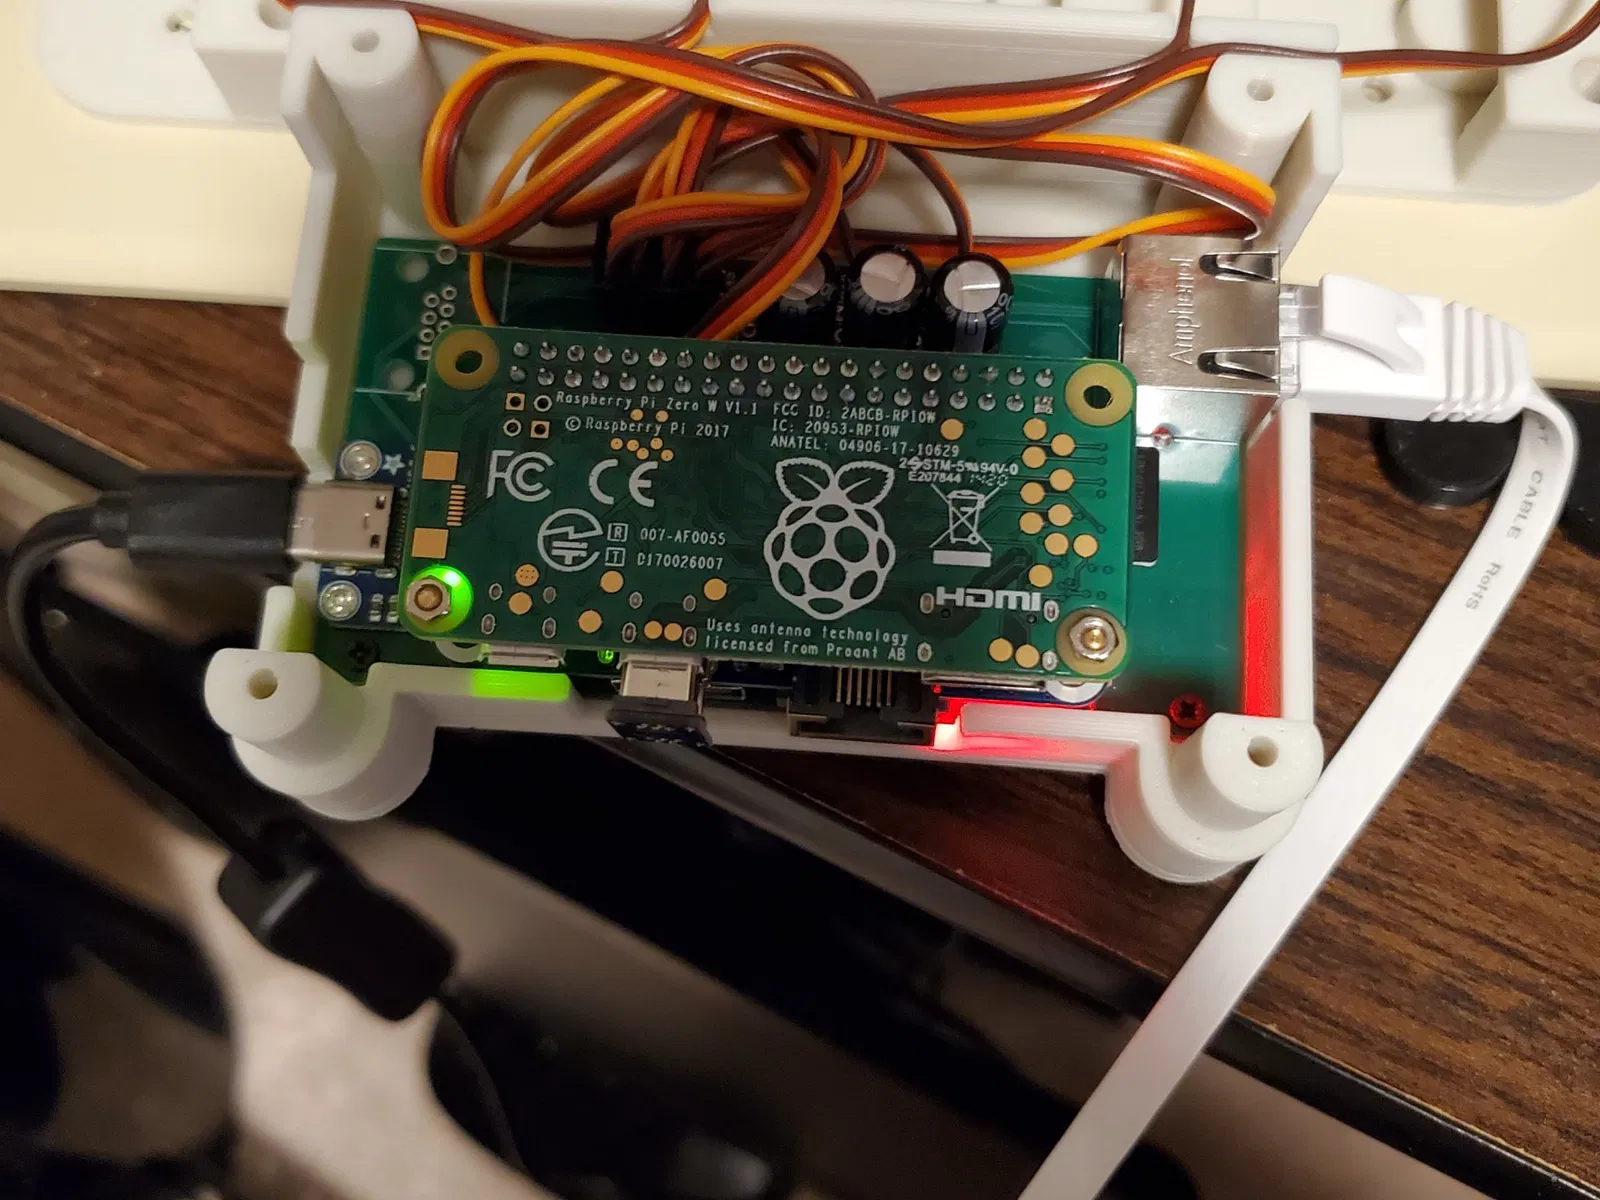
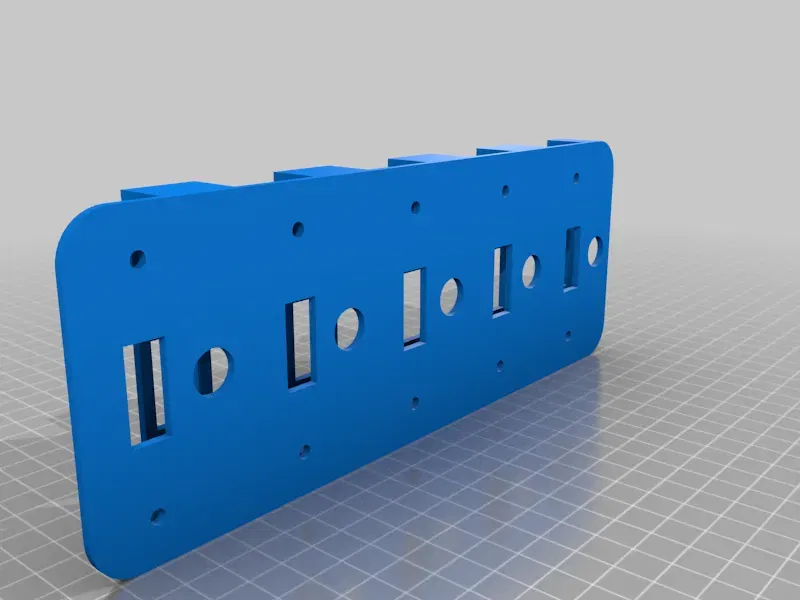
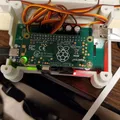
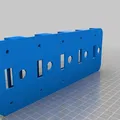
Also includes an area for mounting Raspberry Pi and custom servo board, along with an extension board to run 2 to 3 units off the same Raspberry Pi. Board file provided below, also requires a Waveshare Ethernet/USB HUB HAT and an AdaFruit USB-C breakout board https://www.adafruit.com/product/4090
More of a re-imagining than a remix as I redesigned from the ground up.
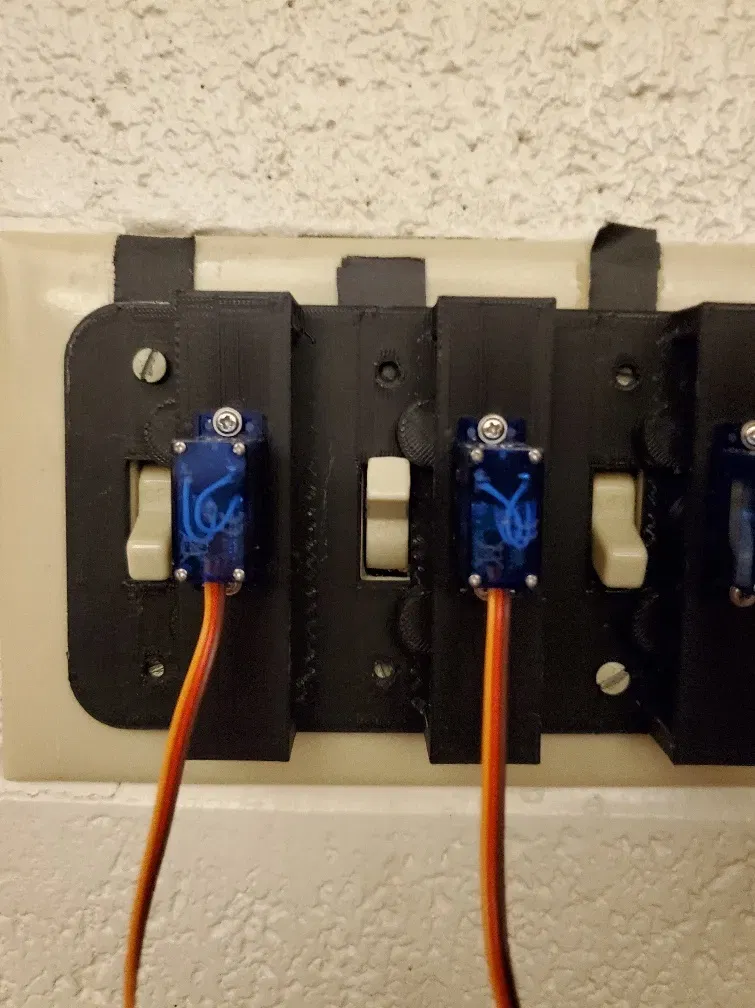
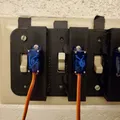
Like the original this will use a 9g SG90 Micro Servo (I used these Miuzei brand ones from Amazon https://www.amazon.com/gp/product/B072V529YD/)
I worked this up so that I could use it for an event space that I can't just replace the light switches with Tuyo based wifi switches (running Tasmota, which is what I did at home).
Parts were printed in eSun PLA on an Ender 3 sliced with the default Ender 3 settings from eSlicer. I did use support for the plate.
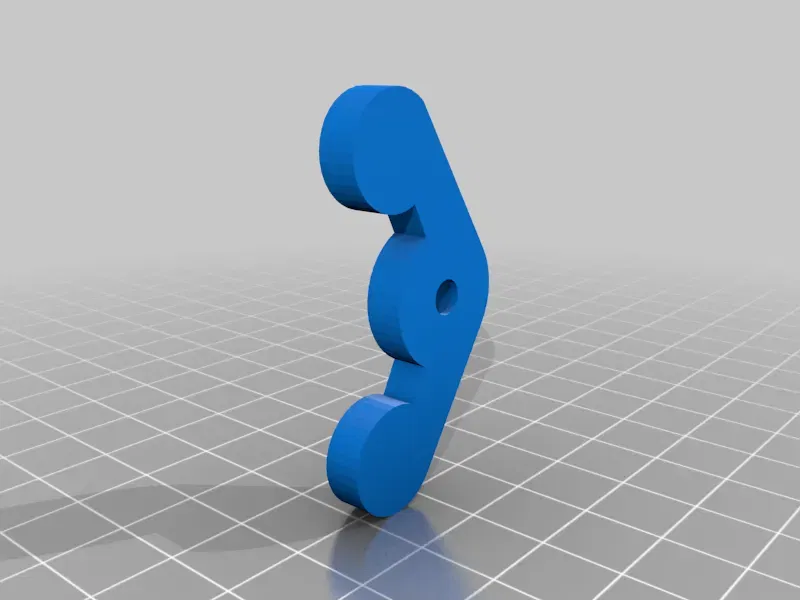
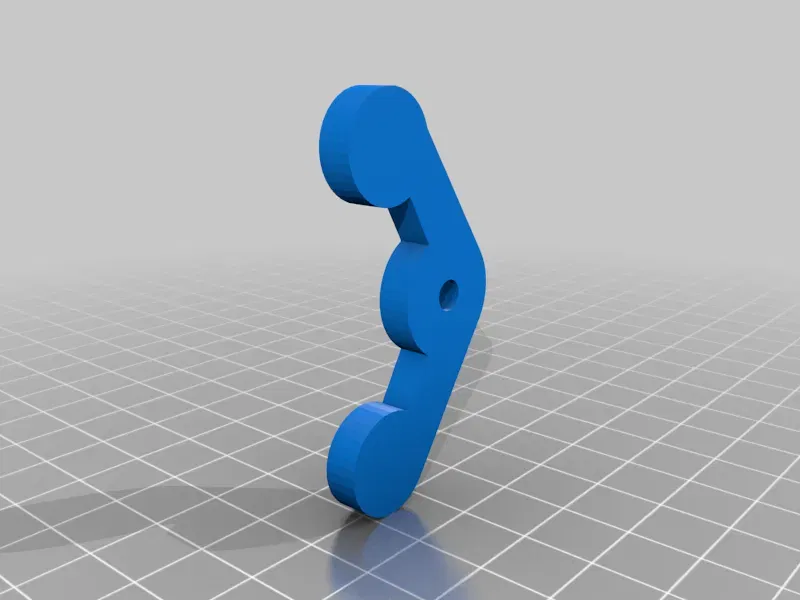
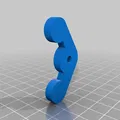
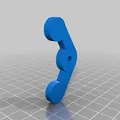
Added a second 3D printed horn design for a switch the original design was having problems with.
Designed to use the single arm servo horn. At 90 degrees rotation the servo horn should be pointing up (away from the body of the servo). Screw the horn on. The 3D printed horn can be slid into place, and then the servo can be inserted into the hole in the top, the horn on the servo should fit into the hole on the 3D printed horn. The wires on the servo should be hanging down. The 3D printed horn is just held into place, no attachment. It relies on the 3D printed horn being able to slide on the plate piece, so you'll need to do a good job removing supports if you use them.
Video of it in action is https://youtu.be/42pDMewWjh0
Raspberry Pi script is https://github.com/TechnoSwiss/RPi-Light-Switch-Servo
Print Settings
Printer Brand:
Creality
Printer:
Ender 3
Rafts:
No
Supports:
Yes
Resolution:
200
Infill:
20
Filament: eSun PLA+
Black
Category: Household
Giấy phép

File mô hình


Chưa có bản in nào được khoe. Hãy là người đầu tiên!

Chưa có bình luận nào. Hãy là người đầu tiên!