



Mẫu tranh treo tường nghệ thuật phong cảnh thiên nhiên Nature Decor
 Tác giảCodyMeyer_2545340Lượt thích163Lượt tải724
Dựng một phiên bản khác của mẫu này.
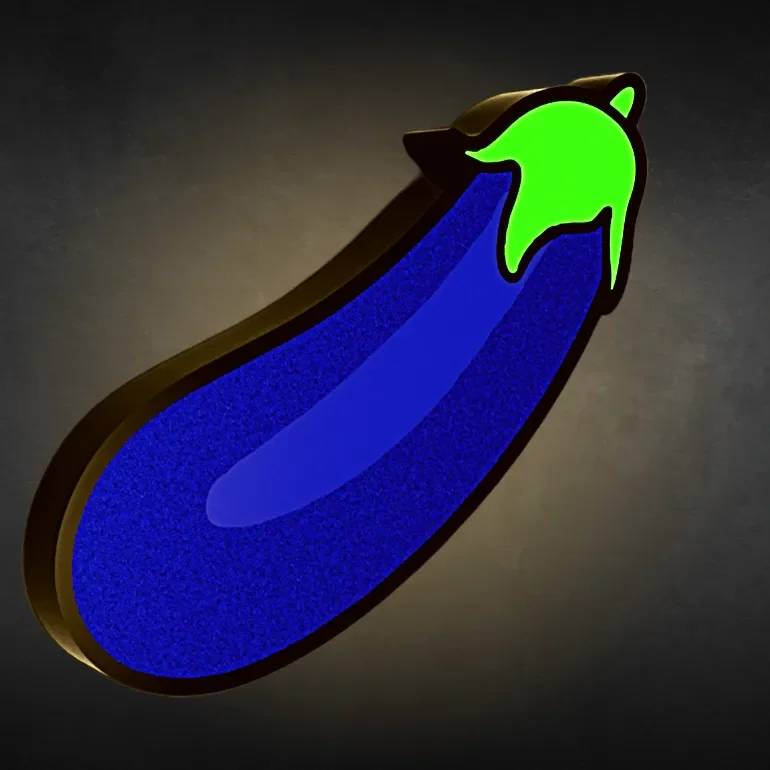
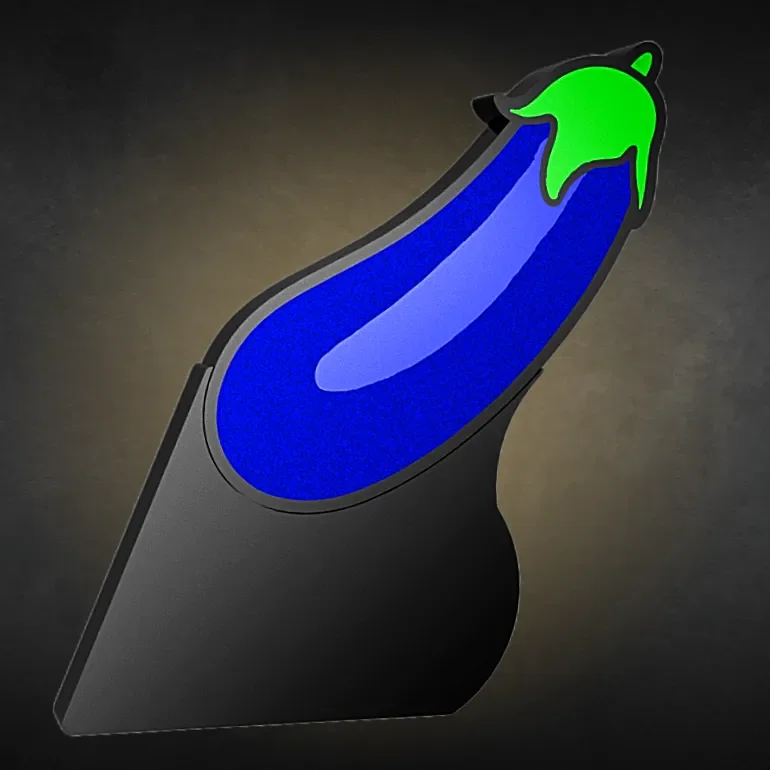
The funny eggplant emoji LED lightbox is an amusing addition to any space, featuring the infamous emoji design with enhanced LED illumination for a playful touch. Its quirky and entertaining nature makes it a unique decor item that adds humor and charm to the room, sparking laughter and conversation wherever it's placed. Chose to download with or without the stand.
Materials
Materials and tools required for this project include a glue gun, aluminum tape, and an LED USB strip. Additionally, a soldering iron is optional for those who may choose to use it.
Suggestions
1. Opt for a textured PEI sheet for improved printing results.
2. Utilize the recommended print profile, as it includes several settings conducive to achieving optimal results.
3. Create a hole for the USB strip at your preferred location, using a soldering iron, drill, or by adjusting settings in the slicer.
4. Enhance light diffusion by applying aluminum tape to the inside of the backplate.
5. When placing the LED lights, ensure they are positioned as far away from the colored design as possible to prevent diffusion issues and the visibility of individual LEDs.
Bambu Studio Settings
For optimal results, I highly advise utilizing the provided print profile. However, if you opt not to, here are the key slicer settings recommendations:
1. Navigate to preferences (ctrl + P), activate developer settings, then go to Quality → Advanced → First Layer Flow Ratio: 1.04 to 1.08.
2. Under Quality, choose Wall generator → Arachne.
3. Set Quality → Wall transitioning threshold angle to 50º.
4. In Strength → Advanced, adjust Infill/wall overlap to 20% to 25%.
5. Quality → Advanced → Activate "Avoid crossing walls."
6. To minimize stringing, consider increasing retraction or reducing temperature.
7. When color printing, order the colors from the lightest to the darkest.
Print Settings
0.4mm Nozzle @ .2mm
3 bottom layers
15% gyroid infill on base
First layer speeds, 30mms and 60mms for first layer infill
Tác giảCodyMeyer_2545340Lượt thích163Lượt tải724

 Tác giảVojtechSkals_4144903Lượt thích50Lượt tải246

 Tác giảvojtagrecLượt thích289Lượt tải900

 Tác giảDrewmundLượt thích833Lượt tải4,6 N

 Tác giảDorn6_3545870Lượt thích13Lượt tải116

 Tác giảkallekubinsk_3569049Lượt thích37Lượt tải186

 Tác giảMrCoolGaming_2947996Lượt thích47Lượt tải175

 Tác giảCederbLượt thích32Lượt tải184

 Tác giảTomYumLượt thích33Lượt tải158

 Tác giảAllenM_581301Lượt thích40Lượt tải138

 Tác giảPraveenLượt thích42Lượt tải162

 Tác giảJous42Lượt thích35Lượt tải116