Tiêu đề Máy khắc Laser dựa trên ANET A8 Tóm tắt Vẫn WIP nhưng

Vẫn WIP nhưng làm việc. Đây là một thợ khắc laser 2 trục, sử dụng phần cứng từ máy in AET A8 làm cơ sở.

Mô tả
Another old design I'm moving over from Thingiverse - This project got shelved in favour of other things but I'm currently pulling this out of mothballs to get it completely operational with a Arduino UNO and CNC shield. If I make any amendments to the design, the updates will be uploaded here, as well as the firmware, BOM and wiring schematics etc.
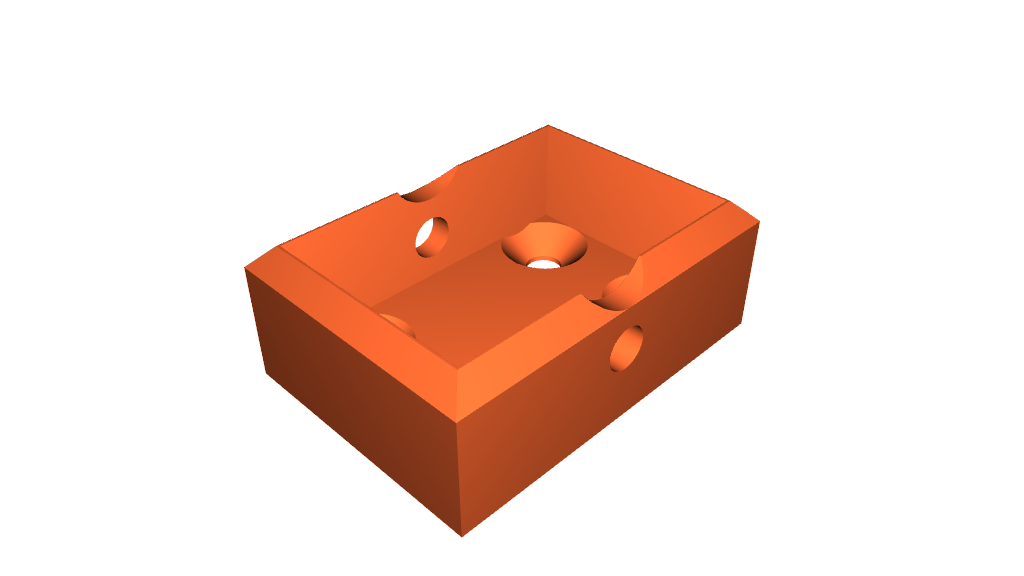
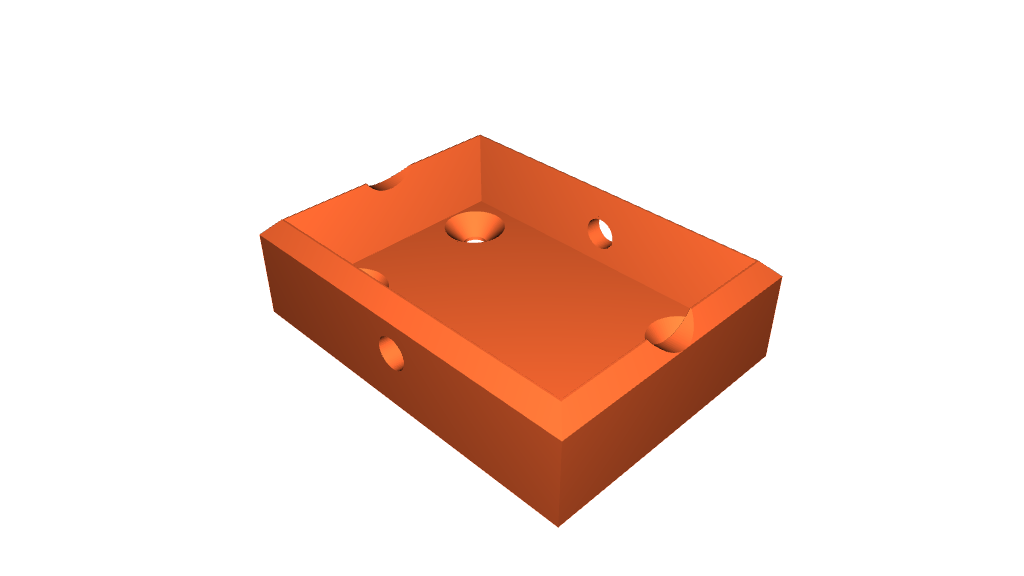
This is a 2 Axis laser engraver, using the hardware from an ANET A8 printer as the basis. The only additional parts you will need to source are some M4 bolts and nuts of various lengths, 4mm wood screws and 3m of 6mm belt (you may be able to re-use the belts from the printer, but you will need extra, so may as well buy enough to replace them all). And a suitable base (I used a piece of 12mm MDF)
I might add a full BOM at some point, but it will take me some time to go through everything.
The Firmware included works with Laser GBRL (set to Marlin). Note that at the time of publishing this, I have not been able to get the X and Y to move more than 200mm in either direction, despite setting the bed size to 325 (X) and 235 (Y) mm. I'm sure it has something to do with 'soft' end-stop settings, but I haven't been able to find the appropriate part of the firm-ware to change this.
The Arduino with CNC shield should give better functionality (adding better control of the laser power, additional fan controllers for air assist and extraction fans etc).
The Y Axis motors are plugged into the dual Z-Axis ports on the board. The Laser is plugged into Fan2 port and uses an opto-coupler to electrically separate the laser from the board. This blog post details the circuit.() USE THE CIRCUIT DETAILED IN STEP 9, NOT STEP 3!!
The Laser I used is a generic 5.5W Diode Laser. I added a quick tool change, based on the brilliant one designed by Jon Schone of Proper Printing (). This will allow me in future to add a pen plotter attachment.
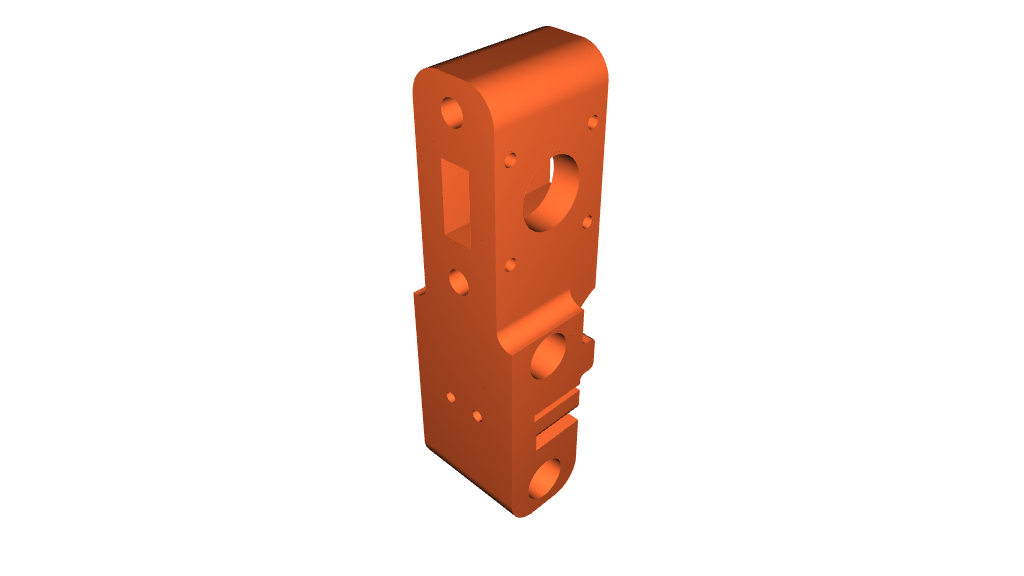
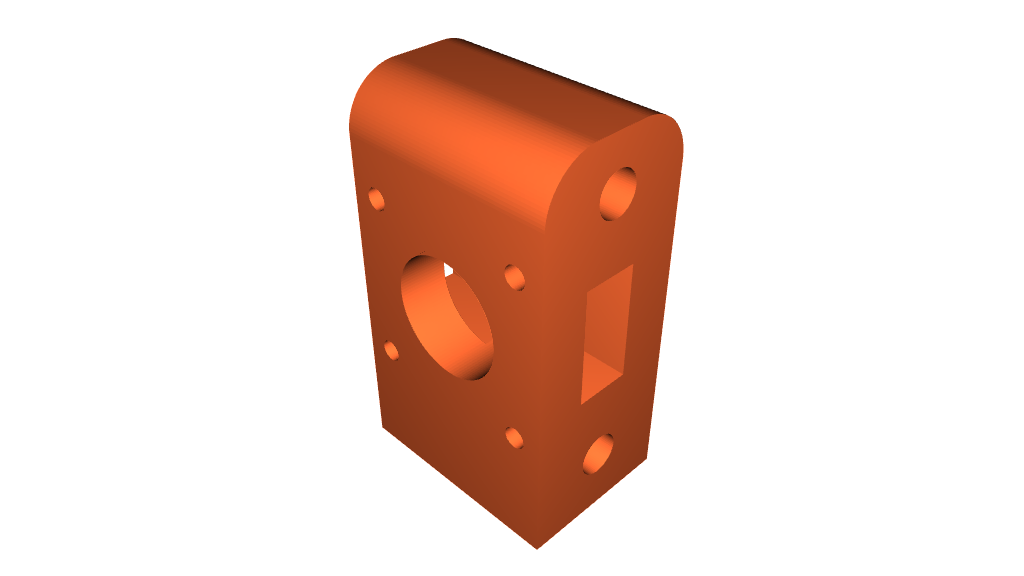
I was able to print all the parts from a single 1kg spool of PLA, but following a tweak to the design from my first version, re-printed the tensioners in orange for aesthetic reasons.
Assembly is pretty straight forward - I will add some photos to the construction. A large rubber mallet and vice is useful for inserting the Linear bearings and 6mm rods, just tap gently. Depending on your support settings, you may need to ream out the bearing tubes first.
This is without doubt, my most complicated and involved DIY design to date and pretty pleased with it all. If you make this, I would love to see it!
Lasers are potentially dangerous. Please be sensible, wear eye protection and do not operate unattended.
Giấy phép
Tác phẩm này được cấp phép theo
Creative Commons Attribution-NonCommercial 4.0 InternationalAttribution-NonCommercial