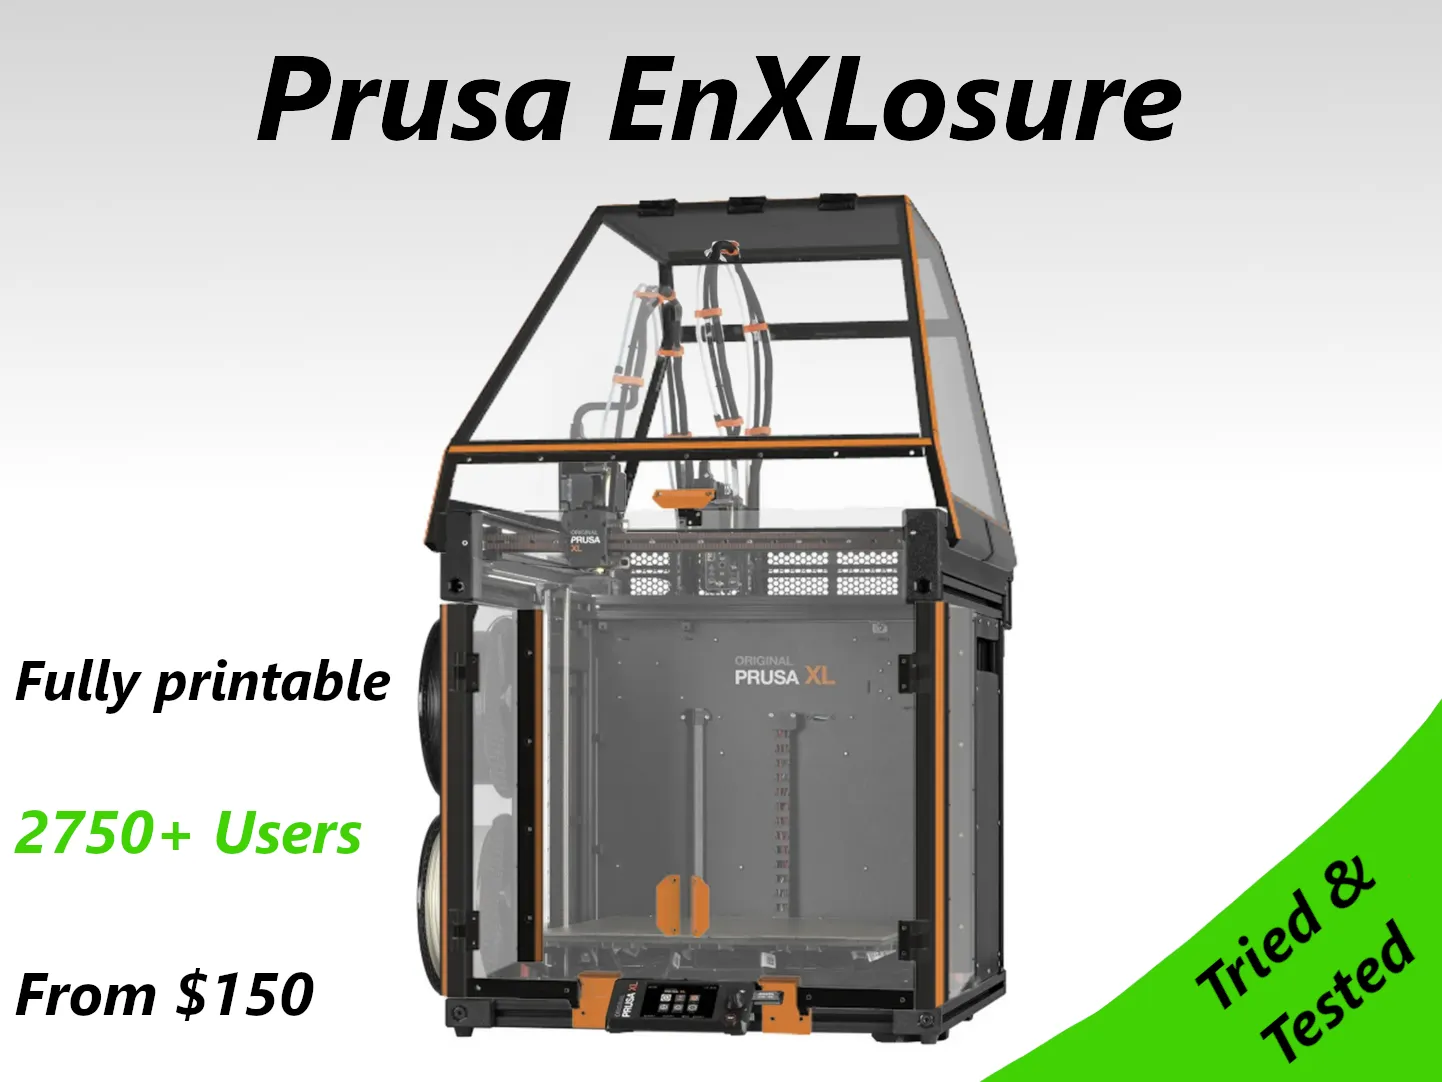
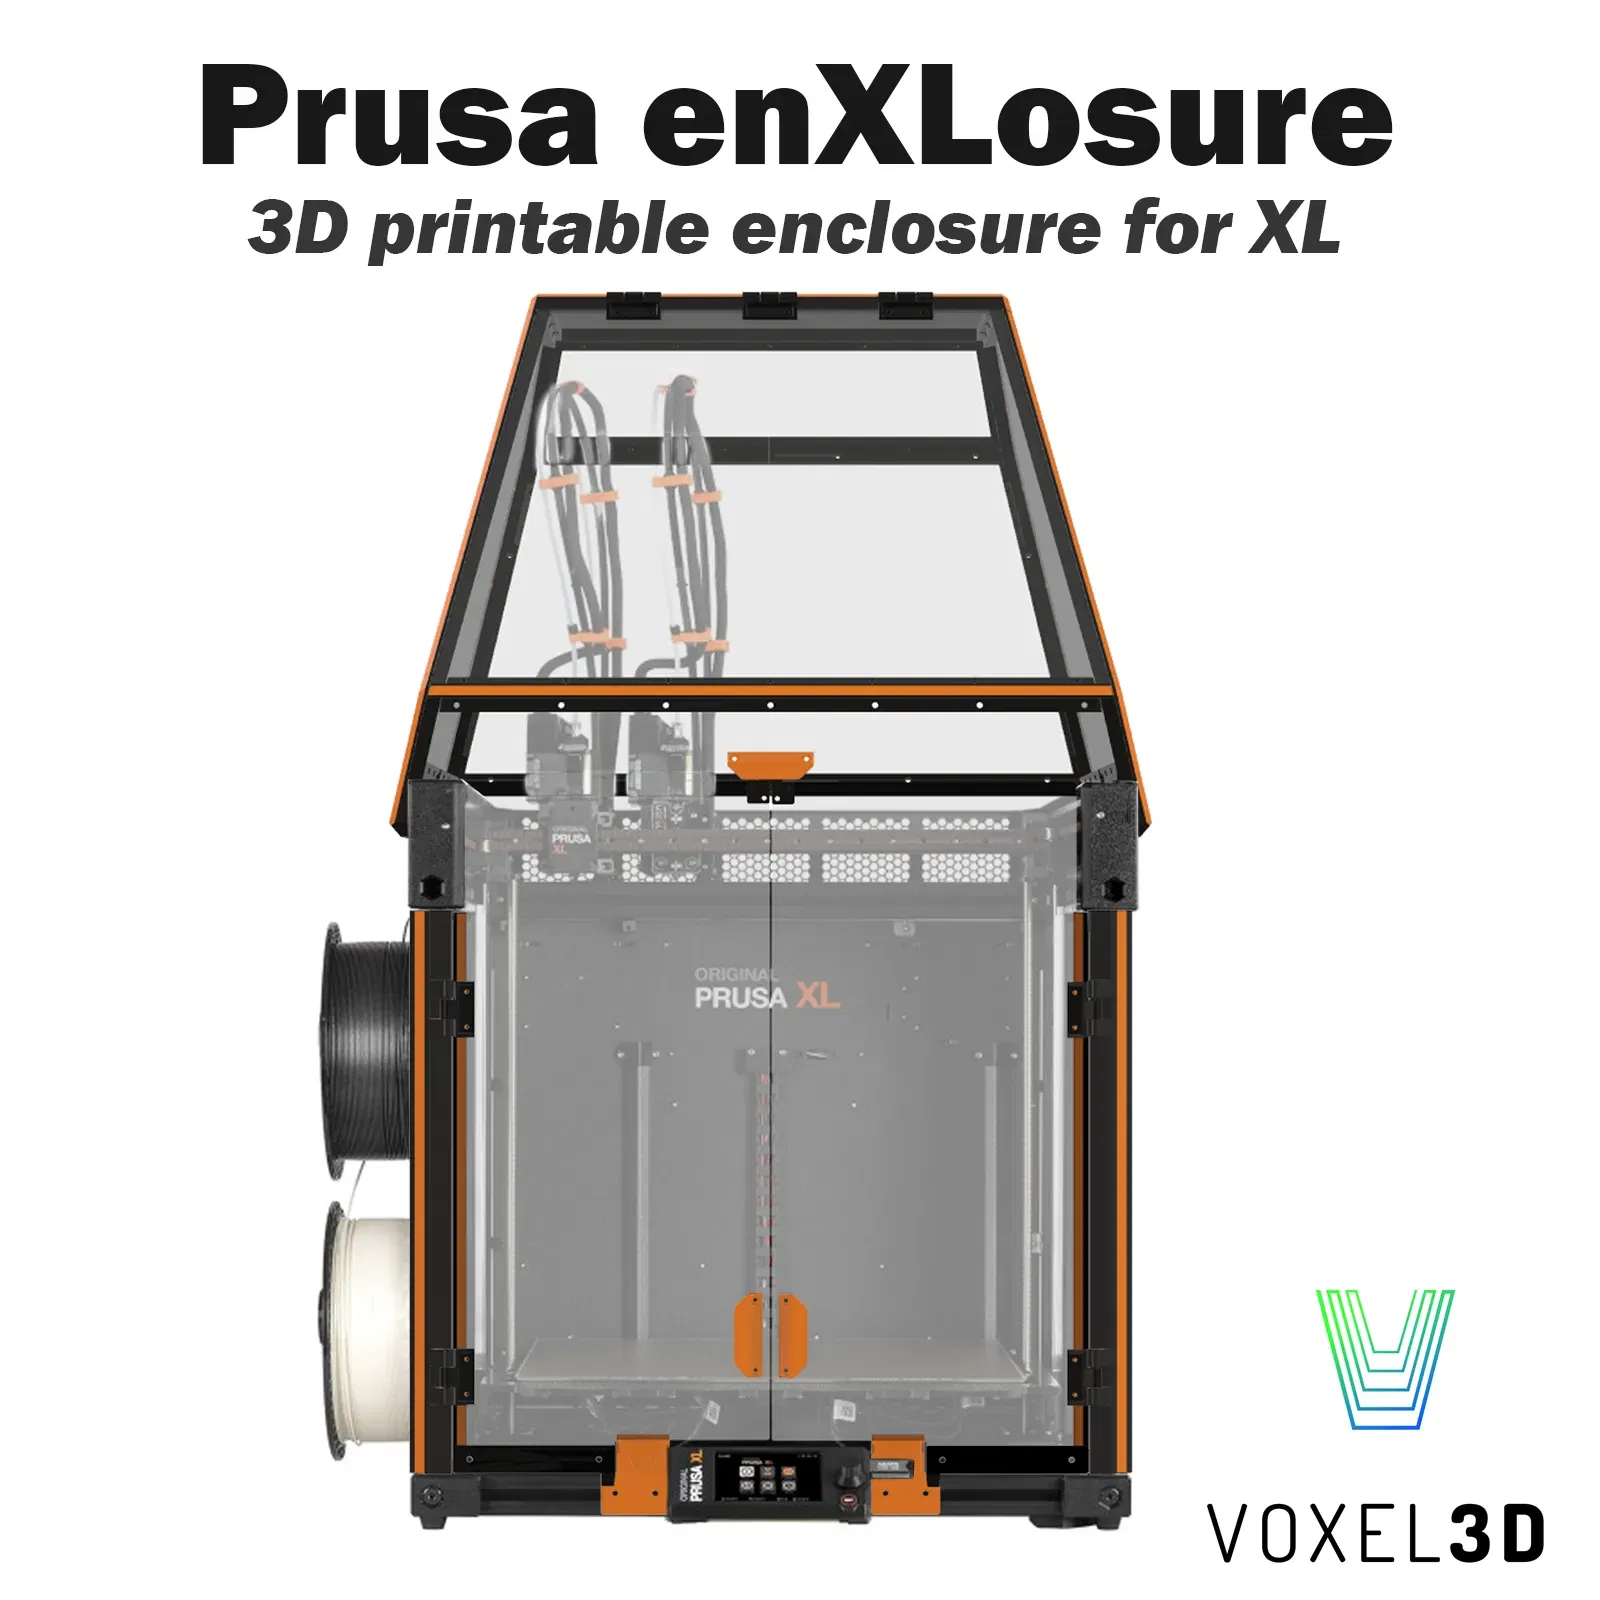
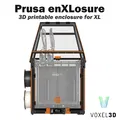
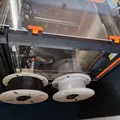
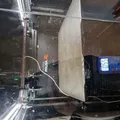
Prusa XL - EnXLosure

Bọc ngoài cho Prusa XL ban đầu. Nó được làm từ các tấm acrylic 3 mm và khung có thể in 3D tối giản, hoàn toàn.
32.9K
Lượt Xem
734
Lượt Thích
4.2K
Lượt Tải
Cập Nhật Dec 18, 2025
Mô tả
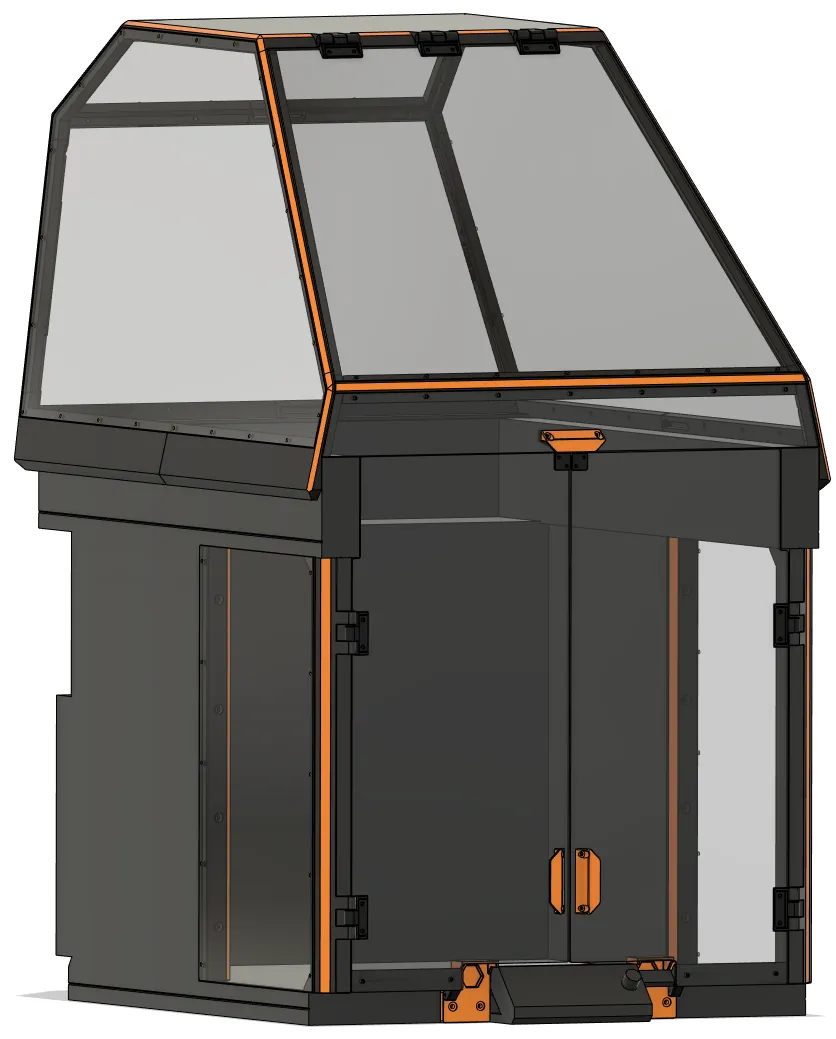
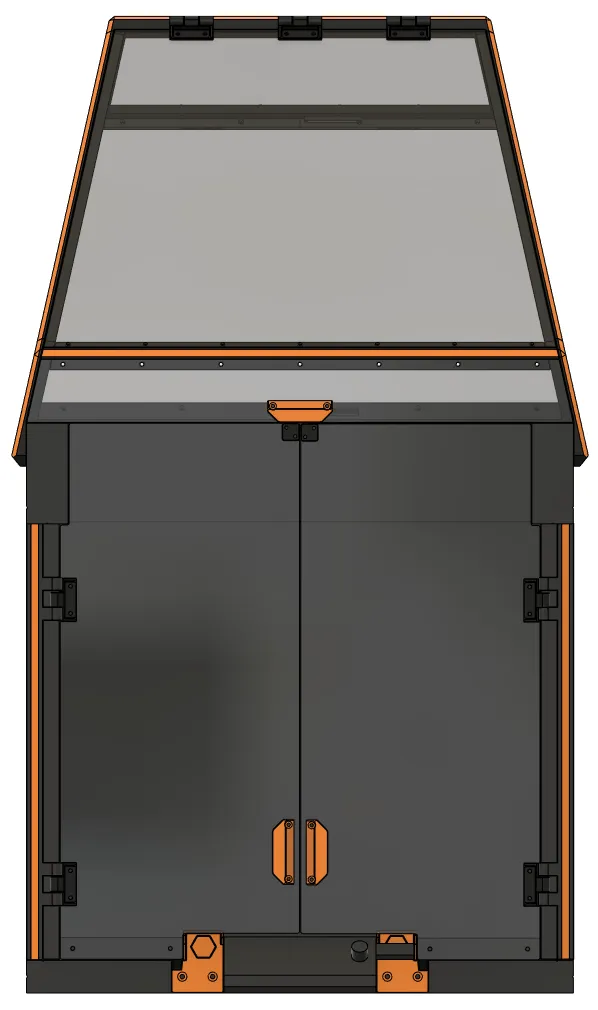
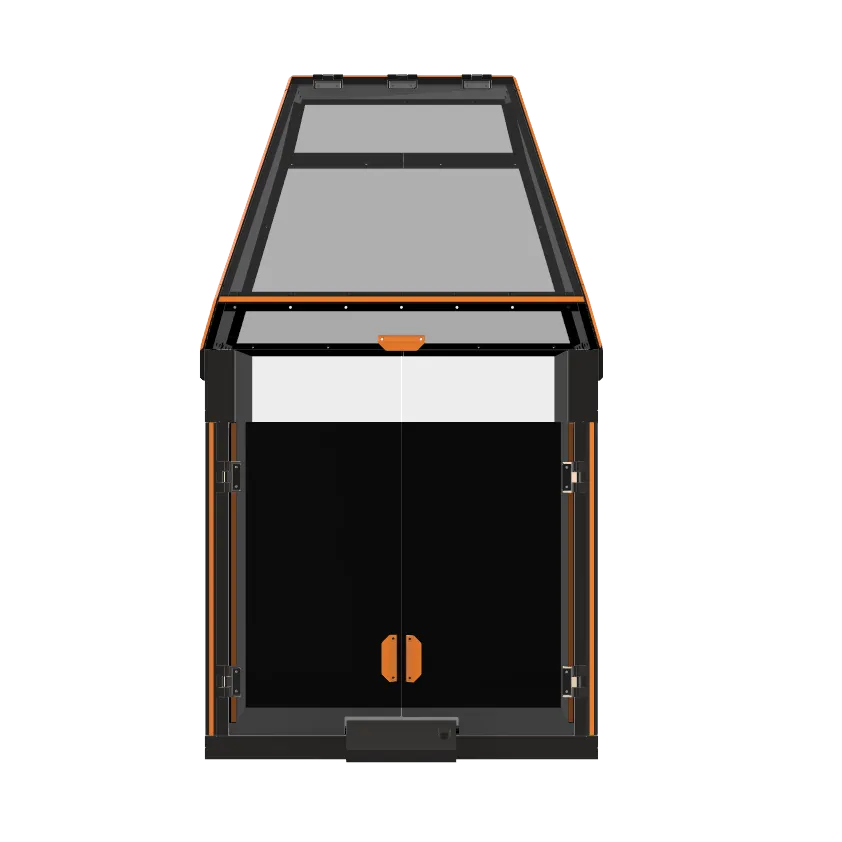
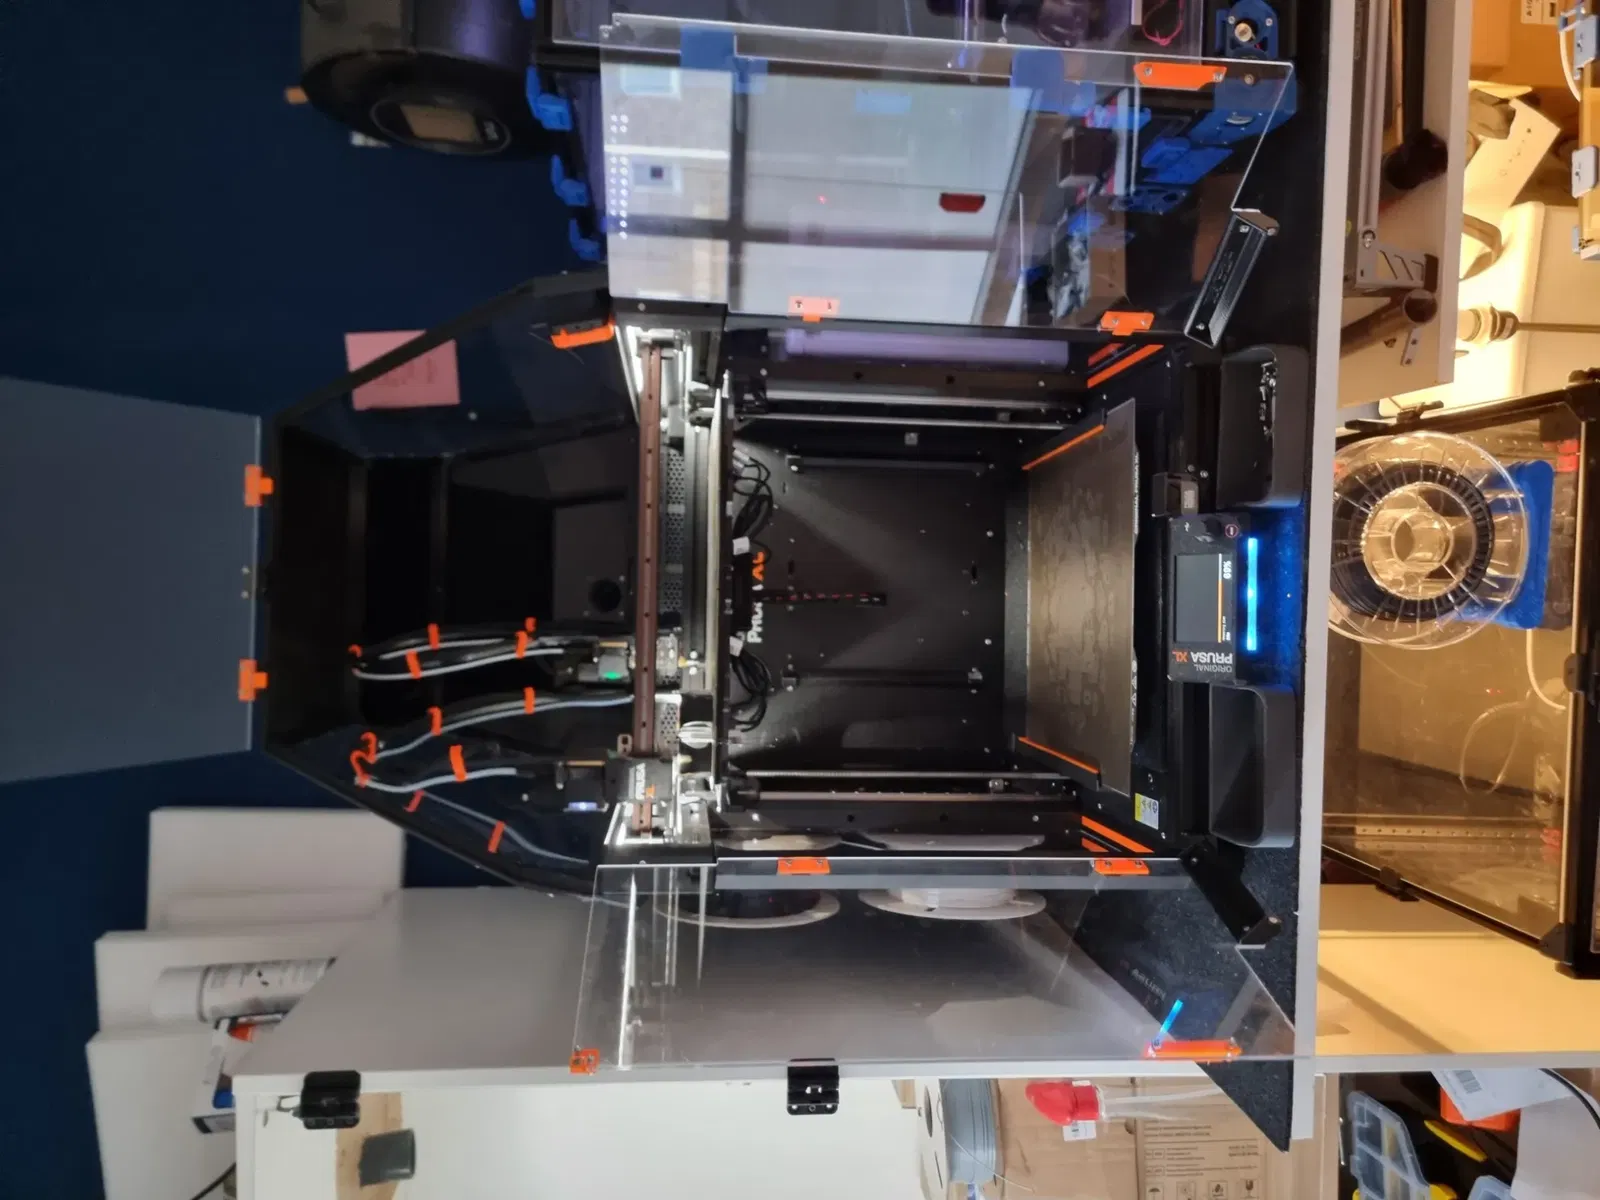
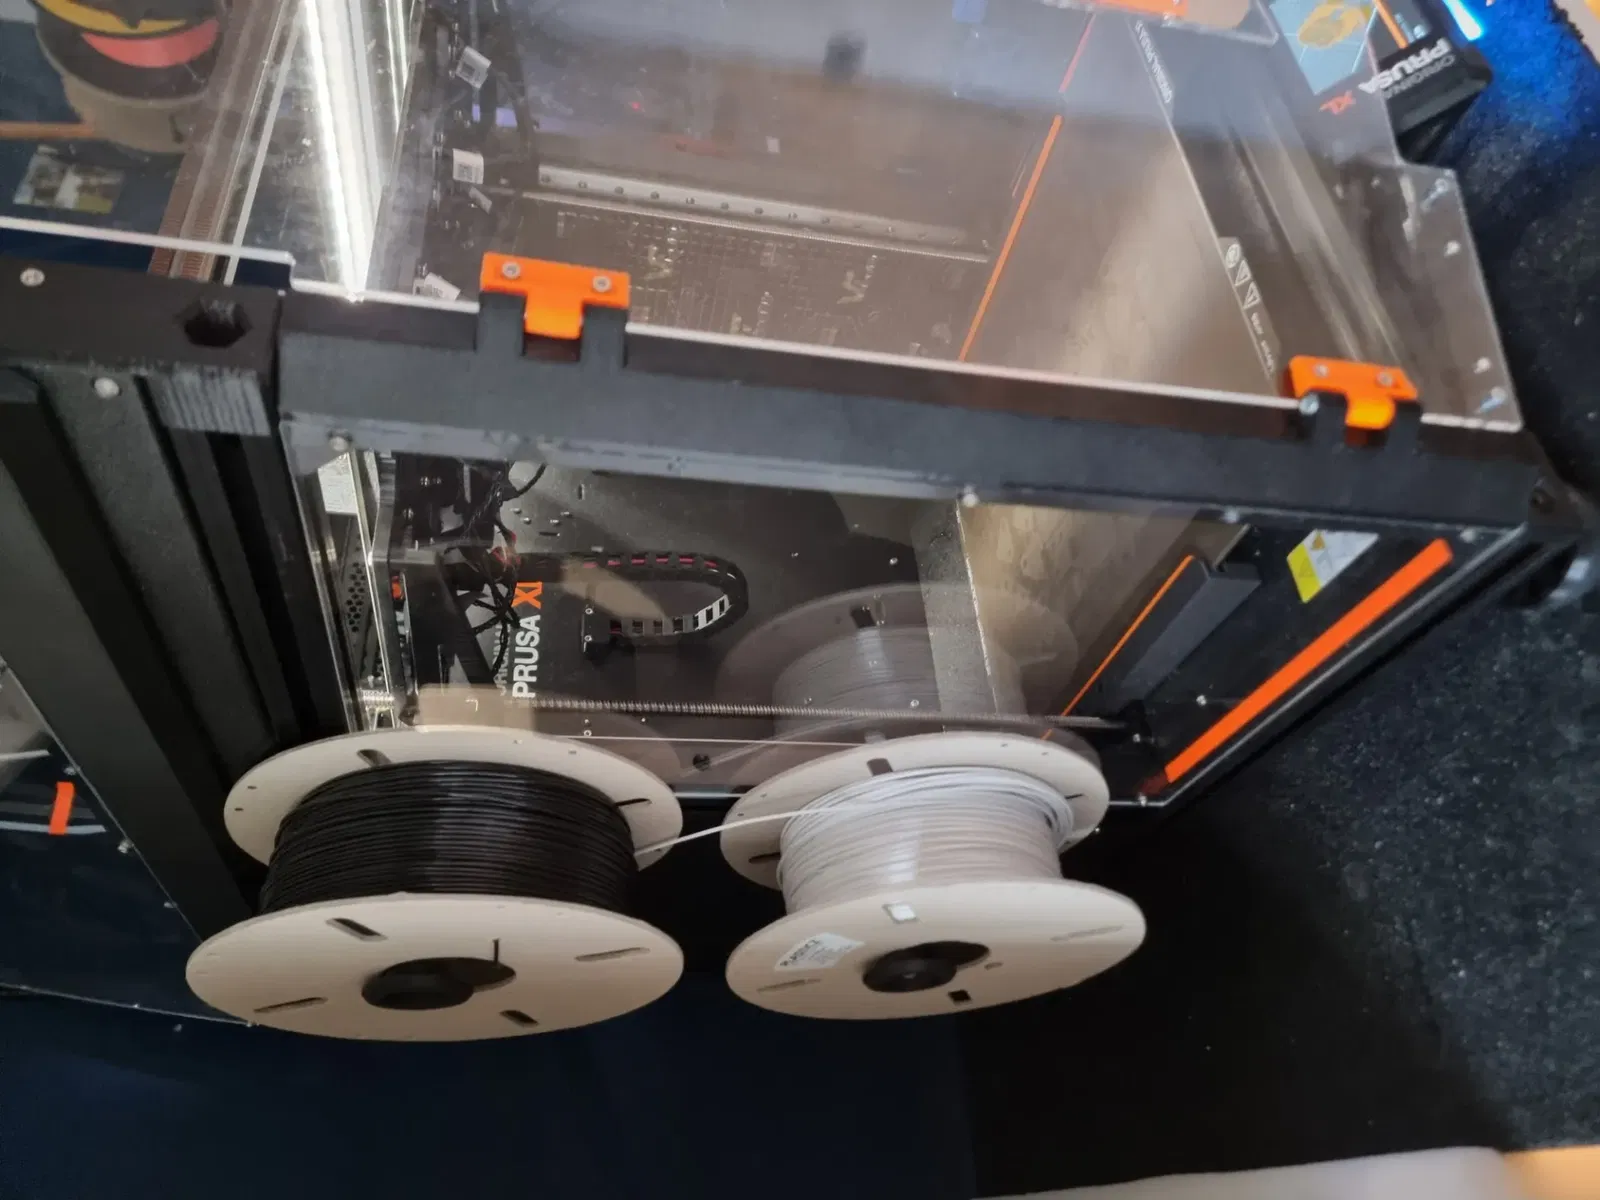
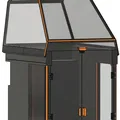
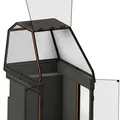
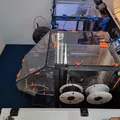
Full, polycarbonate enclosure for Prusa XL with many features such as; - Strong, 3mm thick Polycarbonate panels
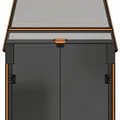
- Rigid-mounted doors on the bottom section
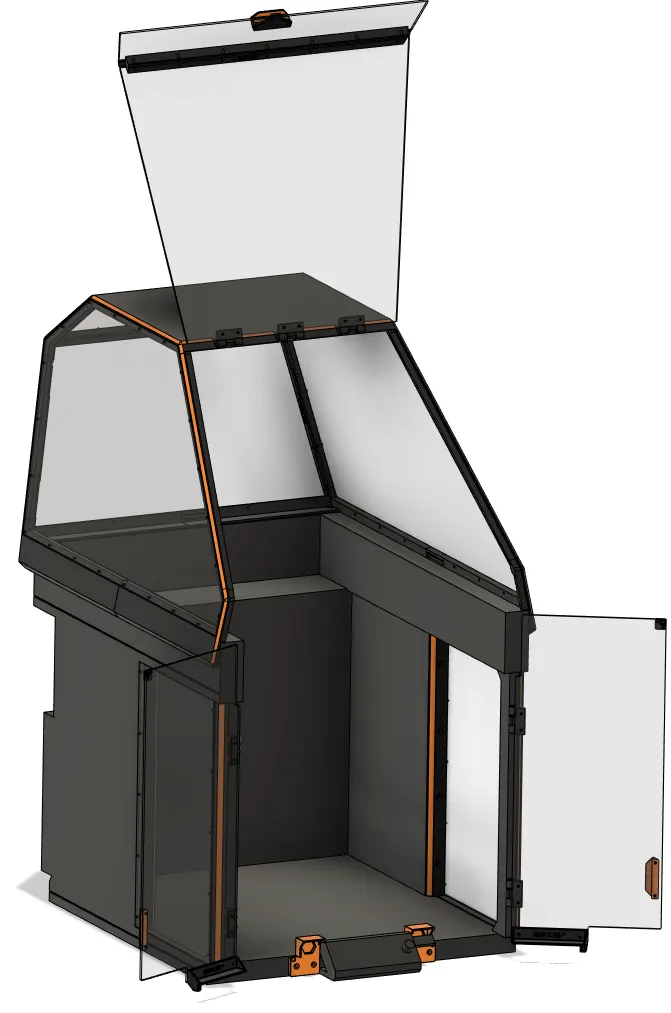
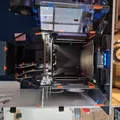
- Full, 270-degree opening front for excellent access and view of the print
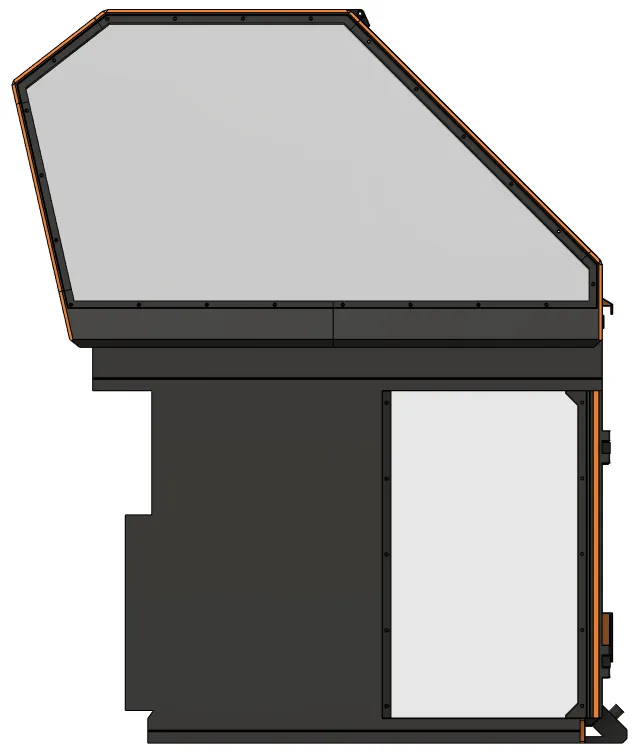
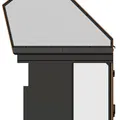
- Magnetically removable top section
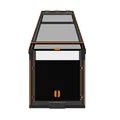
- Cool, Geometric, and Minimalistic design
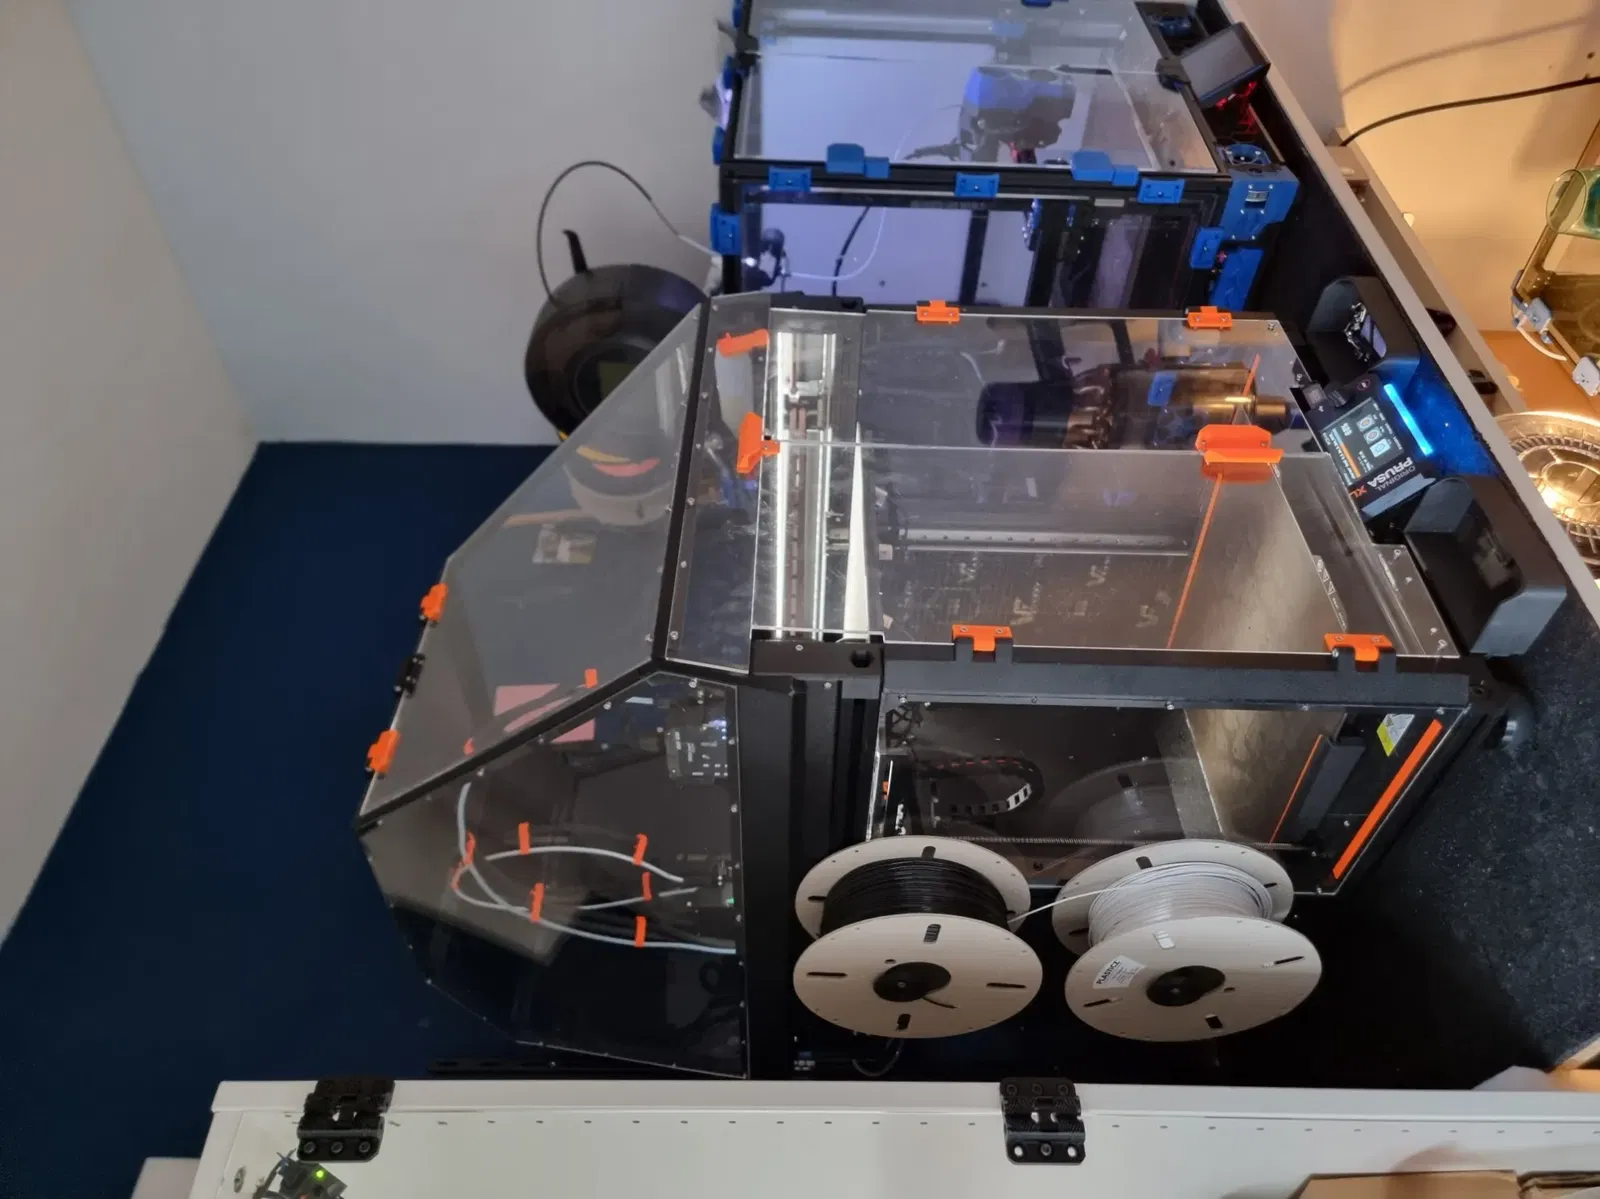
- Small internal volume for good passive heating
- Easy to print frame
- Fully printable on Prusa XL
- Easy to assemble using many of the same bolts, including a build manual Also, I designed add-ons so you can fully equip your enclosure to have the same features as the original enclosure, for just 25% of the price!! - Firmware-compatible air filtration system found here; Feel free to modify/upgrade yourself, just make sure to link the original printables listing in your description and comply with the non-commercial license. Things you need; Prints; - Filament; approx. 1,825 kg of PETG material, so less than 2 spools of filament. - Printing time; approx. 40,75 hours (in 0.32 SPEED @XL 0.6, Input Shaping firmware) approx. 48 hours (in 0.32 SPEED @XL 0.6, Stable release firmware) Hardware; - 121x M3x8 bolts (panels) + 5 spare - 24x M3x10 bolts (hinges to panels) + 2 spare - 24x M3 washer (hinges to panels) + 2 spare - 24x M3 locknut (hinges to panels) + 2 spare - 121x M3 brass insert (panels) + 5 spare (Note; needs to be voron type) - 16x M4x8 bolts (bottom frame mounting) + 2 spare - 7x M4x35 bolts (hinge mechanism) + 1 spare - 16x M4 T-nut for 3030-profile (bottom frame mounting) + 2 spare - 7x M4 locknut (hinge mechanism) + 1 spare - 8x 20x4mm round neodymium magnet (4mm high) - 8x 6x3mm round neodymium magnet (3mm high) All panels in 3mm clear acrylic or polycarbonate Hardware can be sourced by yourself or bought on AliExpress via this link; (I get a small portion of sales generated if purchased via AliExpress to support the project. Aliexpress link includes panels from high-quality polycarbonate ) IMPORTANT NOTE; PETG, ASA, ABS and other materials slightly shrink after printing. This shrinkage can be up to 0.50%. This might look little, but even this relates to 2mm on the longest part. Therefore I suggest printing the shrinkage tool first at 100% scale and measuring the shrinkage of your petg material. After this, scale all parts with this value to get the correct results. Instructions; - print shrinkage tool at 100% scale in your material. (Infill 25% cubic/2 or 3 perimeters) - measure the sizes of the print, it should be 475mm long. - Divide 475 by the value you measured to get your shrink percentage. - Example; measured the length to be 473mm. - Calculate shrinkage; 475 : 473 x 100 = 100.42% - To compensate for shrinkage, print at 100.42% - Print the shrinkage tool again at your found scale in the same material - Verify the length of tool. It should be 475mm. A deviation of 0.4 +/- is acceptable. ASSEMBLY VIDEO; Huge thanks to youtuber @Adventures with Dr. Joe for making an instructional assembly video. If you have any questions, you can refer to his video via this link. Note; In total, designing this enXLosure cost me 21Kg of PETG, €325+ of prototype panels/bolts, and 250 hours of engineering, building and testing. I published the design for free, but if you think it is worth €5, €15 or €25, please consider ‘buying’ this design via; www.buymeacoffee.com/voxel3d. (you can choose the price yourself) It supports me a great deal, and I appreciate every donation. Design files; Original design files in STEP and Fusion360 format can be purchased via my paid listing found here
Giấy phép

File mô hình
Đang tải files, vui lòng chờ...


Vui lòng đăng nhập để bình luận.
Vui lòng đăng nhập để khoe bản in của bạn.
Chưa có bản in nào được khoe. Hãy là người đầu tiên!

Chưa có bình luận nào. Hãy là người đầu tiên!