Tiêu đề Prusa MKS3 Camera Trigger Tóm tắt Trình kích hoạt tua nhan
Trình kích hoạt thời gian đơn giản phù hợp với PRUSA MKS3 kích hoạt cổng kích hoạt DSLR Canon 60D. Tôi thương hiệu nó cam trig
Mô tả
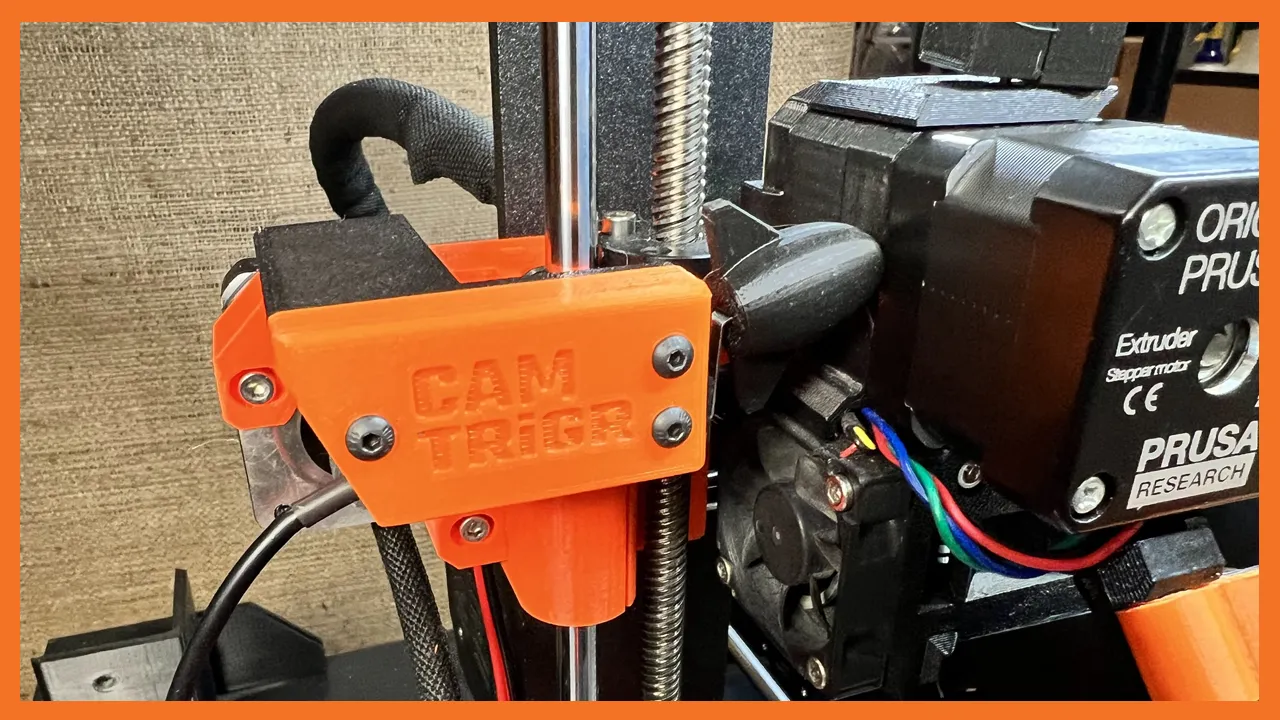
I wanted to make 3D timelapse printing videos with my Canon 60D camera and my Prusa MKS3. You only need 2 items to make this work, CAM TRiGR and GCode change. I designed a simple trigger switch with a fun trigger tip! You simply place the CAM TRiGR within the reach of the X Drive motor. Then add this G Code to the end of the gcode file in eSlicer. That's it!
Video
;AFTER_LAYER_CHANGE G1 X5 Y205 F{travel_speed*60} ;Move away from the print G4 S0 ;Wait for move to finish G4 P500 ;Wait for 500ms M42 S255 P73 ;Trigger G4 P200 ;Wait for 200ms M42 S0 P73 ;Untrigger G4 P500 ;Wait for 500ms ;[layer_z]
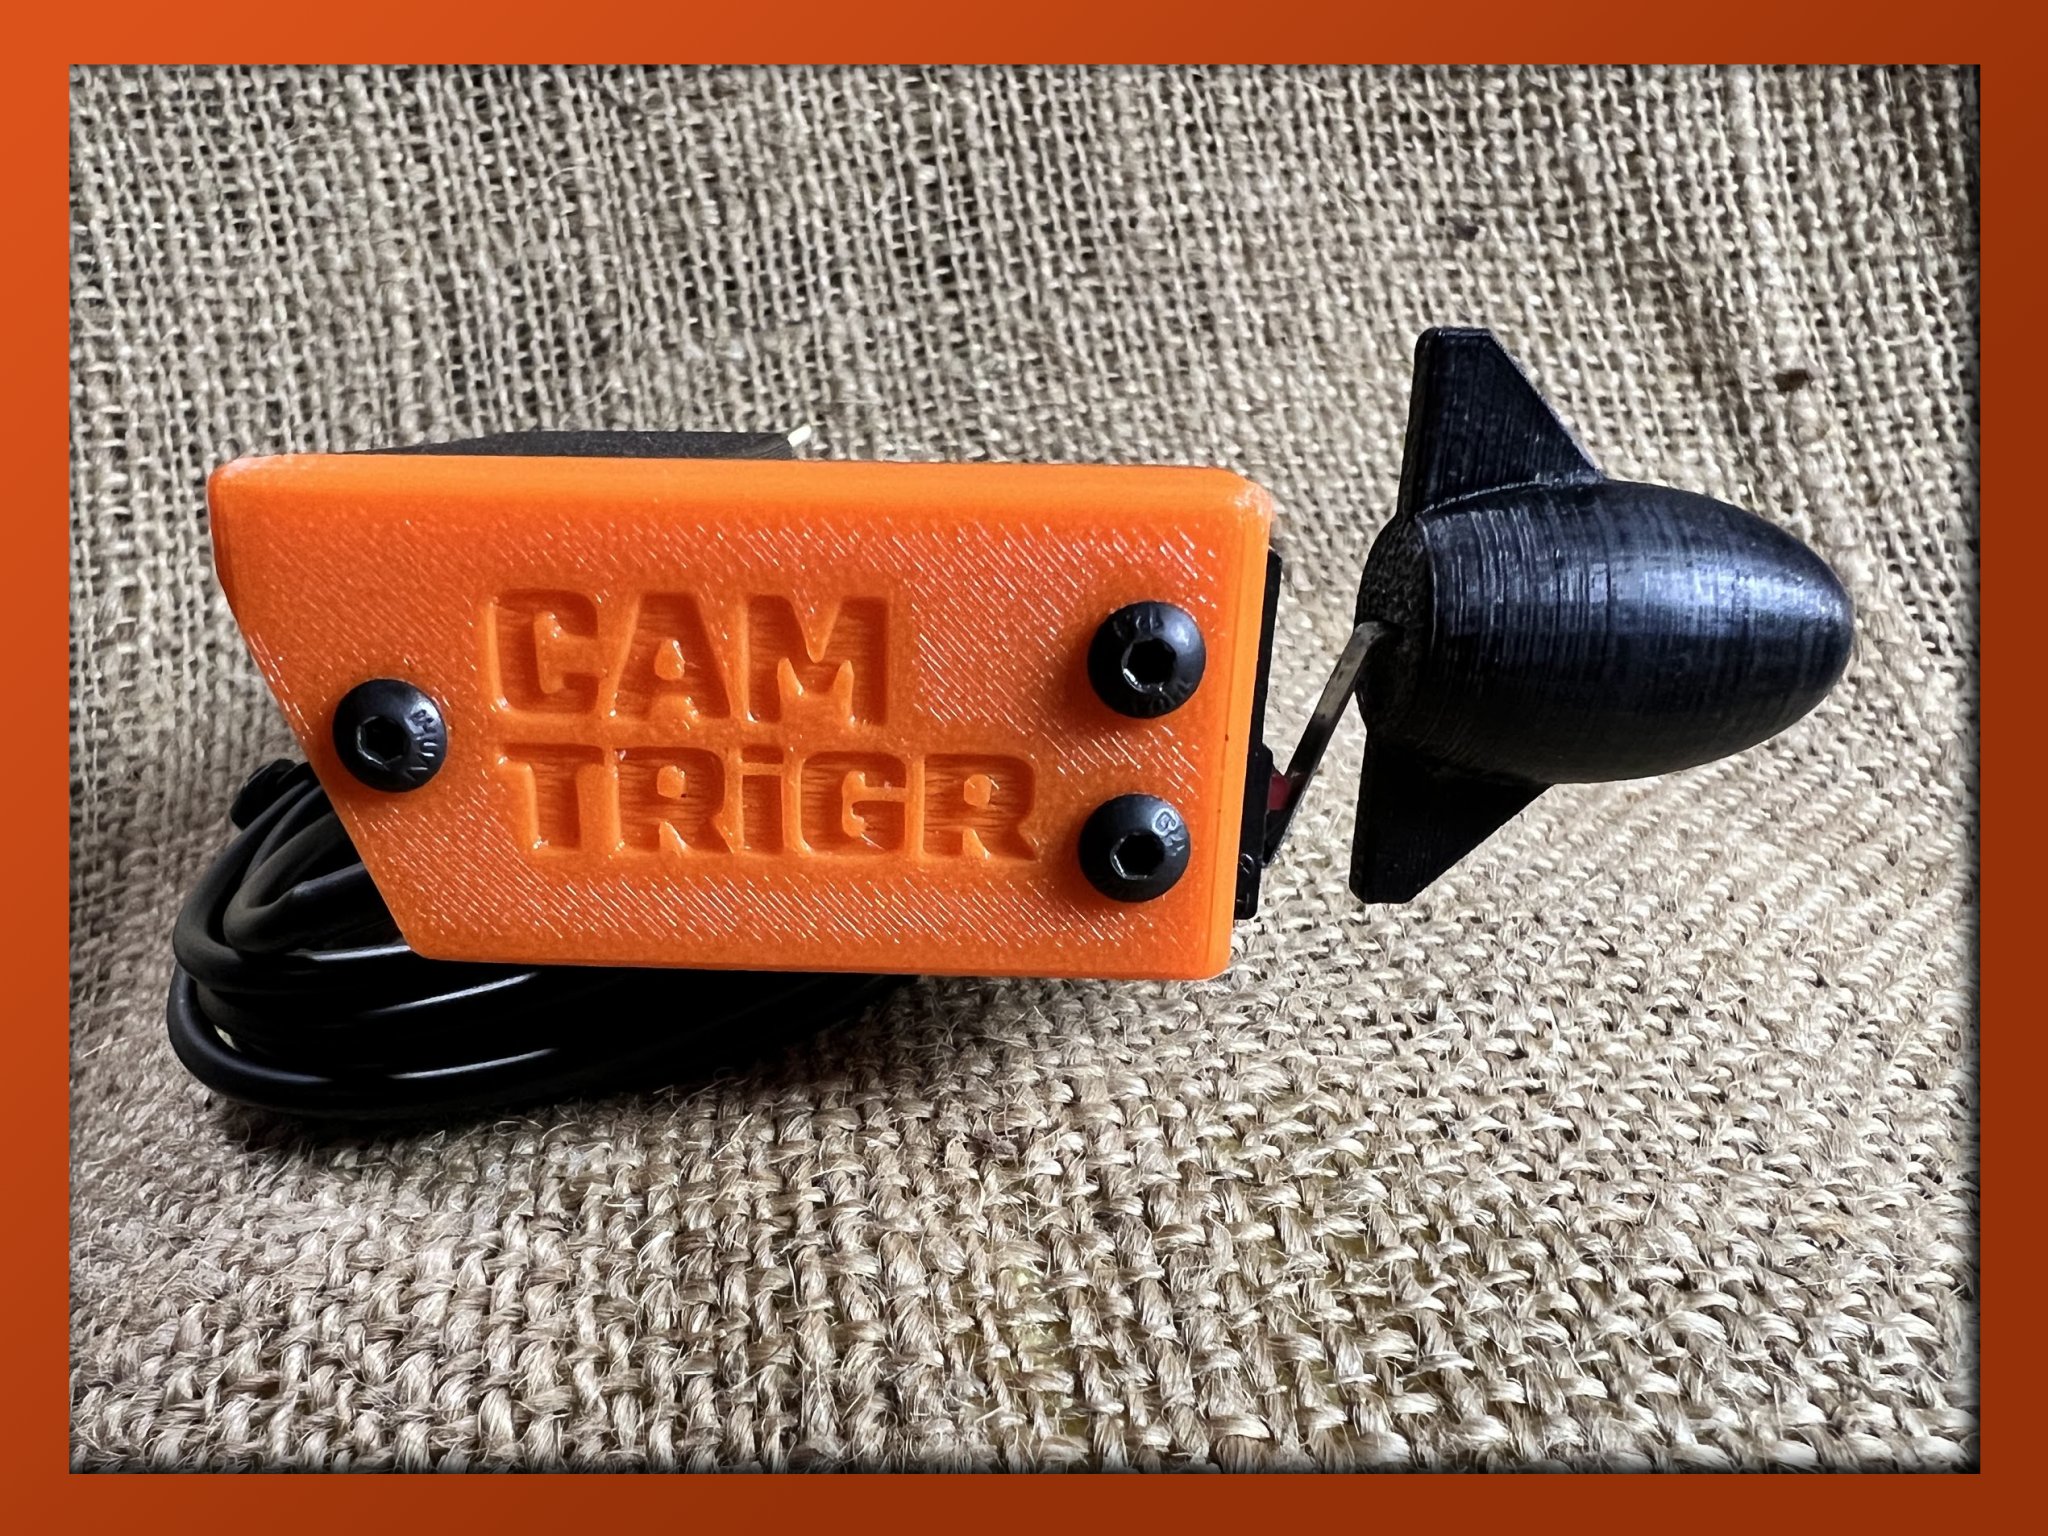
CAM TRiGR has 4 printed parts. 1. Trigger Frame 2. Trigger Cover 3. Trigger Tip 4. Printer Head Wedge (optional) I double sided taped a small wedge on the printer head side to avoid the "hole" and to help the trigger tip to glide more smoothly. I also sanded the trigger tip a bit with 600 grit sandpaper.
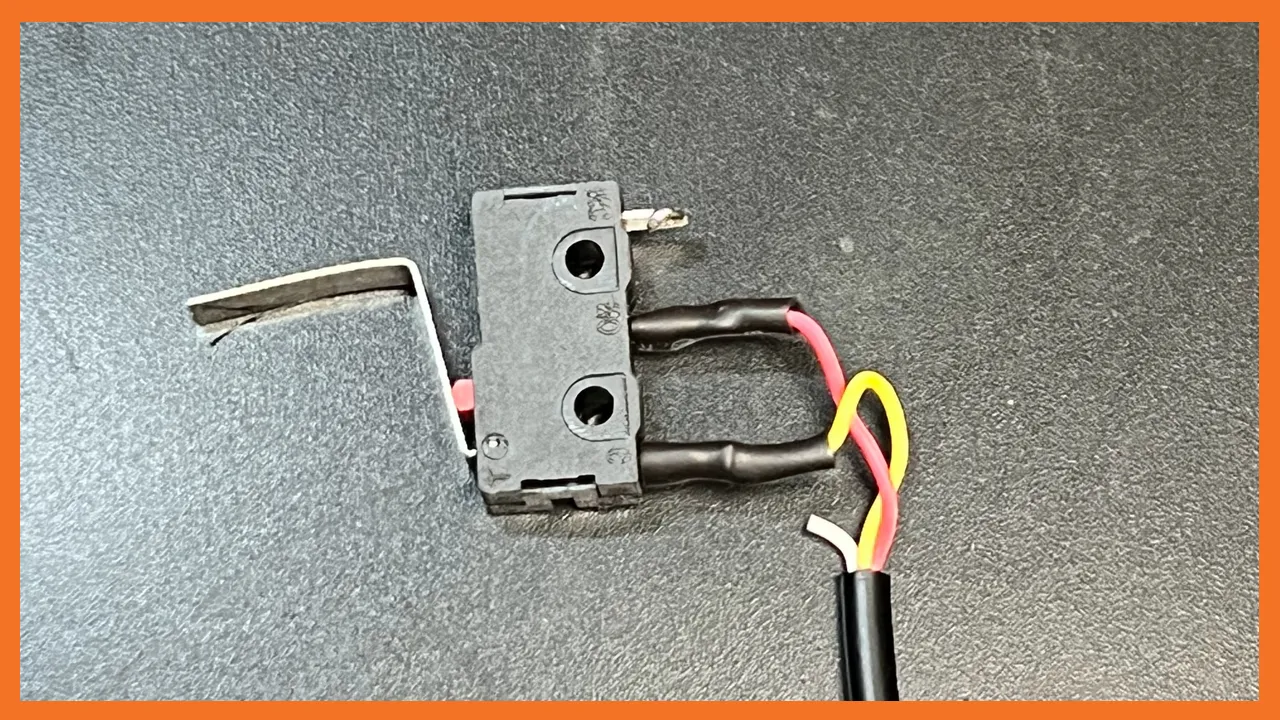
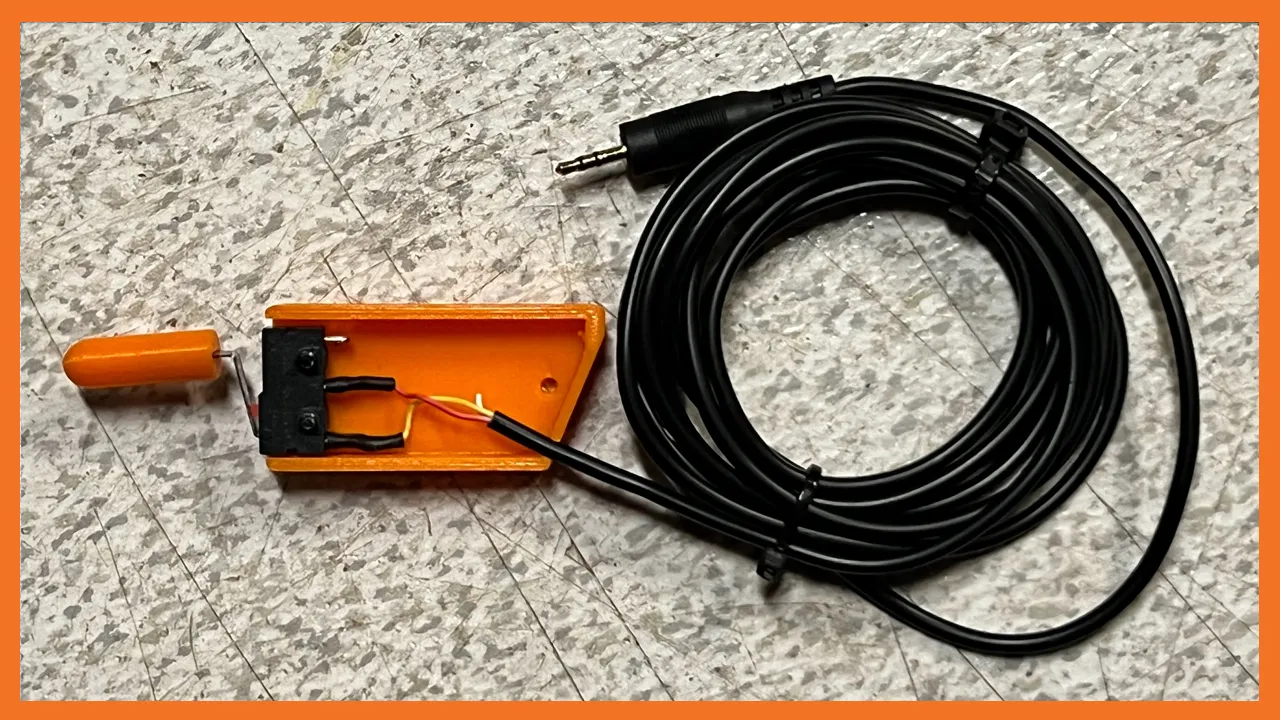
Hardware 1. 2.5mm camera cable 2. "Normally open" micro switch. Switch MUST be "normally open" style.
2.5mm cable https://www.amazon.com/dp/B076DQKDPP?psc=1&ref=ppx\_yo2ov\_dt\_b\_product\_details
Microswitch https://www.amazon.com/dp/B07P25F2DL?psc=1&ref=ppx\_yo2ov\_dt\_b\_product\_details
I soldered the yellow wire to the center pole and the red wire to the lower pole. (See picture for details) The Micro switch has a long lever that needs to be bent over to reach the printer head. (See picture for details) I created several different trigger tips for fun. In fact, you may want to design your own trigger tips! Trigger Tip Details 1. 25mm to 30mm total length 2. .5mm x 5mm slot for the switch lever
Notes: 1. CAM TRiGR MIGHT work on other DSLR cameras that have a 2.5mm trigger port, I don't have any expereince with other cameras. 2. CAM TRiGR simply clamps onto the X motor drive mount, in case CAM TRiGR feels too loose, I put a small hole that will except a 3mm screw to help clamp the trigger to the X motor mount. You don't need much force. So far I haven't needed to use the screw option. 3. I updated the CAM TRiGR setup with an optional wedge that I taped to the side of the printer head. Helps the trigger tip move more smoothly!
Giấy phép
Tác phẩm này được cấp phép theo
Creative Commons Attribution-NonCommercial 4.0 InternationalAttribution-NonCommercial

