Tiêu đề Đầu gắn máy khắc laser mini MP Select Tóm tắt Tấm Ad

Tấm bộ điều hợp để gắn bộ phận khắc laser creality trên xe ngựa của MP Chọn Mini (V1)
Mô tả
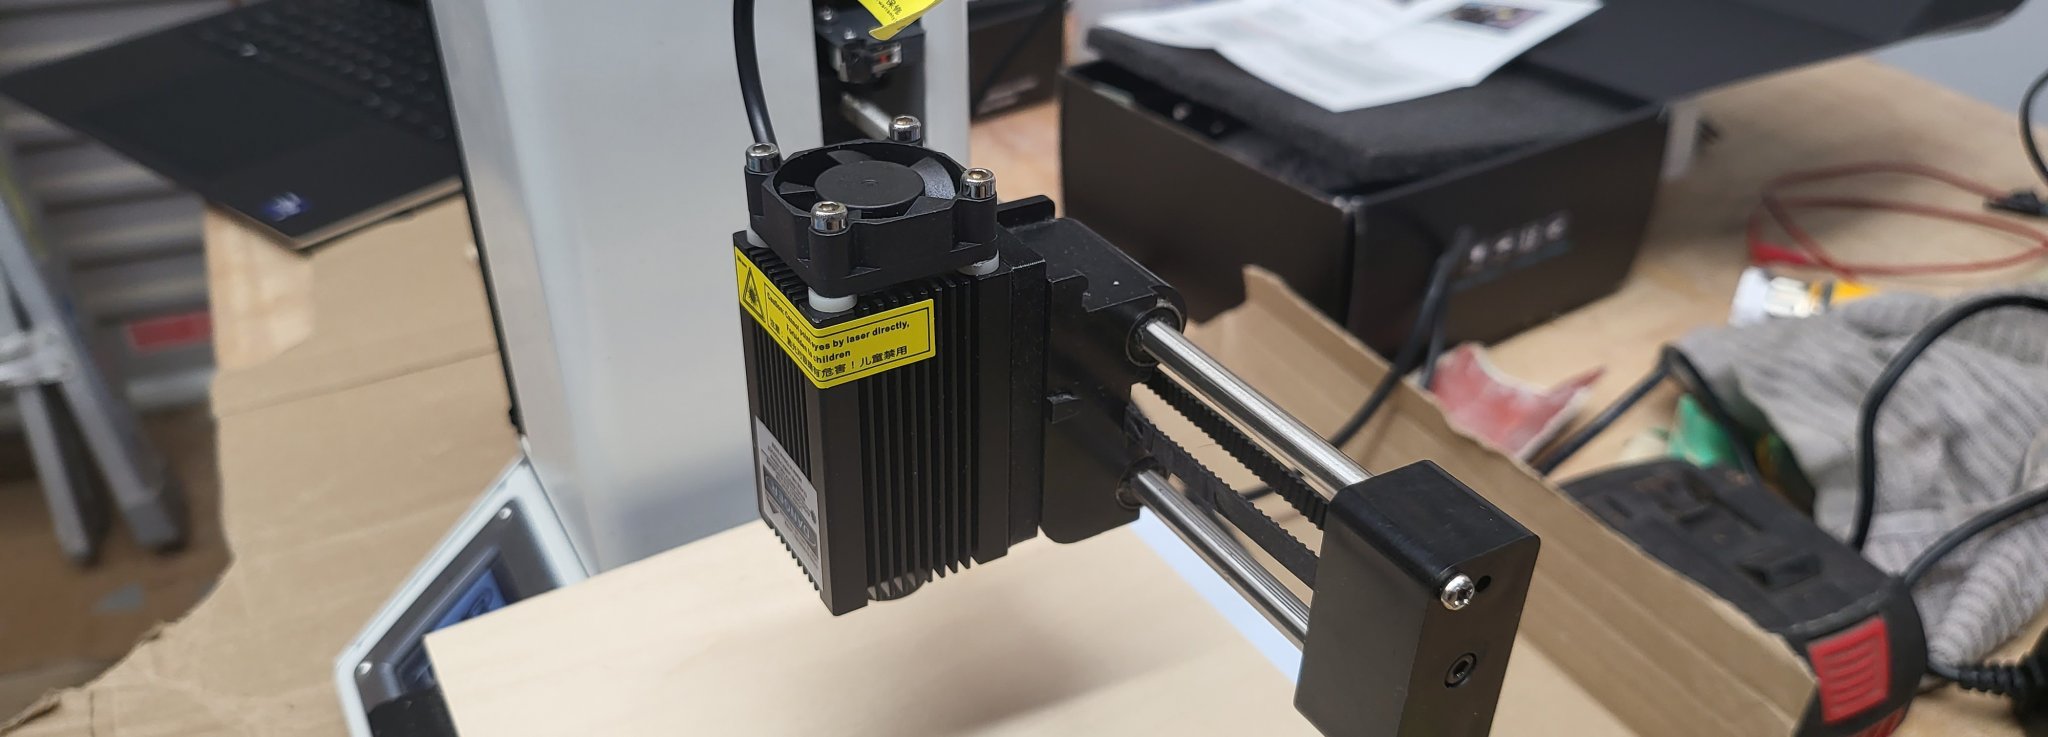
Adaptor Plate to mount Creality Laser Engraver Head unit on the carriage of an MP Select Mini (v1) style 3D Printer
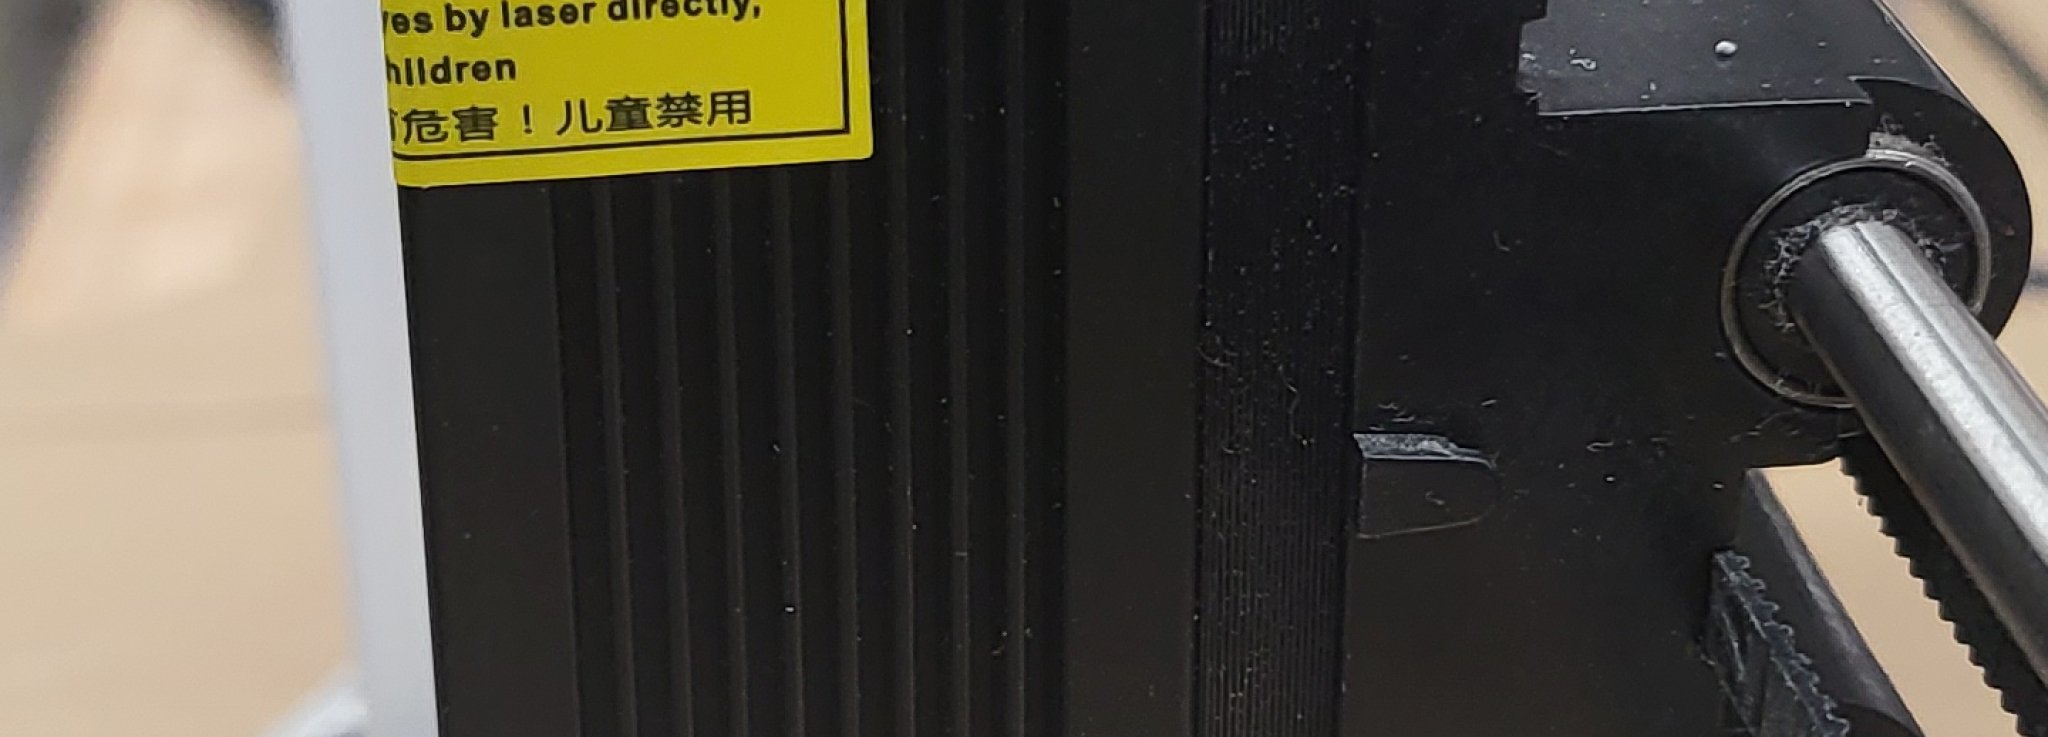
Decided to convert an old MP Select Mini style printer to a laser engraver unit, purchased THIS unit from Amazon (UNIT on Creality Website)
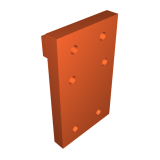
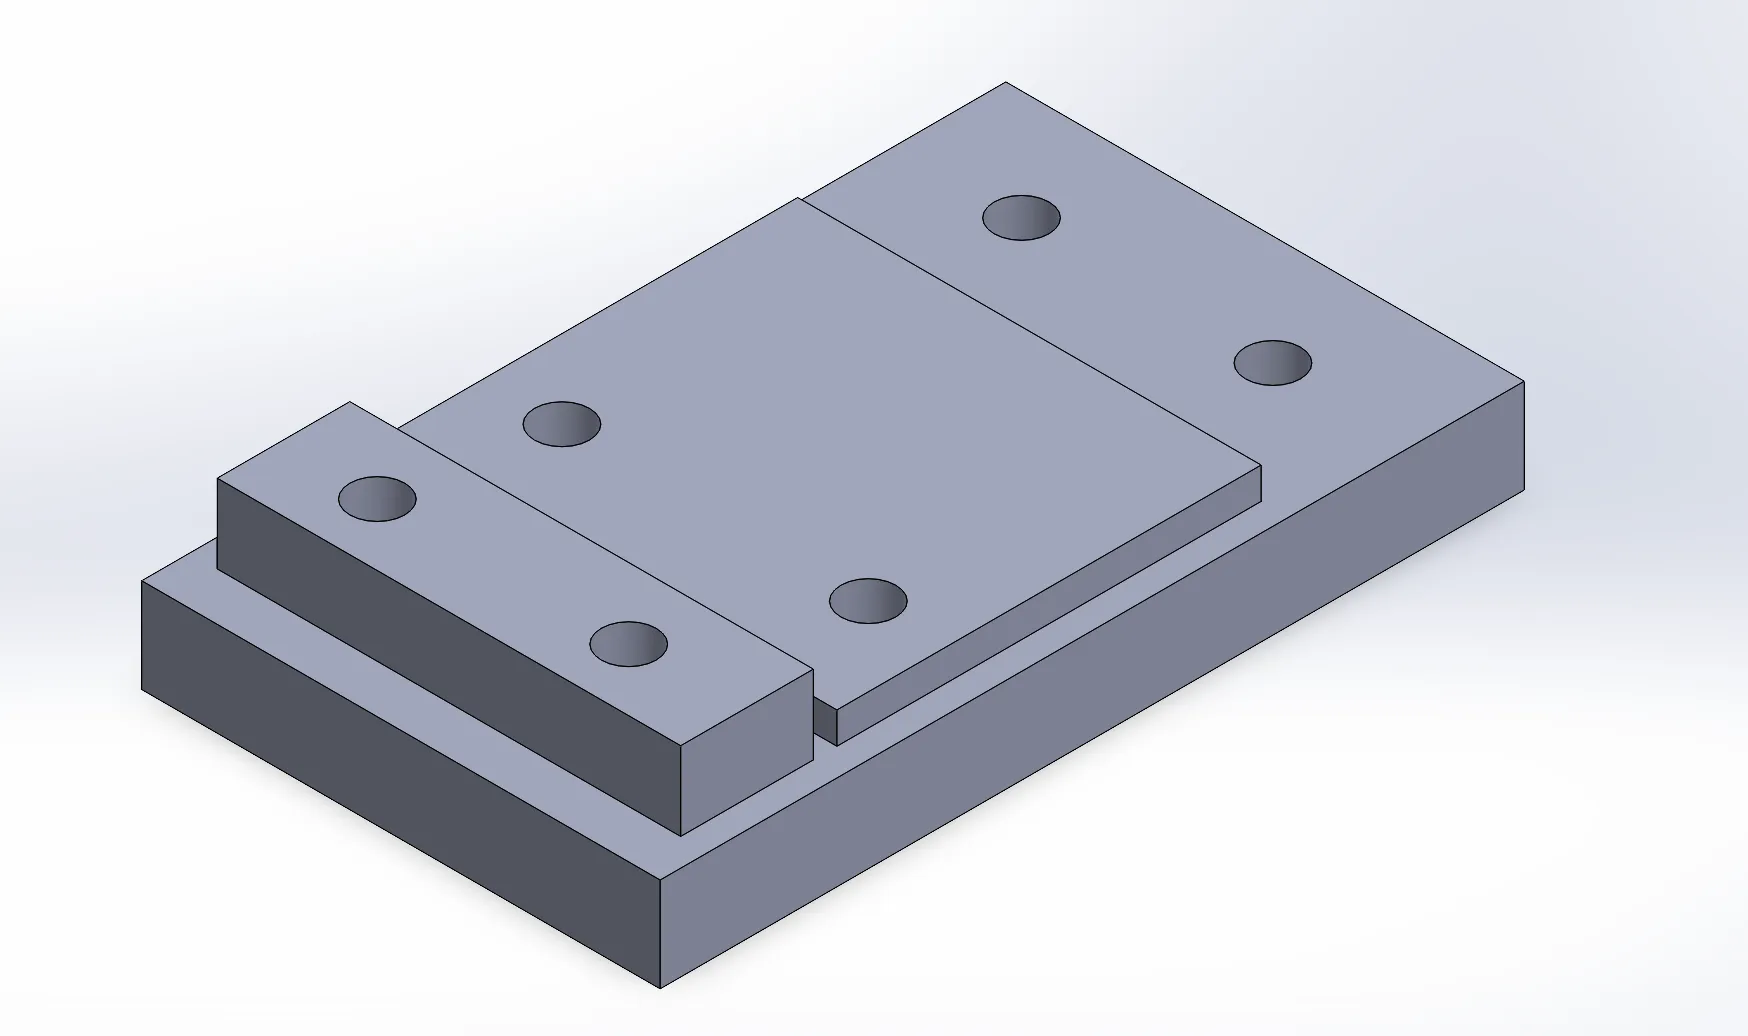
- Laser unit mounted on plate via 4x M3 bolts (10/12mm)
- Plate mounted to carriage via 2x M3 bolts (Flat head required) and 2x M3 Brass Threaded Heat Inserts mounted into plate. (Could be adapted to use M3 nut)
- Raised area of the plate slots into the lower curved area of the carraige to increase stabilty.
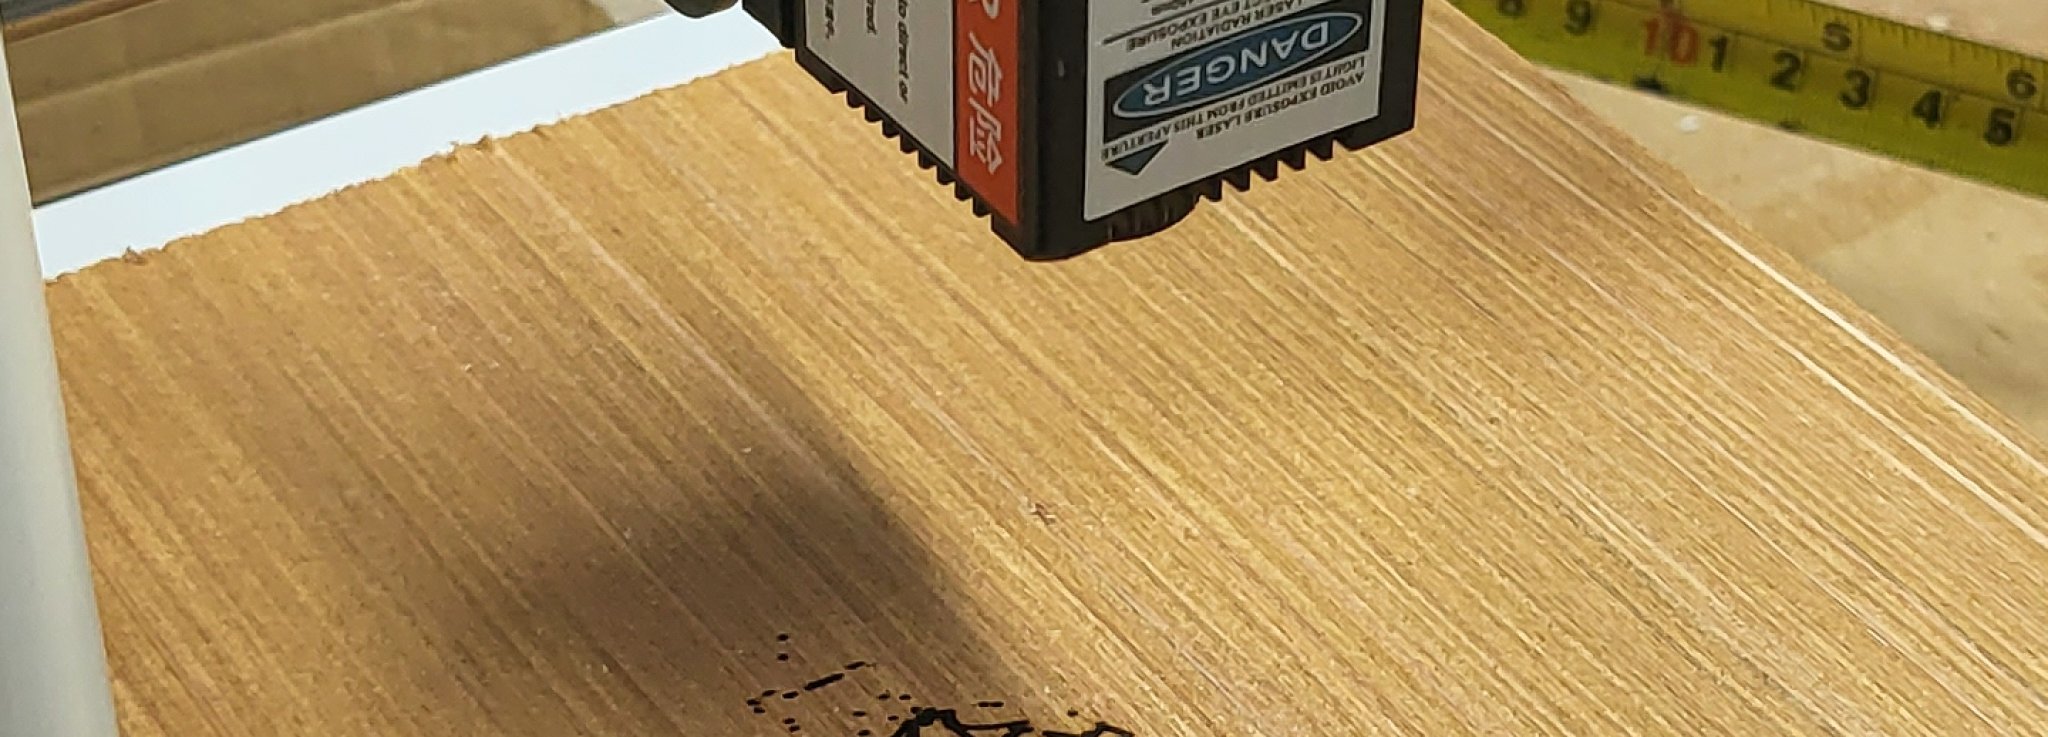
NOTE: You will reduce the bed Y axis workable space to around 92mm with laser unit mounted.
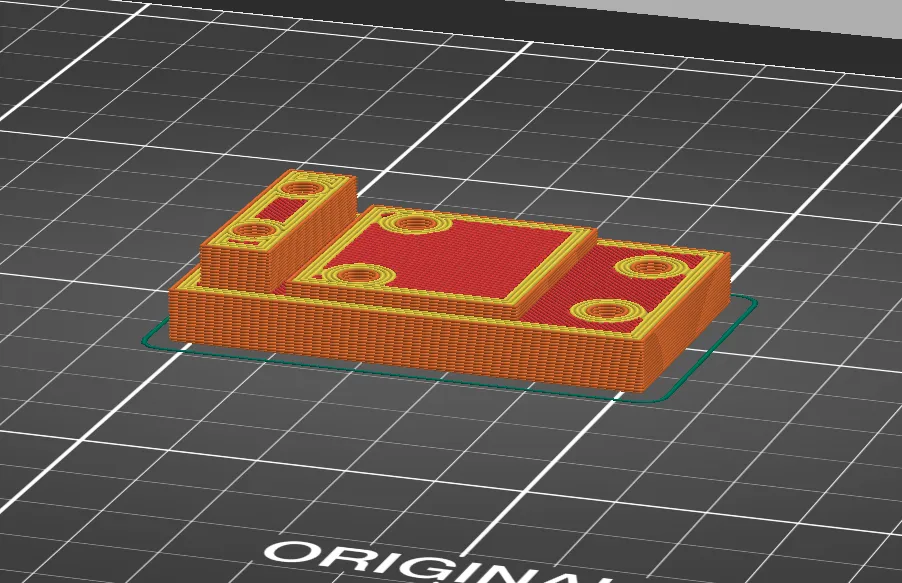
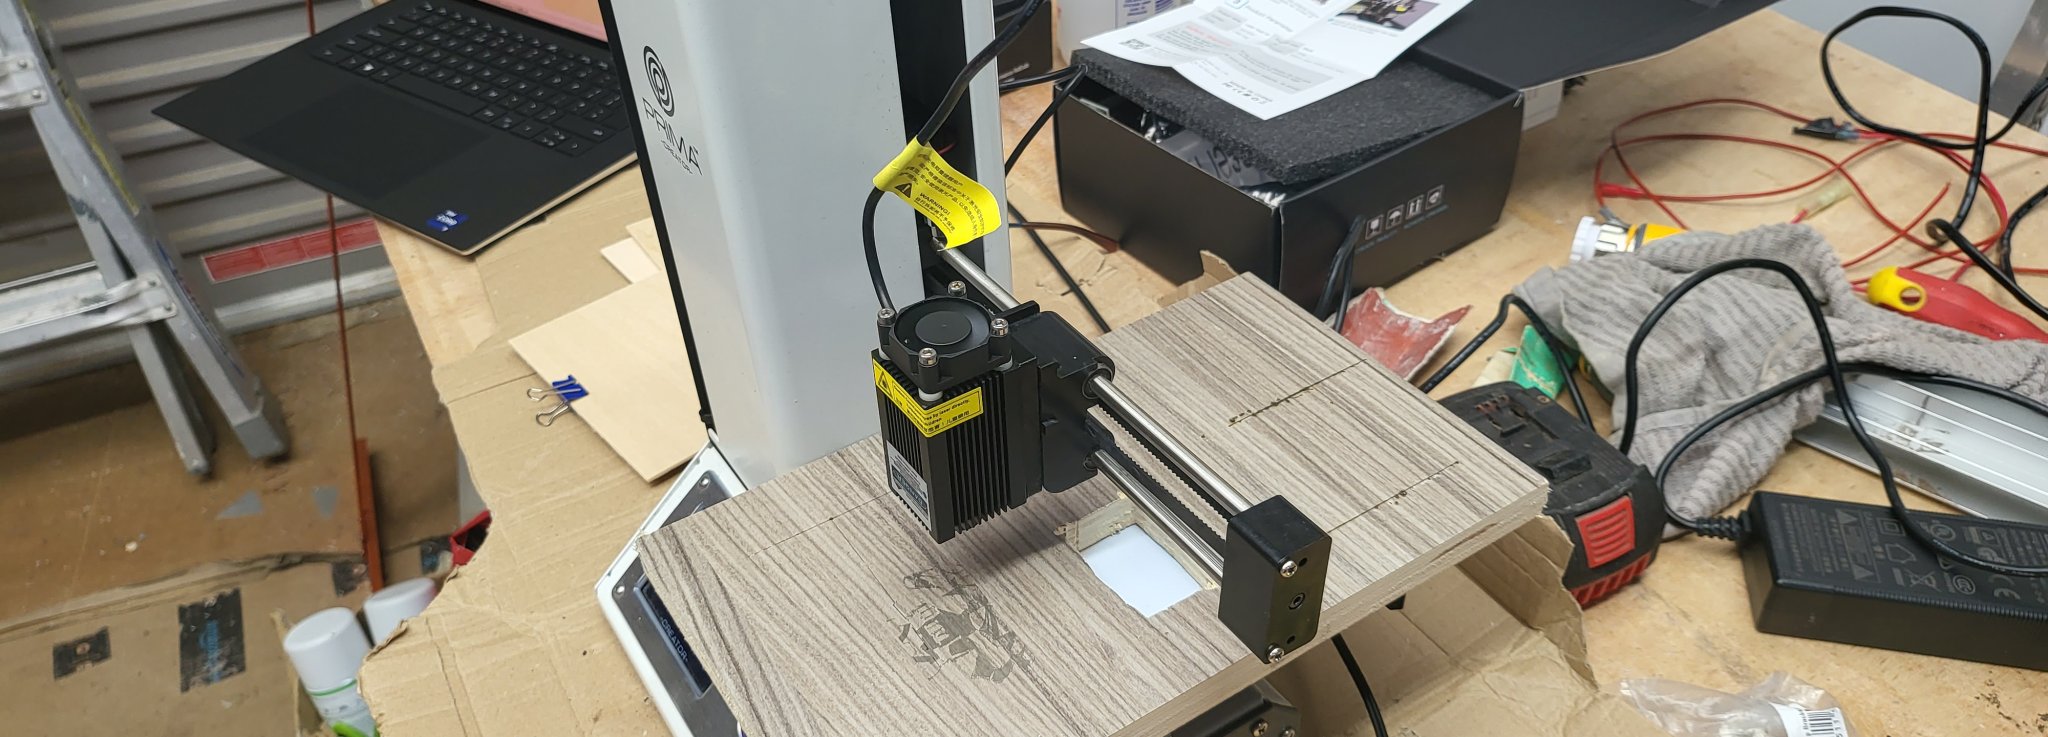
- Print mount flat on the rear (carriage) side
- Printed in PETG with 0.6 nozzle at 035mm layer height with 4 shells all around. No supports required.
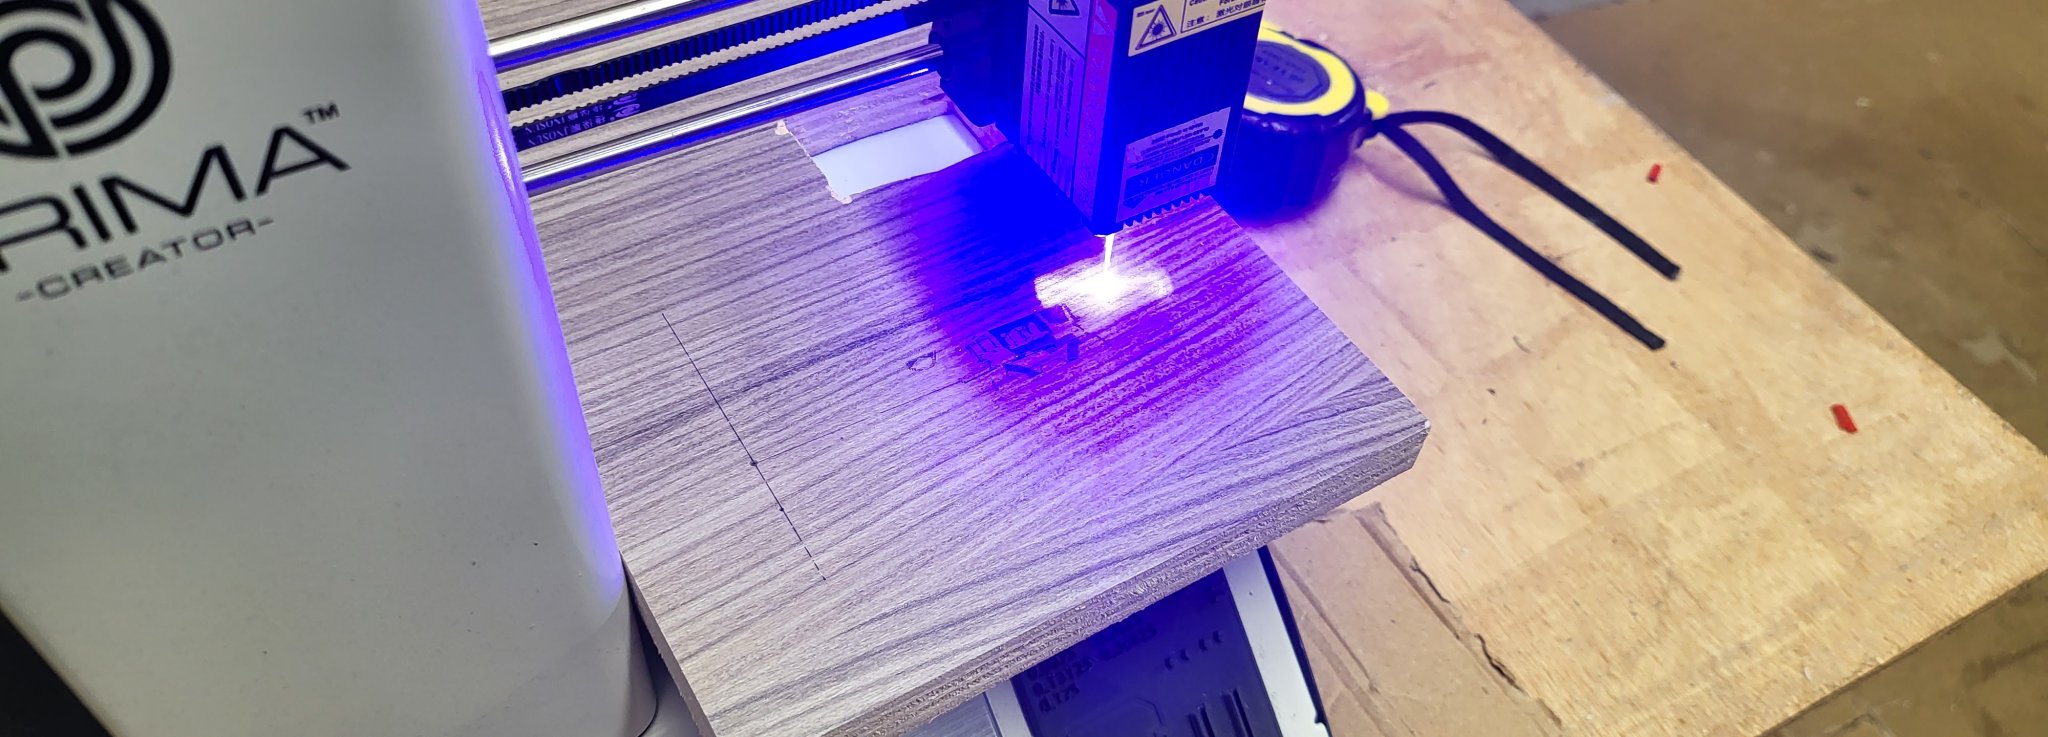
Laser unit is connected/powered/controlled via the part cooling fan slot on the controller board. Connections had to be reversed to maintain correct polarity. (G-Code M106 = Laser On/M107 = Laser Off) Recommend using software like Lightburn to setup and control the actions. Connecting directly to the printer rather than using via the micro sd card slot worked a lot better for me.
Appropriately rated Safety glasses or googles should always be worn while working with lasers.
Giấy phép
Tác phẩm này được cấp phép theo
Creative Commons Attribution-NonCommercial-ShareAlike 4.0 InternationalAttribution-NonCommercial-ShareAlike