Xbox Core Controller Phone Mount

Sau nhiều năm cố gắng tìm hoặc tạo người giữ điện thoại hoàn hảo cho bộ điều khiển, tôi đã tạo ra những gì tôi coi là


Mô tả
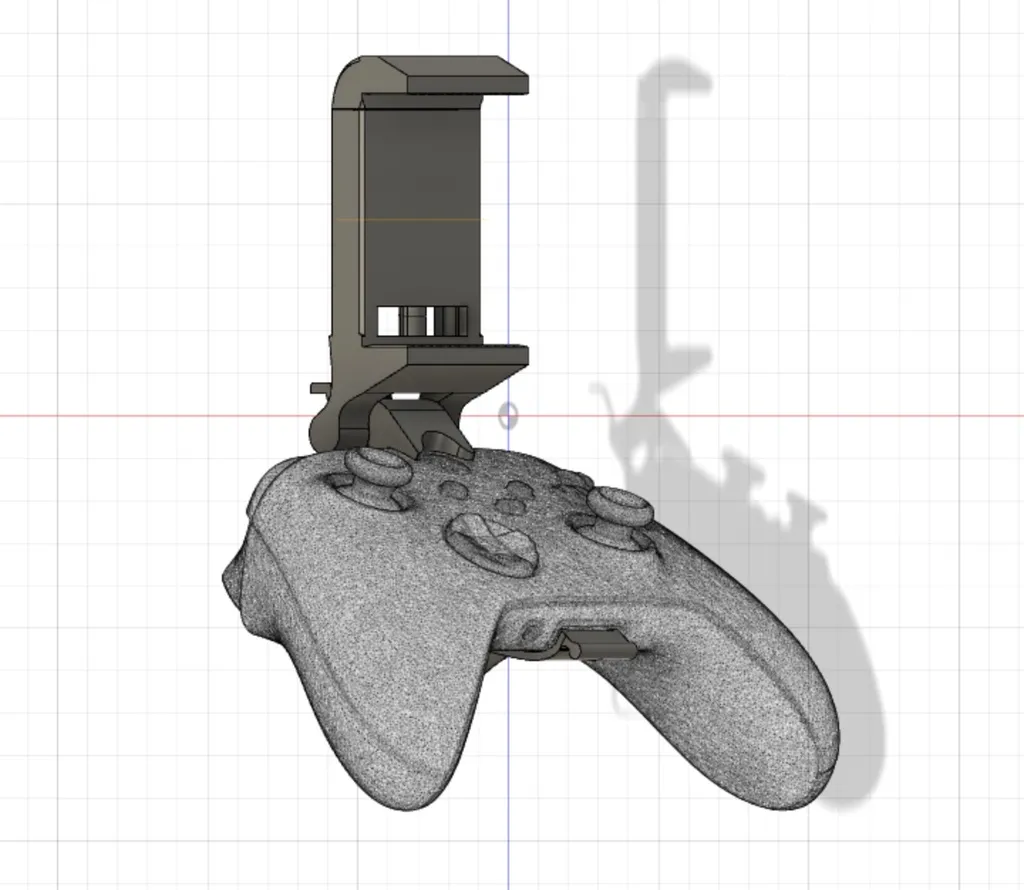
After years of trying to find or create the perfect phone holder for a controller I have created what I consider the best combination of features for the phone clip and came up with some pretty great innovation for the controller clip. Thanks to some of the newer features of Fusion 360 and some generous 3D scans found on the web.
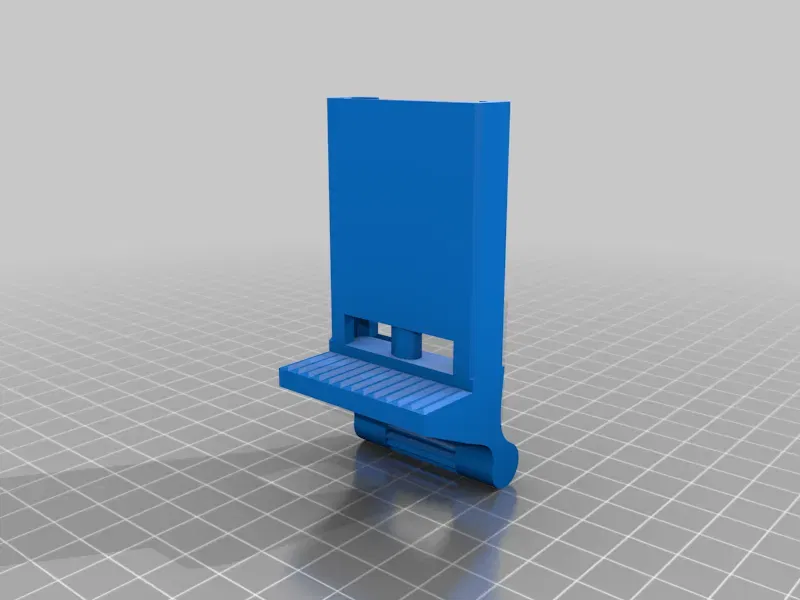
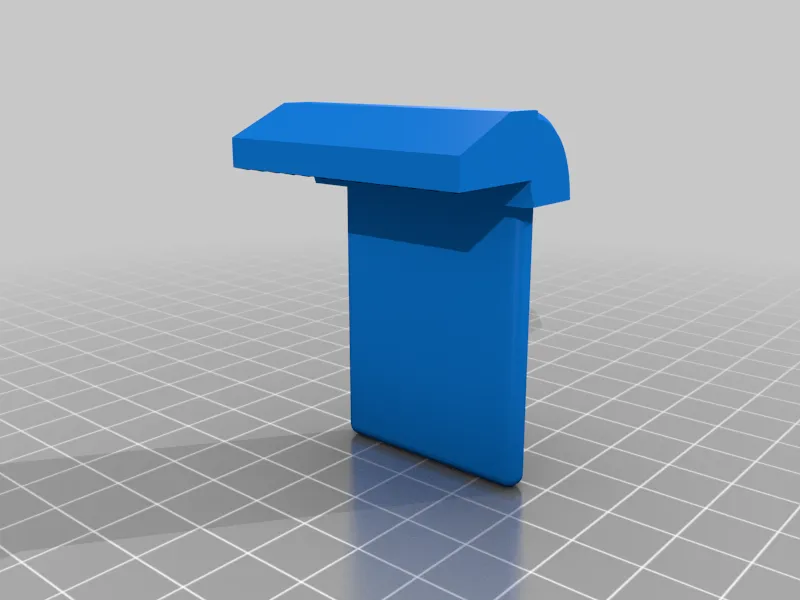
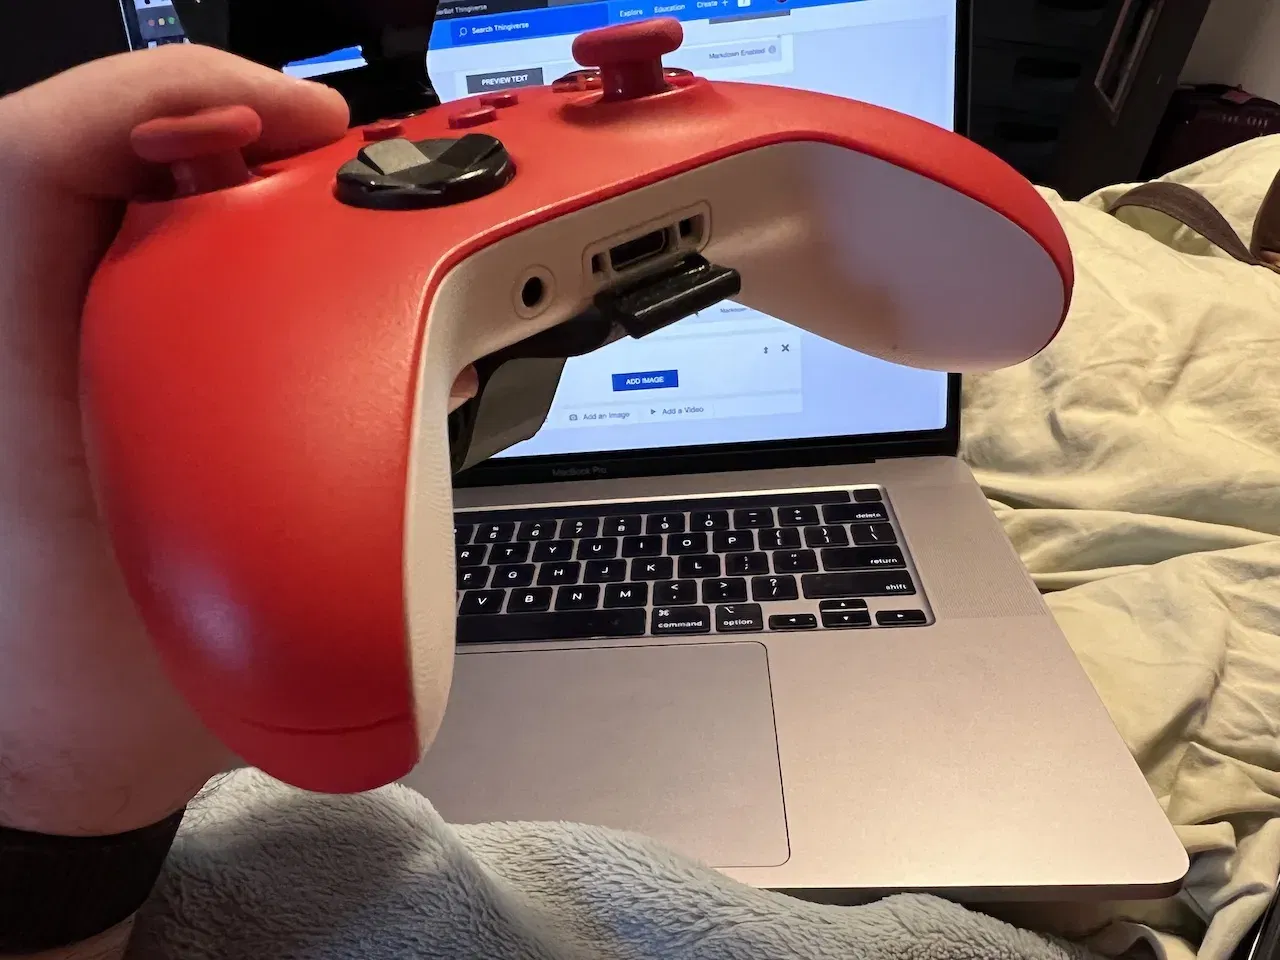
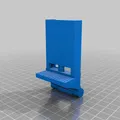
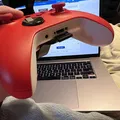
The controller mount snaps perfectly around the frame of the controller. Once printed you press the phone clamp body into the toothed slot. When the apparatus is not attached to the controller, you can freely adjust the angle of the phone holder. Once attached the holder is help firmly enough in place to keep it in the position you set. Depending on the accuracy of your printer you may be able to adjust the angle when mounted to the controller by placing putting pressure on the from or back tabs and pulling slightly outward.
Print Settings
Printer Brand:
Monoprice
Printer:
Maker Select
Rafts:
Doesn't Matter
Supports:
Yes
Resolution:
200
Infill:
20
Filament: Any PLA
Notes:
NEED TO UPDATE FOR TIGHTER TOLERANCES (mostly the Phone Clamp)* I recently got a new printer and have found that the tolerances are too loose if it prints really well. So it rotates too easily on a good print.
I am revisiting this soon since it is winter and time for cold winter days and lots of mobile gaming.
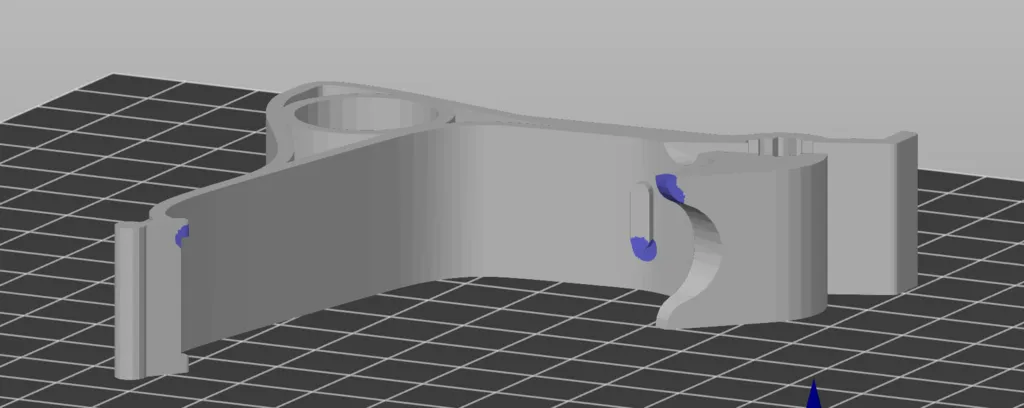
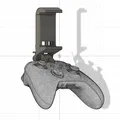
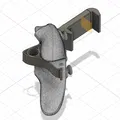
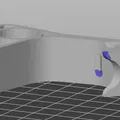
The controller clamp was designed to print with minimal supports. There is an image that shows the three places it needs supports plus the correct orientation for the model. When printed in that orientation the tabs that connect to the accessory port are plenty strong enough to snap in and out many times.
The phone clamp needs regular supports, but was designed so that cleanup is as easy as possible.
Post-Printing
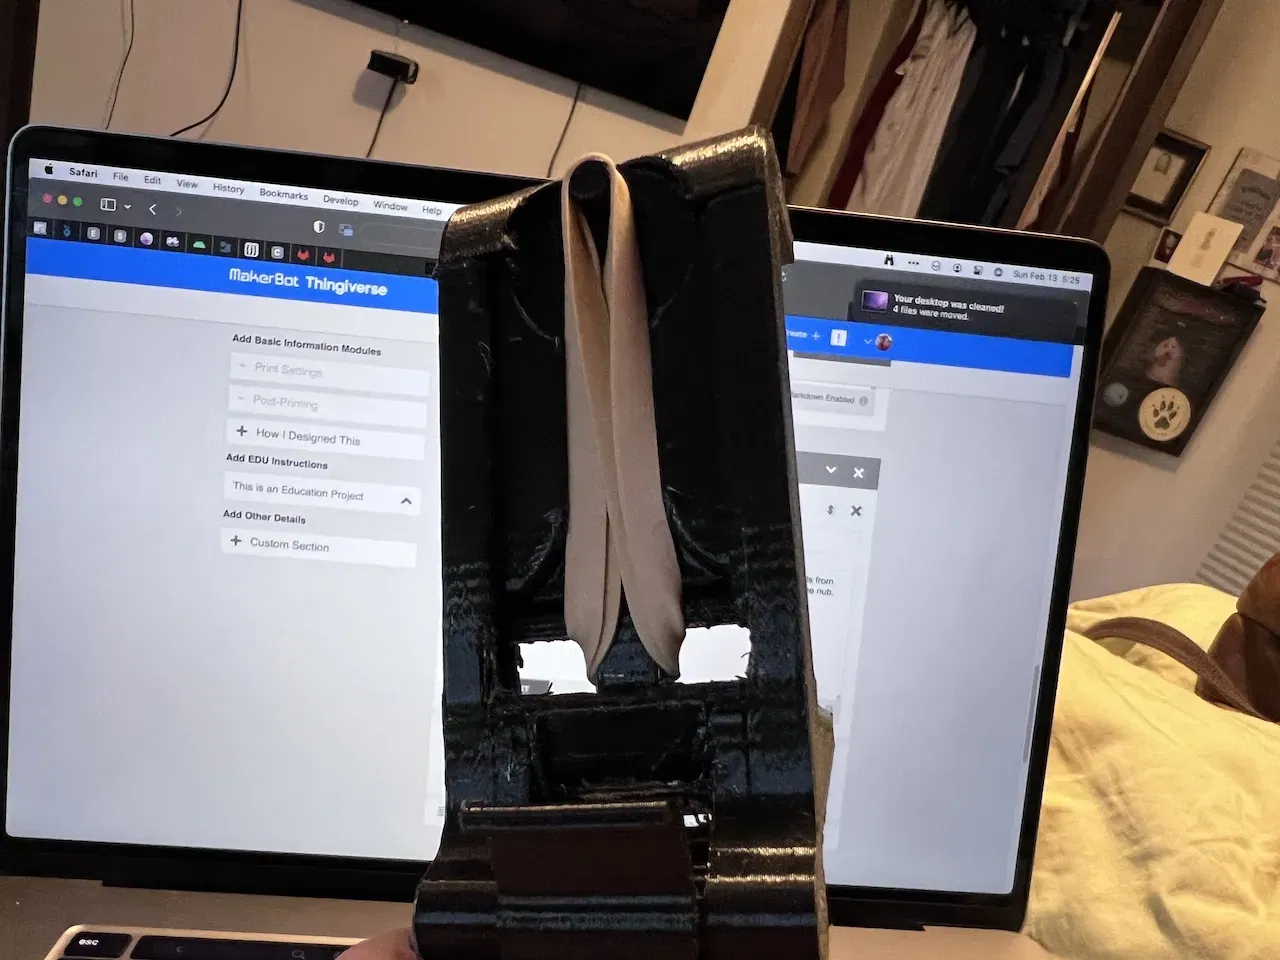
Any Rubber Band can work, #64 is my go-to.
This was designed to use a variety of rubber bands. I have been using size 64 bands from Office Depot. I push each side through the back and then each side can loop over the nub.
Bands Pulled through back onto nub.
Band from front.
Snapping On and Off
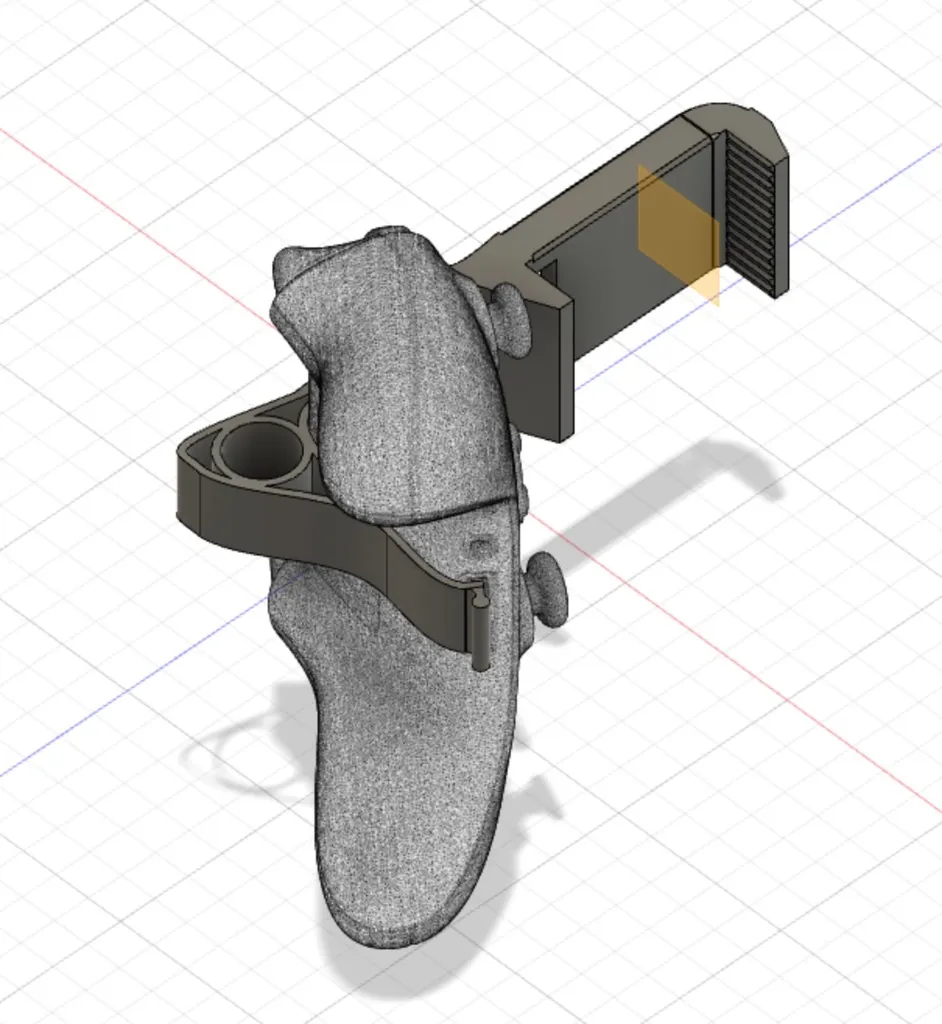
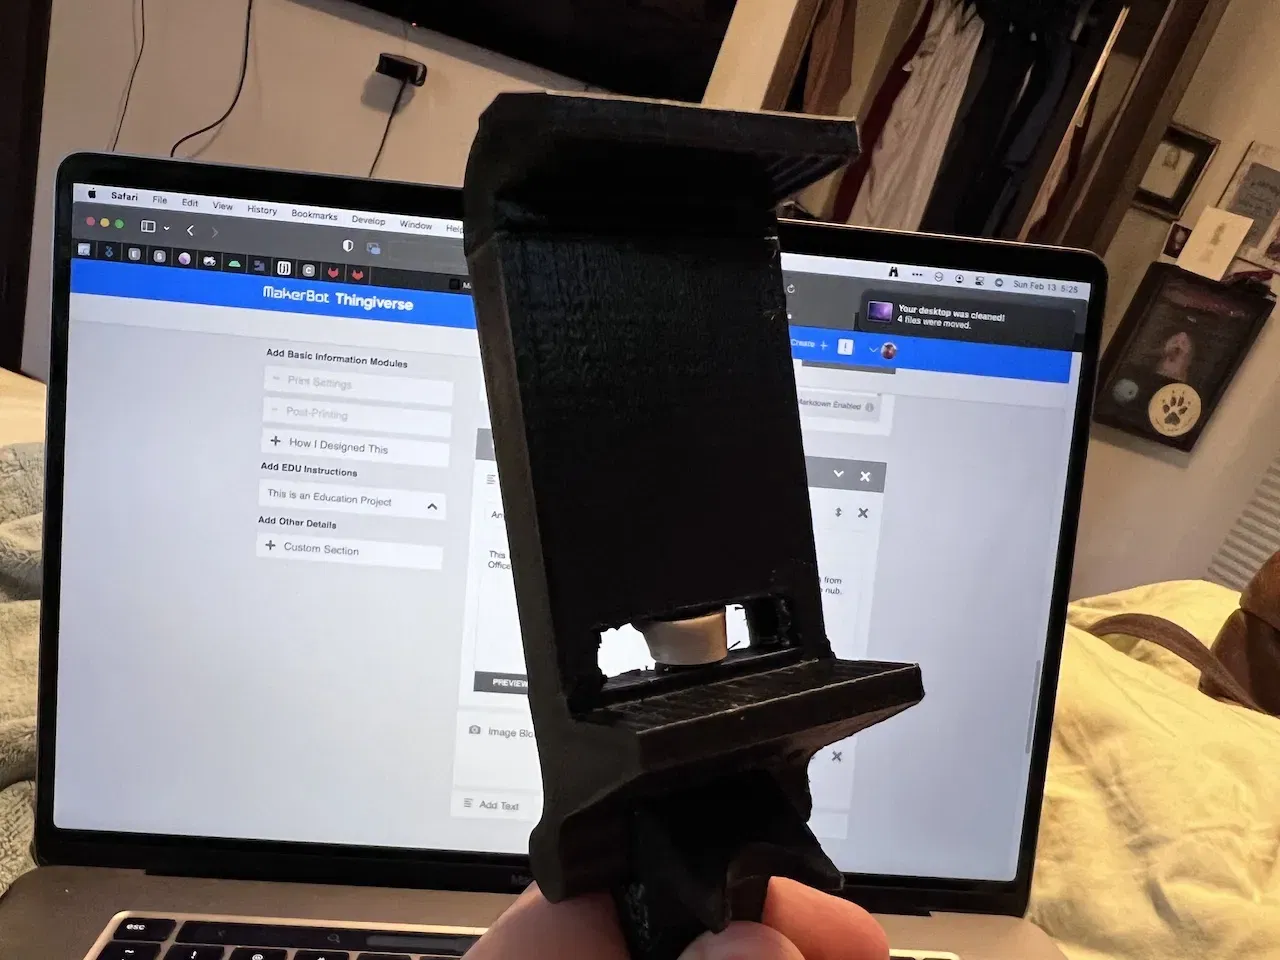
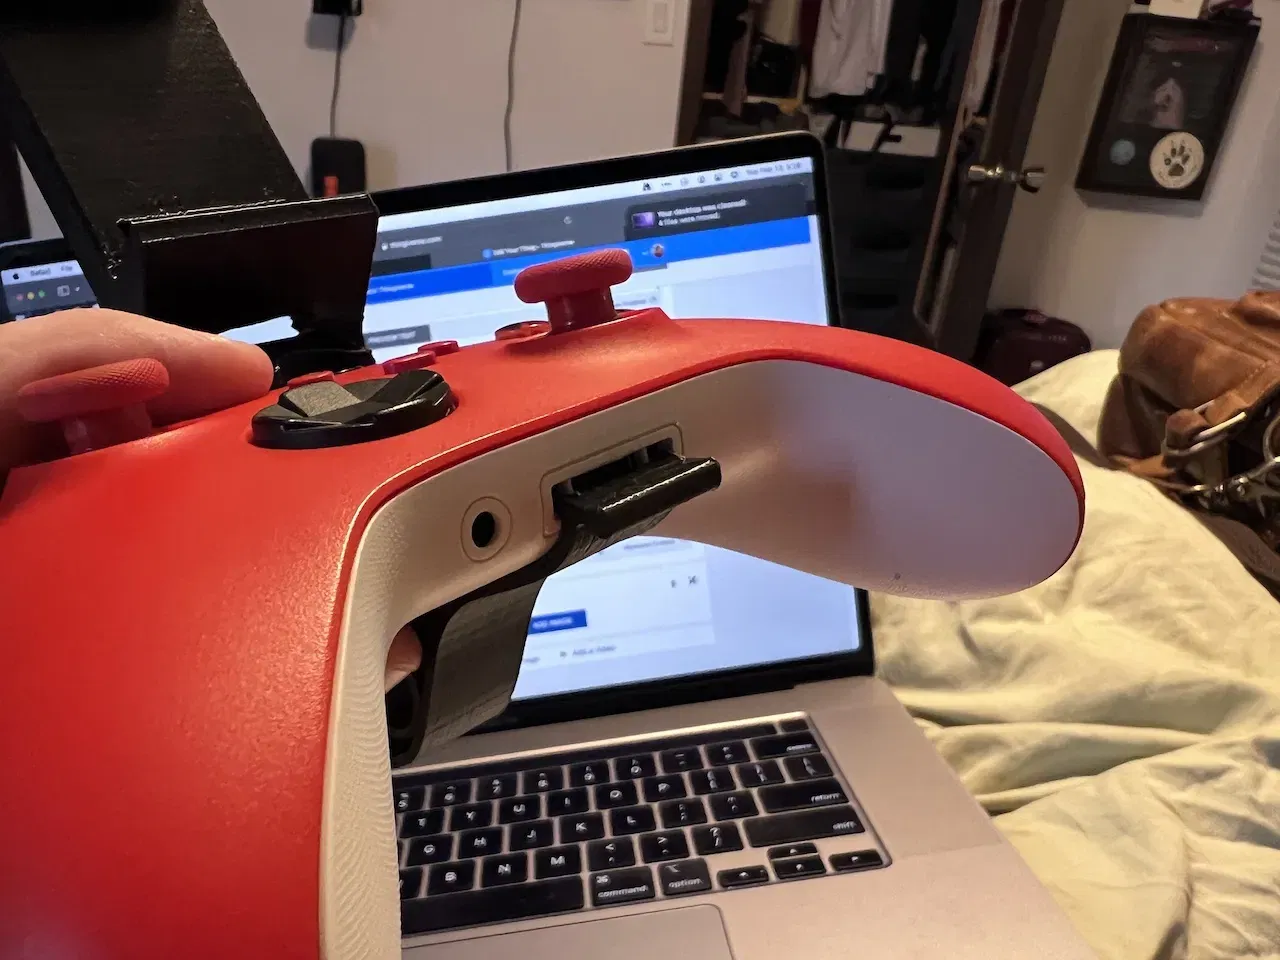
The clip is really easy to get on and off, which is one reason why I decided to remove access to the USB C port on the back in favor of a nub that uses the USB port for stability..
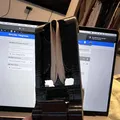
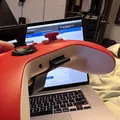
Slide the back of the controller into the clip first. The font will be loose at this point.
Clip with controller back inserted correctly. Not yet secured.
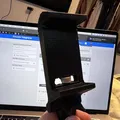
Clip secured in accessory port.
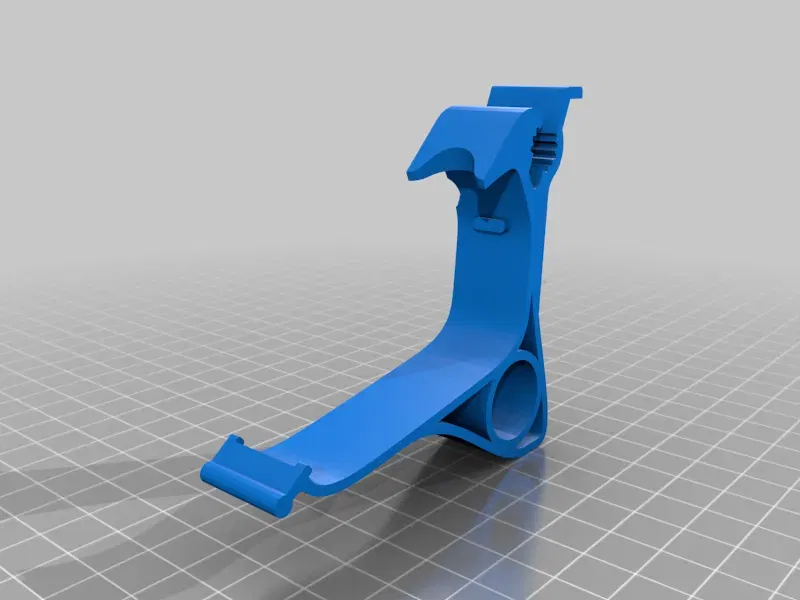
Snap/Unsnap with Thumb Tab
Secure the clip in place by pulling up on the thumb tab until it "clicks" into the accessory port. Conversely, pushing firmly down on the thumb tab should easily snap the clip out of the secured position so that it can easily slide off the controller.
How I Designed This
Designed with Fusion 360
Category: Mobile Phone
Giấy phép
Tác phẩm này được cấp phép theo
Creative Commons — Attribution — Noncommercial — Share AlikeCC-BY-NC-SA

File mô hình


Chưa có bản in nào được khoe. Hãy là người đầu tiên!

Chưa có bình luận nào. Hãy là người đầu tiên!