Server Power-Supply Plug for CAR-HIFI

Phích cắm cung cấp năng lượng máy chủ đơn giản để gắn cáp Plus và Ground để sử dụng trên amp xe hơi.

Mô tả
Server power-supply plug
Why to use:
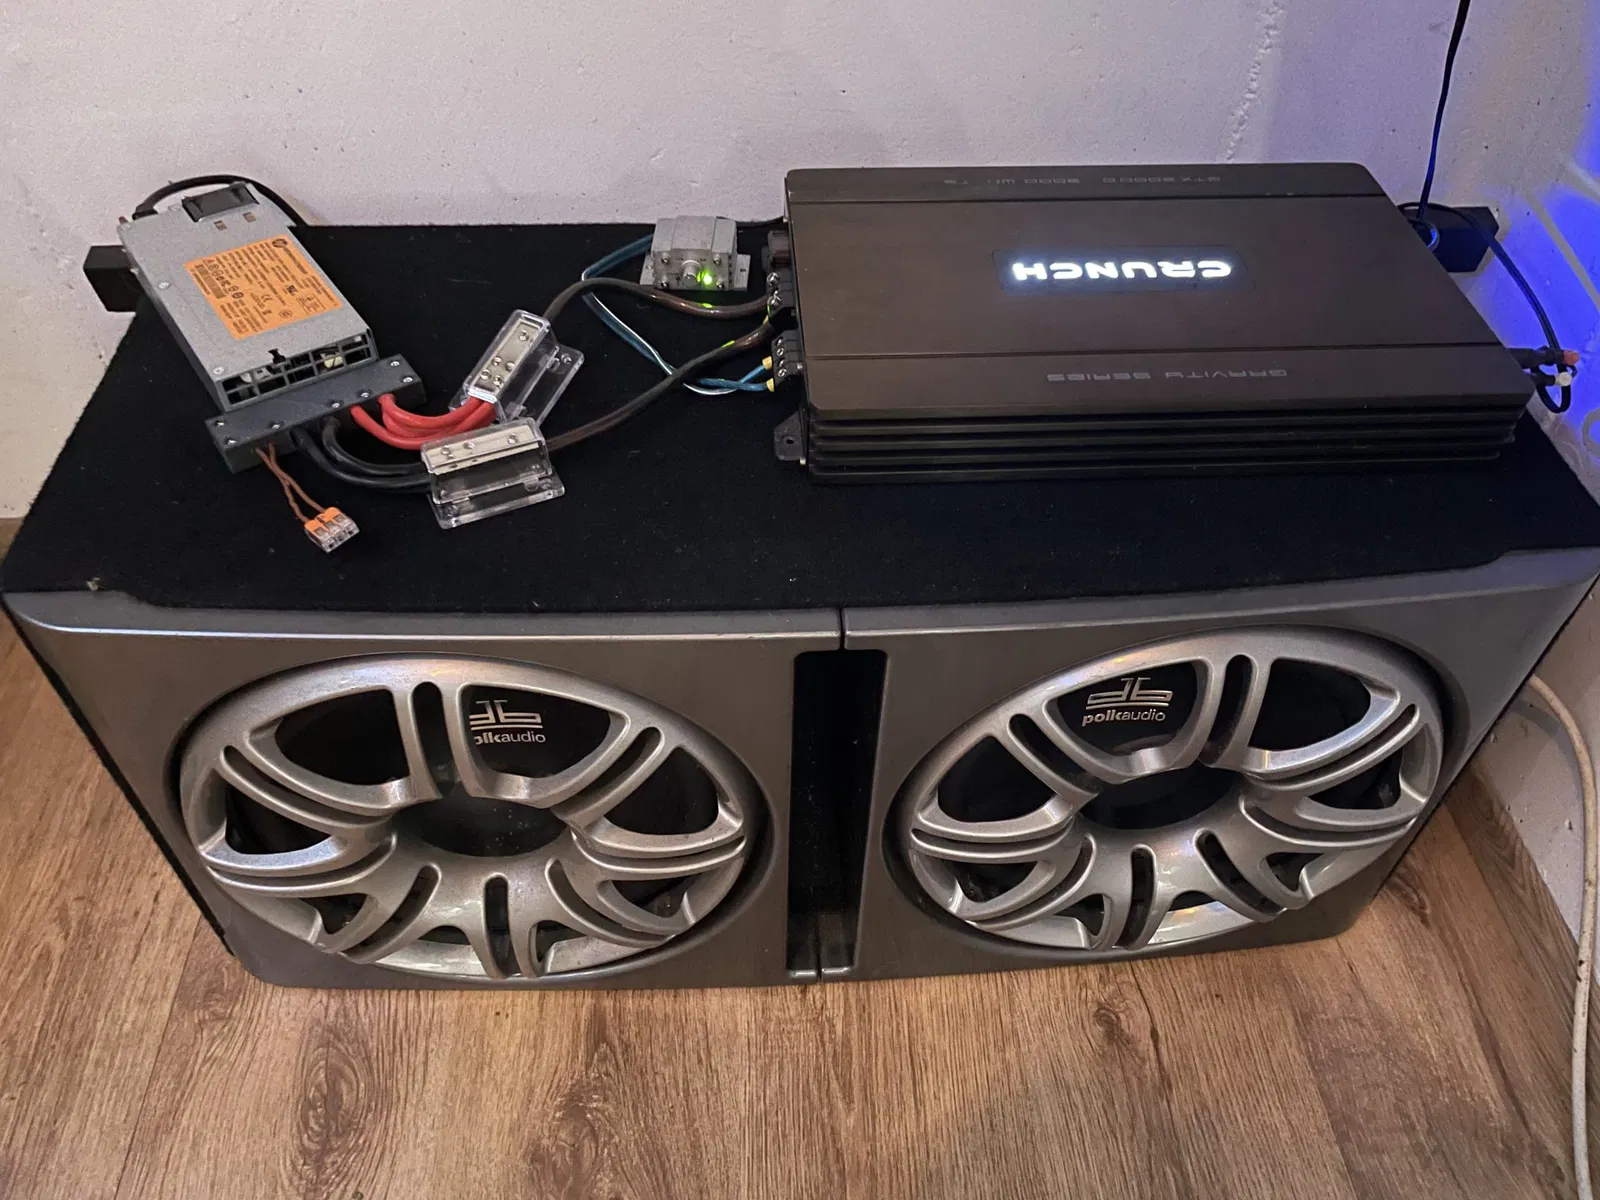
Sometimes you have an old speaker and an unused car hifi amplifier laying around in your house or flat. You can use this parts for a home amplifier with speakers and play music from sources like your mobile. The problem is, this amps need a 12 volt power supply. You can use any PC power-supply but a server power-supply has more power and is cheap to get (look on ebay). The tricky part with a server power-supply is that it has a special hot swap connector. You can wire your cables directly to the right place or use a self designed connector like this model.
This plug can be used to attach cables to the +12V and GND output of a server power supply. You need the following additional parts:
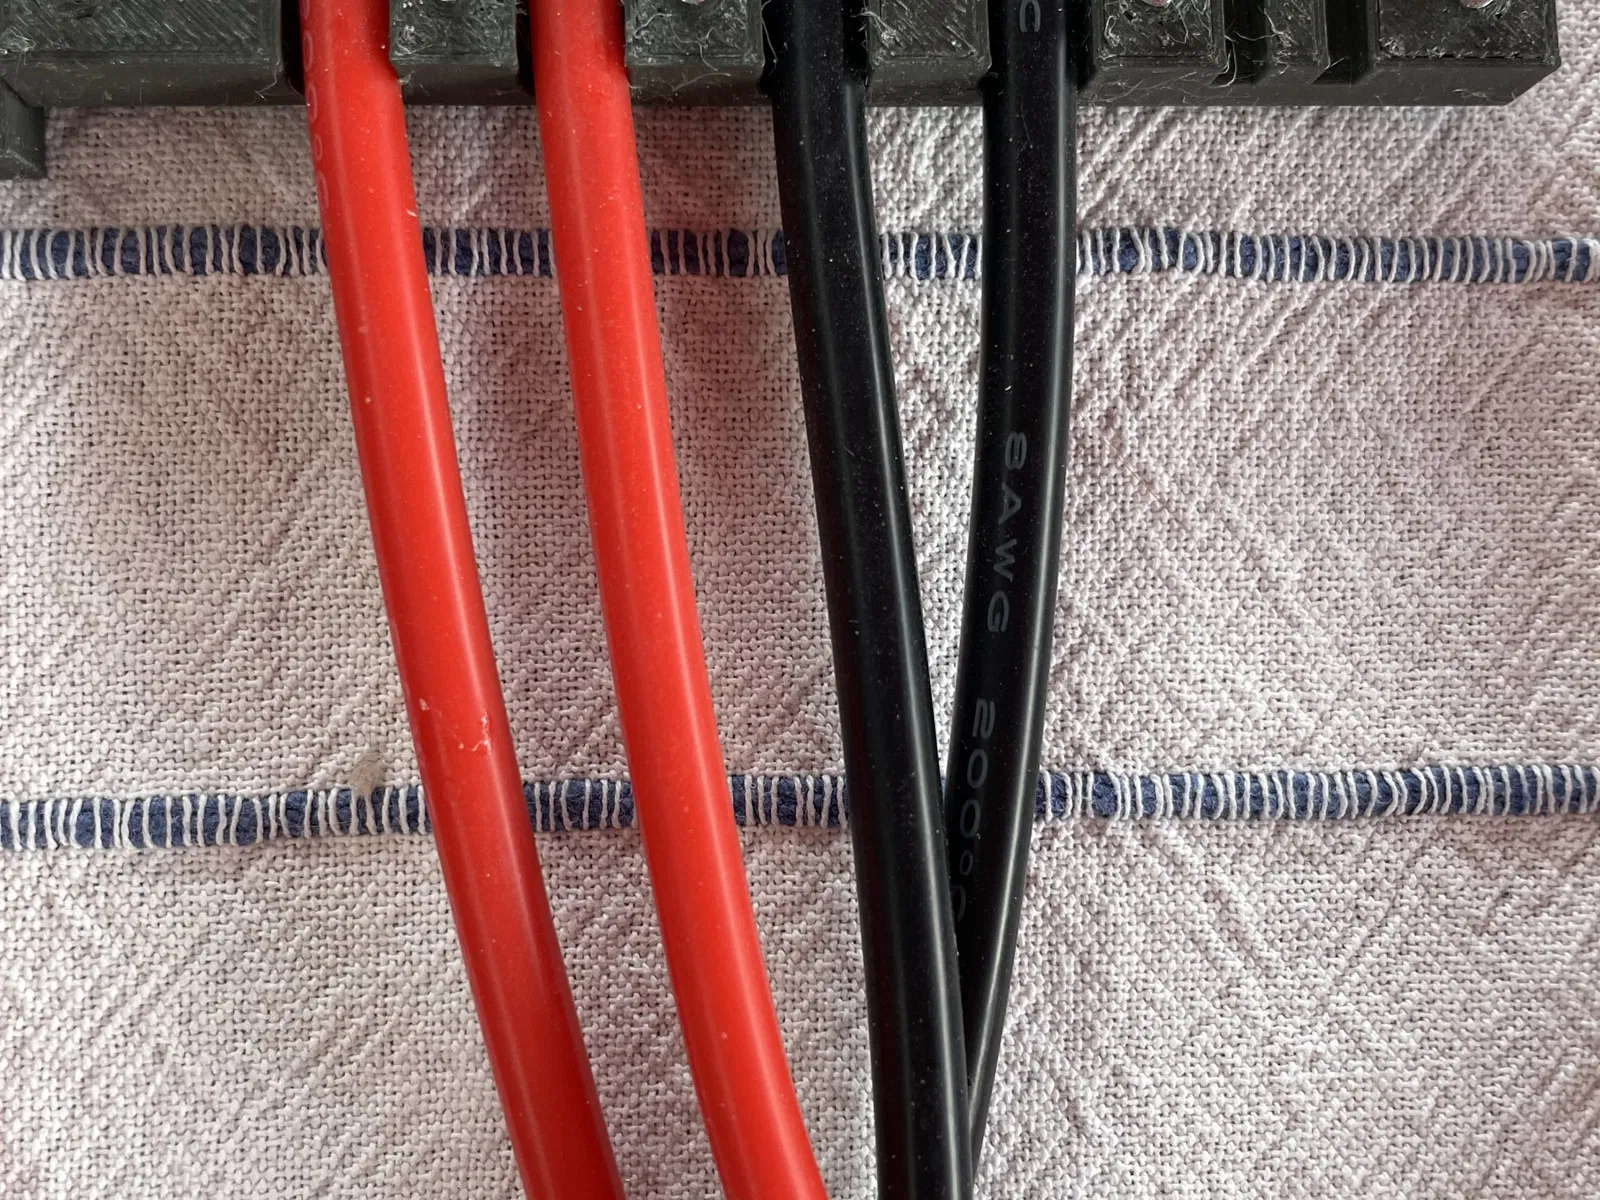
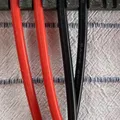
8 x short 10mm2 cables. (https://www.amazon.de/MMOBIEL-Batterie-Elektrokabel-Silikonkabel-1-650-verzinnten-Batterieklemmenkabel/dp/B09CH28K4J?th=1)
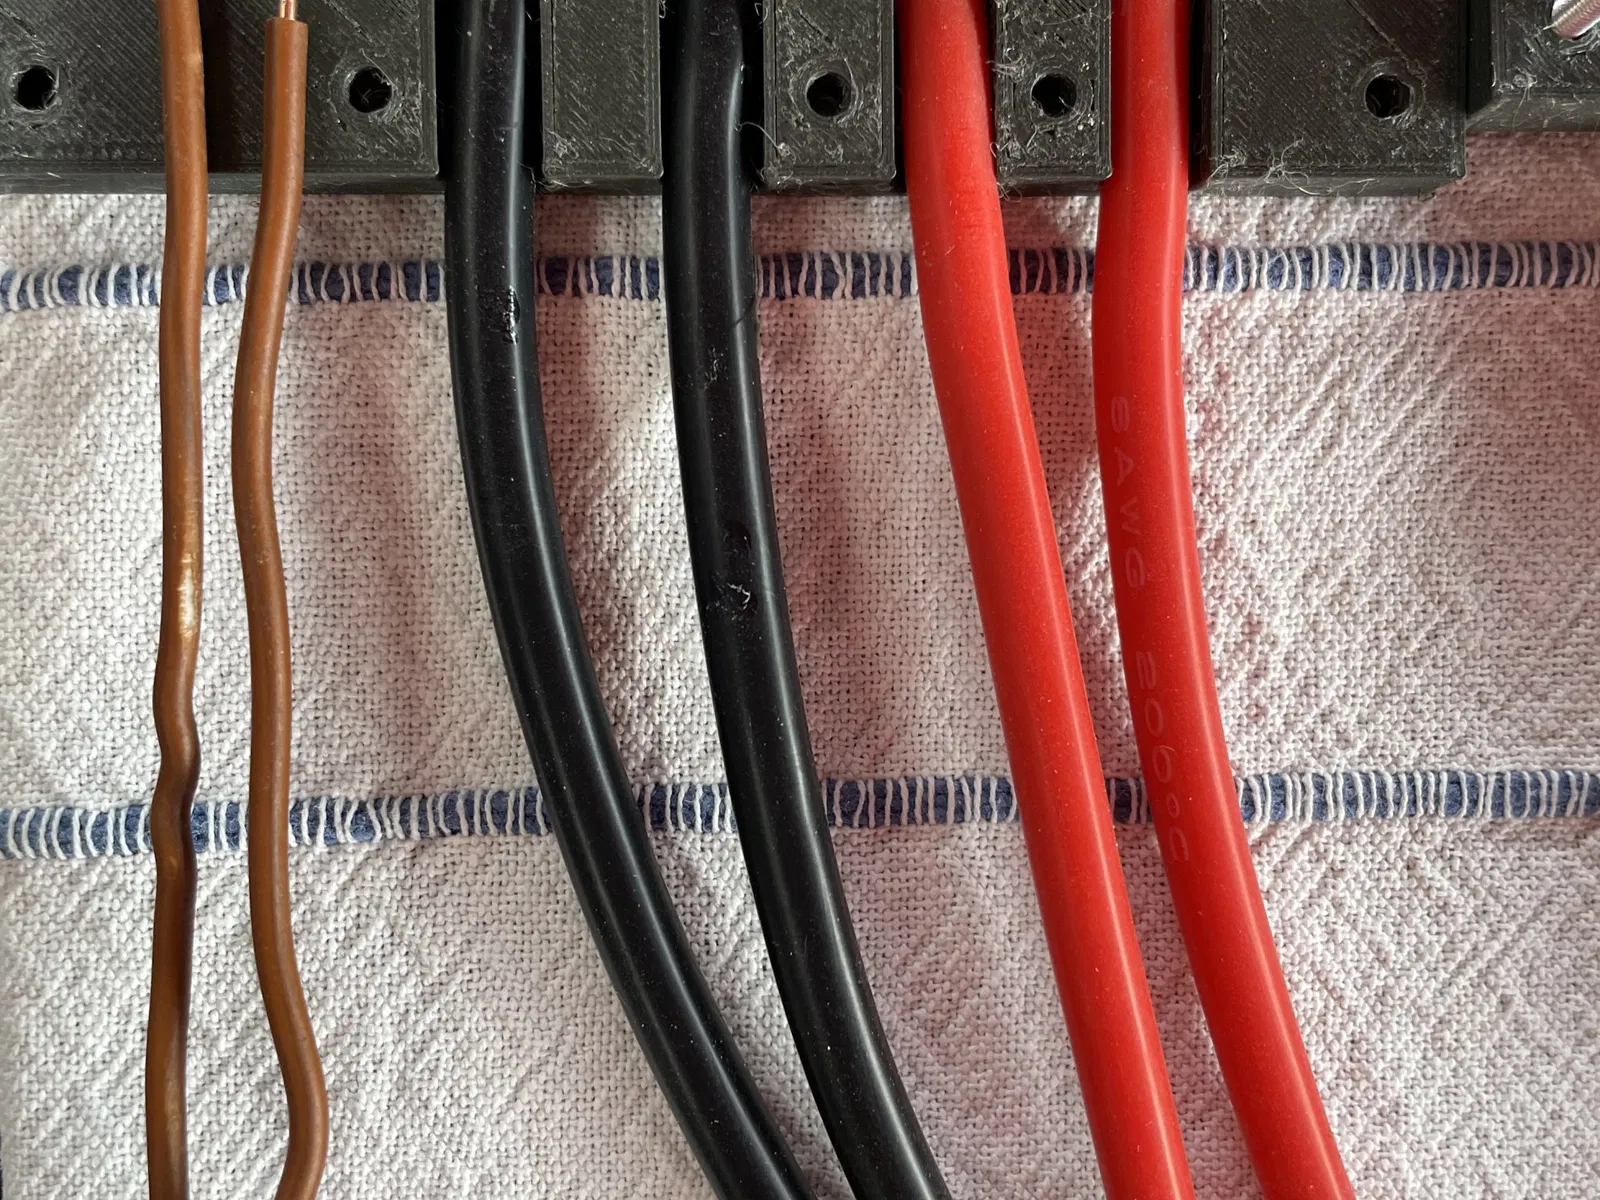
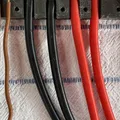
2 x short 1,5mm2 cables for start the power supply (light brown cables)
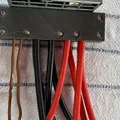
Optional 2 x short 25mm2 cables for power any car hifi amp. (thick dark brown wires in the pictures below)
2 x power distribution blocks (https://www.amazon.de/dp/B07G99GWVK?psc=1&ref=ppx_yo2ov_dt_b_product_details)
1 x WAGO Clip (https://www.amazon.de/gp/product/B00JB3U9CG/ref=ppx_yo_dt_b_asin_title_o01_s00?ie=UTF8&th=1)
Optional you can replace the WAGO clip by a switch.
7 x M3x12mm cylinder head bolt screws
7 x M3 nuts
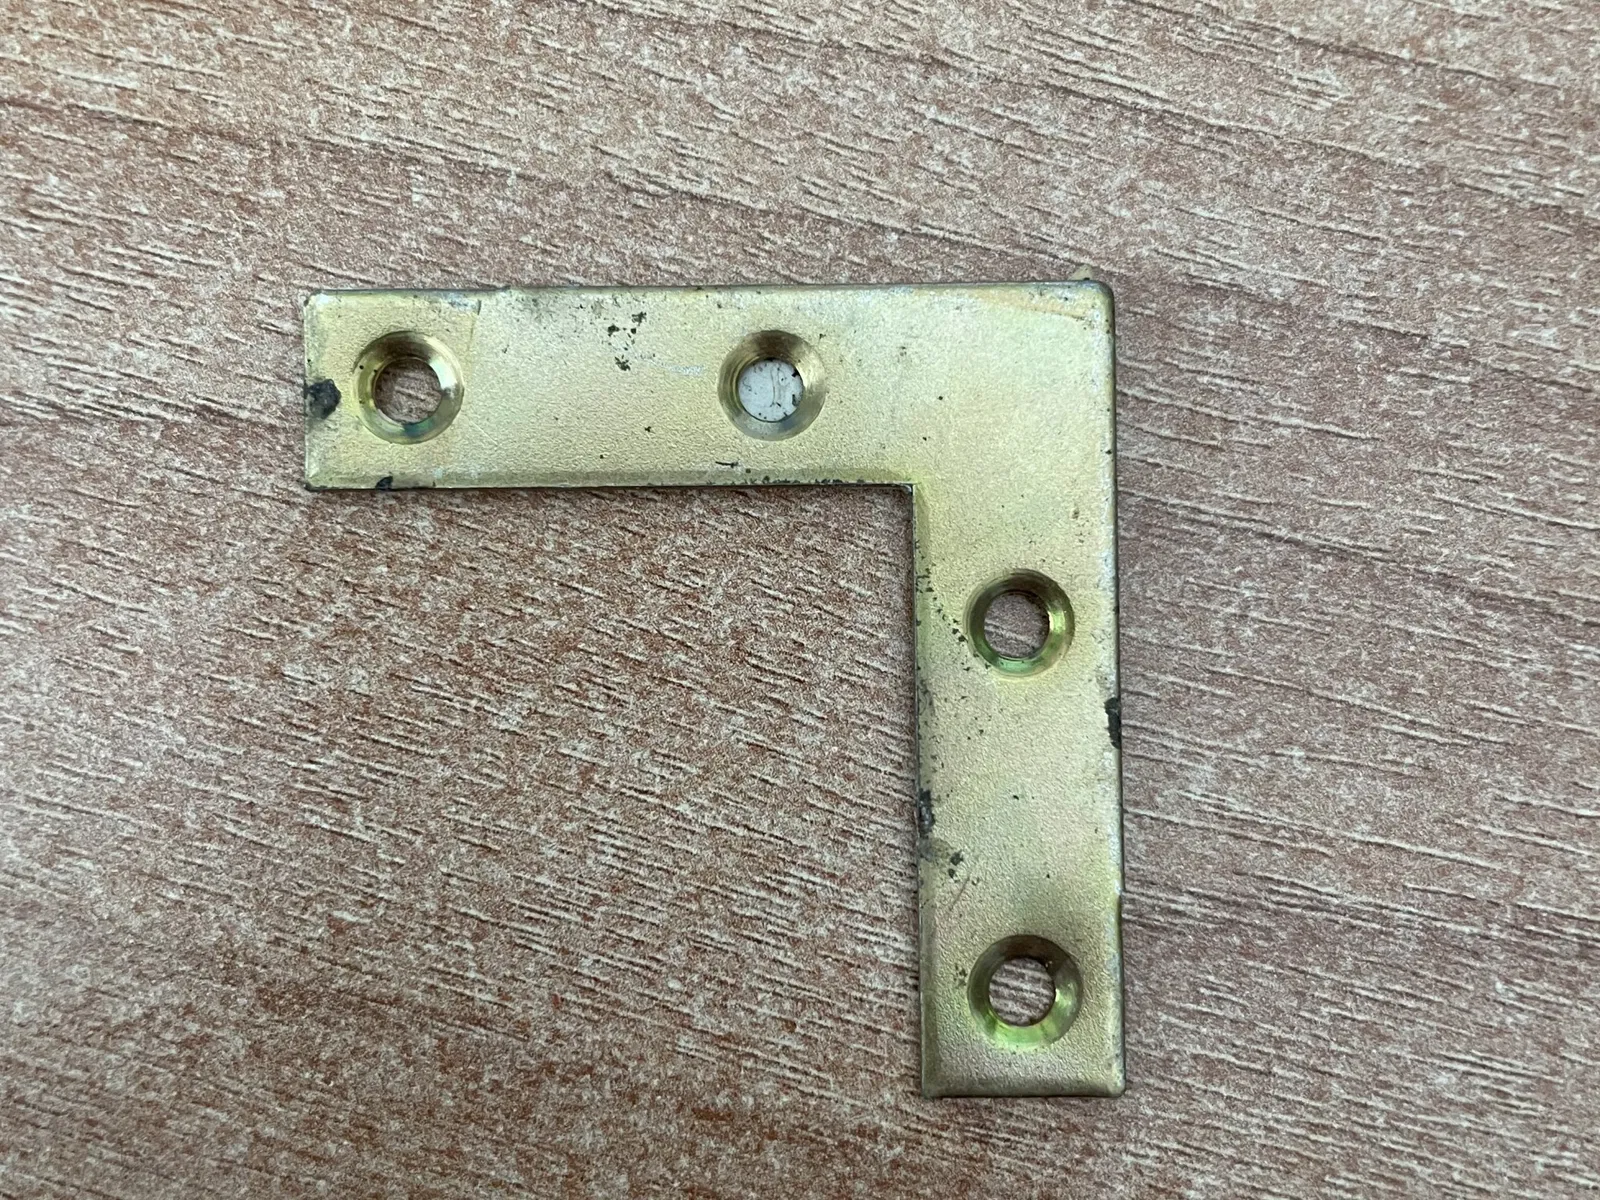
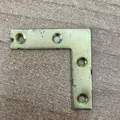
4 x connector blades. This should be 30mm x 10mm 1.3 - 1.5mm flat metal parts. I took 40 x 40 angle iron and cut it into pieces. (see below pictures)
Solder station and soldering wire
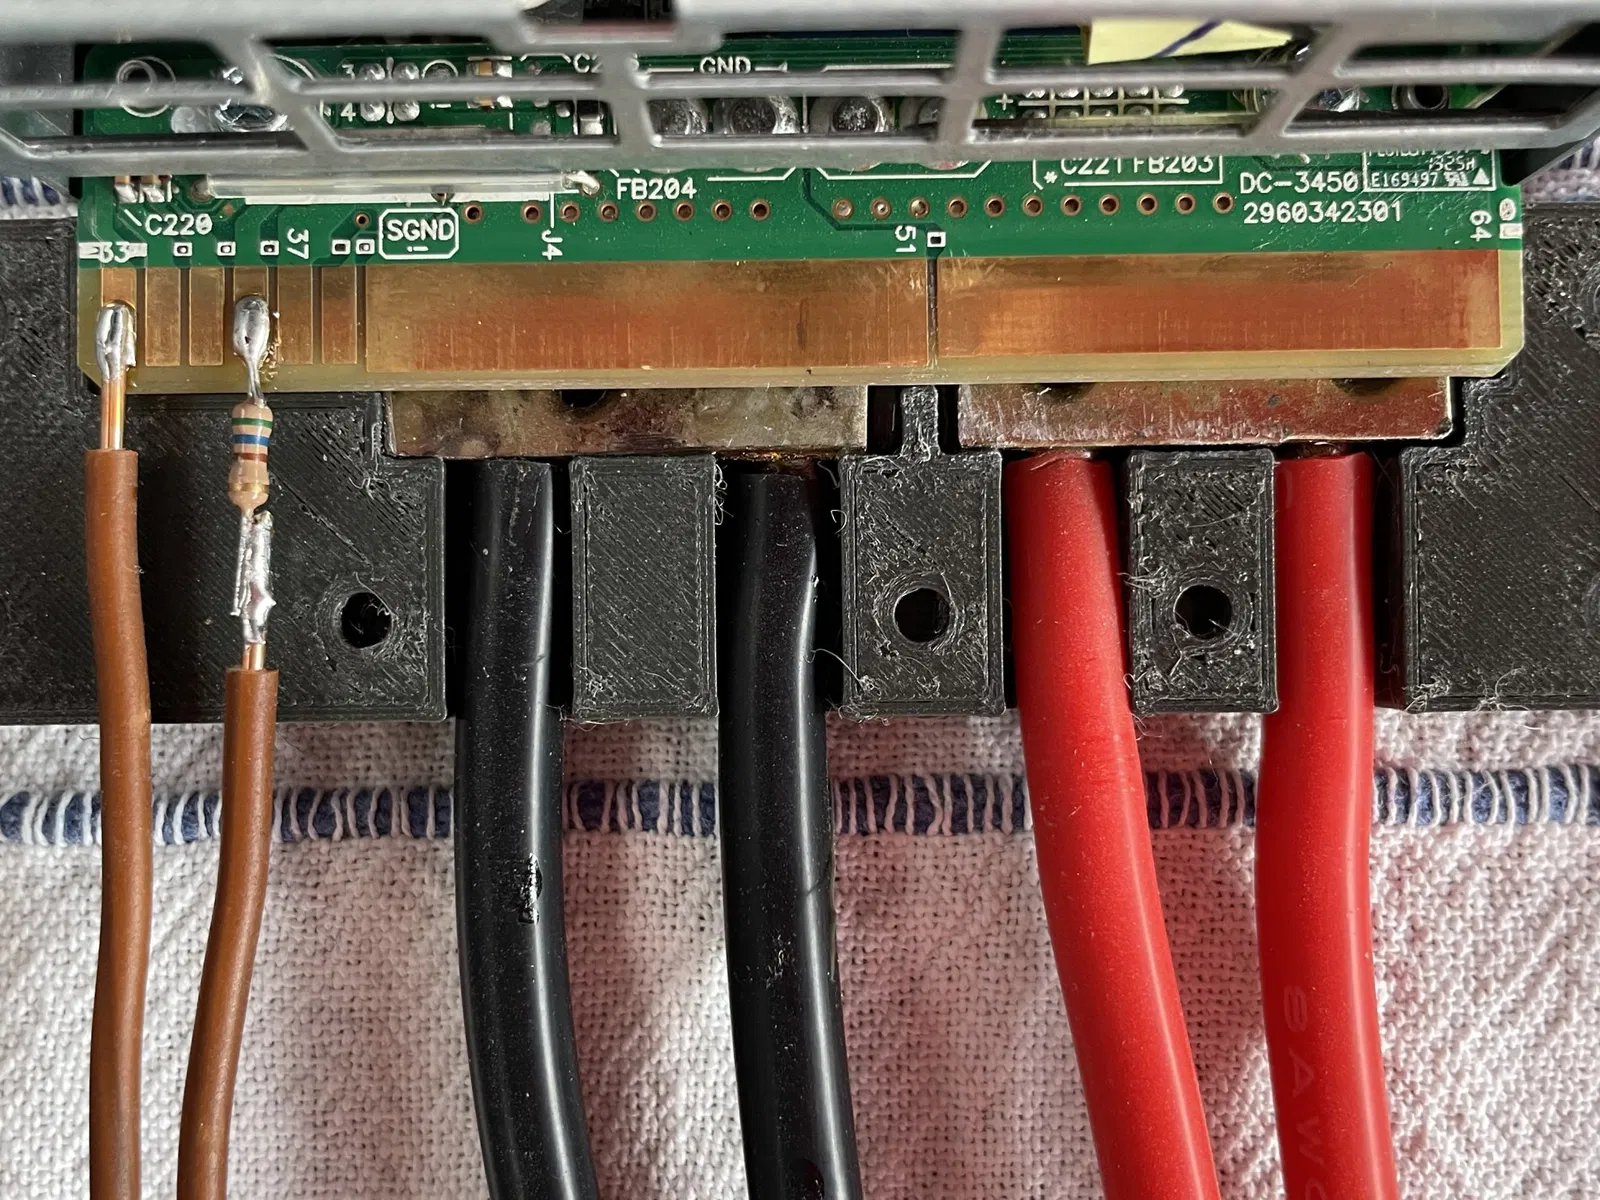
You don't need the resistor shown in the picturs. I removed it later.
How to build:
1.) Print the parts (use PETG and organic supports)
2.) Cut the metal plates (only if needed)
3.) Insert the metal plates in one printed part and mark the soldering possition
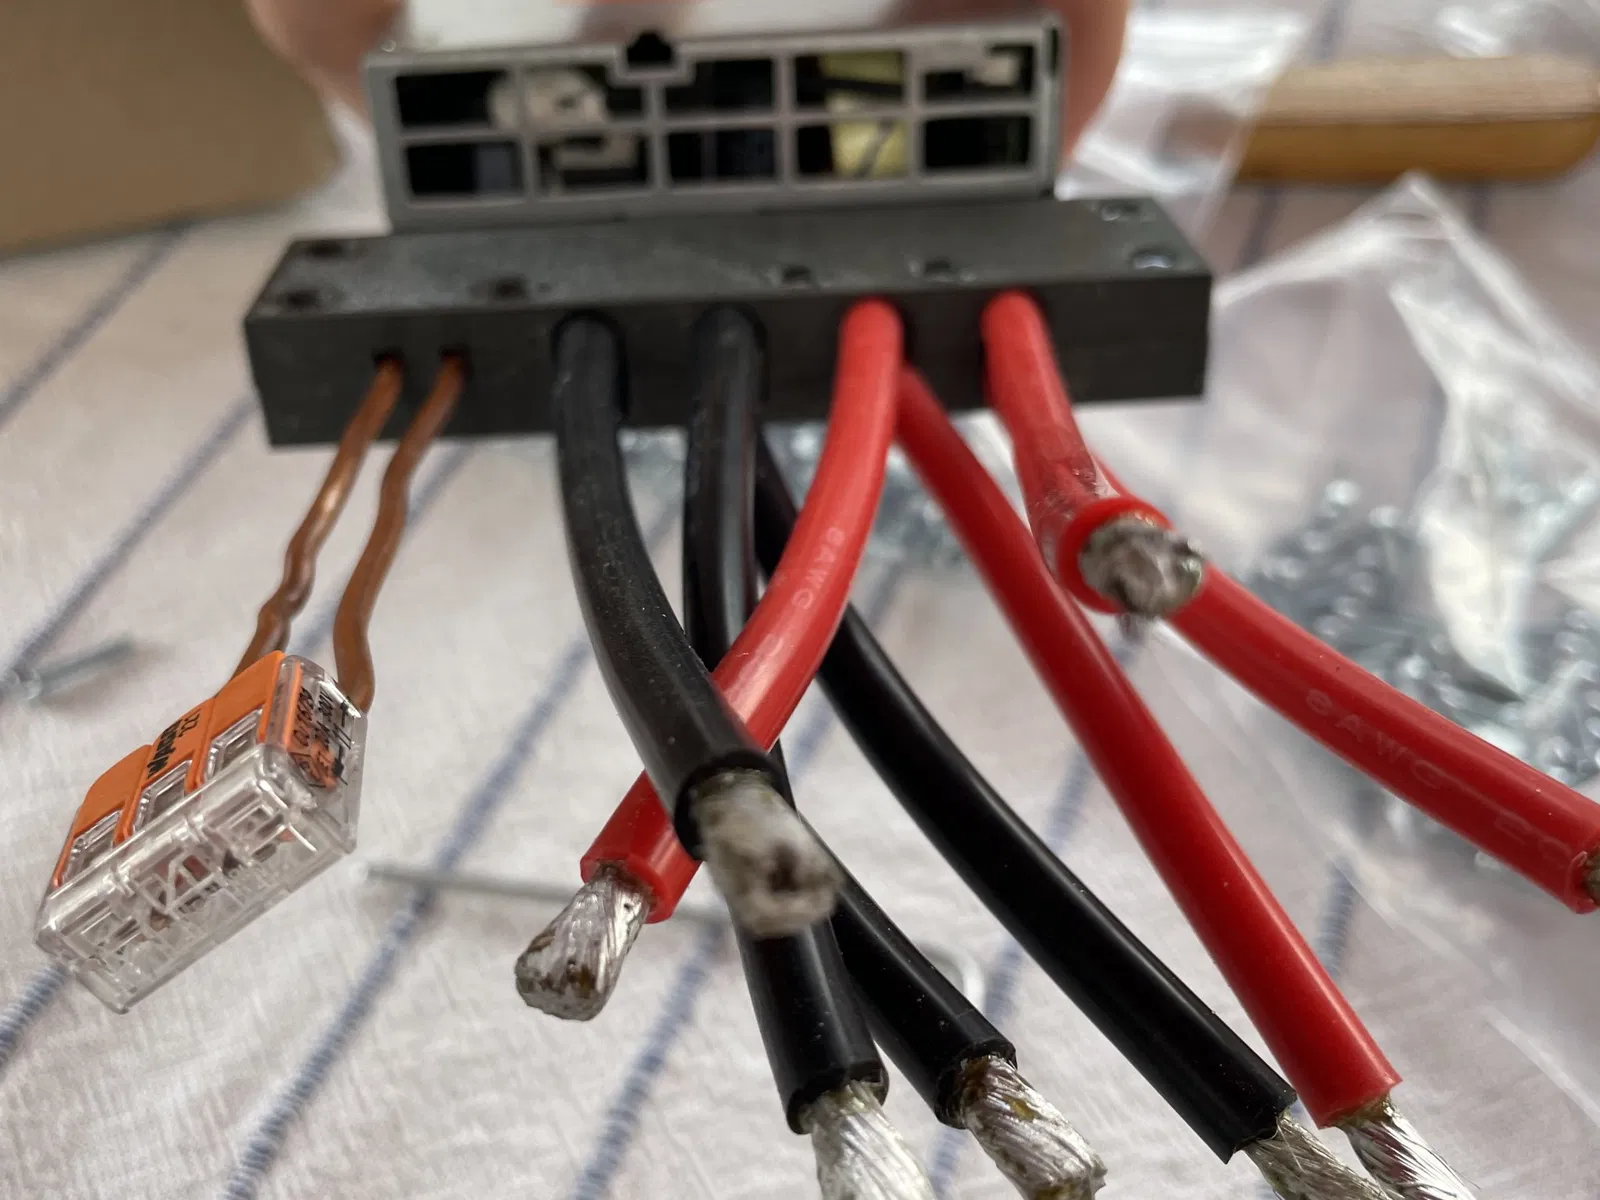
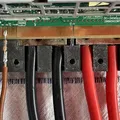
4.) Solder all 10mm2 cables to the the metal parts. Make sure to have 2 plates with 2 black cables each and 2 plates with 2 red cables each.
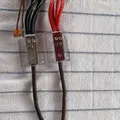
5.) Solder one 1,5mm2 cable to pin 33 (first on top) and the other to the shorter pin 36 (fourth on top) The resistor shown in the picture is not needed. I removed it later.
6.) Insert the nuts into the bottom printed part.
7.) Insert two plates with cables into bottom printed part. On the left use the plate with the black (-) cables and on the right the plate with the red (+) cables
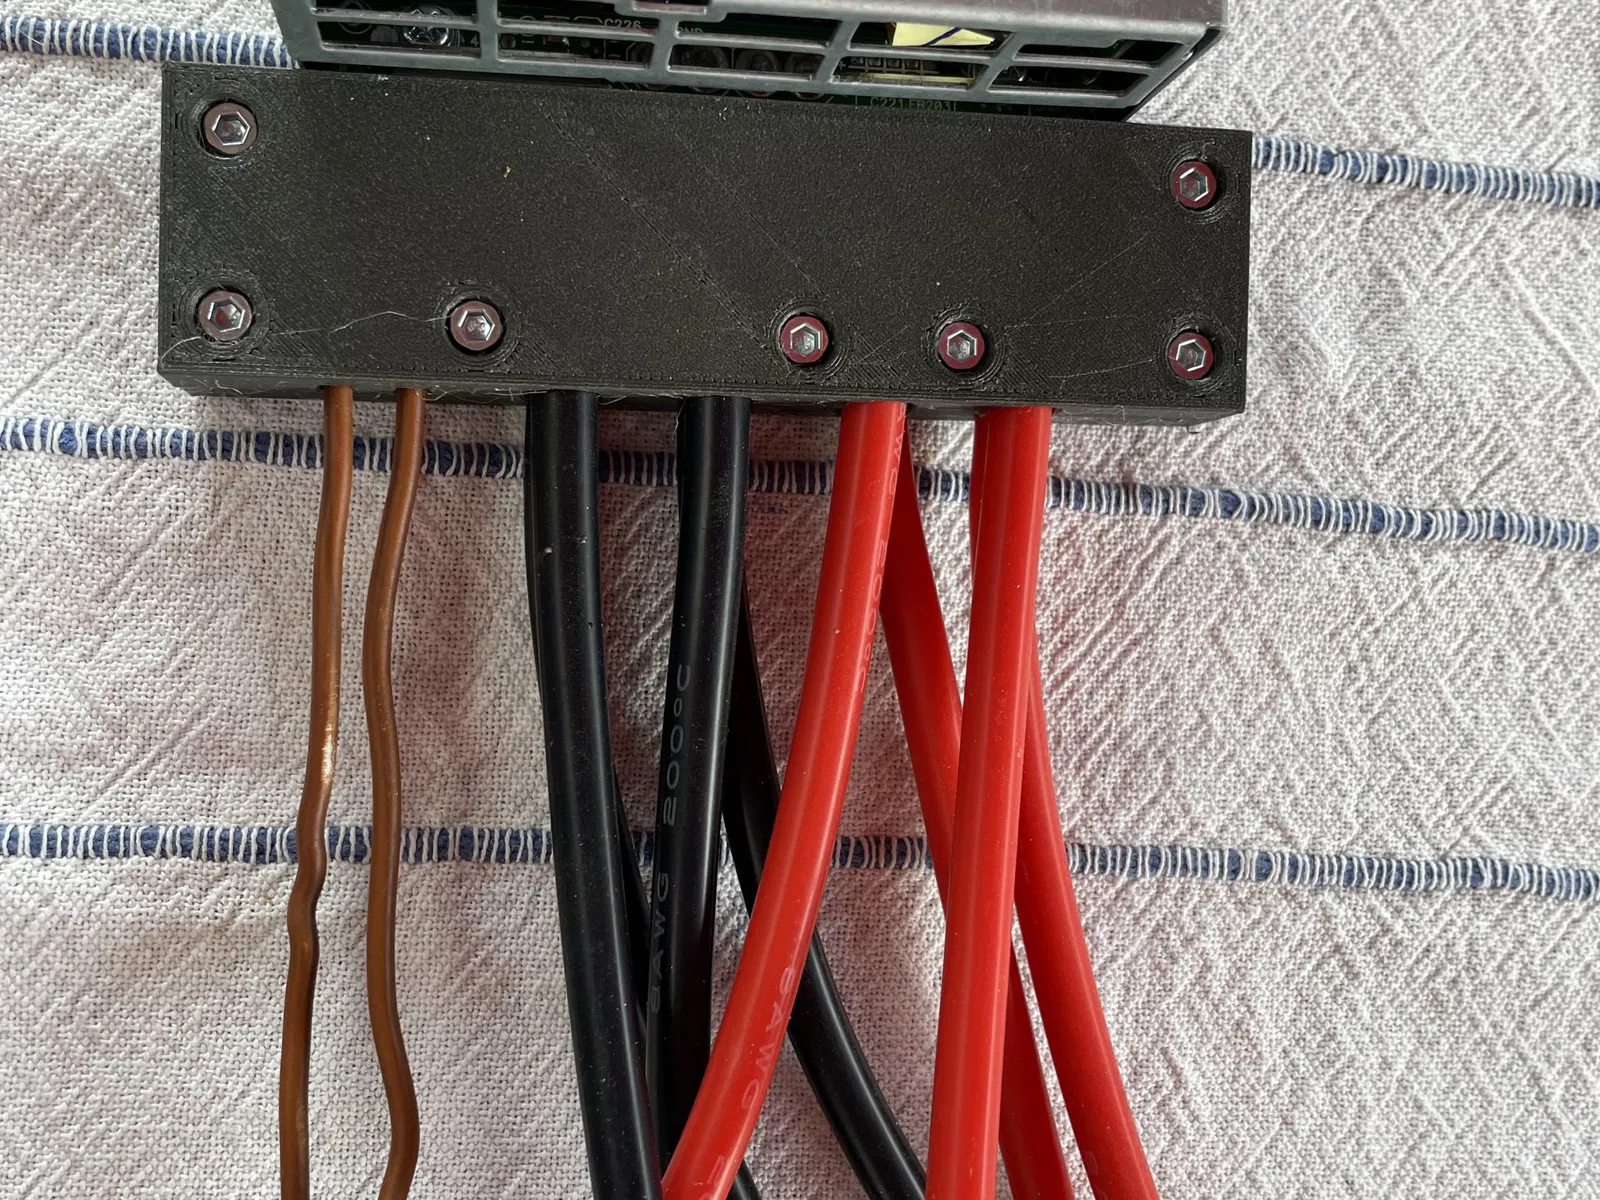
8.) Place the top part on the bottom part and make sure every wire fits in its place.
9.) Screw all togehter with the screws
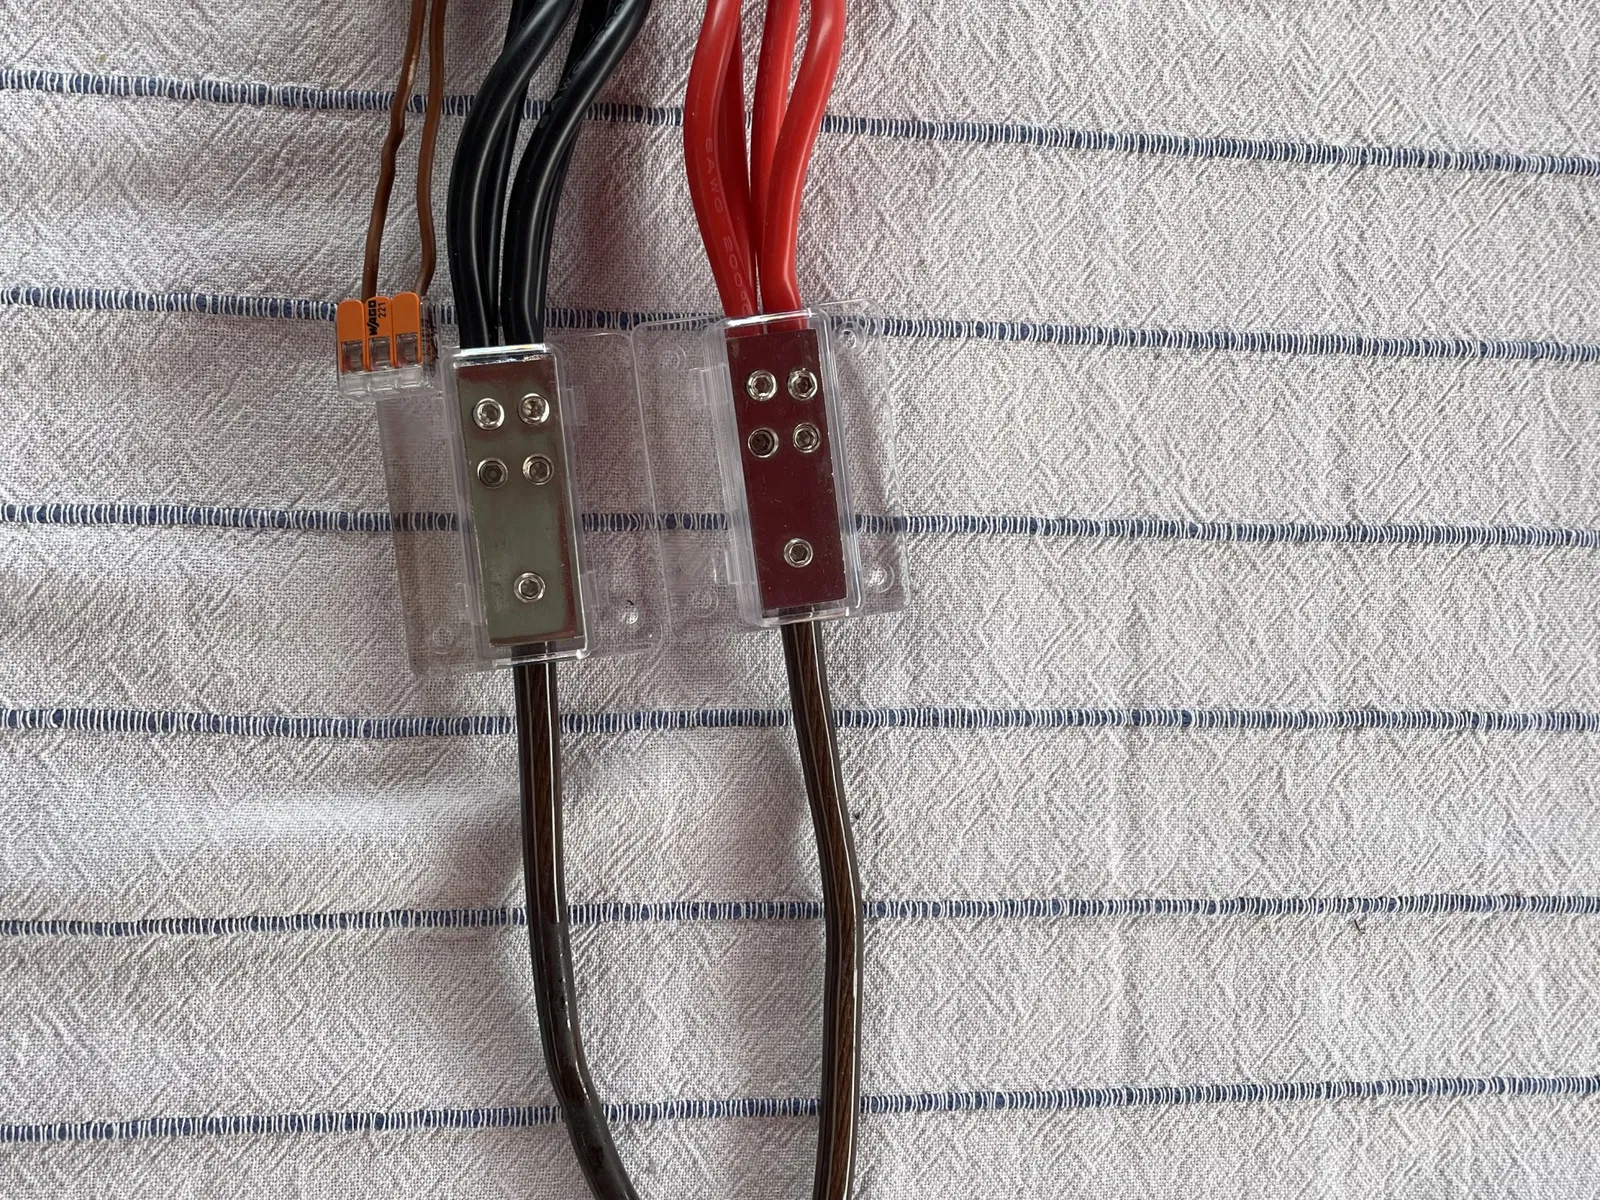
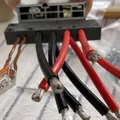
10. Attach 4 red wires to one power distribution block and 4 black wires to the other.
If you like the model you can buy me a coffee. :)
Giấy phép

File mô hình


Chưa có bản in nào được khoe. Hãy là người đầu tiên!

Chưa có bình luận nào. Hãy là người đầu tiên!