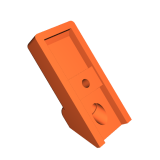
Tiêu đề Đèn báo trạng thái LED trong nắp ống khói trong suốt c

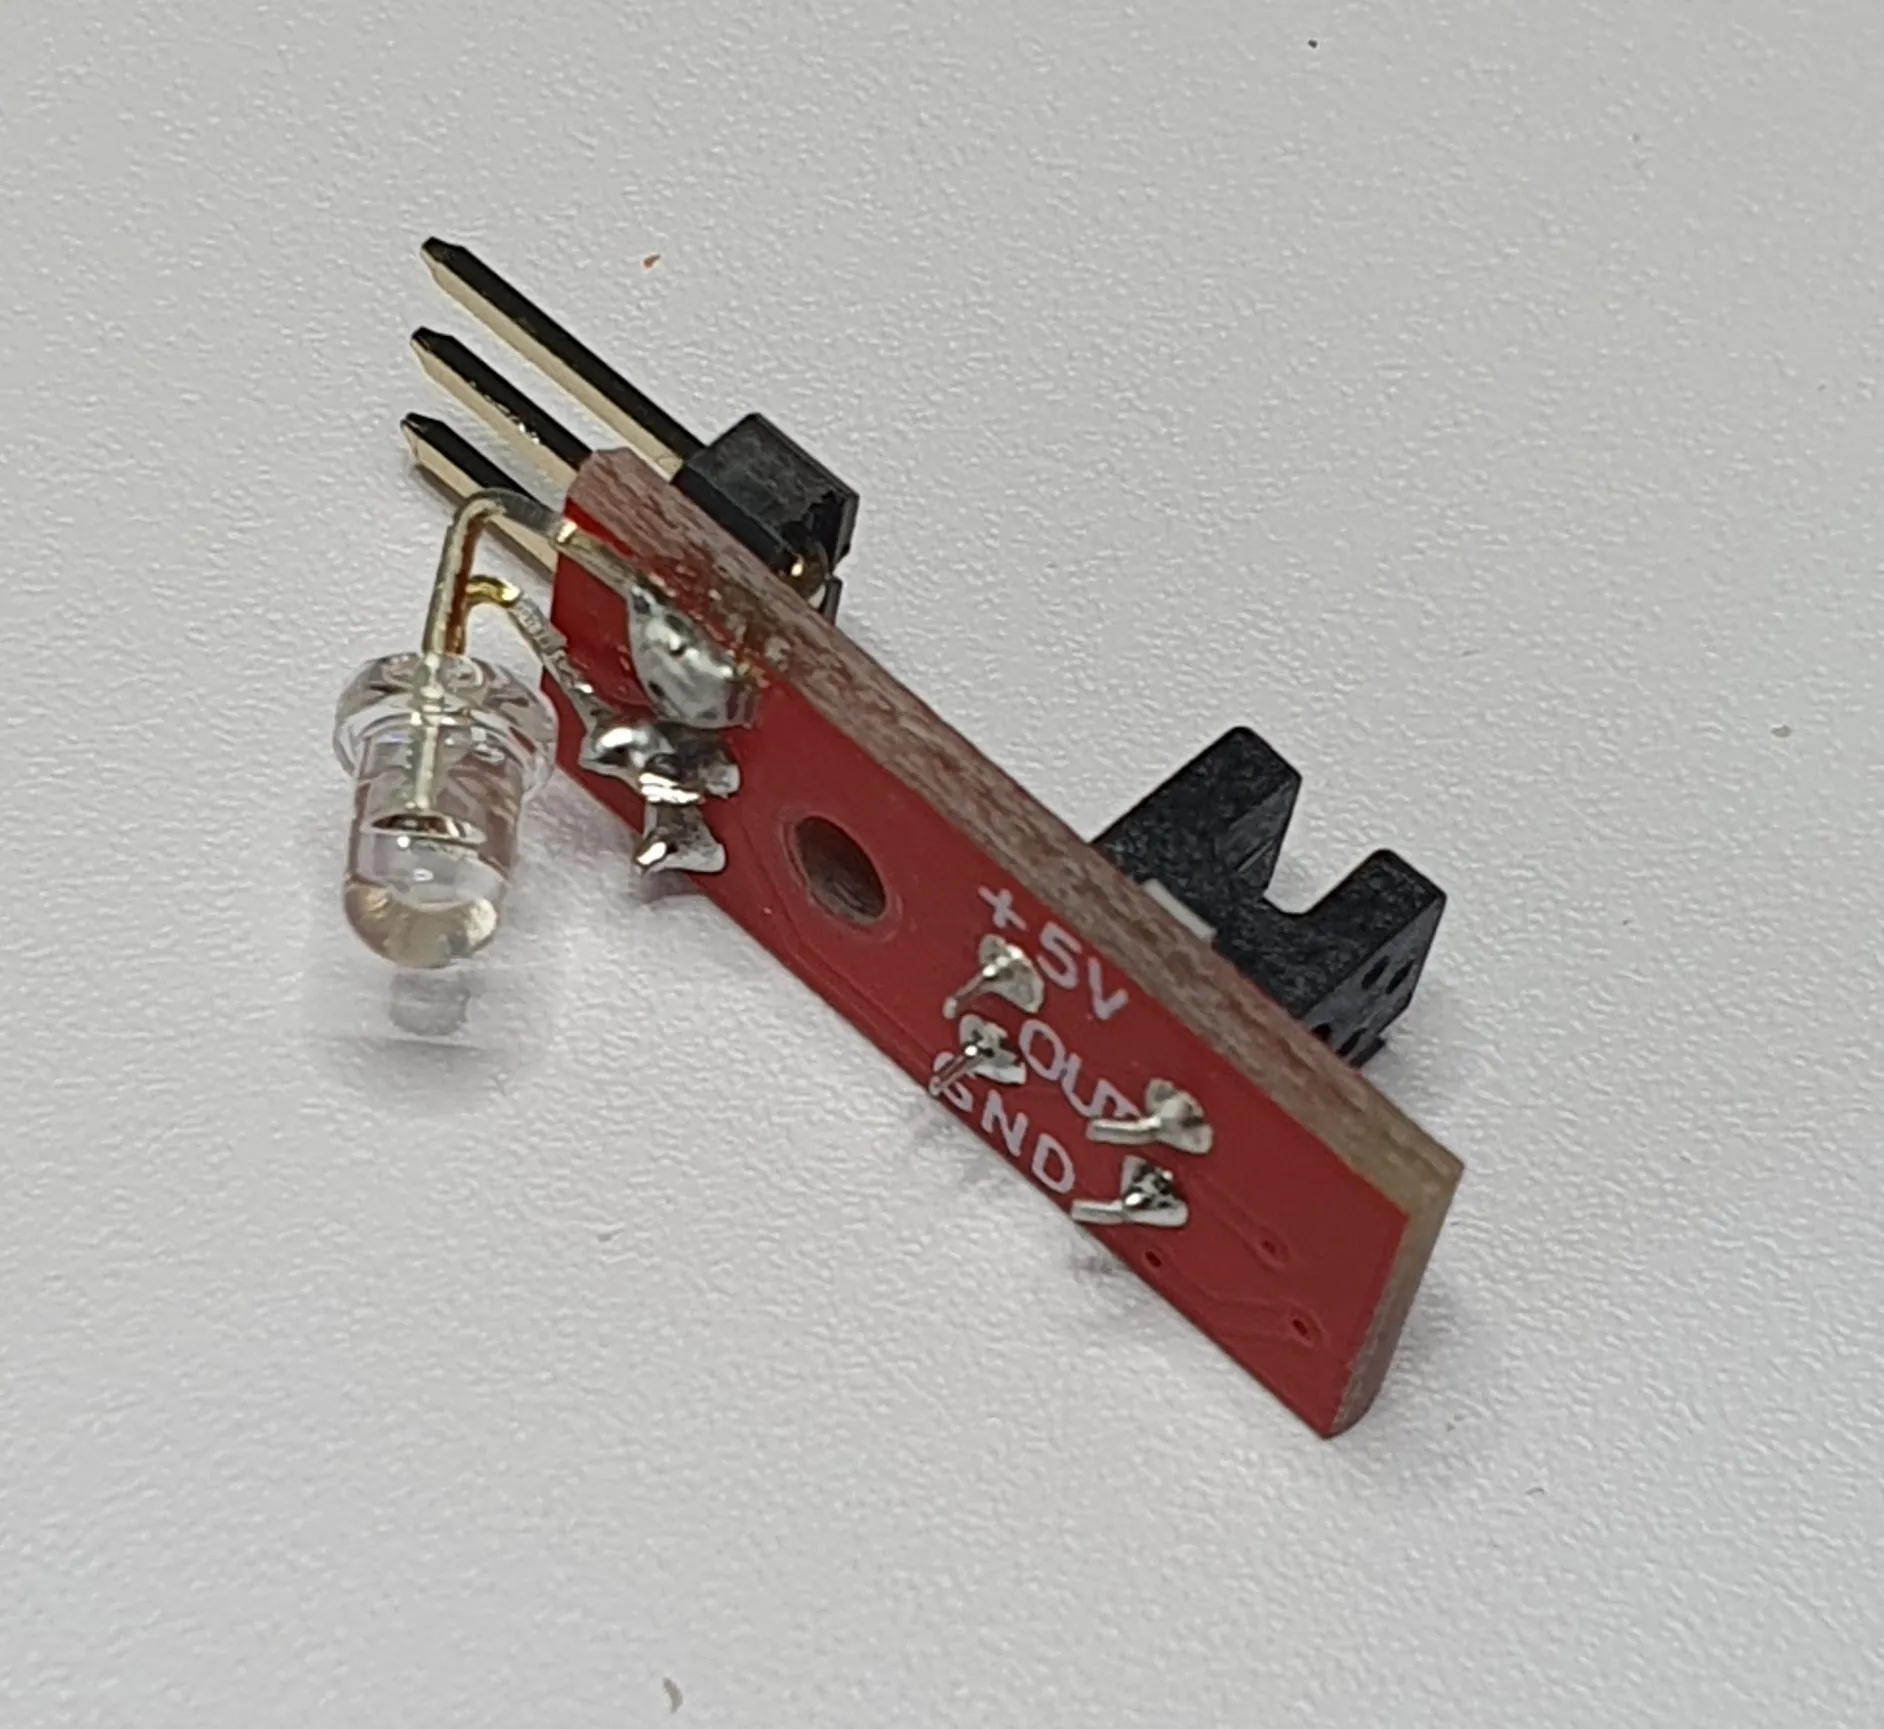
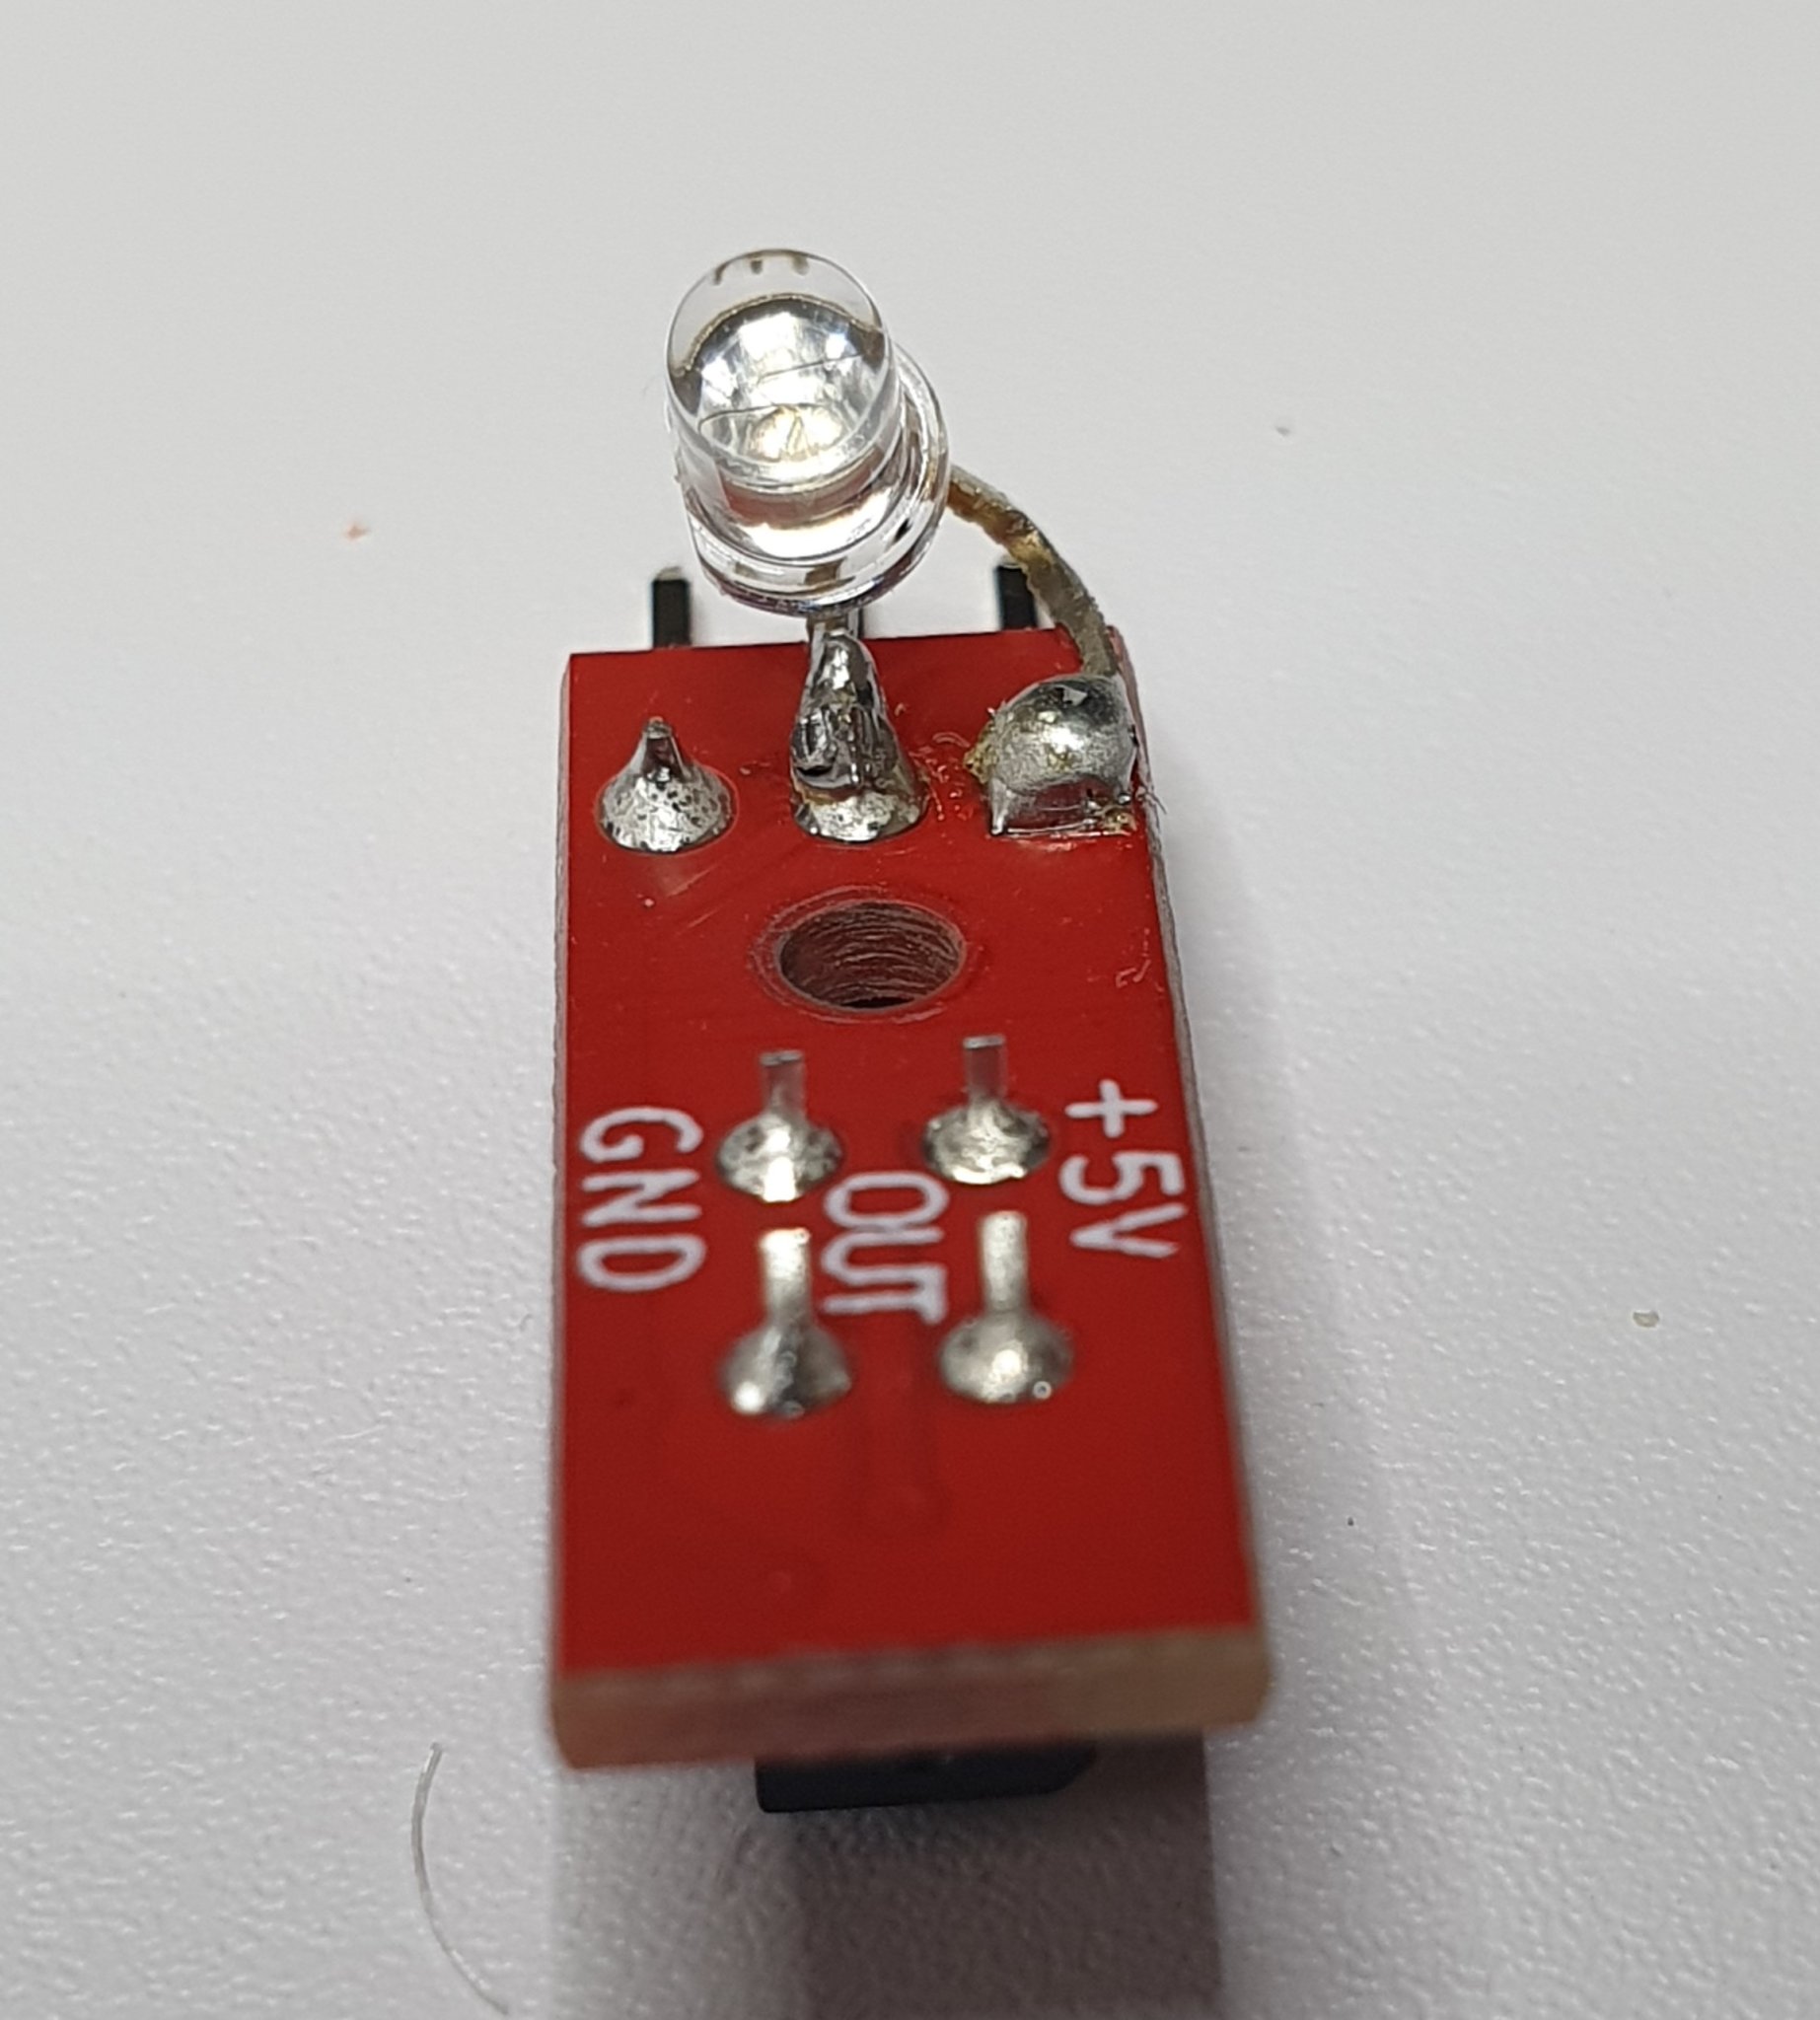
Một đèn LED được đặt trong nắp ống khói cảm biến MMU3-MMU2S MK3S + IR, được kết nối qua + 5V và đầu ra cảm biến IR.


Mô tả
The cap is hown here on my MMU3/MMU2S MK3S+ PC4-M10 Extruder Anti-Twist Screw-Adjustable IR Sensor Adapter.
https://www.printables.com/model/650466-mmu3-mmu2s-mk3s-pc4-m10-extruder-anti-twist-screw-
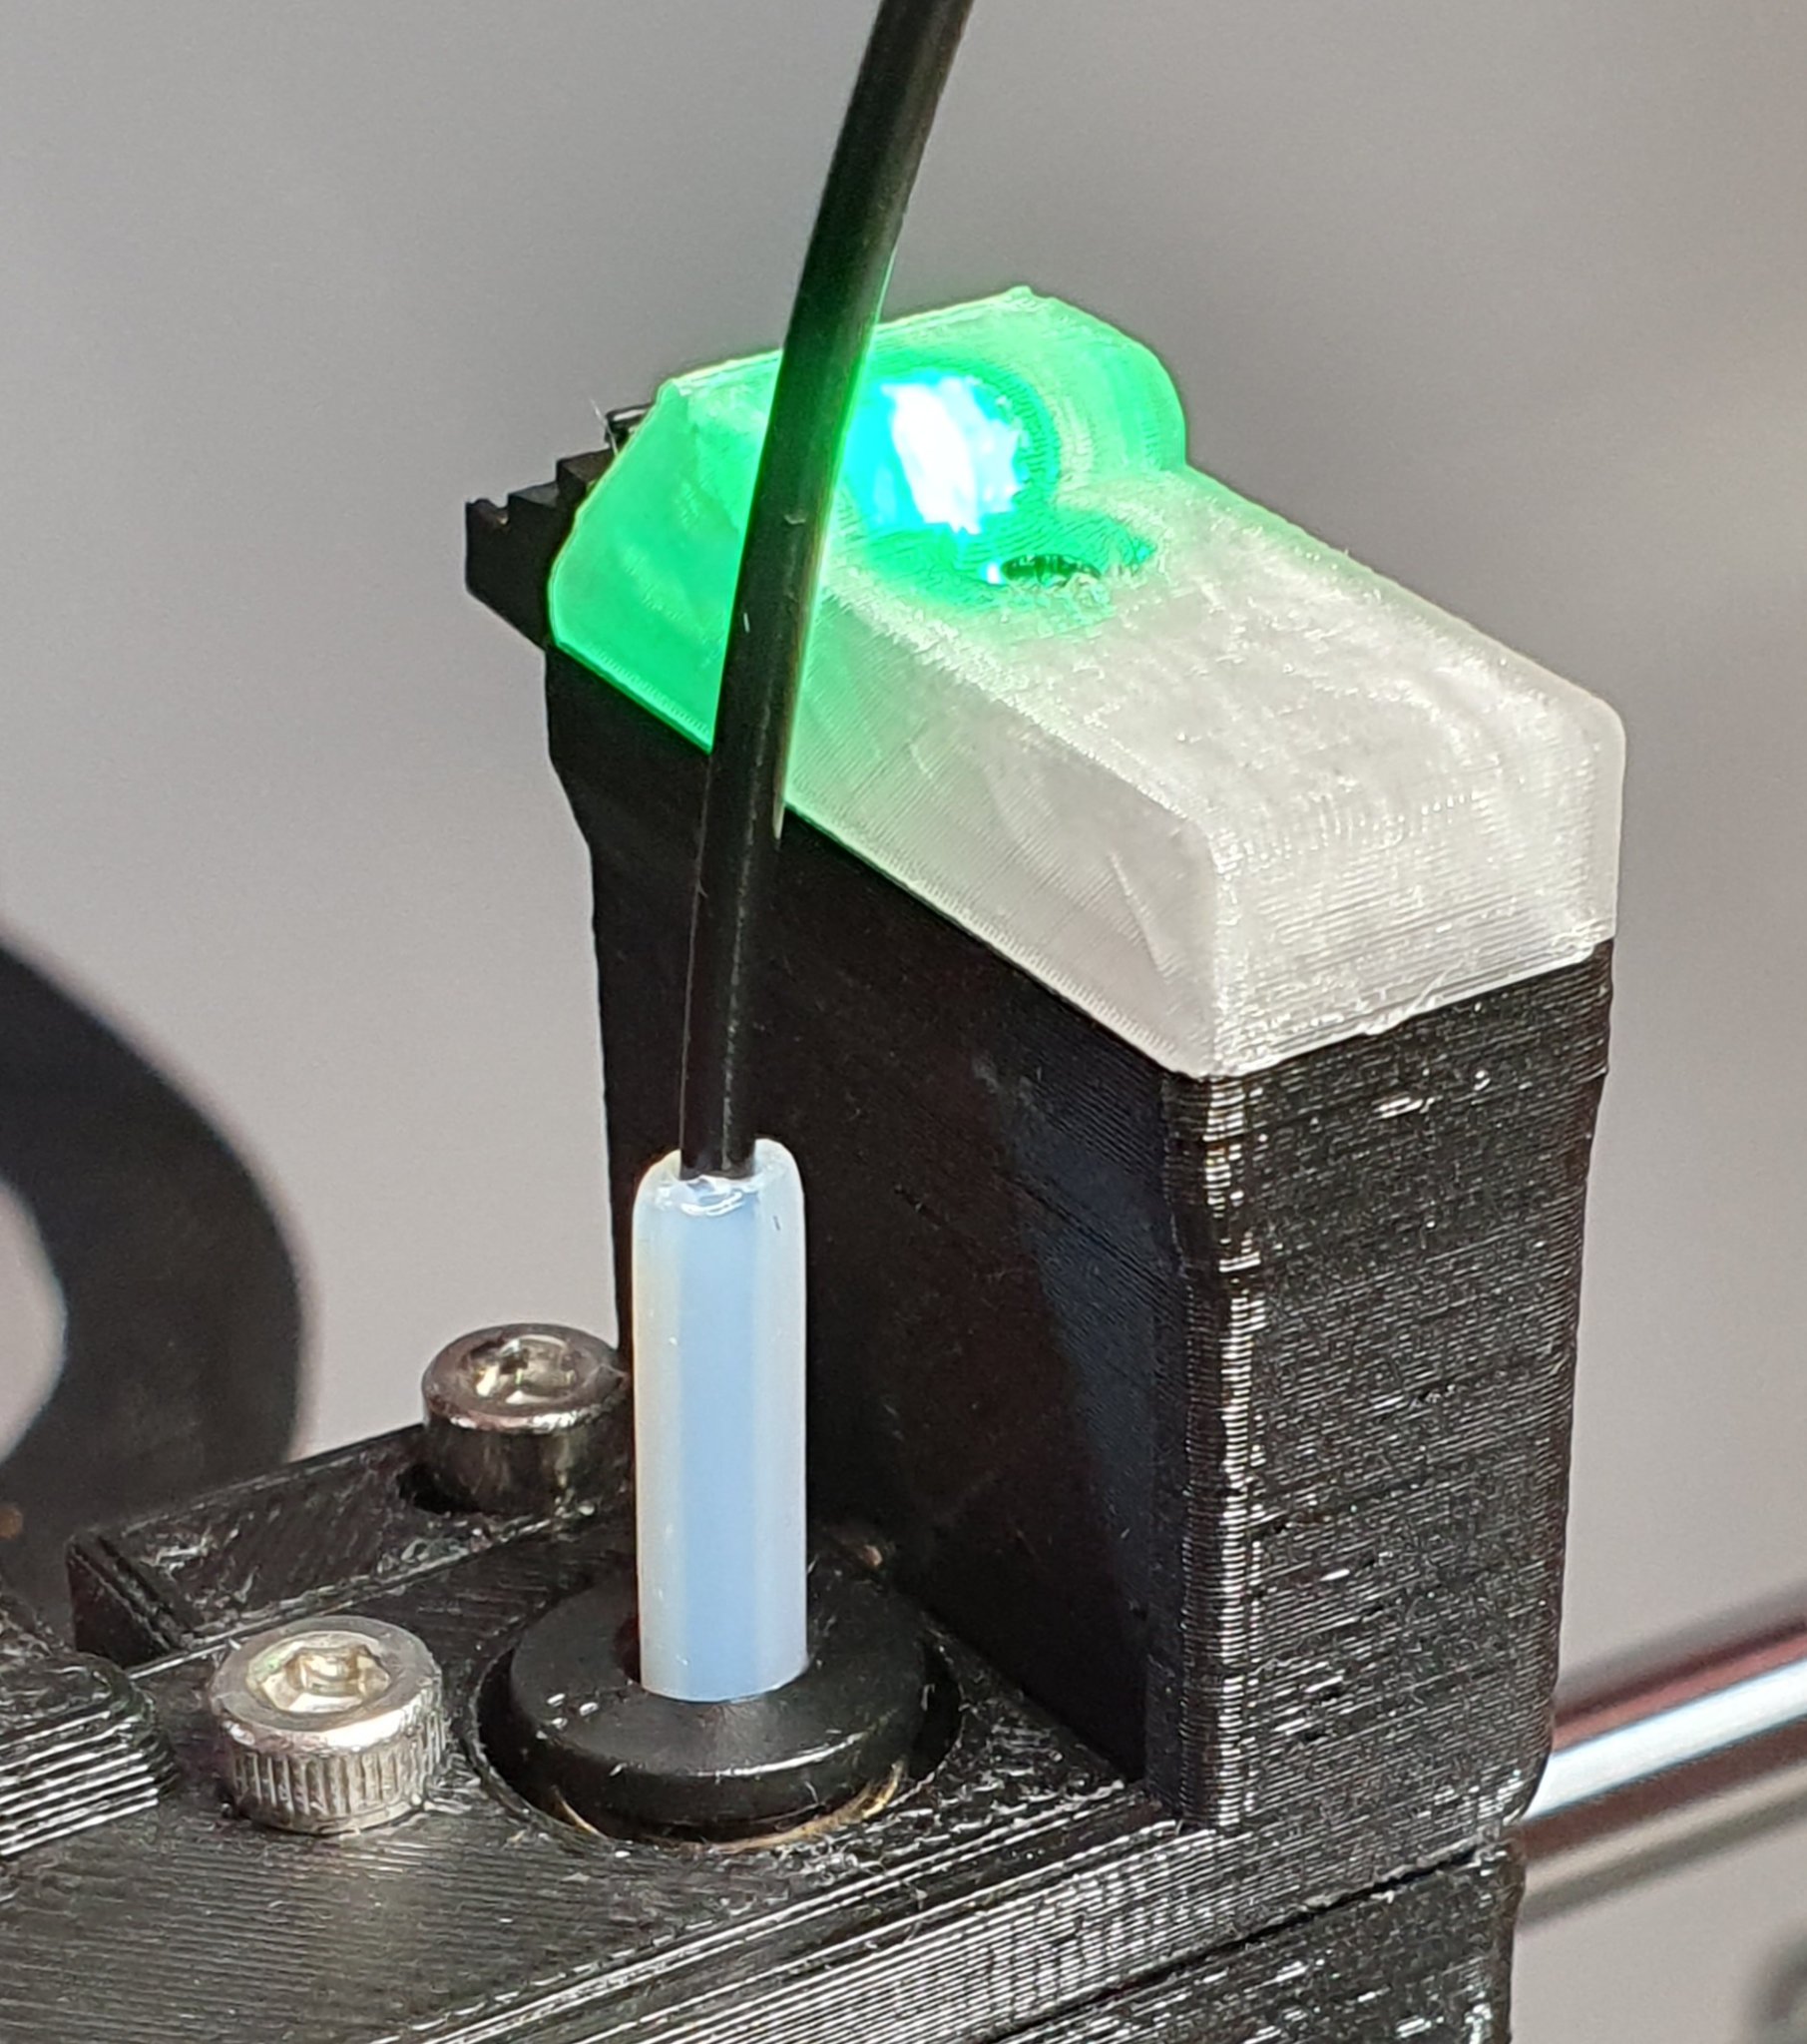
To be able to see the LED state, the cap must be printed in clear filament. I used clear Prusa clear Prusament PETG.
To minimize soldering and the space taken by the LED, an LED version with included resistor is used.
A 3mm 12V LED with internal resistor is soldered from +5V to the output of the IR sensor.
Warning: If a normal LED without resistor is used, the IR sensor will be damaged.
Note: This is best suited to those experienced at soldering small parts.
While the internal resistor is set up for 12V, the super-bright nature of the LED makes it plenty bright enough at 5V for indication of the IR sensor state.
I sourced the LED from this supplier:
https://www.ebay.com.au/itm/163106658894?hash=item25f9ea1a4e:g:vZkAAOSwvmNbKaB9
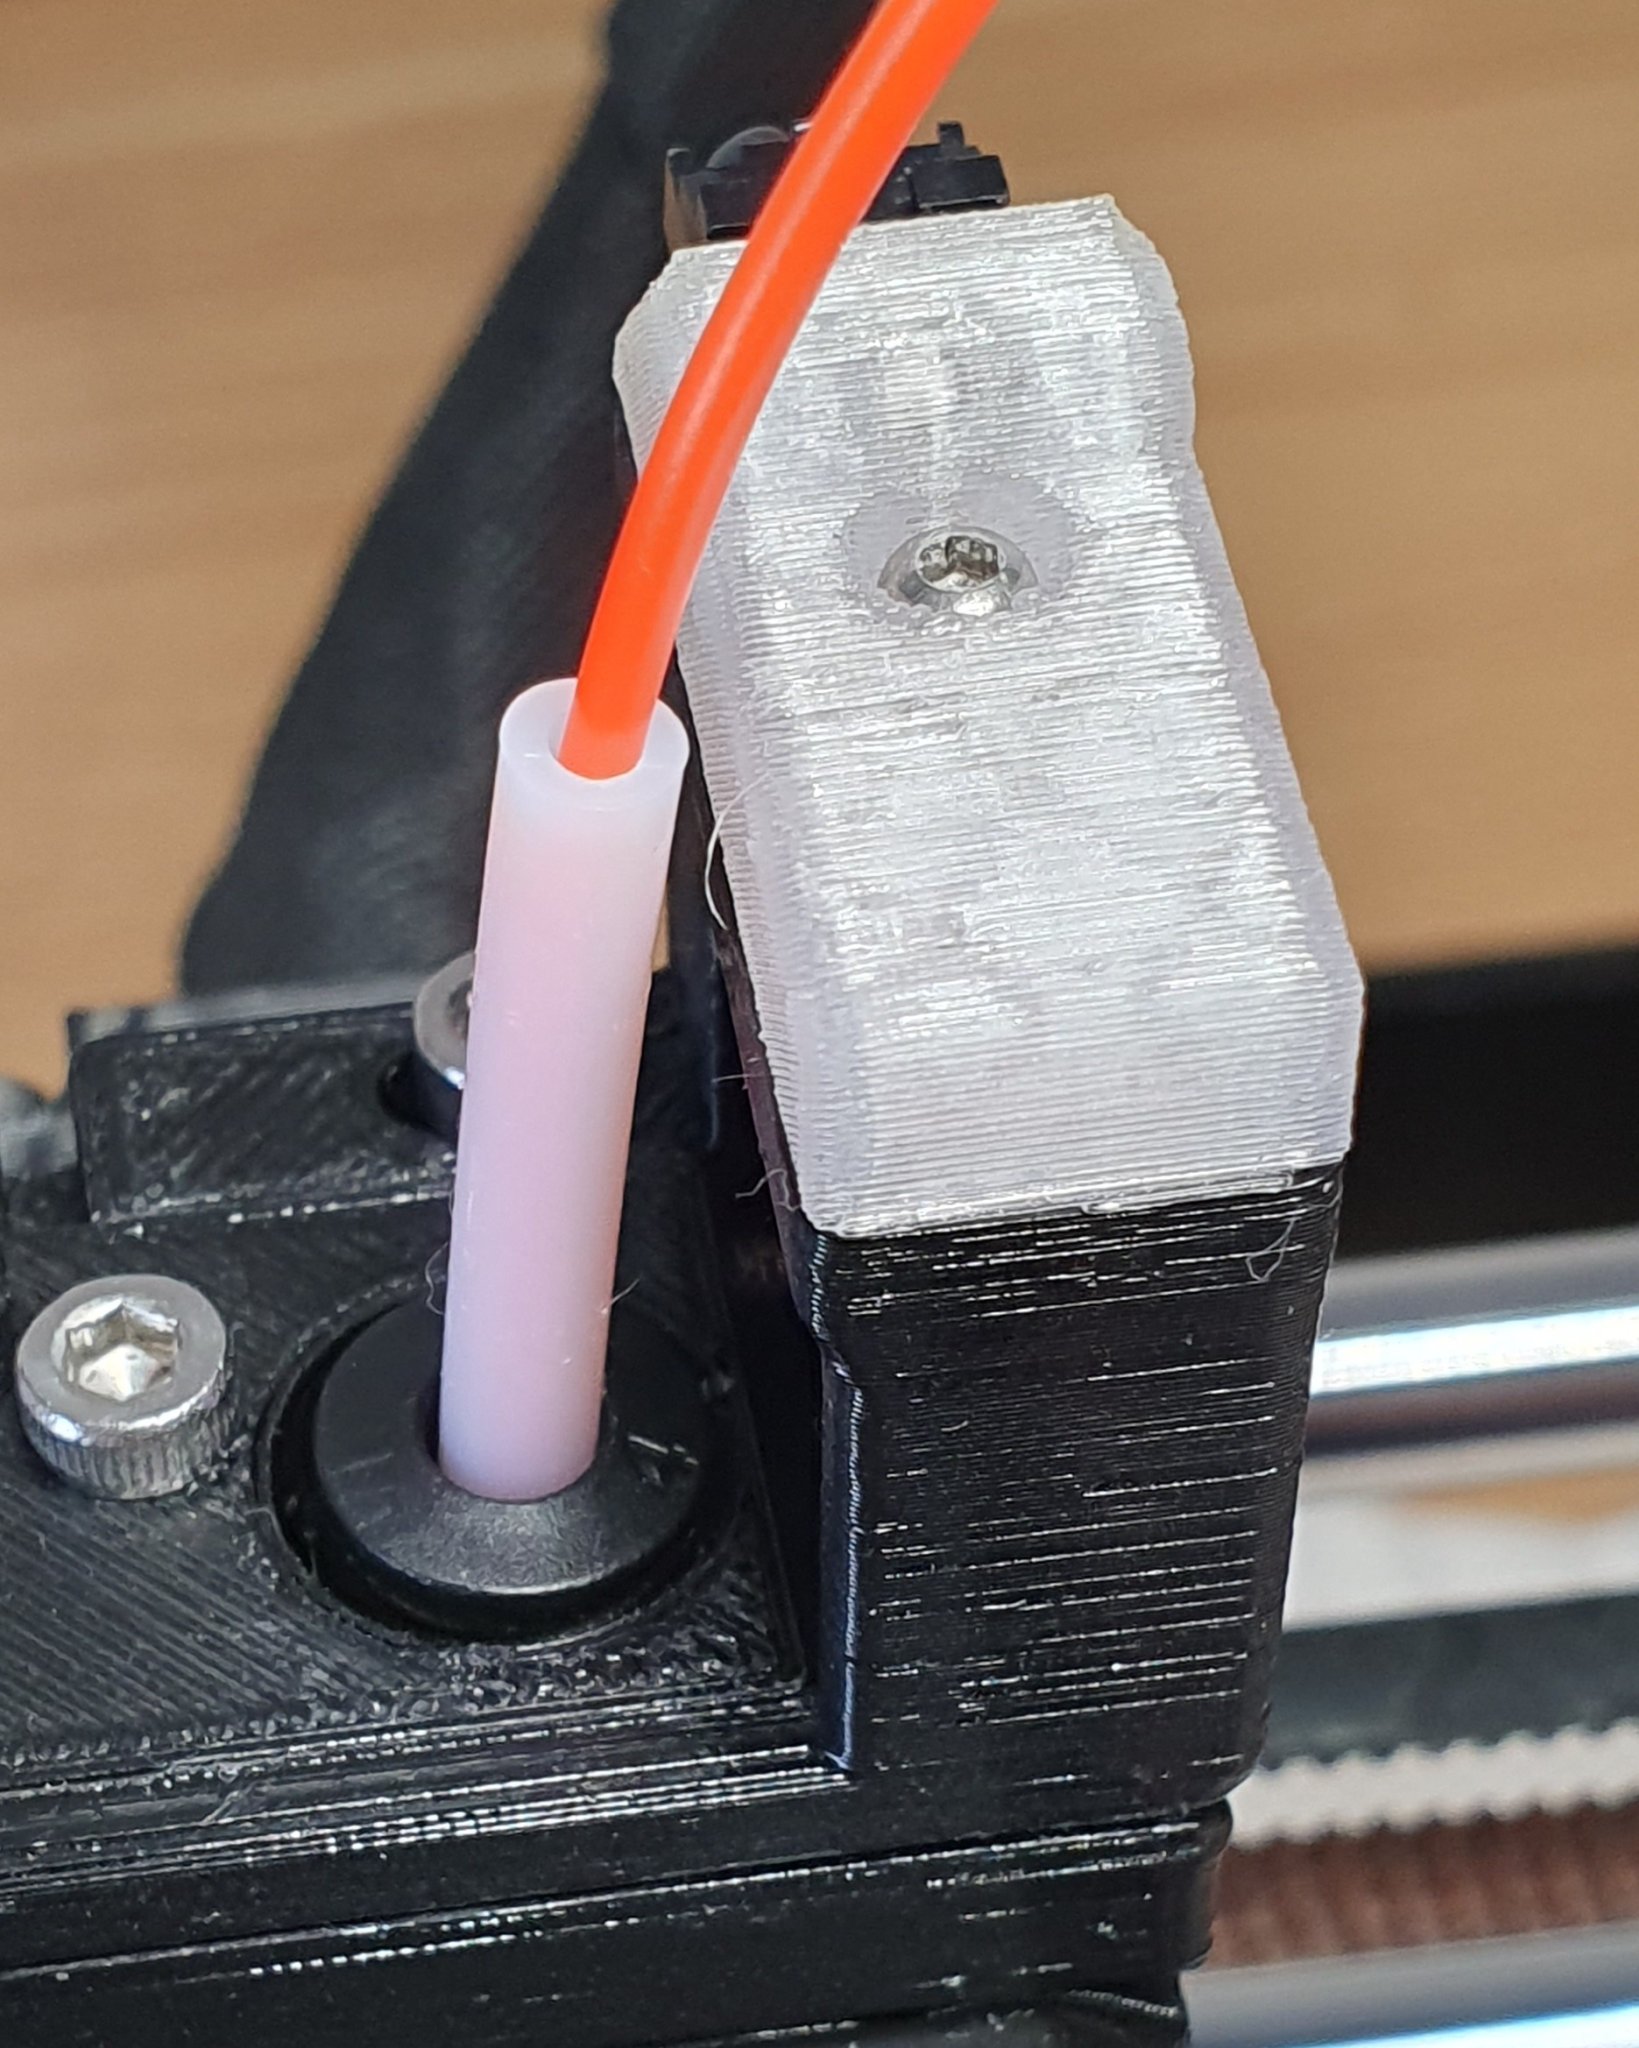
Assembly
What worked best for me was cutting the LED leads to 10mm length, soldering the leads into position with the leads straight, and then bending the LED into position using fine pliers on the leads where they enter the LED body, so as to not stress the leads at the LED body.
Note the position of the polarity flat on the LED body.
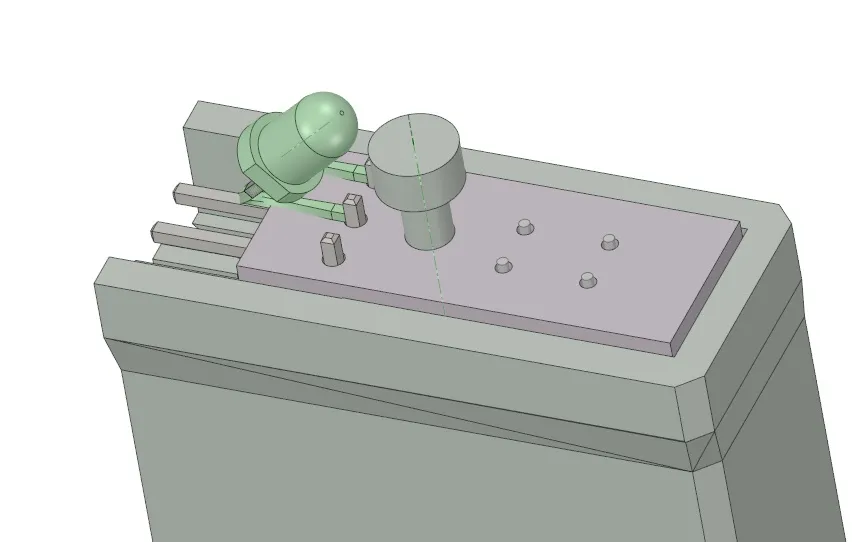
The M2 screw head is lifted up 1.6mm to provide more material under the M2 screw head.
While the Prusa M2x8 screw can be reused, what seemed more reliable was to replace that screw with a longer M2x12 screw.