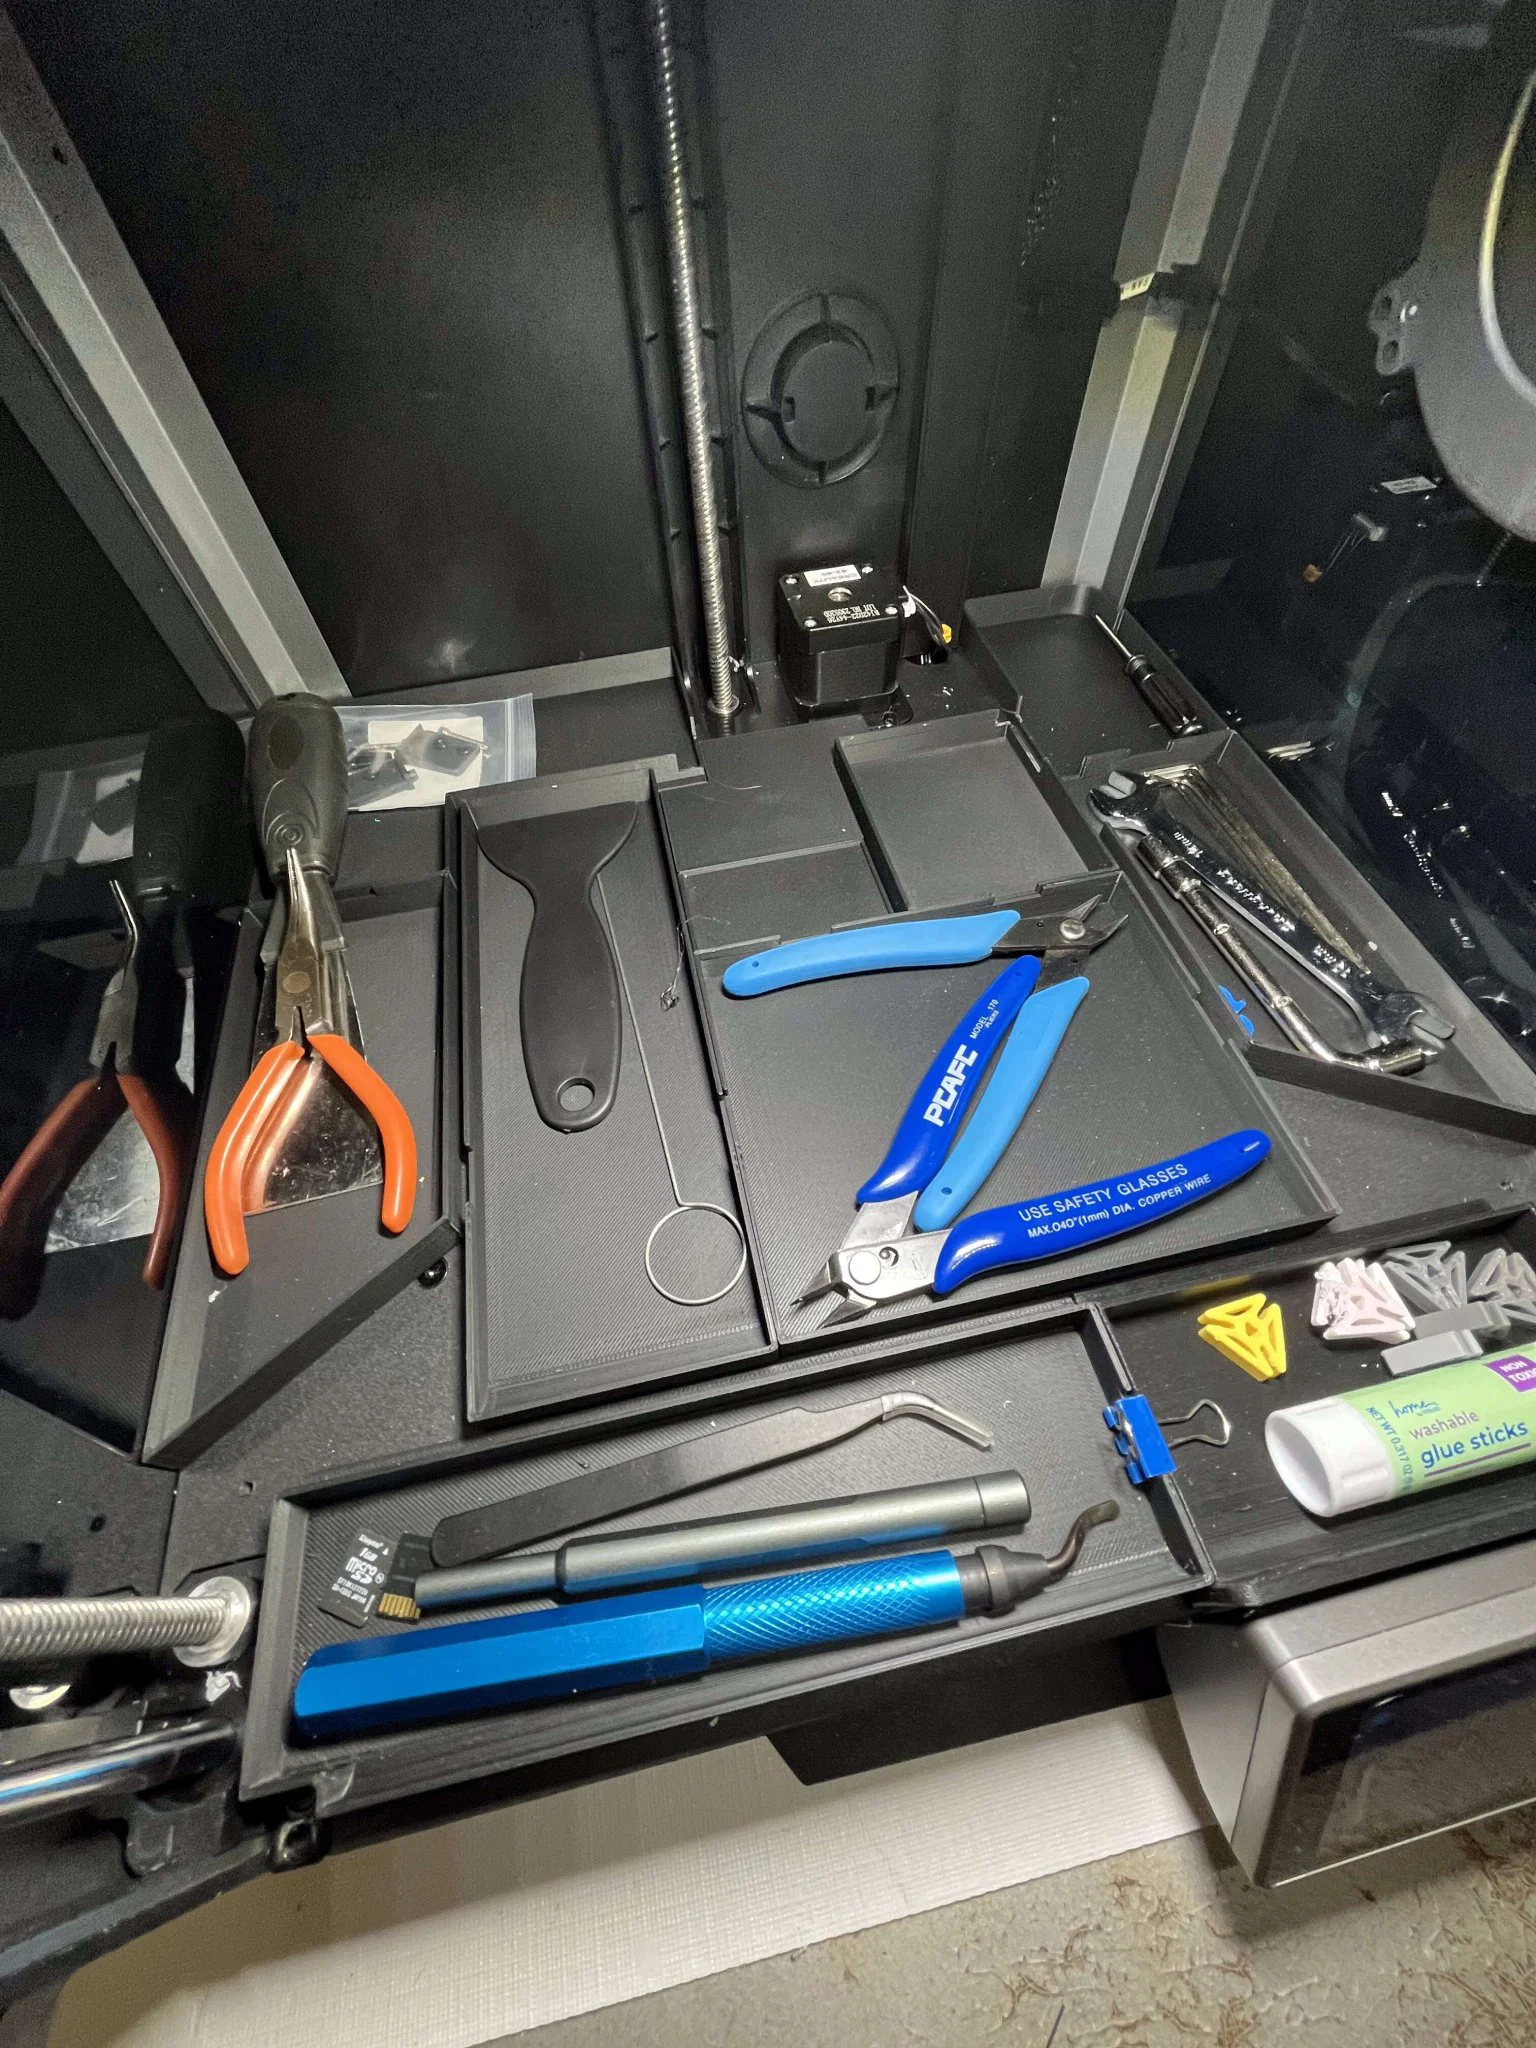
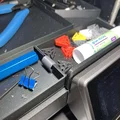
Creality K1 chamber storage trays

Khay lưu trữ lấp đầy đáy của buồng K1 và vừa vặn chính xác dưới độ nóng hoàn toàn
Mô tả
I thought I'd challenge the recommendation of not having anything on the inside of the Creality K1 chamber. I designed and tested trays that will fit and fill the bottom of the K1 chamber, including under the hotbed. These trays fit very exactly in my K1, but I do not know what Creality's tolerances and variations are, so you should carefully test the trays' positions after putting them in place. (Hopefully, I did not upload the wrong variations which differ by less than 1mm... let me know).
I have modeled three sets of trays:
- Side trays sit against the chamber's walls, around the hotbed
- Center trays fit very exactly under the hotbed, and
- Front trays sit just behind the glass, in front of the hotbed
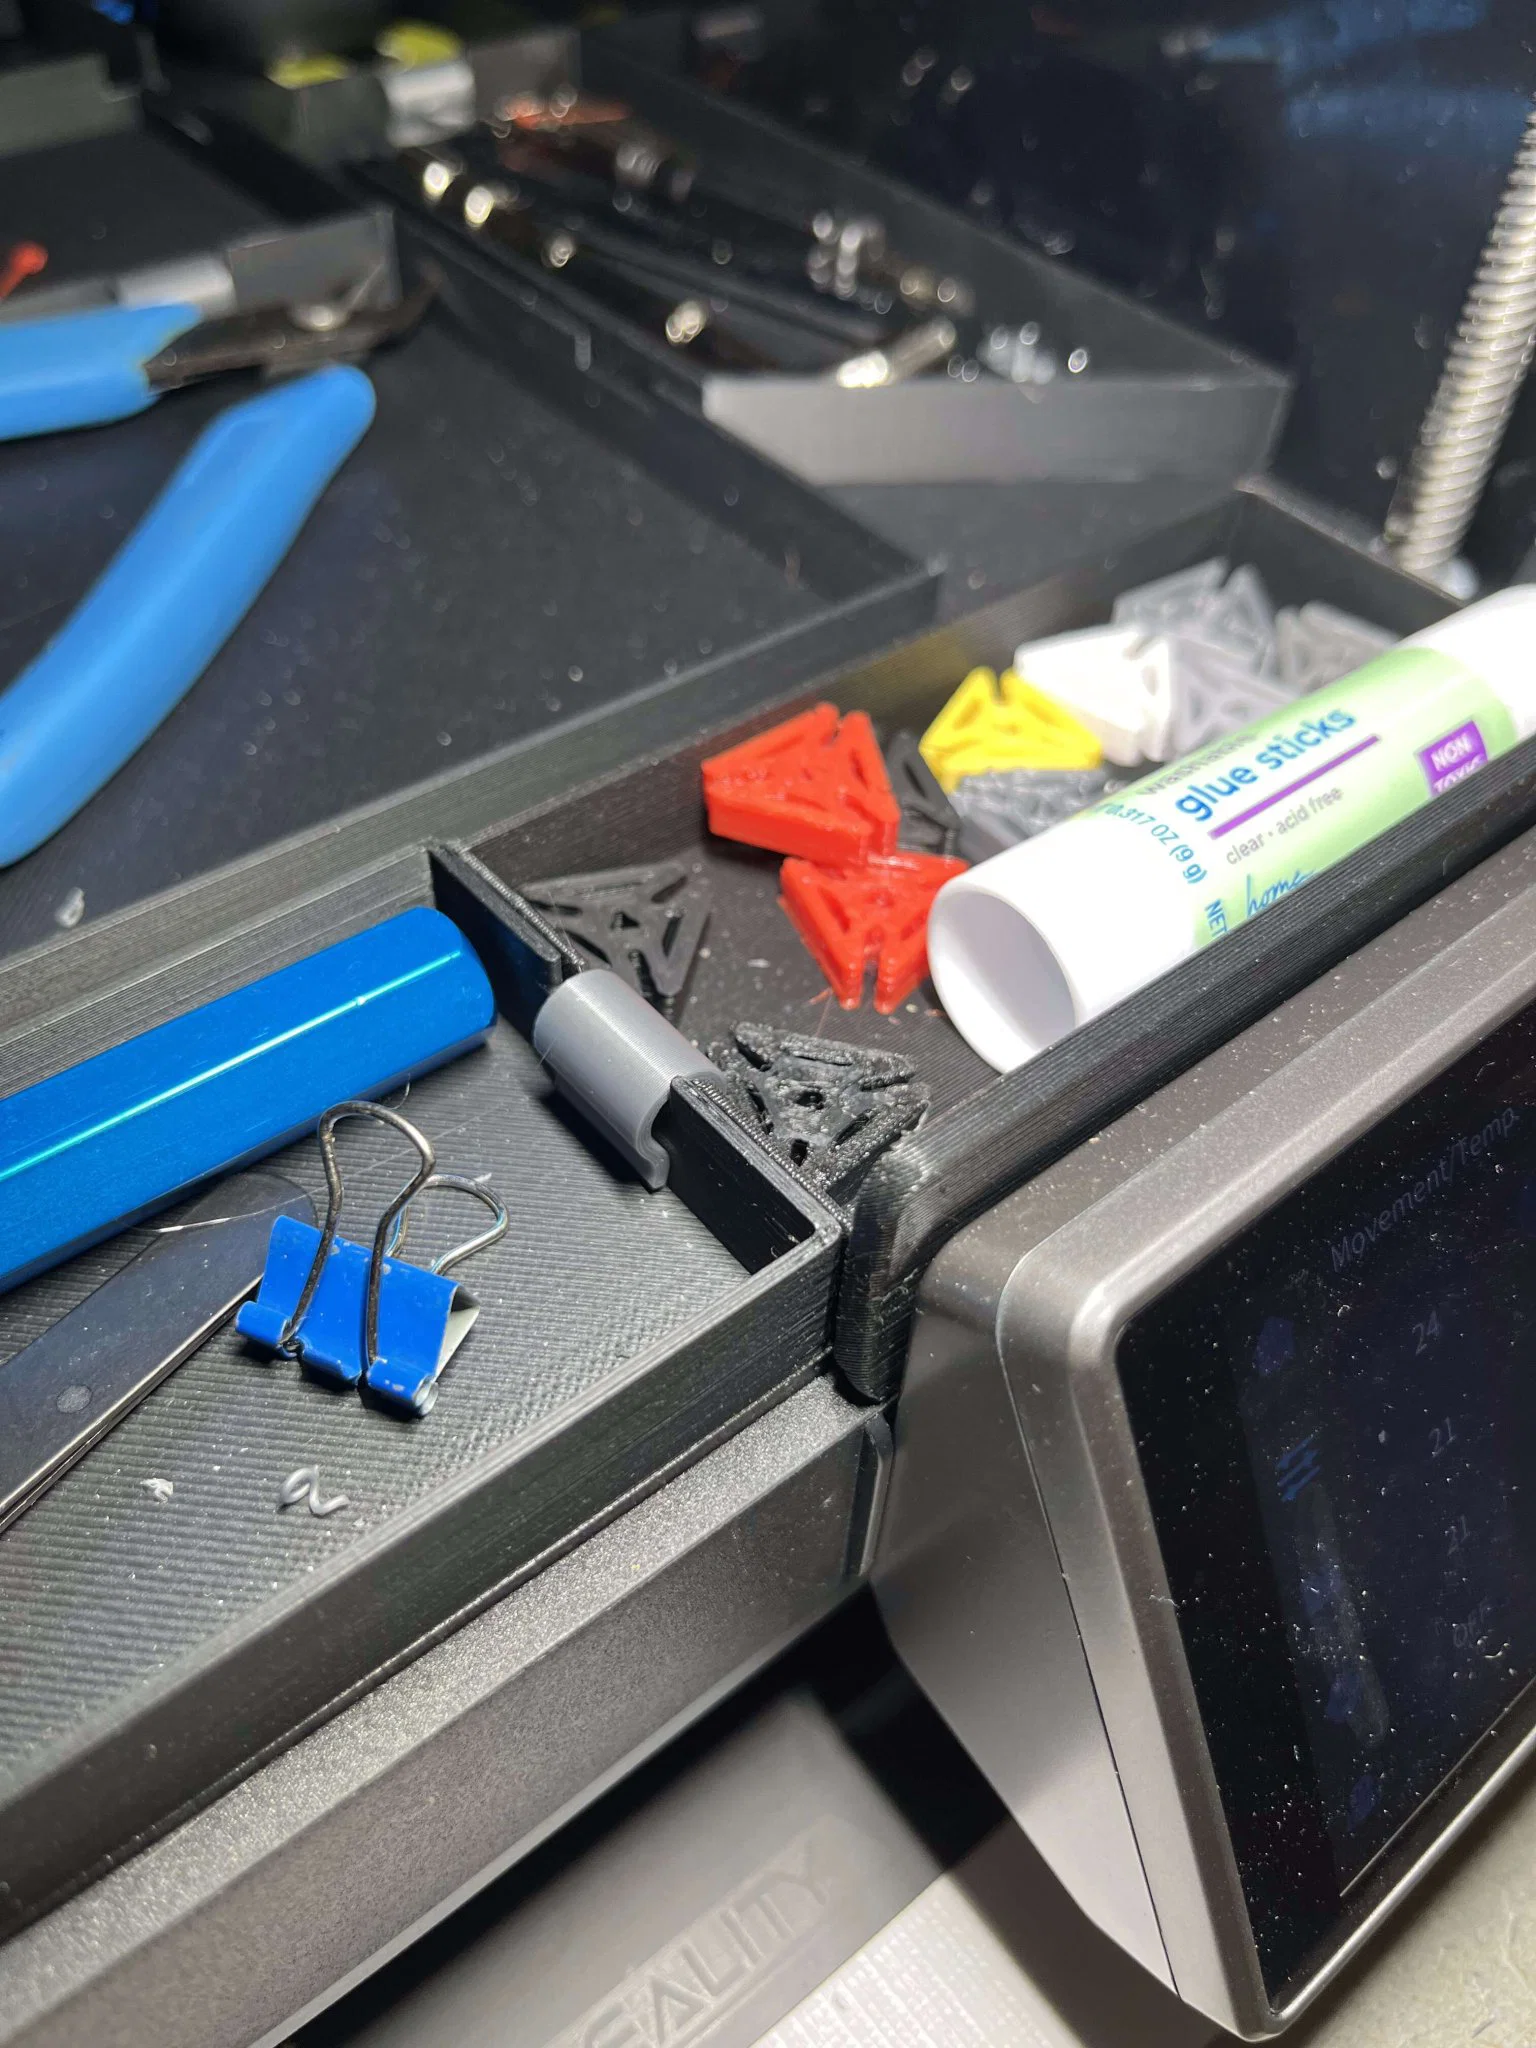
Notches between adjacent trays accommodate the printable clips (or small binder clips) to keep the trays from sliding into positions that will bind with a fully lowered hotbed. Similarly, flanges on the side and front trays keep the center trays from sliding into binding positions.
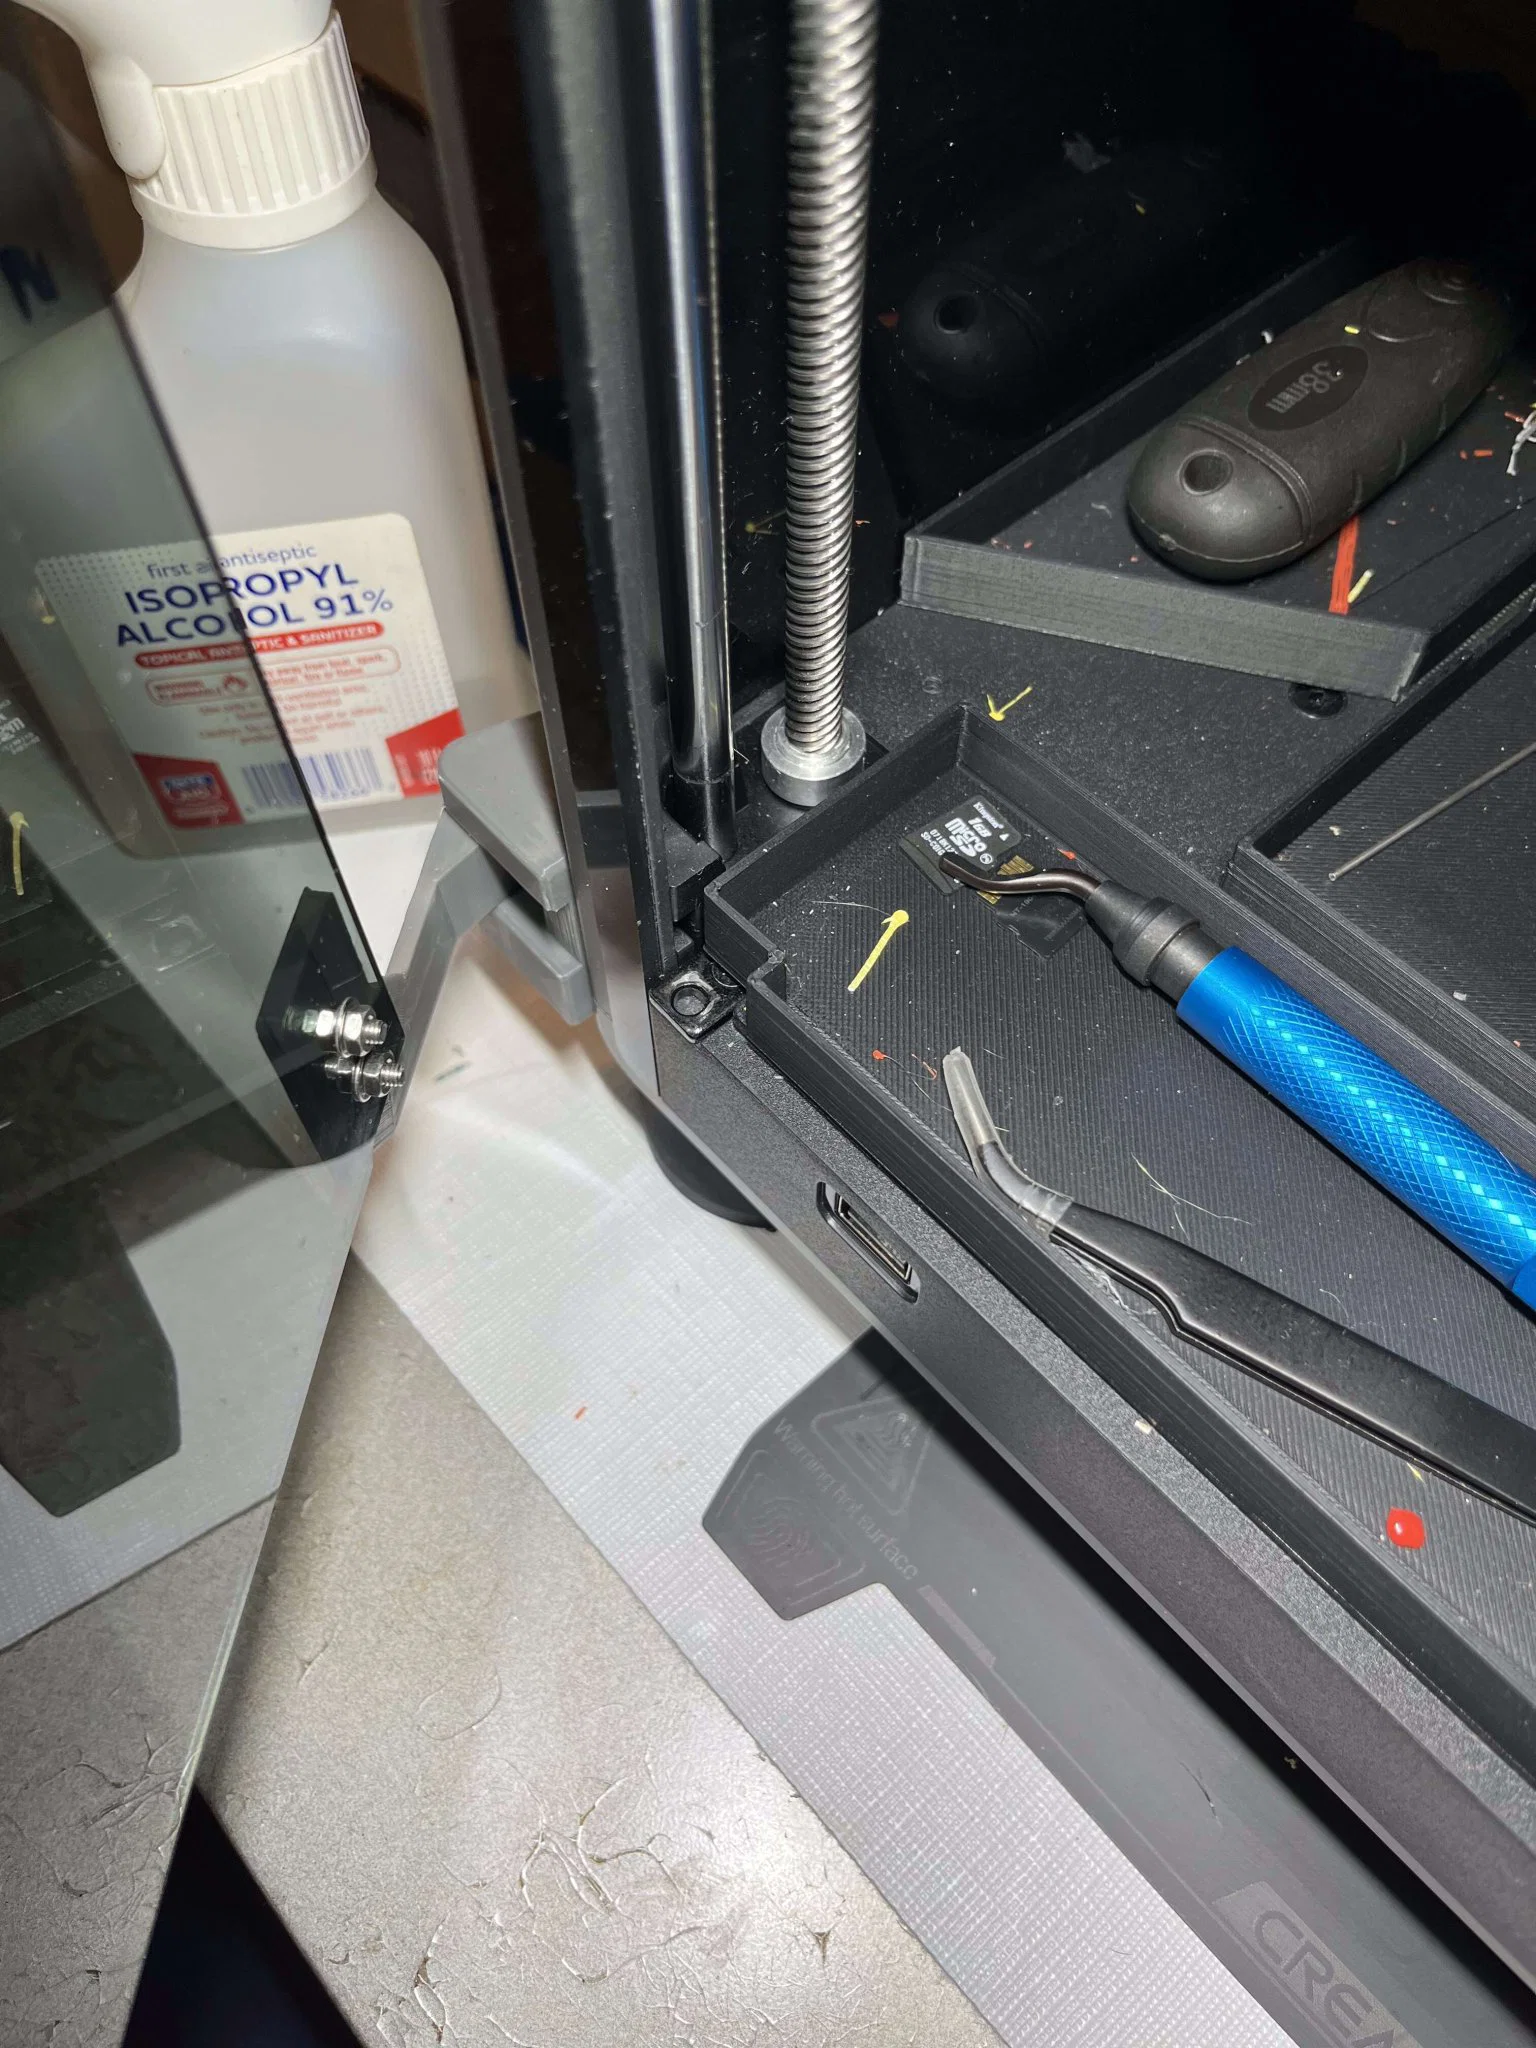
Center Trays
The center trays include a large front tray and long and short trays which are designed to interchange between the left/right sides of the center. _(I just now noticed that I did not include the cutout for the cable on the right side of the small tray, so you can model the cutout, manually cut out a notch, or simply put the long tray on the right.)_
A center spacer keeps the center trays from interfering with the PCB under the bottom of the hotbed. Do _not_ store anything on the spacer.
Anything stored in the center trays _must not_ protrude above the tray wall, to avoid interfering with a fully lowered hotbed (there _might_ be 1mm margin, though I doubt there are 2mm).
Front Trays
The right, front tray clips onto the window door's slot, behind the control panel. The left, front tray includes a notch near the door hinge to accommodate 270° hinge.
Fitment notes:
- The back corner trays fit snuggly, so the other side trays should be attached to them... in particular, you have to be _very_ careful not to let the front side trays move towards the front of the chamber, lest a fully lowered hotbed will bind against them.
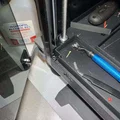
- Check that the center tray on the right does not bind with the hotbed's cables.
- The same is true of the right corner and side trays: the notches must clear the hotbed cable when the hotbed is fully lowered.
- The center trays are kept in place by the spacing flanges from the side and rear trays as well as the center "spacer". Be sure the trays do not slide too far forward. If the front trays are in place, their flanges should keep the center trays from sliding too far forward; however,
- Be sure the front trays are not able to slide too far back... their flanges should keep them from doing so.
Test for No Hotbed Interference
To ensure that the trays do not interfere with a fully lowered hotbed, do the following.
- Test the fit of the trays and notice how loose (or tight) the trays are; particularly the front side trays, the center trays and the trays in the back right of center and sides
- Lower the hotbed 7x30mm, then 2x10mm. the hotbed should still be completely clear of the trays, but check this before lowering the last 10mm
- Carefully lower 1mm at a time; each time, checking that the trays are as loose as you noted in the first step and do not interfere with the hotbed:
- the front side trays didn't slide forward
- there is enough clearance for the hotbed cables on the right rear of the hotbed
- the center trays didn't slide forward and bind with the front of the hotbed
The clips should help hold the side trays in place and the front and the center trays together. And the flanges on the front and side trays should keep the center trays in place (though, keep an eye that the center trays don't slide forward.
To Dos:
- Model the small center tray with cable cutouts
Giấy phép

File mô hình


Chưa có bản in nào được khoe. Hãy là người đầu tiên!

Chưa có bình luận nào. Hãy là người đầu tiên!