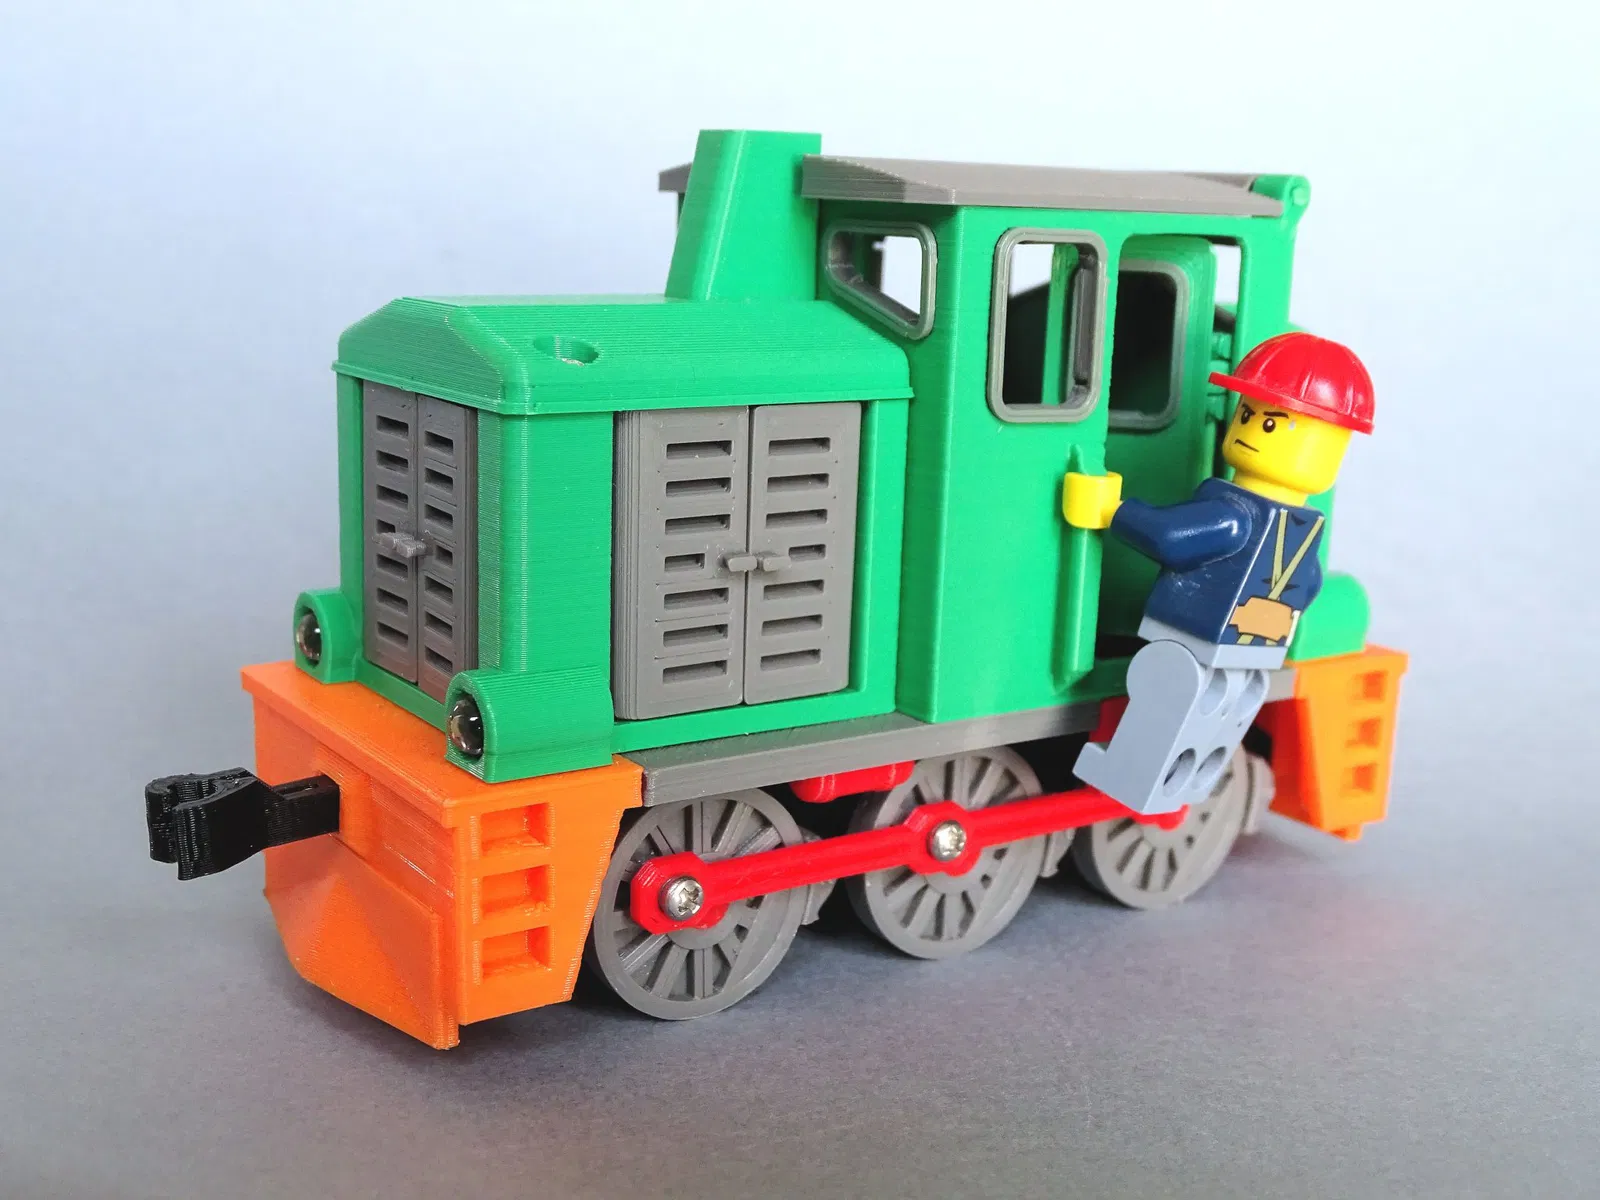
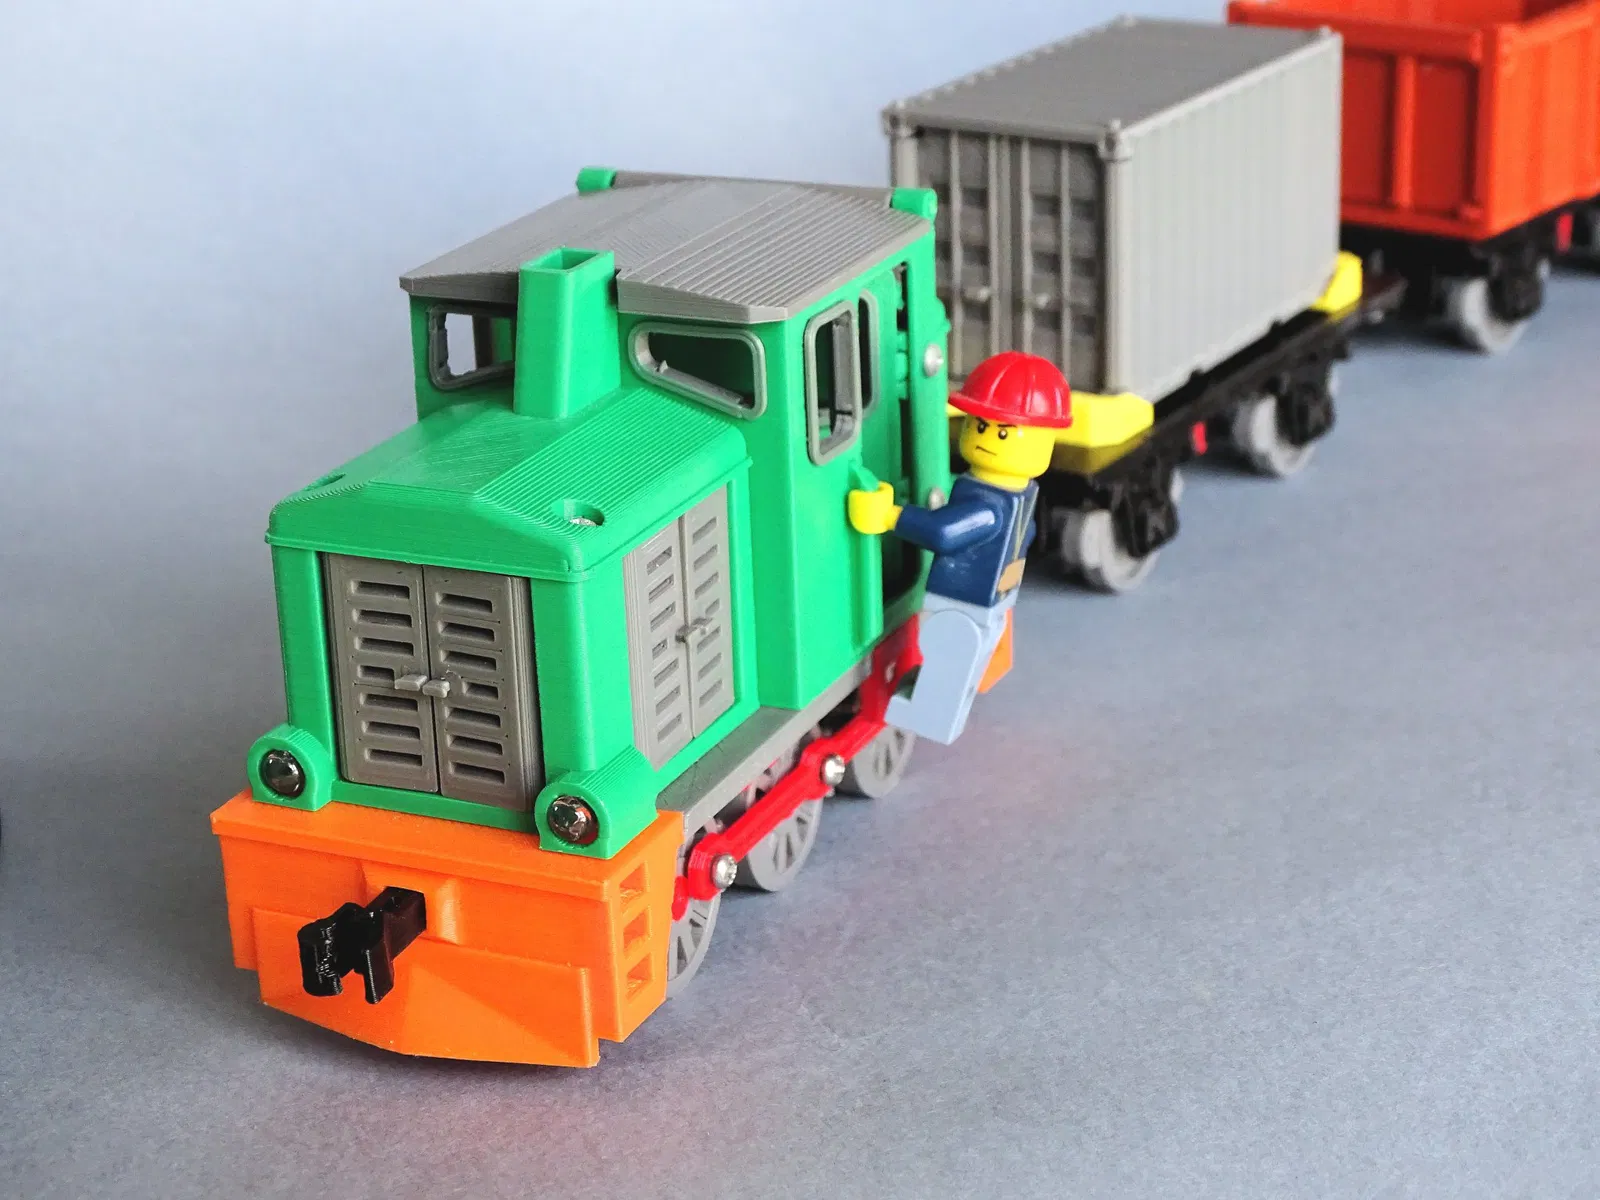
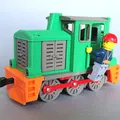
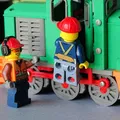
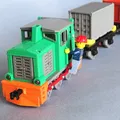
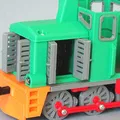
Small shunting locomotive with working brakes

Một đồ chơi nhỏ Shunting đầu máy với cửa mở và mái nhà, và phanh làm việc thực sự. Phù hợp với các hình gạch phổ biến.
1.2K
Lượt Xem
50
Lượt Thích
141
Lượt Tải
Cập Nhật Dec 18, 2025

Mô tả
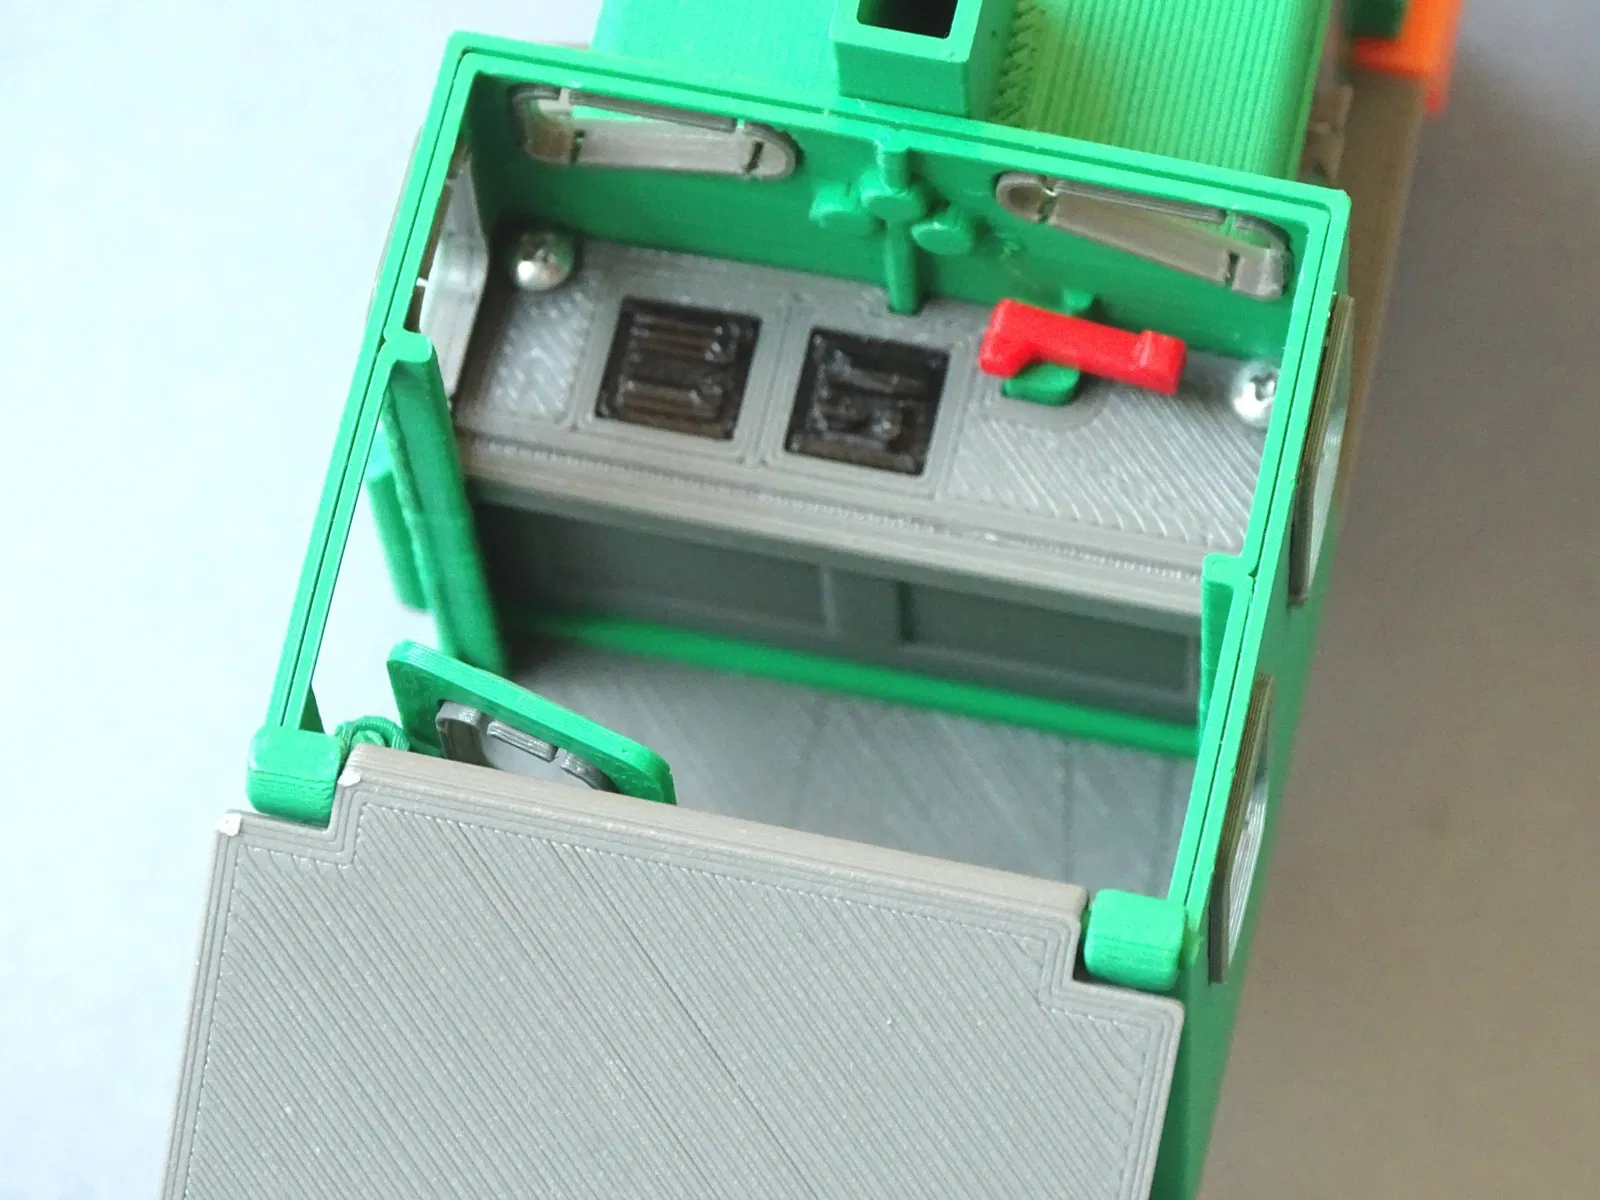
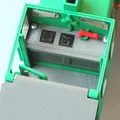
About A small toy shunting locomotive with opening doors and roof, and real working brakes. This locomotive fits popular brick figures. All elements are very easy to print even for begginers (do not require the use of supports). All parts are ready to print on the smallest 3D printers (min. required printing area 80*80*75 mm). All our toys are designed to be fun, they have many interesting functions: opening doors, hatches, holds. You can print and build toys together with your children - there are many parts and screws that give a lot of fun. To check more of our projects see:
https://www.printed-toys.com If you would like to support me: - just buy something in my shop https://www.printed-toys.com (You pay what you want!)
- share or like my profile on Facebook: https://www.facebook.com/printedToys
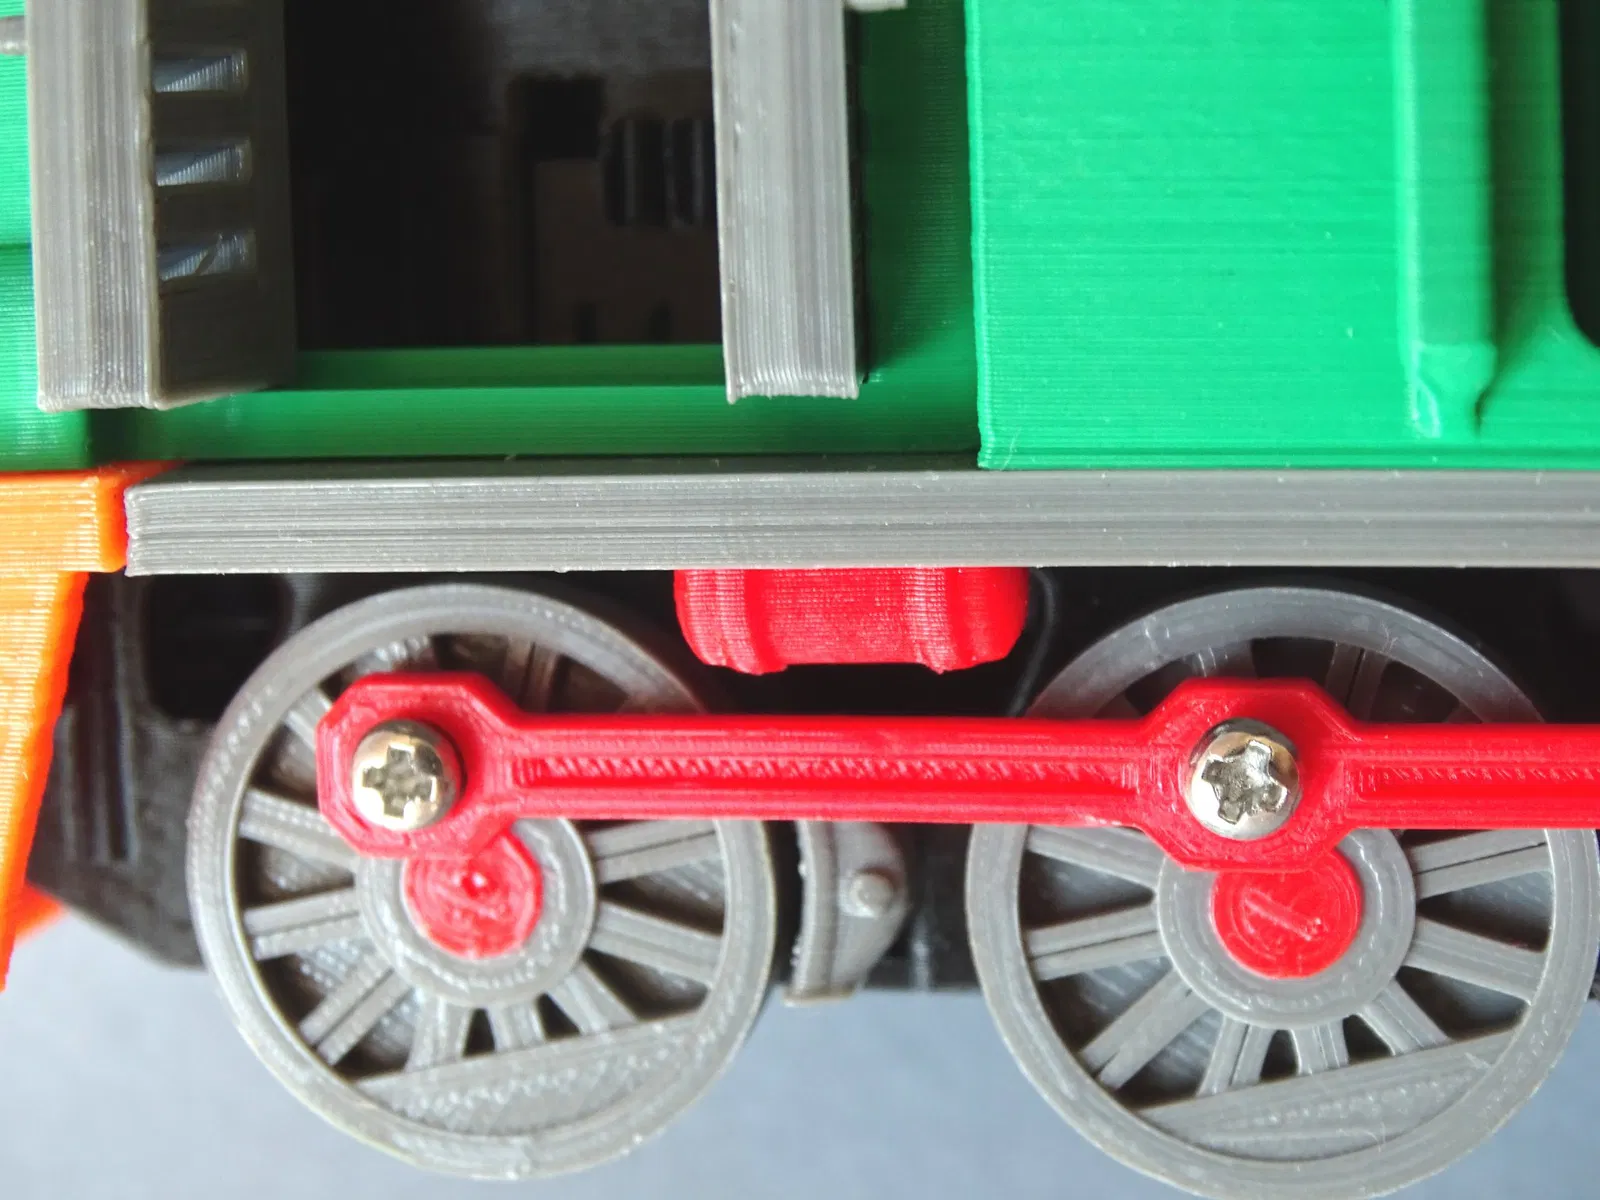
- share or like my profile on X/Twitter: https://twitter.com/Printed_Toys Thank You! Important note All locomotive files are located in a zip archive (shunt-loco-ver.2.1.zip). For illustration purposes and due to printables.com requirements, there is a Frame.stl file outside the zip archive, but it is also included in the archive. Once downloaded, unzip the entire folder and read the information it contains. Needed parts or materials (suggested, you can use other matches parts) - 33 pieces M2.2x6.5 screw (DIN7981),
- several short pieces of filament 1.75 mm for hinges,
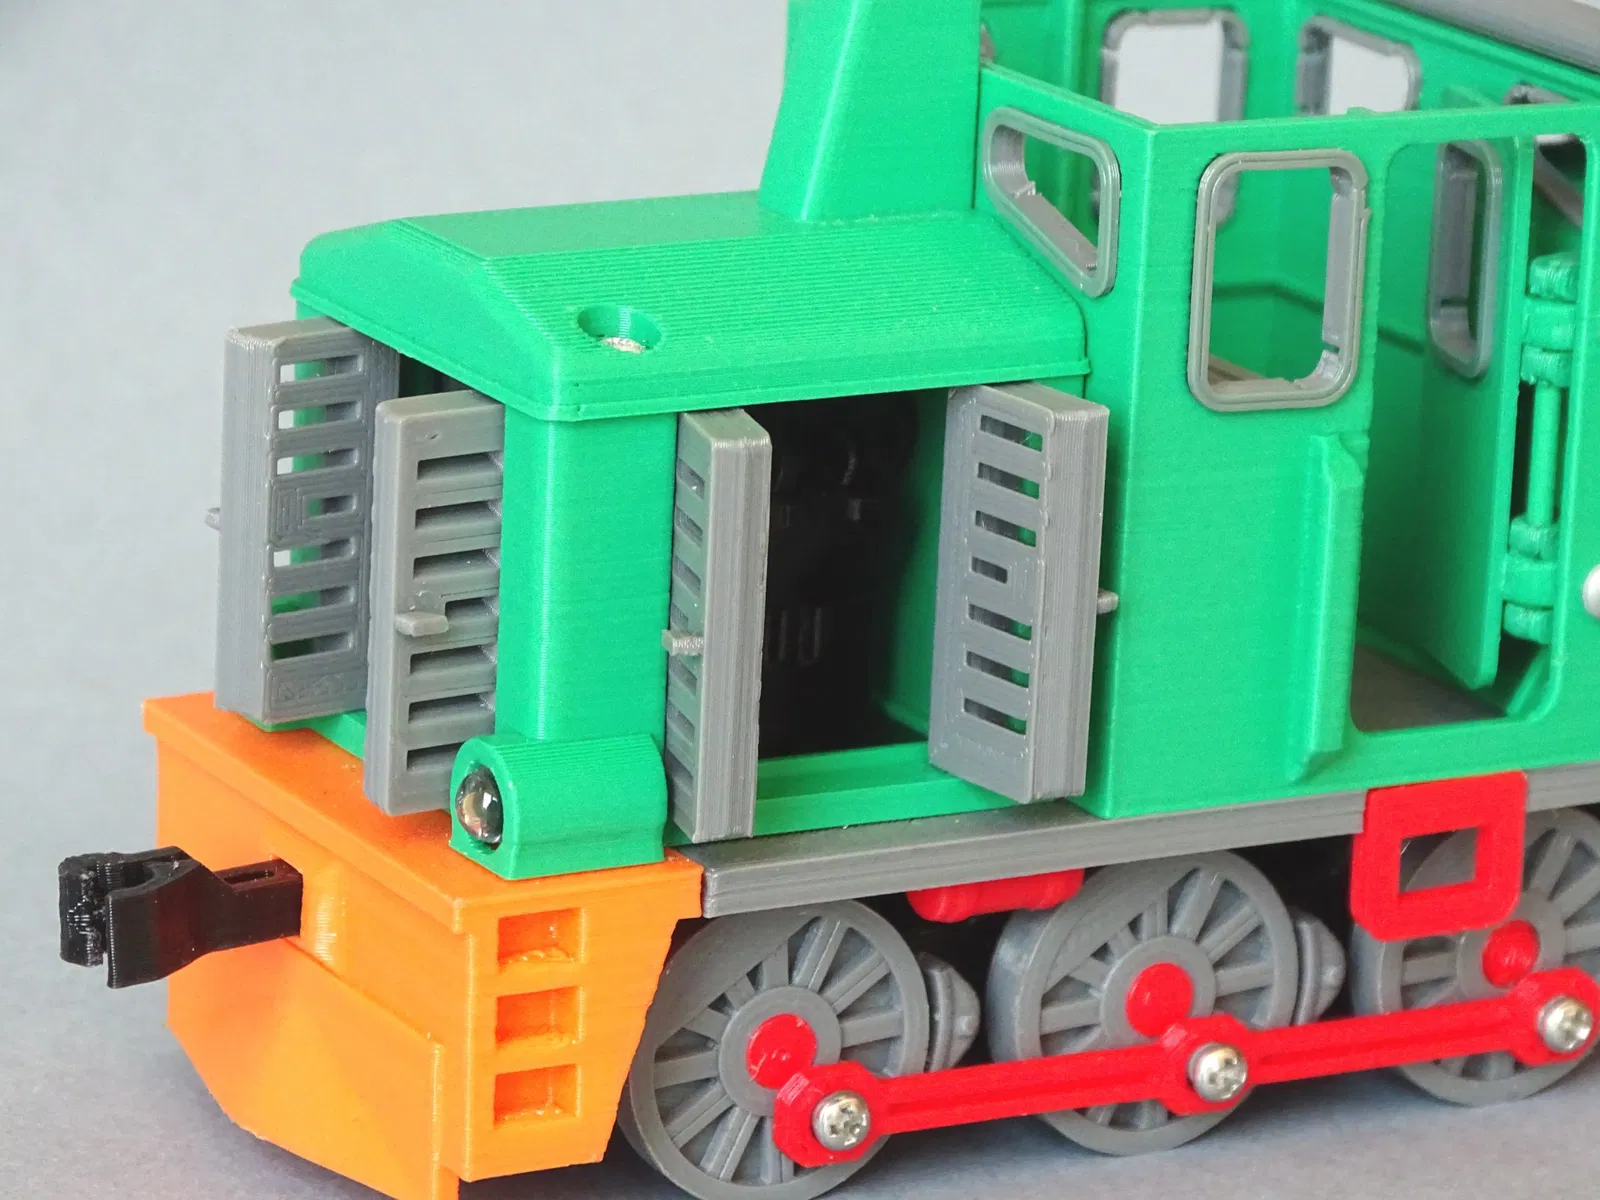
- cyanoacrylate glue (not essential but may be needed to glue the wheels to the axles). ##### Optional parts - the locomotive is prepared for assembly of a set of lights (4*white LED 5 mm), you can also use white LEDs as an imitation of reflectors (even if you do not intend to connect them to the battery),
- the cockpit is prepared for the installation of two PCB 7*7 mm switch ON/OFF. ##### 3D printing - We recommend using PLA filament, nozzle 0.4 mm and layer height 0.2 mm, but you can test other settings.
- All files are in print-ready positions, you don't have to rotate it on your slicer.
- The elements are easy to print and do not require the use of supports, brims or rafts (the only exception is axle.stl, which prints vertically, and for this we recommend a small brim).
- Print all elements with 100% filling (the locomotive runs better if it is a little heavier, the differences in time and filament consumption when printing with a small filling are not significant).
- You will find all cabin windows in the cab-windows-all.stl file, but you can print each one separately from cab-window-***.stl files. ##### Assembling of parts - If you don't want to use LEDs, you can use lamp-instead-of-LEDs.stl file instead.
- The sizes of the wheels and axles should match, but if they are too loose, try to stick them with glue. You can also slightly chamfer the ends of the axle with a regular sharpener. If the axle is too thick, you can gently sand the hole in the wheel or you can very gently change the scale of the axle.stl file when cutting in a slicer (change the scale of the element only for horizontal, the vertical scale should remain at 1:1). We have designed a special wheel and axle assembly tool, you can print it and use it to make your work easier.
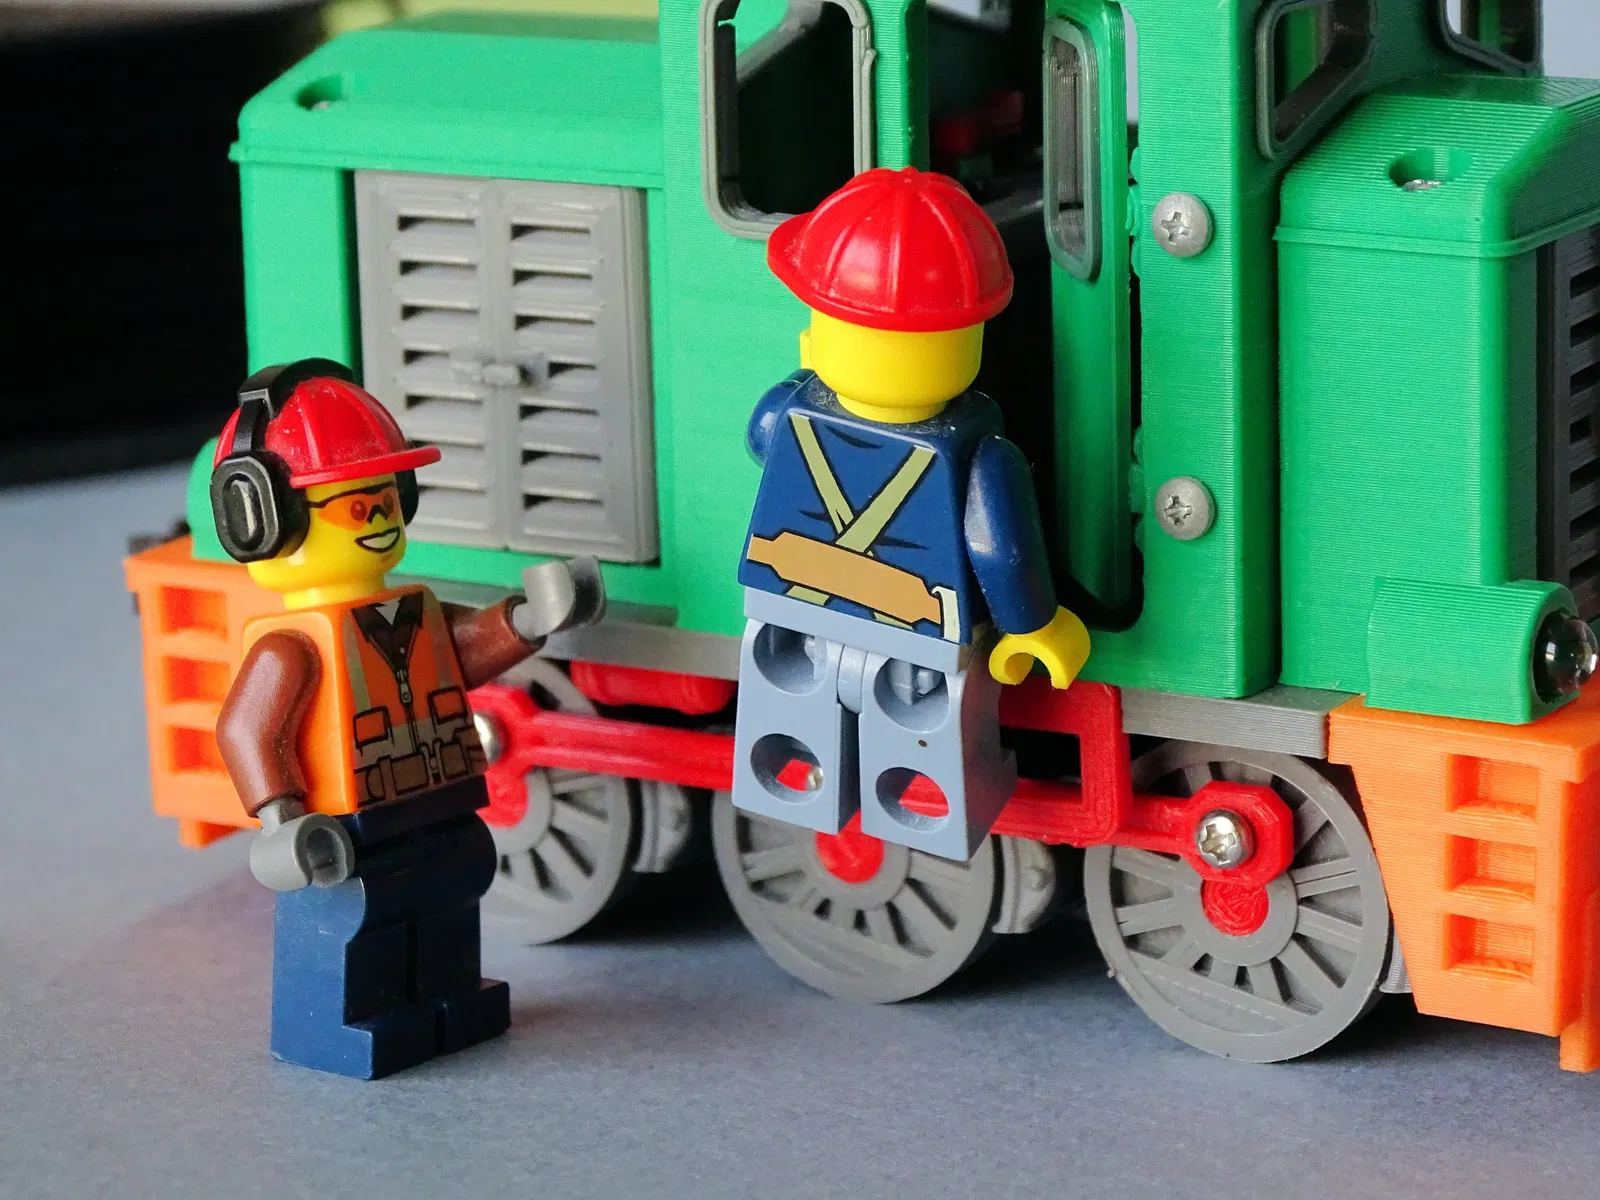
- Make sure the opposite wheels are turned 90 degrees (there is a small marker on the axles to help you with this). This is very important because if the angle on any of the axles is different, the wheels will jam. You can also use wheels without rods from the wheel-without-coupling-rod.stl file.
- Try not to tighten the coupling rods coupling-rod.stl. They should be free and easy to spin. If the coupling rods are too tight, you can slightly enlarge the holes in them.
- Before assembling the cabin, check that the brake lever turns freely.
- Use pieces of filament 1.75 mm to attach doors and roof. Assembly manual movie Click to see assembly manual on Youtube. You can pause the movie and skip frames using "<" and ">" buttons from your keyboard. ##### Backward compatibility On June 26, 2022, due to the adaptation of trains to run on rails, the method of mounting couplers was changed. To enable connection of older wagons with newer ones, the new version of the coupler-automatic.stl and coupler-automatic-cotter.stl files should be printed and installed in older wagons. (files are available in the free locomotive model). You can also turn all couplers on older cars upside down, but this is not recommended - trains running on the tracks will not fit well into the turns.
Giấy phép
Tác phẩm này được cấp phép theo
Creative Commons — Attribution — Noncommercial — NoDerivativesCC-BY-NC-ND

File mô hình
Đang tải files, vui lòng chờ...

Vui lòng đăng nhập để bình luận.
Vui lòng đăng nhập để khoe bản in của bạn.
Chưa có bản in nào được khoe. Hãy là người đầu tiên!

Chưa có bình luận nào. Hãy là người đầu tiên!