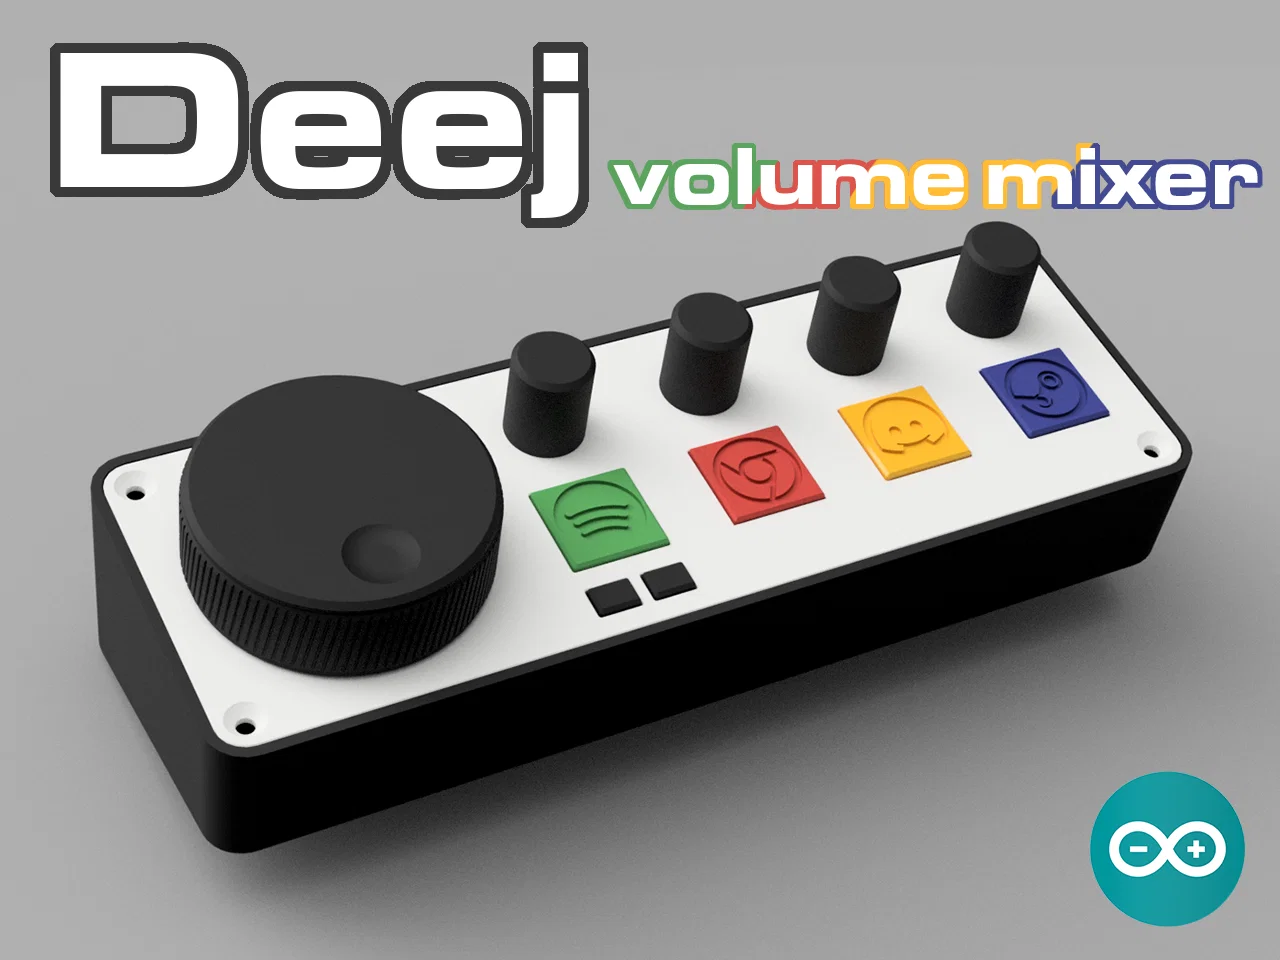
Deej – Volume Mixer Arduino (Music control, RGB)

Phiên bản Deej volume mixer vật lý dùng Arduino nano: 1 núm master lớn + 4 núm cho từng app, có RGB WS2812b phản hồi theo mức âm lượng, hỗ trợ nút bấm remap và điều khiển Spotify. Kèm BOM, setting in và hướng dẫn wiring.


Mô tả
Đây là phiên bản volume mixer vật lý của mình làm theo deej.
Thông tin thêm ở đây: https://github.com/omriharel/deej
Mình xin giới thiệu phiên bản Deej - volume mixer của mình.
Sắp lên github sớm.
Dự án này dùng fork này: https://github.com/Miodec/deej
Fork này thêm hỗ trợ remappable button.
Deej là gì?
Xem tại đây: https://github.com/omriharel/deej
Nó kết nối với PC và cho bạn điều khiển Windows sound mixer bằng input.

Tính năng:
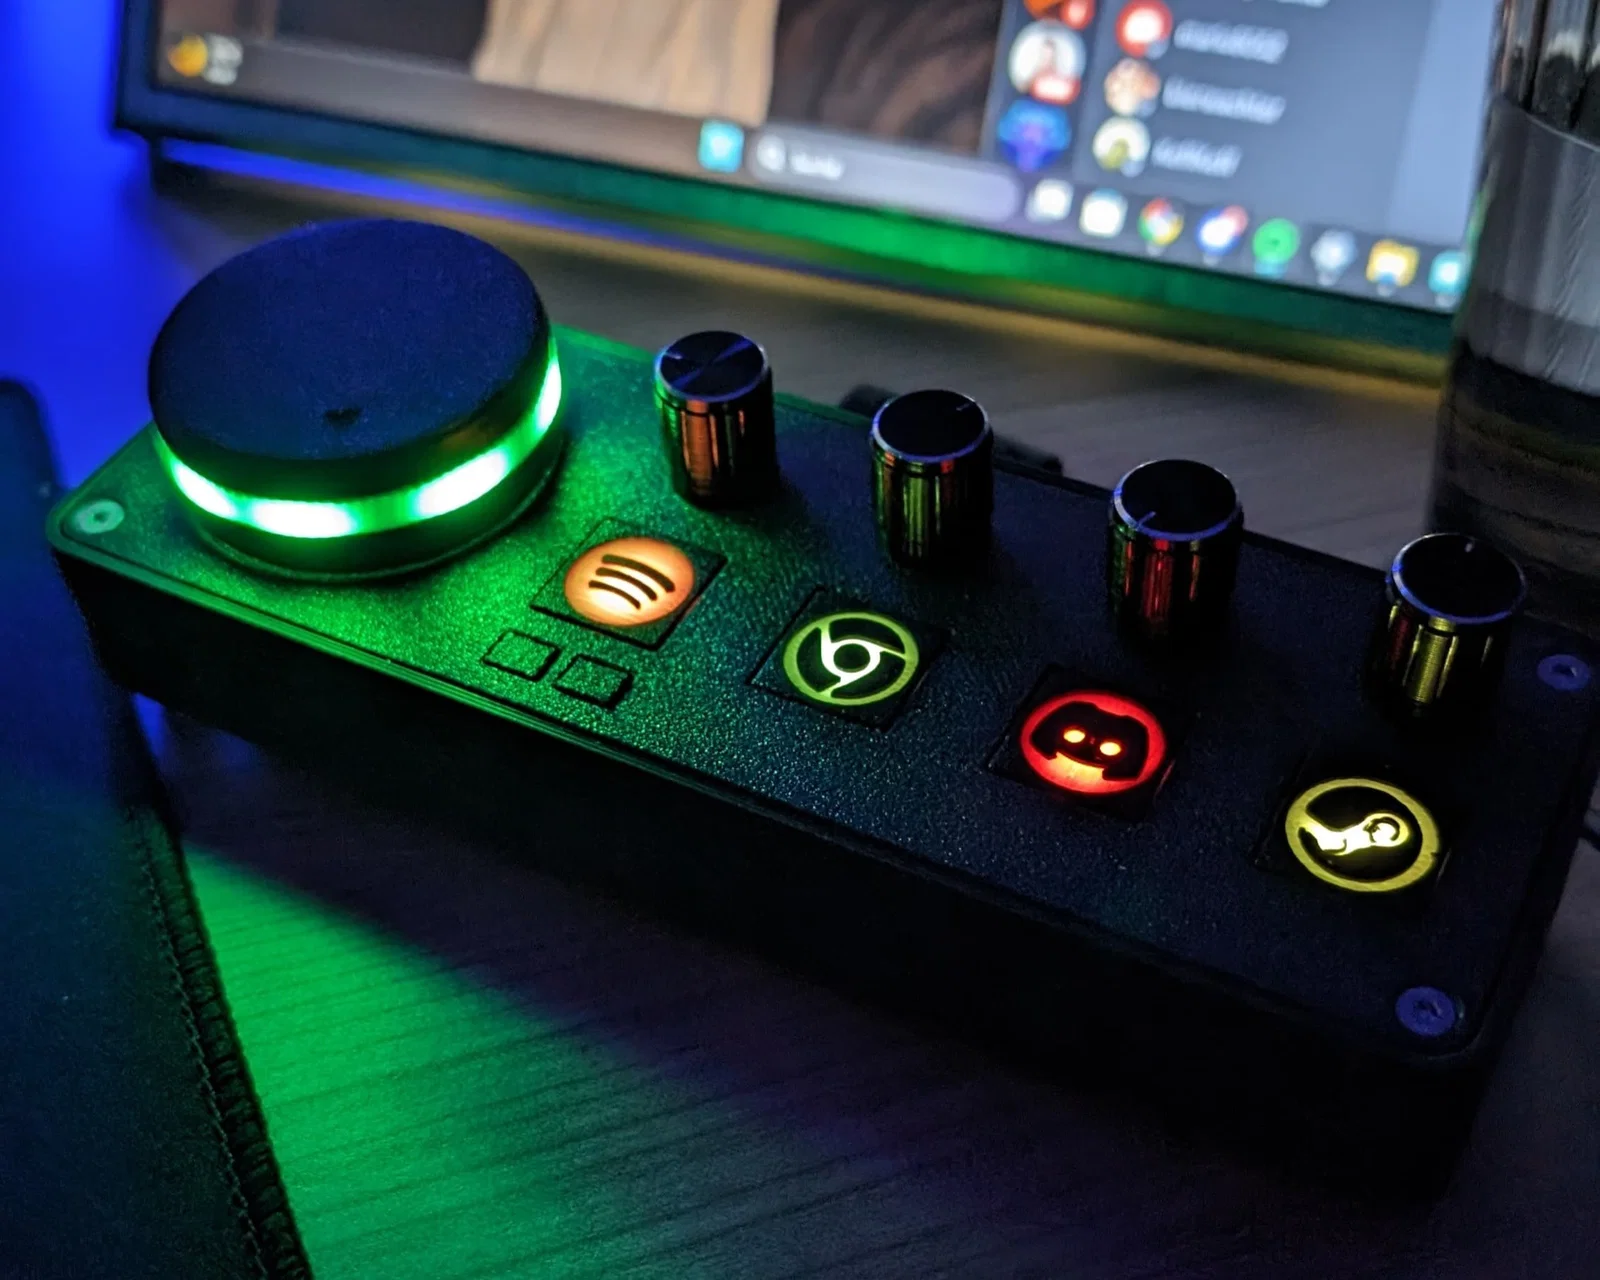
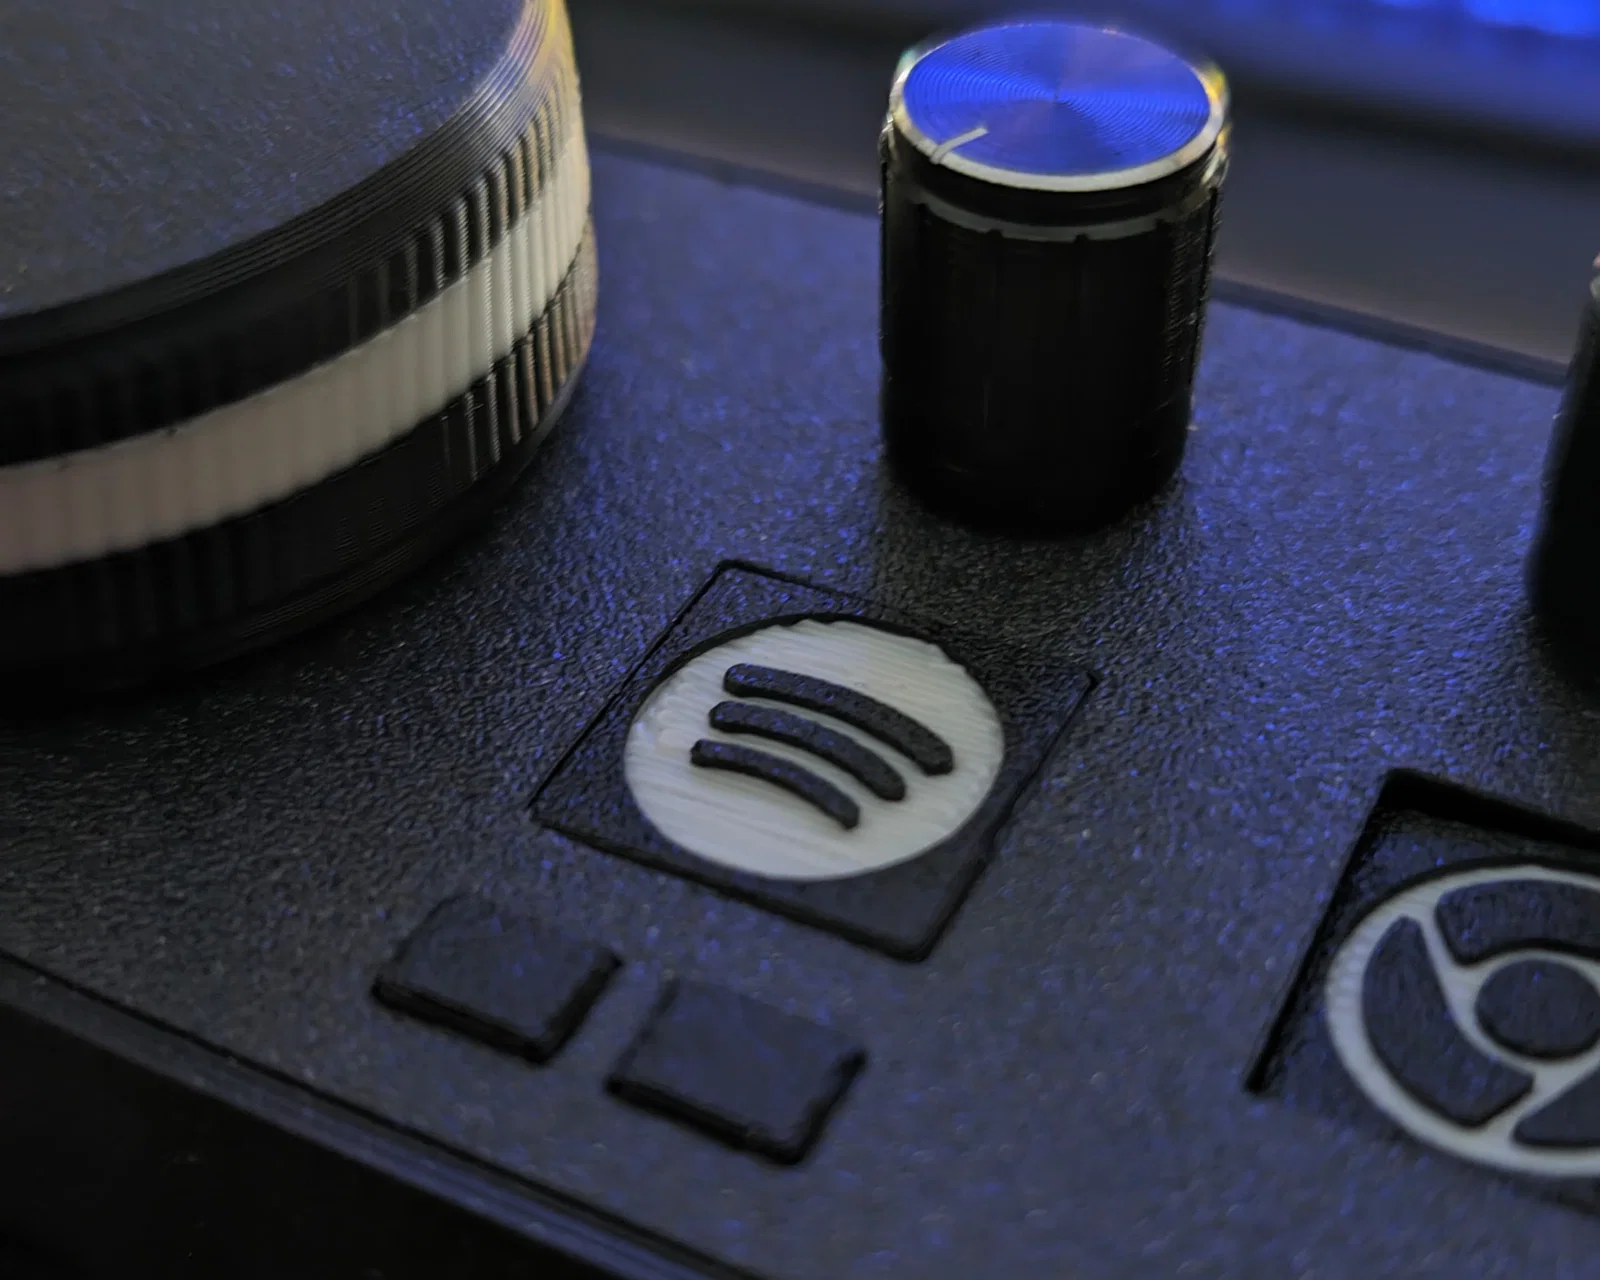
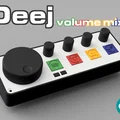
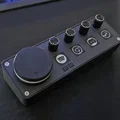
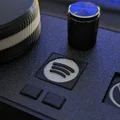
- Núm volume chính (to) - có RGB LED bên dưới, có thể điều khiển
- phản hồi theo mức volume
- 4 núm volume nhỏ - chỉnh theo từng application
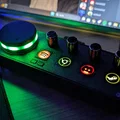
- Logo cho Spotify, Chrome, Discord, Steam, Firefox, OperaGX (cần thêm logo thì cứ nhắn)
- RGB LED bên dưới các nút để chiếu sáng (có thể điều khiển)
- phản hồi theo mức volume
- sau đó chuyển về màu đã chọn
- Có thể làm button (nút bấm) bên dưới mỗi nút
- riêng mình dùng 1 button dưới nút Spotify để điều khiển nhạc
- Spotify Control
- tổng cộng 3 nút
- bấm logo Spotify để PLAY/PAUSE
- 2 nút bên dưới để lùi/bài trước và bài tiếp theo
Linh kiện (BOM):
- Potentiometer mua từ Amazon
- Arduino nano + cáp USB đủ dài để nối tới PC
- Nút bấm: tối đa lắp được 7 nút - mình dùng 3
- 6x6x5mm
- ví dụ: https://amzn.eu/d/iYDAb6J
- Heat inserts M3
- bạn có thể khoan lỗ theo đúng đường kính cần thiết
- mình dùng loại insert đường kính ngoài 4 mm
- tổng cộng 11 cái

- Keo 502 (super glue) để dán các nút vào đế
- Ốc vít sử dụng
- 13x M3x10 (DIN 912)
- 4x M3x6-8 (DIN 912)
- 3x M3x10 (để nối knob với top plate)
- WS2812b LED Strip - 60LED/m, tổng cộng 7 LED
- cũng có thể dùng loại nhiều LED/m hơn để hiệu ứng đẹp hơn
- 4x WS2812b (loại đơn)
- Dây điện và dây rút (zip ties)
- mình dùng dây silicone vì rất mềm và linh hoạt
- Tùy chọn:
- Vòng đệm (spacer) để thêm tạ bên trong đế
- DIN9021 / ISO7093
- M10 Spacers (đường kính trong 10,5mm, ngoài 30mm, dày 2,5mm)
- mình dùng tổng 17 cái để cầm cho đã tay
- Miếng gel chống trượt (Anti Slip Gel Pad)
- kiểu như này: https://amzn.eu/d/fmU6lfz
- Vòng đệm (spacer) để thêm tạ bên trong đế
In 3D / Thiết lập:
- Xin lỗi - một số part cần xoay thủ công 15° trong slicer - mình cần tìm cách export đúng từ Fusion 360 (ai biết chỉ giúp với?)
- In bằng ABS Black Magic matt để nhìn sạch và đẹp
- Các phần trong mờ (translucent) in bằng ABS natural (trắng)
- Núm lớn và các nút xử lý bằng cách stop at layer rồi thay filament thủ công

- 4 Base Layers, 4 Top Layers, ~65% Infill, 3 Wall lines
- Layer height 0.15 - 0.2
- Cứ dùng setting bạn quen, mình muốn các part thật cứng và nặng
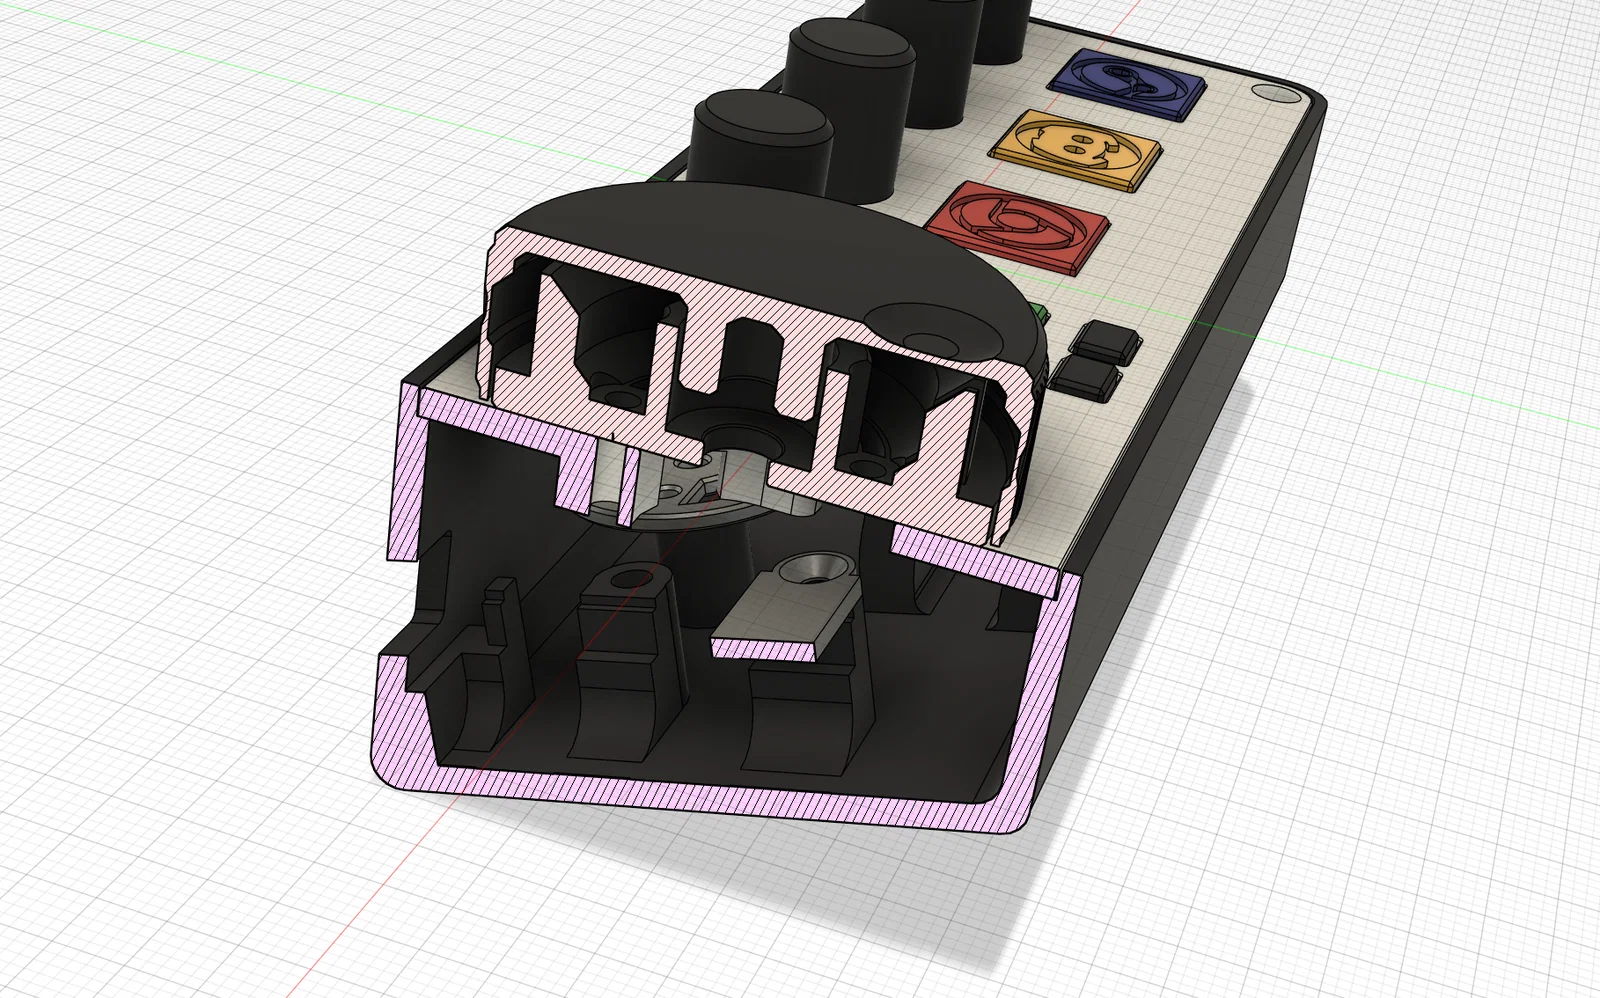
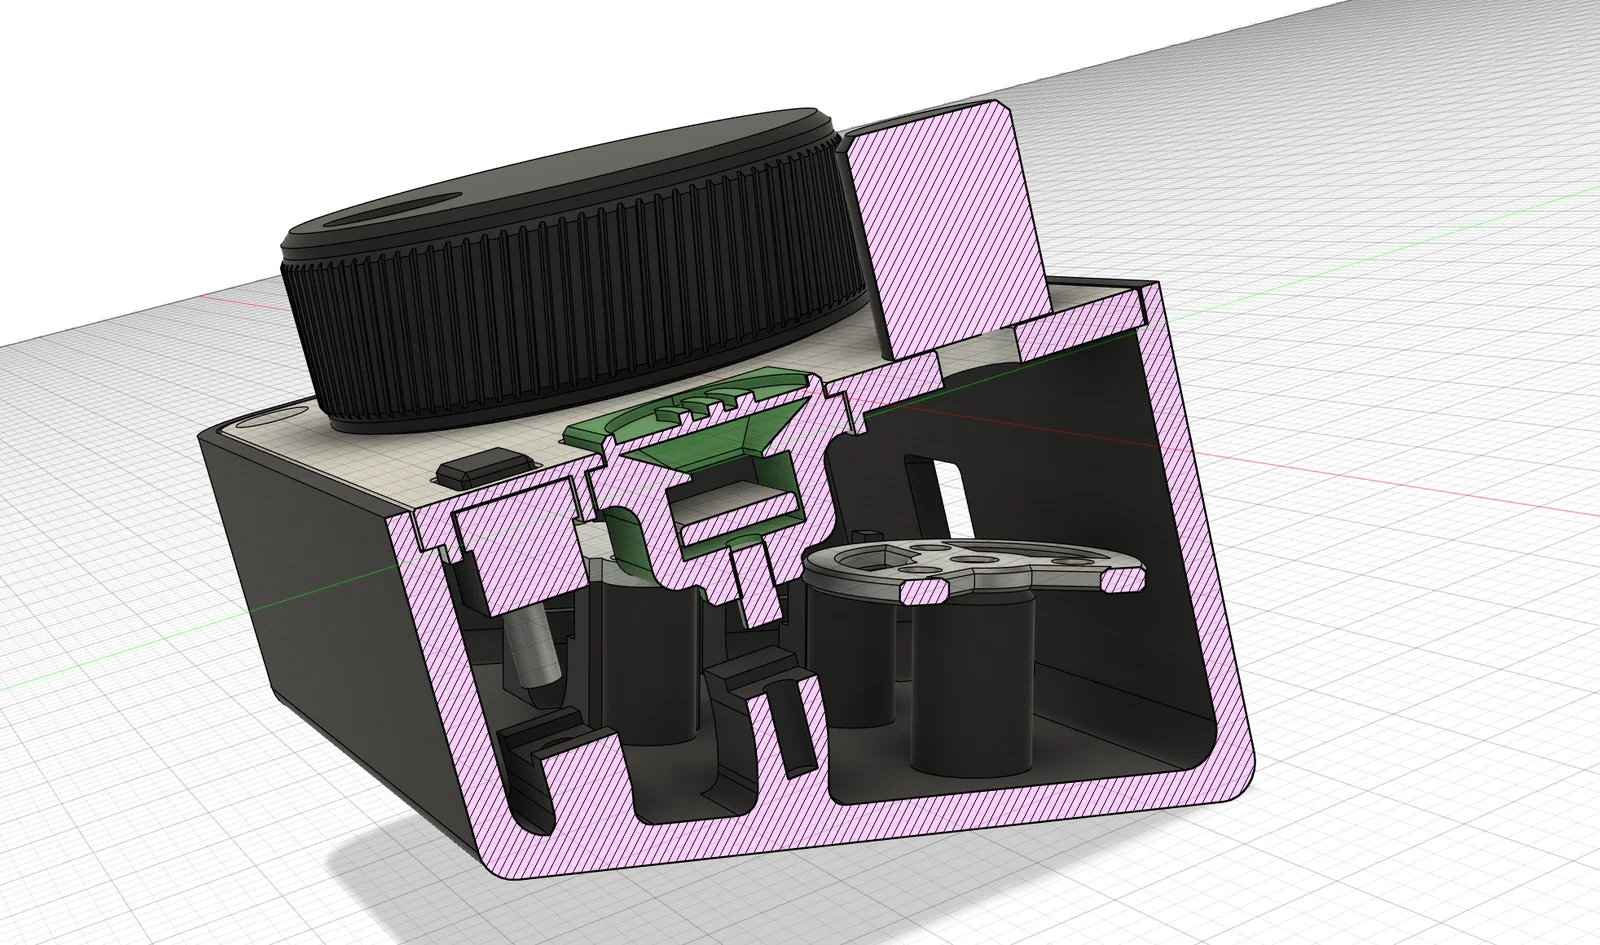
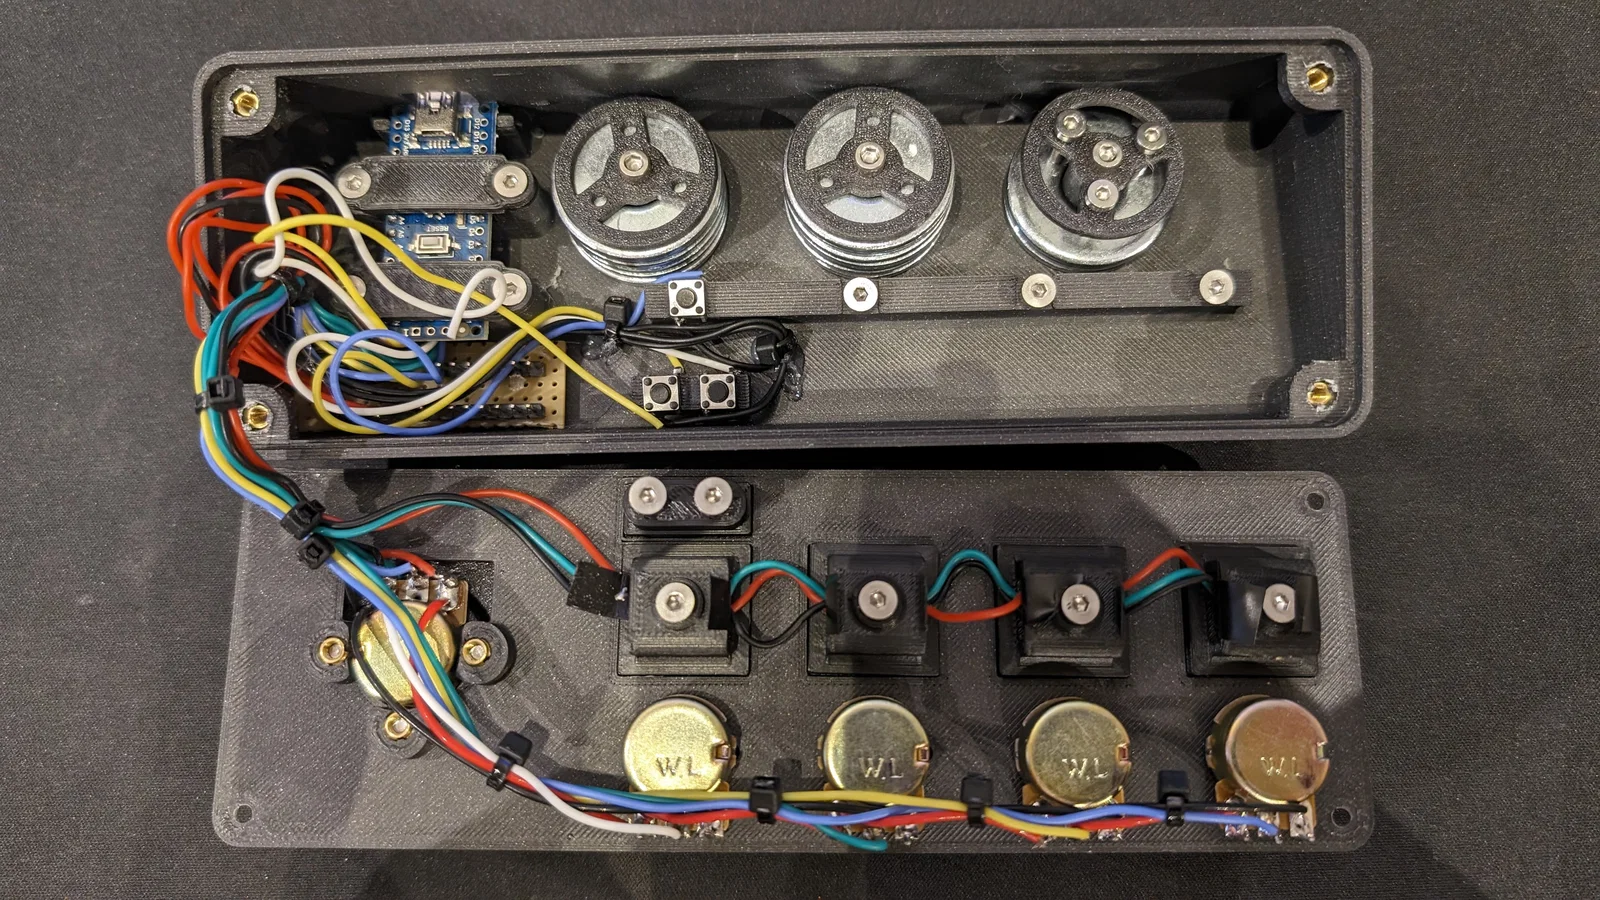
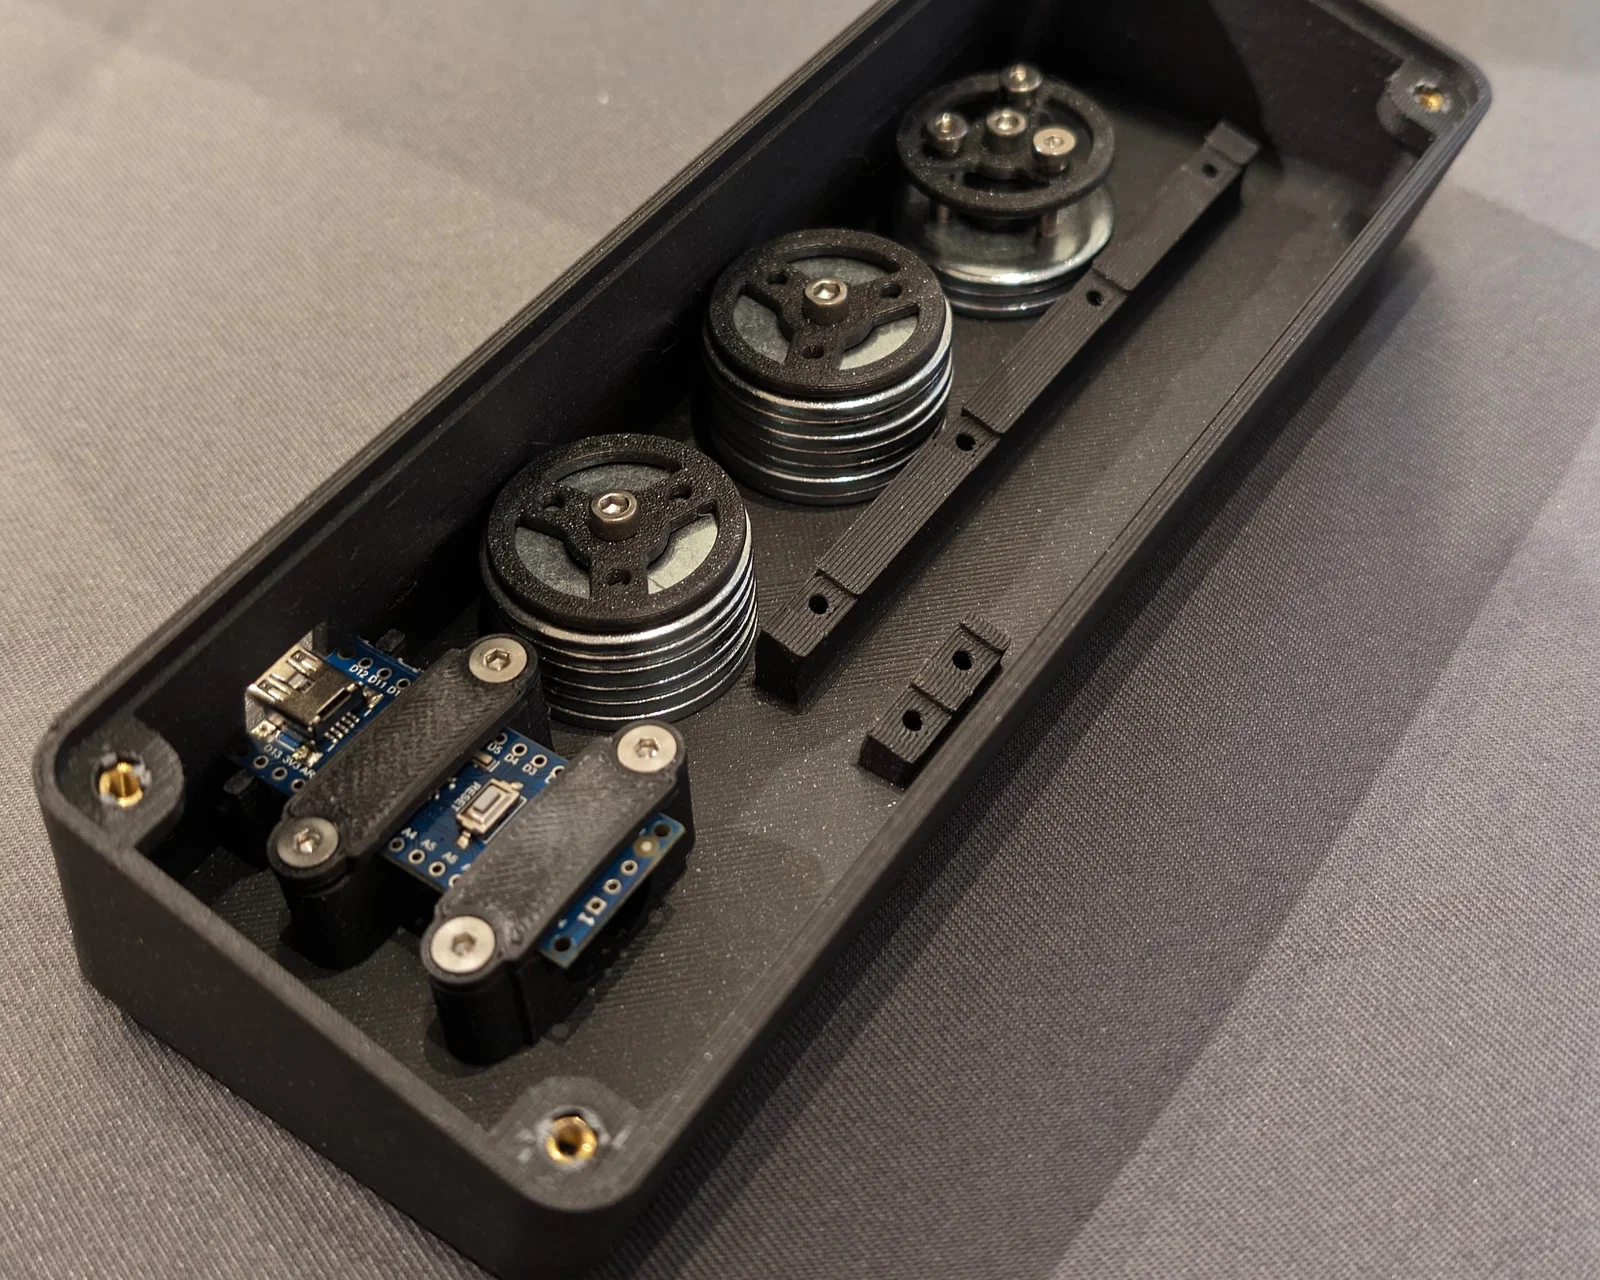
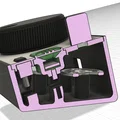
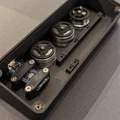
Hình quá trình lắp ráp:


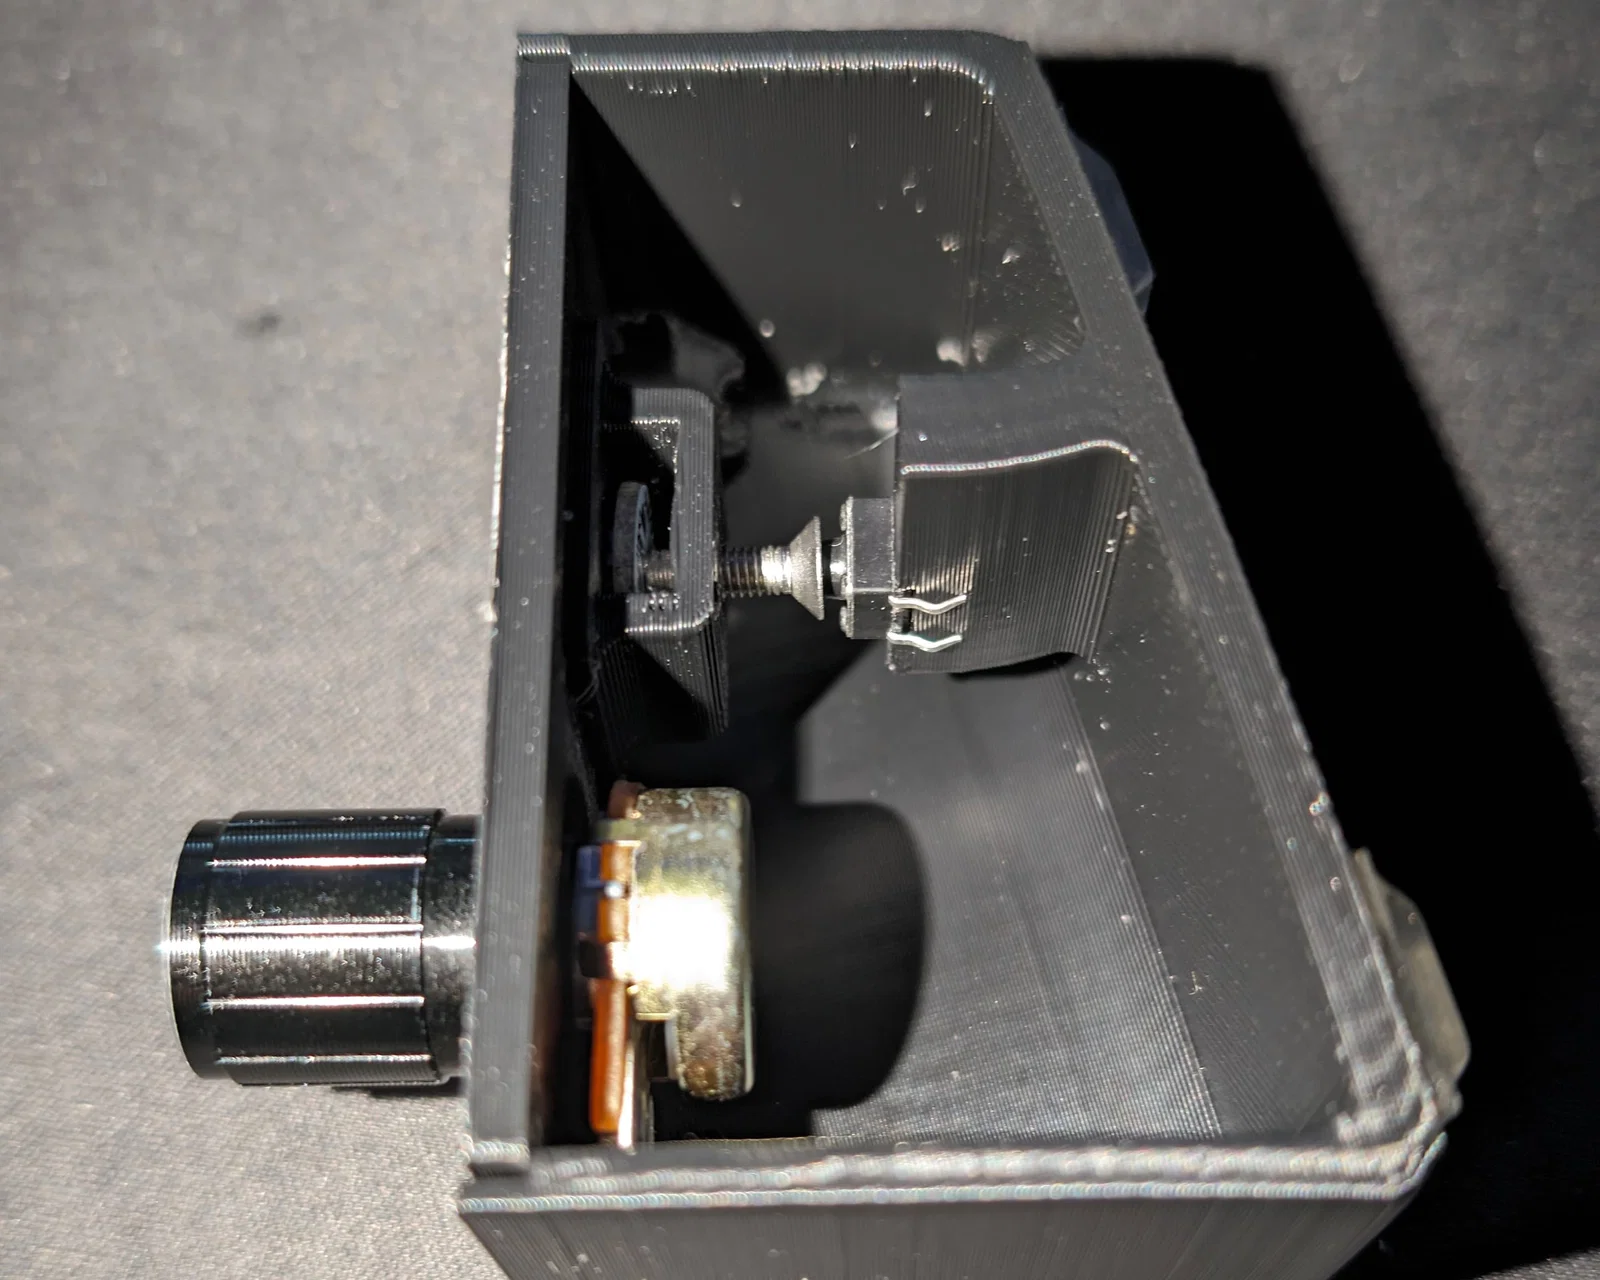
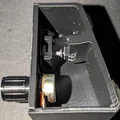
Các nút bấm hoạt động như thế nào?


RGB LED được đặt bên trong nút, con ốc bên trong nút có thể chỉnh được. Khi bấm nút thì nó sẽ được ốc “ấn” xuống. (dùng M3x6-8mm ở đây)
Dùng file “Deej_SpannerLED_5x.stl" đặt giữa LED và mặt trên của nút để giữ LED cố định và tránh cho ốc chạm vào các tiếp điểm.

Nếu chỗ nào không có nút bấm, hãy vặn vào đó vài con M3x10 và chỉnh sao cho khi đóng nắp lại thì các nút được ép sát lên mặt trên của cover.

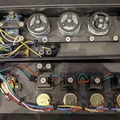
Đi dây (Wiring):
Nếu bạn chưa biết cách hàn potentiometer thì xem ở đây:
https://www.wikihow.com/Wire-a-Potentiometer
Mình từng mắc lỗi là dùng luôn các lỗ để hàn, làm hỏng potentiometer. Hãy dùng các chân (pins) thì mọi thứ chạy ngon lành.
Các chân Arduino nano đã dùng:
- A0, A1, A2, A3, A6 cho các slider
- D6, D7, D8 cho Buttons
- D3 cho LED strip vòng bên trong núm lớn
- D5 cho LED strip bên dưới các nút
File đính kèm / Tool đã dùng:
-
Chương trình Arduino
-
AutoHotKey script để điều khiển Spotify:
- tải và cài AutoHotkey: https://www.autohotkey.com/
- mở Notepad, dán đoạn code bên dưới và lưu thành file .ahk
- nếu không tự mở bằng AutoHotkey thì → chuột phải → open with → other app → chọn app mặc định là AutoHotkey
- đặt file .ahk vào thư mục autostartup để sau khi boot PC là nó tự chạy
;; Get the handle getSpotifyHwnd() { spotifyHwnd := WinGetID("ahk_exe Spotify.exe") Return spotifyHwnd }
; Send a key, generic spotifyKey(key) { spotifyHwnd := getSpotifyHwnd() ; Chromium ignores keys when it isn't focused. ; Focus the document window without bringing the app to the foreground. ControlFocus "Chrome_RenderWidgetHostHWND1", "ahk_id " . spotifyHwnd ControlSend key, , "ahk_id " . spotifyHwnd Return }
; My combination, feel free to change to suit your tastes. F13::{ spotifyKey("{Space}") Return }
F14::{ spotifyKey("^{Left}") Return }
F15::{ spotifyKey("^{Right}") Return }
-
File deej config.yaml của mình
process names are case-insensitive
you can use 'master' to indicate the master channel, or a list of process names to create a group
you can use 'mic' to control your mic input level (uses the default recording device)
you can use 'deej.unmapped' to control all apps that aren't bound to any slider (this ignores master, system, mic and device-targeting sessions)
windows only - you can use 'deej.current' to control the currently active app (whether full-screen or not)
windows only - you can use a device's full name, i.e. "Speakers (Realtek High Definition Audio)", to bind it. this works for both output and input devices
windows only - you can use 'system' to control the "system sounds" volume
important: slider indexes start at 0, regardless of which analog pins you're using!
slider_mapping: 0: master 1: spotify.exe 2: chrome.exe 3: discord.exe 4: deej.unmapped
supported button list https://github.com/micmonay/keybd_event/blob/master/keybd_windows.go (scroll down)
be sure to convert hex values to decimal (hex values start with 0x)
for example: to get F13 (0x7C + 0xFFF)
0x7C = 124
0xFFF = 4095
124 + 4095
F13 = 4219
button_mapping: 0: 4219 1: 4220 2: 4221 3: 4271 4: 4229 5: 4230
set this to true if you want the controls inverted (i.e. top is 0%, bottom is 100%)
invert_sliders: false
settings for connecting to the arduino board
com_port: COM6 baud_rate: 9600
adjust the amount of signal noise reduction depending on your hardware quality
supported values are "low" (excellent hardware), "default" (regular hardware) or "high" (bad, noisy hardware)
noise_reduction: low
Cứ liên hệ mình hoặc để lại bình luận ở đây nếu bạn có thắc mắc về dữ liệu, code hay bất cứ gì khác.
Chúc bạn làm vui vẻ.
Giấy phép
Tác phẩm này được cấp phép theo
Creative Commons — Attribution — Noncommercial — Share AlikeCC-BY-NC-SA

File mô hình


Chưa có bản in nào được khoe. Hãy là người đầu tiên!

Chưa có bình luận nào. Hãy là người đầu tiên!